Quick answer
Measure your desk edge and panel footprint first, then choose a mounting method that matches each device's weight and hole pattern. For heavy metal panels and throttle units, bolt through a rigid plate or clamp a reinforced bracket instead of relying on adhesive or a single clamp. Leave 10–15 cm of clearance behind the desk for cables and quick-release hardware, and test stability with the controls at full travel before you tighten everything down.
Measure the desk, the devices, and the reach before you buy hardware
Start with a tape measure and a notepad, not a shopping cart. Note the desk thickness, the distance from your seated eye level to the desk edge, and the exact footprint of each control you plan to mount. A 1/1 scale metal B737 CDU panel is deeper and heavier than a plastic button box, so its mounting point needs to sit further back or on a separate plate. If your desk has a chamfered or curved edge, a flat clamp may only contact a few millimetres of material; measure the flat underside area you can actually grip. Write down the screw thread and hole spacing on each device while it is still loose on the desk. This prevents a second order of brackets and bolts halfway through the build.
Choose the mounting method per device, not per rig
There is no single best mount for a whole cockpit. A joystick with a narrow base often works well on a low-profile clamp that sits under the desk, while a wide throttle quadrant may need a flat plate bolted to the desk surface or a rail system. If a device has a VESA pattern, a VESA flight sim mount gives you a repeatable, tool-free way to reposition it. Panels without a VESA pattern need an adapter plate or a custom bracket that matches their existing screw holes. Decide this device by device, and keep the heaviest items closest to a desk leg or support beam where the surface flexes least.
Install in this order: plate, bracket, device, cable
Mount the base hardware first, then attach the device, then route cables. If you bolt a plate to the desk, use washers on both sides to spread the load and avoid crushing a hollow-core desk top. Thread bolts by hand for the first few turns so you do not cross-thread a metal panel. Tighten in a diagonal pattern, a little at a time, until the bracket is snug but not distorting the desk surface. Only after the device is mechanically solid should you connect USB and power, and leave a service loop so you can unplug without pulling on the connector. This order keeps stress off the ports while you are still adjusting position.
Set ergonomics before you finalise the position
Sit in your normal flying posture and bring the controls to you, not the other way around. The joystick grip should fall under your hand with a slight bend at the elbow, and the throttle should sit so you can reach full travel without lifting your shoulder. Panels such as a CDU belong within easy reach of your typing hand, because you will press keys repeatedly during a flight. Adjust the mount, sit down again, and repeat until the reach feels neutral. A position that feels fine while standing at the desk is usually too far away once you are seated.
Strain-relieve cables and leave room for maintenance
Cables fail at the connector, not in the middle. Use a small loop or a hook-and-loop tie to anchor each cable to the desk or bracket so the plug never carries the weight of the cable run. Keep power bricks and USB hubs off the floor where a chair wheel can roll over them. If you use a magnetic charging base, remember that the magnet holds the device, not the cable, so the cable still needs its own relief. Leave enough slack that you can slide the device out for cleaning or firmware updates without unbolting the whole mount.
Mounting steps with checkpoints
- Measure and record: Measure desk thickness, flat underside area, device footprint, hole spacing, and screw thread. Write everything down before ordering brackets. Checkpoint: if the desk edge is curved or chamfered, plan a through-bolt or plate mount instead of a clamp.
- Pick a mount per device: Match each control to a clamp, plate, rail, or VESA flight sim mount based on its weight and hole pattern. Do not force one mount type across the whole rig. Checkpoint: heavy metal panels need support from below, not a single edge grip.
- Mount base hardware first: Attach plates and brackets to the desk before adding devices. Use washers on both sides and tighten diagonally in small increments. Checkpoint: stop if the desk surface starts to compress or the bracket bends.
- Attach devices by hand: Start every bolt by hand to avoid cross-threading, then snug it down. Keep the device loose enough to adjust until you have sat in your flying position. Checkpoint: a cross-threaded metal panel hole is difficult to repair, so never force a bolt.
- Adjust for seated reach: Sit down and move each control until your elbow is slightly bent and you can reach full throttle travel without leaning. Re-tighten once the position is right. Checkpoint: if you have to stretch, the mount is too far away.
- Route and relieve cables: Anchor every cable to the desk or bracket with a loop so the connector carries no weight. Leave a service loop for maintenance. Checkpoint: tug gently on each cable; if the plug moves, add another tie.
- Test at full travel: Run the joystick, throttle, and panel keys through their full range while watching for flex, slipping, or cable pull. Re-tighten anything that moves. Checkpoint: a mount that shifts under full deflection will get worse in a long flight, not better.
Product facts that affect mounting
- 1/1 Scale Metal B737 CDU Home Cockpit Panel Compatible with MSFS 2020/2024, Prepar3D, X-Plane: 1/1 scale metal B737 CDU panel with a solid metal panel, accurately reproduced screw positions and frame structure, and a silicone keypad with indicator lights. The metal construction and real screw positions mean you can use the existing holes for a rigid bracket, but the weight requires a mount that supports the panel from below rather than relying on a single edge clamp.
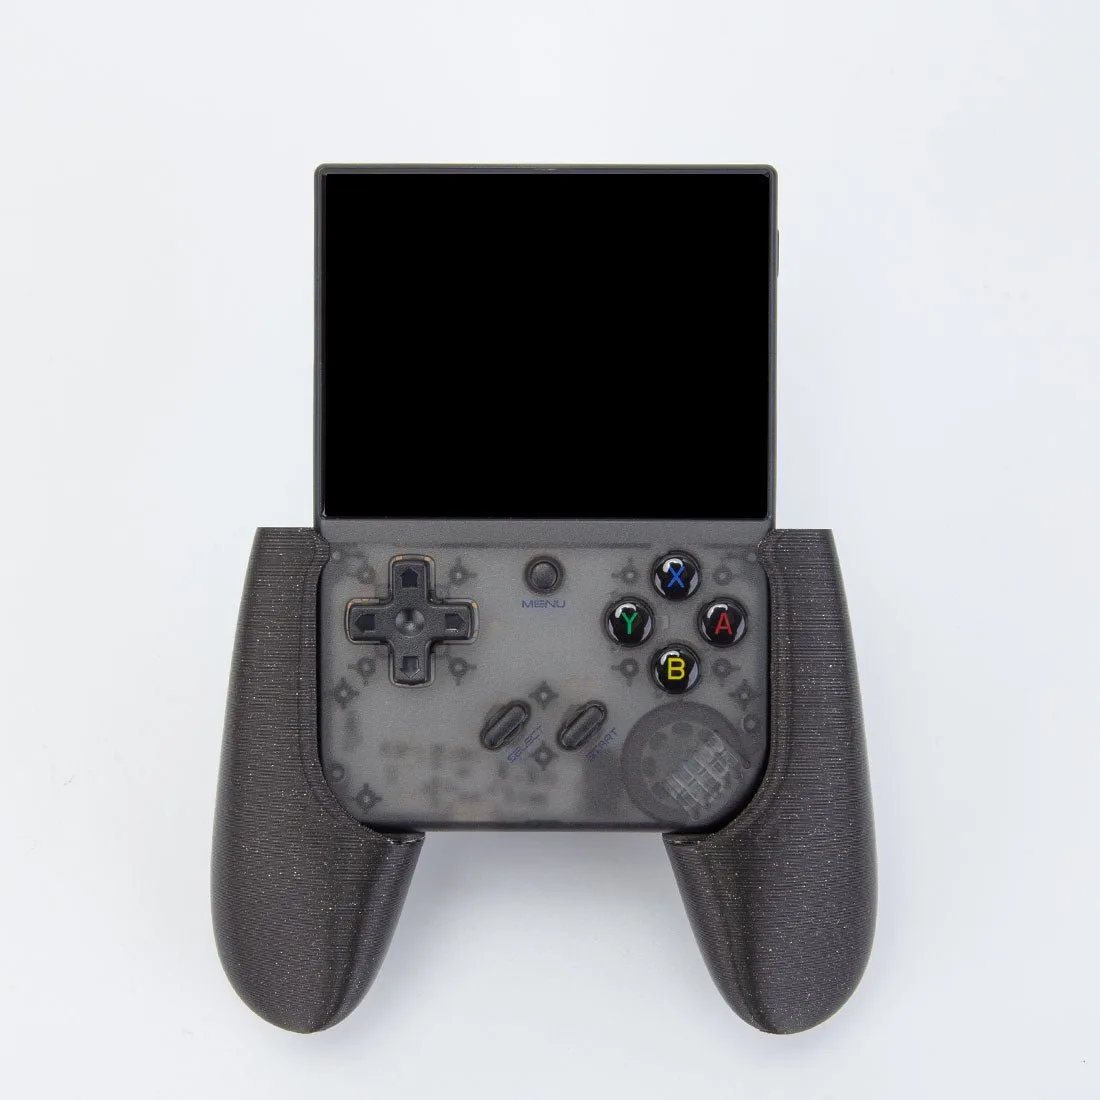
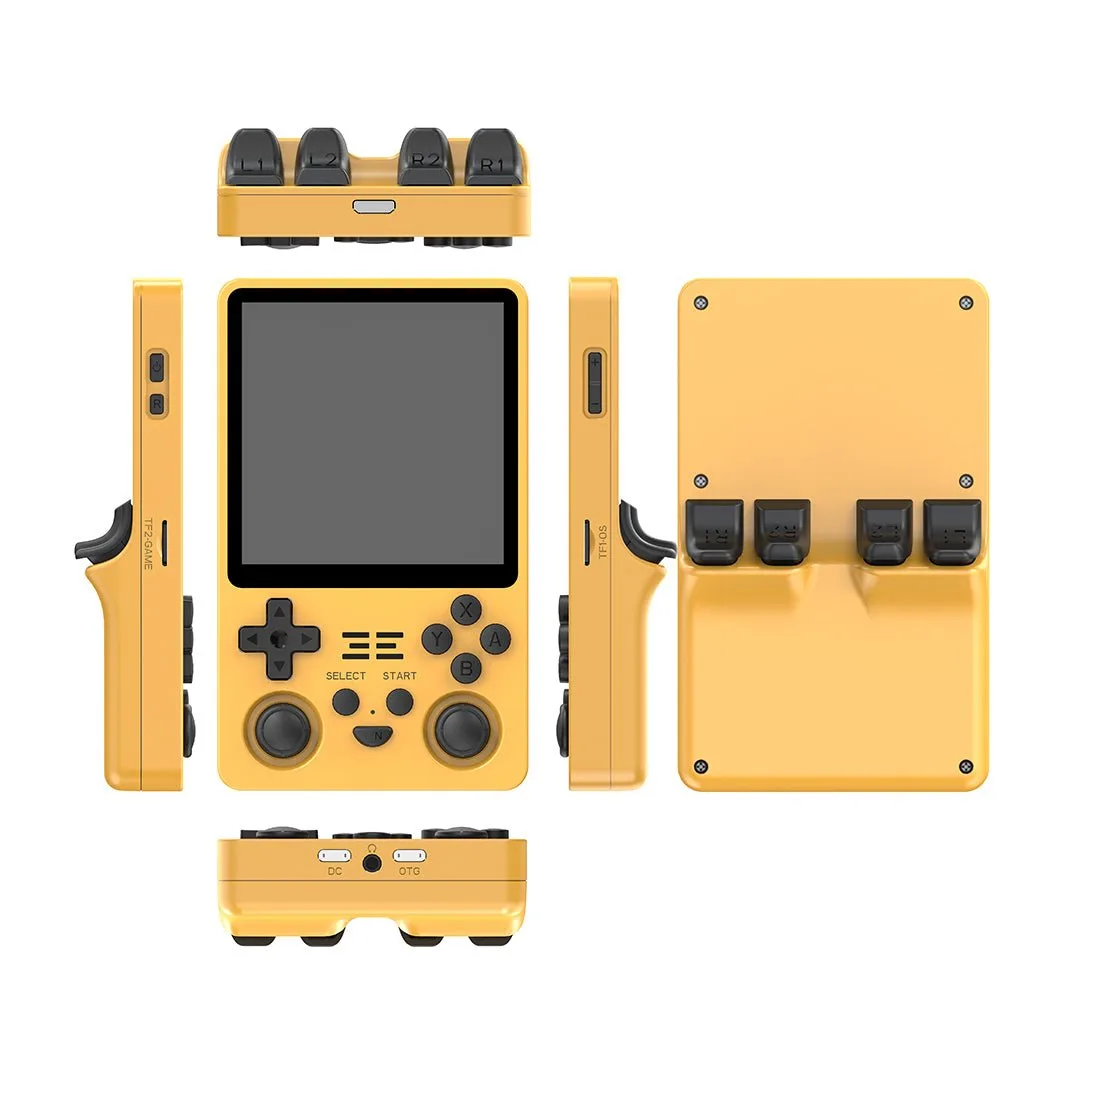
- 3D Printed Magnetic Charging Base for TRIMUI SMART PRO/TRIMUI SMART PRO S Game Consoles: 3D-printed magnetic charging base for TRIMUI SMART PRO and TRIMUI SMART PRO S, made from semi-matte PLA with magnetic charging and handle support. If you keep a handheld on the same desk as your sim rig, this base holds the console magnetically, so you still need to strain-relieve its charging cable separately from the mount.