Quick answer
To attach needlepoint canvas to stretcher bars, assemble four bars into a square, center your canvas, and tack it with rustproof tacks or staples in the order of top, bottom, left, right, then corners, keeping the weave straight and tension even. Work in small increments rather than pulling one side tight at once. If your cut canvas is 8" x 8", you need four 8" stretcher bars.
Check your frame size and canvas cut
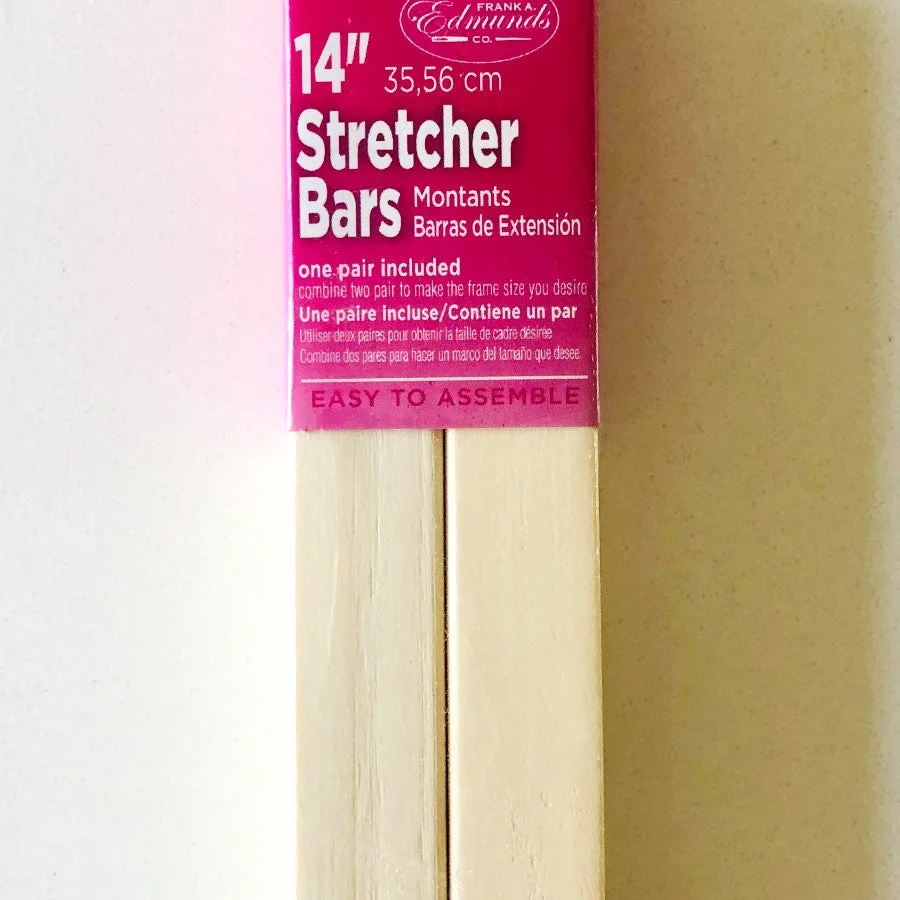
Stretcher bars are sold in pairs, so a 14-inch set gives you two bars. To build one square frame you need four bars, which means ordering two units of the same length. The bar length should match the cut size of your canvas, not the stitched design area. For example, if your cut canvas is 8" x 8", you need four 8" bars.
Before you assemble anything, lay your canvas flat and measure the cut edges, not the printed design. If the bars are longer than the cut canvas, you cannot tack it down without stretching the weave out of shape. If the bars are shorter, the canvas will sag in the middle no matter how hard you pull.
Assemble the bars square and snug
Most wooden stretcher bars have slotted ends that interlock. Push the four corners together firmly by hand. Do not force them with a mallet, because splitting the slot ruins the joint. Once assembled, place the frame on a flat table and check the corners with a carpenter's square or by measuring both diagonals. If the diagonals match, the frame is square.
A frame that is even slightly out of square will pull your canvas into a parallelogram, and no amount of tacking will fix that. If a corner feels loose, check that the tenon is fully seated before adding canvas.
Center the canvas and mark your first tacks
Place the assembled frame over the canvas so the design is centered and the weave runs parallel to the bars. Mark the center of each side on the canvas edge with a pin or a water-soluble marker. These marks become your first tacking points, so you are working from the middle outward rather than from corner to corner.
Starting at a corner is a common mistake. It pulls the weave diagonally and leaves the opposite corner loose. Always begin at the center of one side.
Tack in the order top, bottom, left, right
Use rustproof tacks or a staple gun with stainless staples. Place one tack at the center mark on the top bar, then one at the center of the bottom bar, then the left, then the right. Pull each side just enough to remove slack, not enough to distort the printed design. Work outward from each center mark in one-inch increments, alternating sides so tension stays balanced.
After every few tacks, turn the frame over and sight down the canvas surface. If you see a ripple or a wavy edge, remove the last tack and reset it. Small corrections now are easier than fixing a warped canvas later.
Finish the corners and do a tension check
Once the four sides are tacked to within about an inch of each corner, fold the canvas corner neatly and tack it down. Do not trim the canvas flush with the frame. Leave at least an inch of excess so the weave does not pull out from under the tacks while you stitch. Fold the excess to the back and secure it with a few extra tacks if it flaps.
Press your palm against the center of the canvas. It should feel firm with only a tiny give, like a drumhead. If it feels spongy, add more tacks along the sides. If the weave looks visibly stretched, remove tacks and start again with less tension.
Mounting steps at a glance
- Assemble four bars into a square: Interlock the slotted ends by hand and check the diagonals with a ruler. If they match, the frame is square. Checkpoint: a square frame, not a parallelogram.
- Center the canvas on the frame: Lay the canvas over the assembled frame and mark the center of each side with a pin or water-soluble marker. Mistake to avoid: starting at a corner instead of the center.
- Tack the centers in order: Place one tack at the center of the top, bottom, left, and right bars, pulling only enough to remove slack. Checkpoint: the design stays centered and the weave stays straight.
- Work outward in small increments: Add tacks every inch, alternating sides, and turn the frame over after every few tacks to check for ripples. Mistake to avoid: pulling one side tight before the opposite side has any tacks.
- Finish corners and test tension: Fold and tack the corners, leaving at least an inch of excess canvas, then press the center to check for firmness. Checkpoint: firm like a drumhead, with no visible stretch in the weave.
Tools that make mounting easier
- Needlepoint Stretcher Bars 14 Inch (Set of 2): Needlepoint stretcher bars are used to make a frame that you attach your needlepoint canvas to so that it is held nice and tight while you stitch. These needlepoint stretchers are 14" long and sold as a pair. To make a frame you need four stretcher bars or 2 units. If you are mounting a 14" cut canvas, you need two sets of these bars to build one square frame. Ordering one set gives you only two sides.
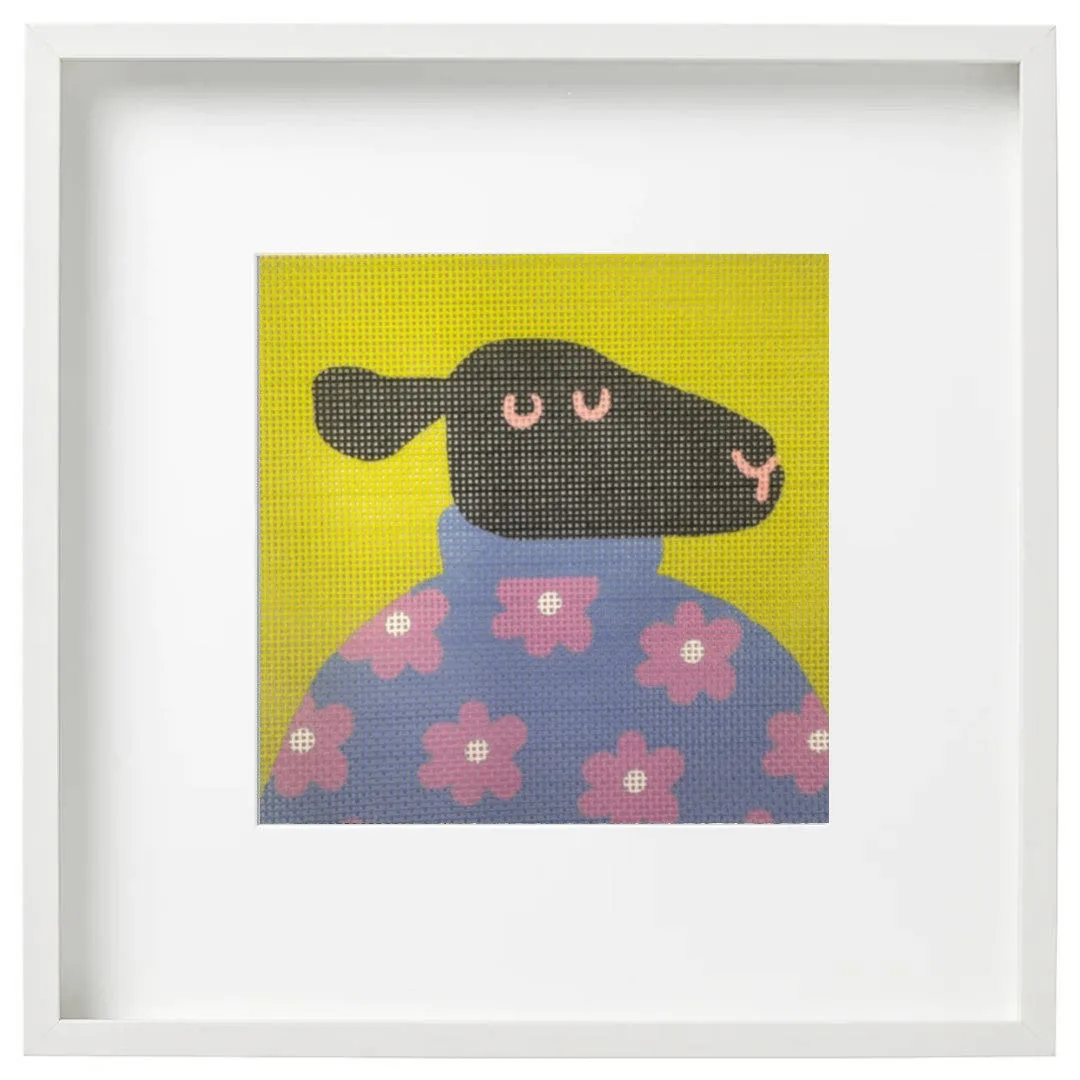
- Black Sheep Needlepoint | CANVAS ONLY: A 5" x 5" on 18-count mono needlepoint canvas with the design color-printed, one stainless steel Bohin needle, and a reusable zippered project bag. Threads are not included. This canvas-only option is a good practice piece for learning to mount because the 5" size pairs with 5" stretcher bars, and the included needle means you can start tacking and stitching without buying extra tools.