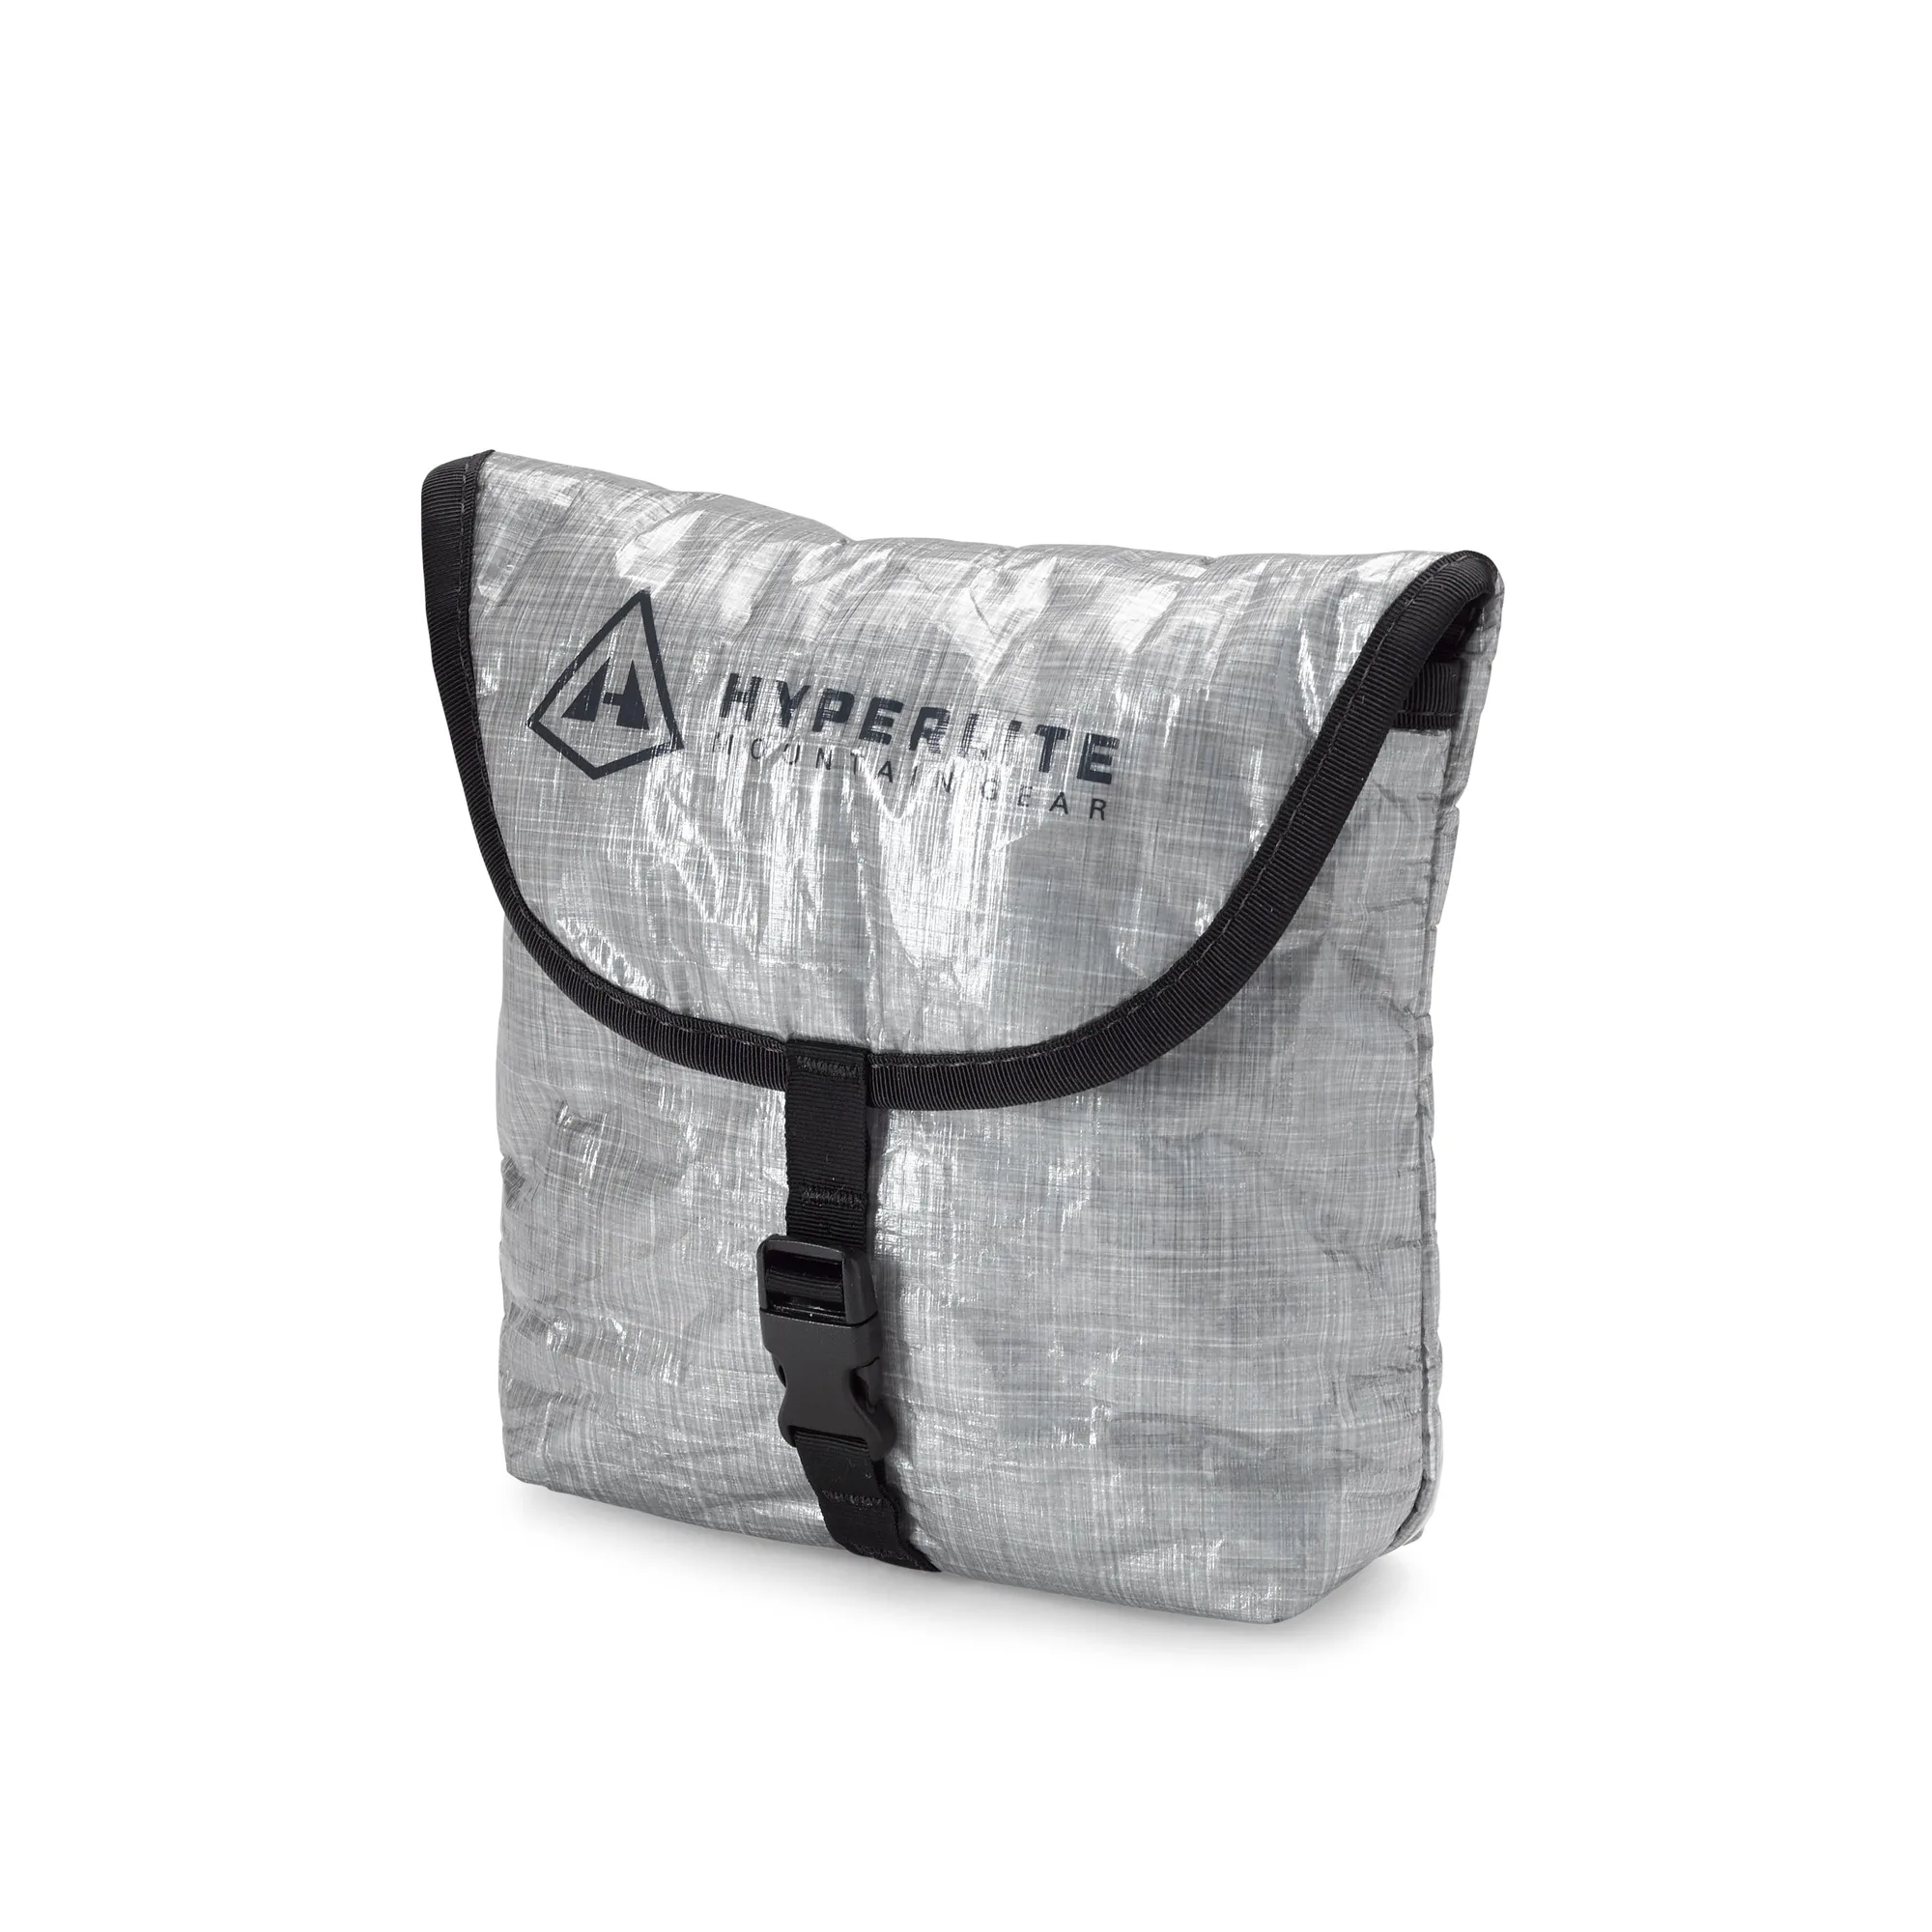
Packing a backpack efficiently is an art that can make or break your outdoor adventure. Whether you're heading out for a day hike or a multi-day camping trip, how you pack affects your comfort, balance, and accessibility. A poorly packed backpack can lead to back pain, wasted time digging for gear, and even safety risks on the trail.
In this comprehensive guide, we'll walk you through the steps to pack your backpack like a pro. From choosing the right gear to mastering weight distribution, we'll cover everything you need to know. We'll also highlight some essential items from Prometheusdesignwerx that can enhance your packing system, ensuring you're ready for any adventure.
Why Efficient Packing Matters
Efficient backpack packing isn't just about fitting everything in—it's about optimizing your load for comfort and accessibility. When you pack correctly, you minimize strain on your back and shoulders, maintain better balance on uneven terrain, and reduce the risk of injury. Proper packing also helps you stay organized, so you don't have to unpack everything to find your rain jacket or snacks.
Think of your backpack as a system. Every item has its place, and every place serves a purpose. By following a systematic approach, you can transform a chaotic pile of gear into a streamlined, functional kit. This not only improves your experience but also extends the life of your gear by protecting it from damage.
- Reduces fatigue and prevents back pain
- Improves balance and stability on the trail
- Saves time by keeping essentials within reach
Step 1: Gather Your Gear and Make a Checklist
Before you start packing, lay out all your gear and make a checklist. This ensures you don't forget anything and helps you prioritize what goes where. Categorize your items: clothing, food, shelter, tools, and personal items. For a camping trip, you'll need a tent, sleeping bag, cooking gear, and water. For a day hike, you might just need layers, snacks, and a water bottle.
A backpack packing checklist is essential, especially for beginners. It helps you avoid overpacking and ensures you have the essentials. Consider the weather, duration, and activities planned. For example, if you're expecting rain, pack a waterproof cover and dry bags. If you're hiking in cold weather, include extra layers and a warm hat.
- Use a checklist to avoid forgetting critical items
- Categorize gear to streamline packing
- Adjust your list based on trip duration and conditions
Step 2: Master Weight Distribution in Your Backpack
Weight distribution is the most critical aspect of efficient backpack packing. The general rule is to place heavy items high and close to your back, centered between your shoulder blades. This aligns the weight with your body's center of gravity, making the load feel lighter and more stable. Heavy items like a stove or a water bladder should sit in this zone.
Medium-weight items, such as clothing and food, should go in the middle section, while lighter items like your sleeping bag and clothing can fill the bottom. This arrangement prevents the backpack from pulling you backward and keeps your balance intact. For load-bearing tips, always keep your backpack's weight within recommended limits—usually no more than 20-25% of your body weight for optimal comfort.
- Heavy gear: high and close to your back
- Medium gear: middle of the pack
- Light gear: bottom and outer pockets
Step 3: Organize with Packing Cubes and Pouches
Using packing cubes and pouches is a game-changer for backpack organization. They compartmentalize your gear, making it easier to find items without rummaging. For instance, the Admin Organizer Size 2 (AO2) - All Terrain Brown is perfect for storing small essentials like first-aid supplies, repair kits, or electronics. It keeps everything visible and accessible.
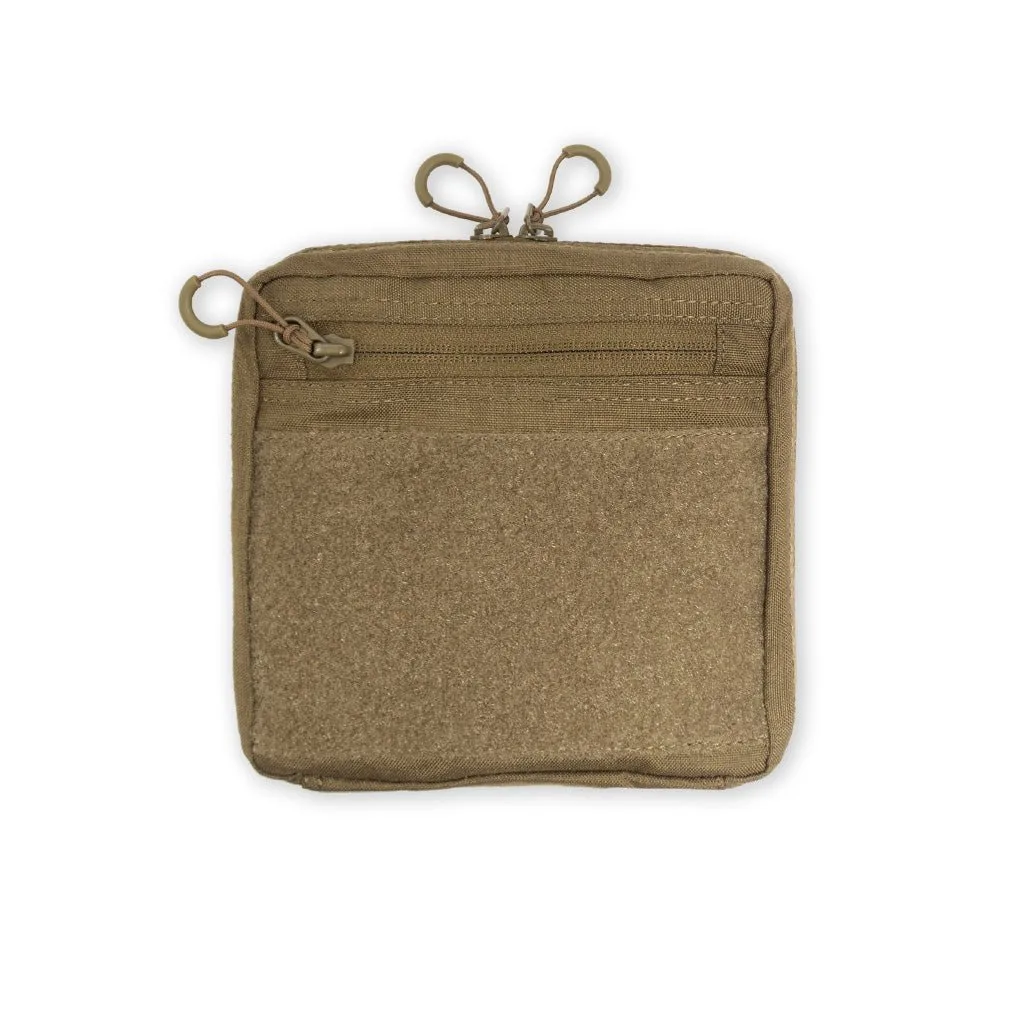
Admin Organizer Size 2 (AO2) - All Terrain Brown
Similarly, the A6 Pocket Field Notebook - SPD UET - Gray - Plain is a compact addition for jotting down trail notes or keeping a journal. These small organizers help you maintain a place for everything, reducing clutter and saving time. When you use pouches, you can also compress your gear, freeing up space for other items.
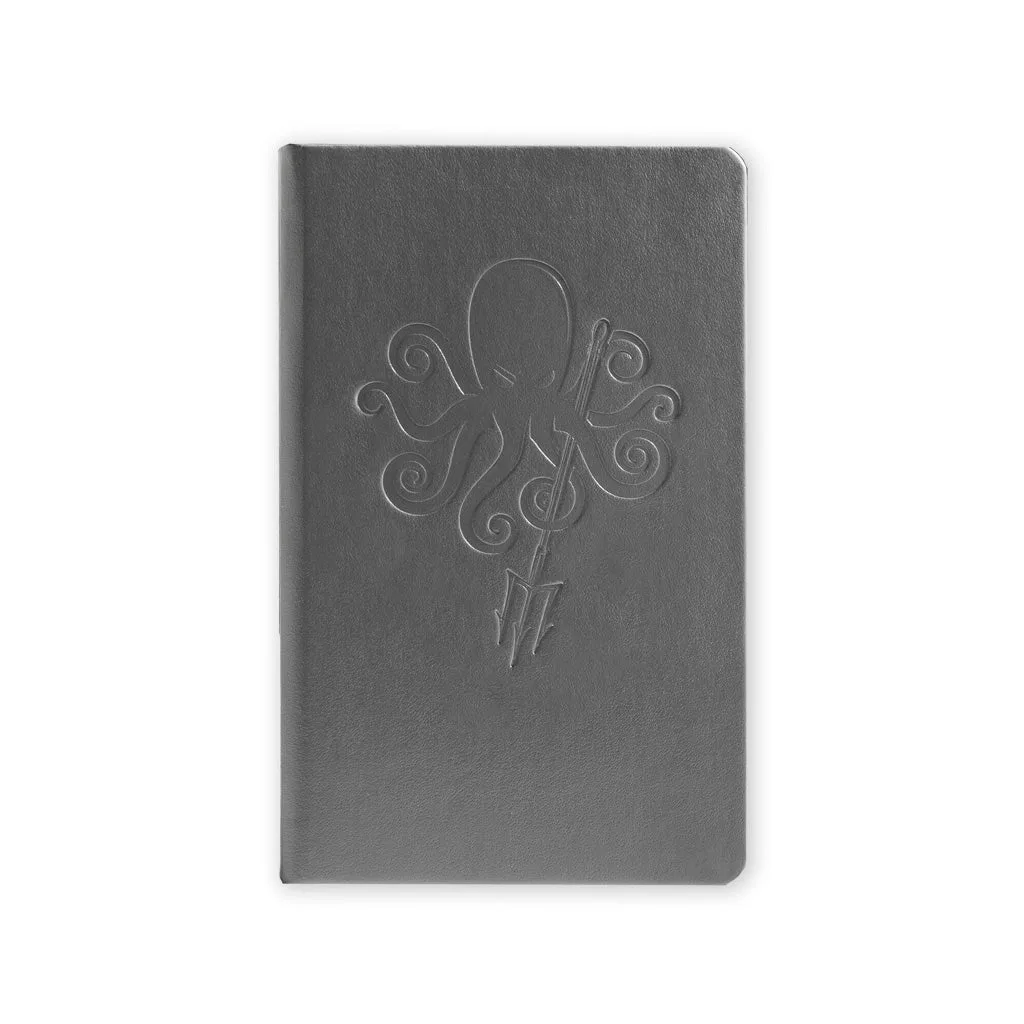
A6 Pocket Field Notebook - SPD UET - Gray - Plain
- Use pouches for small items like toiletries and tools
- Keep frequently used items in top pockets
- Compress clothing to save space
Step 4: Pack for Accessibility and Convenience
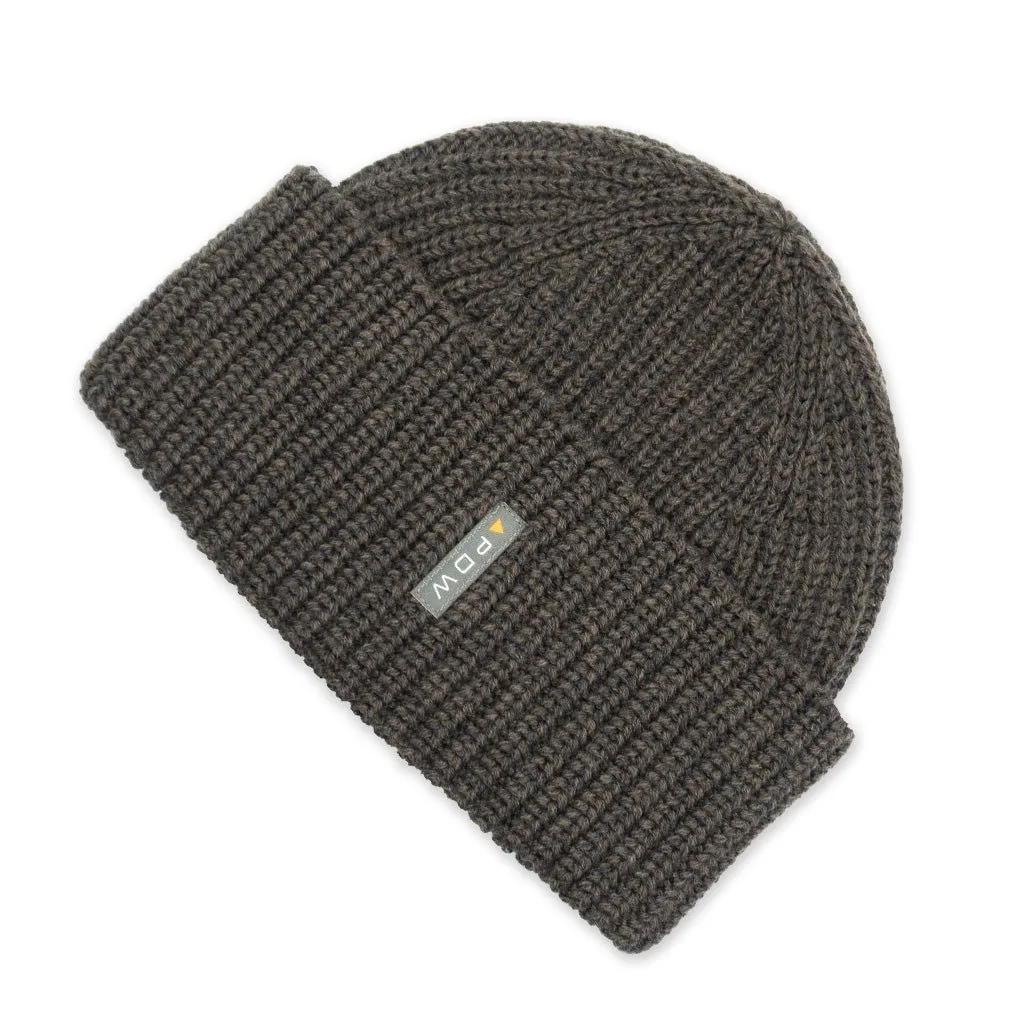
Think about what you'll need during the day. Items like a rain jacket, snacks, a map, or a compass should be within easy reach. Place them in the top pocket or hip belt pockets. For example, the A.G. Watch Cap - HW Terra/Stone Gray is a lightweight and warm hat that you might want to grab quickly when the temperature drops. Keep it in an outer pocket for fast access.
Conversely, items you won't need until camp, like your sleeping bag or tent, can be packed at the bottom. This approach ensures you don't have to dig through your entire backpack to find a snack or your sunglasses. Accessibility is key to efficient backpack packing, so always prioritize the order of your gear.
- Keep rain gear and snacks in top or side pockets
- Store camp-only items at the bottom
- Use hip belt pockets for small, high-use items
Step 5: Fine-Tune and Adjust Your Load
Once your backpack is packed, put it on and adjust the straps. The hip belt should sit snugly on your hips, transferring weight to your legs. The shoulder straps should be relaxed, and the load-lifter straps should angle at about 45 degrees. These adjustments ensure a comfortable fit and proper weight distribution.
Take a few minutes to walk around and check for any discomfort or imbalance. You may need to shift items or tighten straps. This step is crucial for long hikes, as a poorly adjusted pack can cause chafing and fatigue. Remember, a well-packed backpack should feel like part of your body, not a burden.
- Adjust hip belt first, then shoulder straps
- Tighten load-lifter straps for stability
- Test your pack's balance before hitting the trail
Step 6: Use Multi-Purpose Gear to Save Space
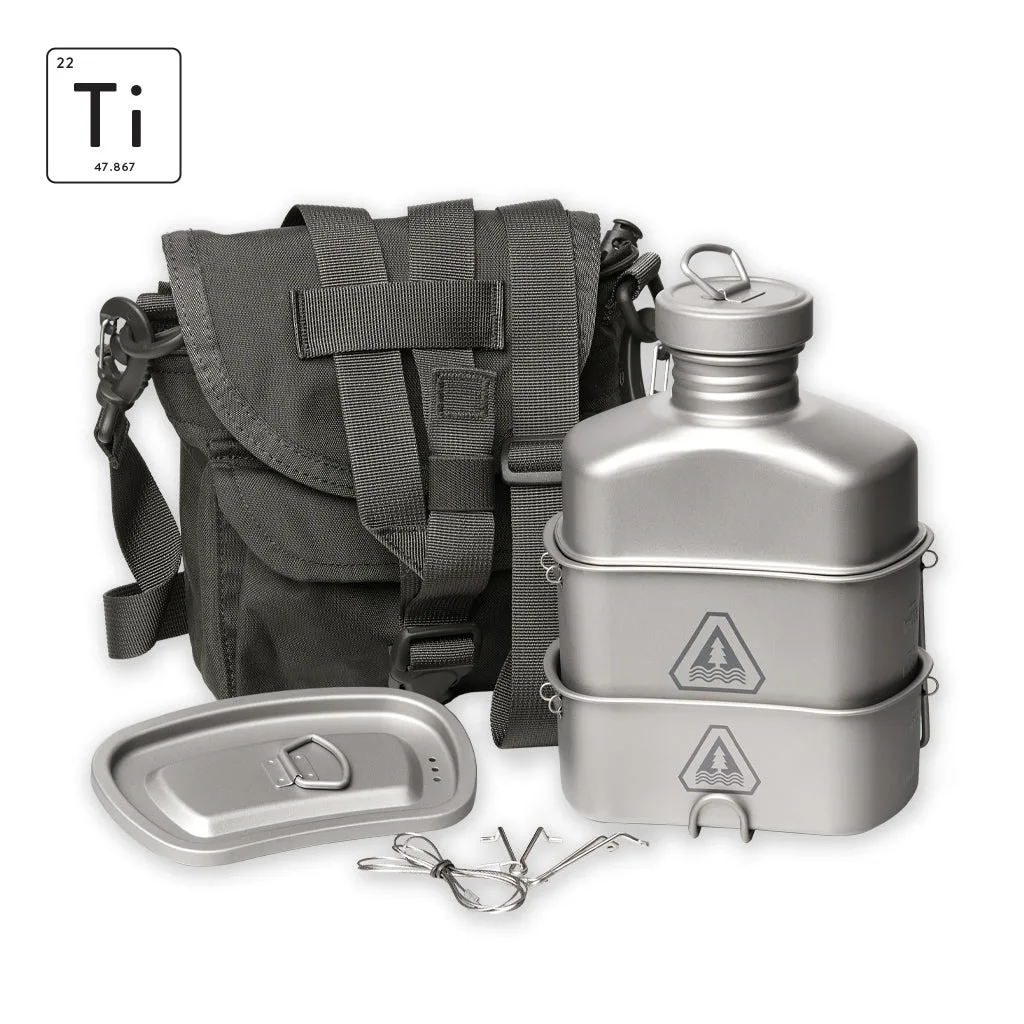
Efficient packing is also about choosing gear that serves multiple purposes. For example, the Ti-Line Canteen Mess Kit combines a canteen and cooking pot, saving space and weight. Similarly, the AG Insulated SS Food Jar 28oz - All Terrain can keep your food hot or cold and double as a bowl. These versatile items reduce the number of things you need to pack.
Another space-saving tip is to pack food in lightweight, resealable bags instead of bulky containers. Use a down jacket as a pillow or a rain cover as a ground sheet. The more multi-purpose your gear, the lighter and more efficient your backpack will be.
- Choose gear that serves multiple functions
- Pack food in lightweight bags
- Use clothing as padding for fragile items
Step 7: Maintain Your Backpack and Gear
After your trip, take time to clean and maintain your backpack. Empty it completely, shake out debris, and wipe down surfaces. Check for any damage, such as broken zippers or worn straps. Proper maintenance extends the life of your backpack and ensures it's ready for your next adventure.
Additionally, keep your gear organized for the next trip. Store your backpack in a cool, dry place, and keep your packing checklist updated. This preparation makes packing easier and more efficient every time.
- Clean and inspect your backpack after each trip
- Store gear in a dry, cool place
- Update your packing checklist based on experience
Efficient backpack packing is a skill that improves with practice. By following these steps, you'll reduce strain, stay organized, and enjoy your outdoor adventures more. Remember to invest in quality gear that supports your packing system, like the versatile products from Prometheusdesignwerx. For example, the Admin Organizer Size 2 (AO2) - All Terrain Brown is an excellent addition to keep your essentials tidy. Start packing smart today and hit the trail with confidence!