Quick answer
Pack your toiletry bag by starting with a bag that opens wide, then group items into three zones: liquids in a clear quart-size pouch, dry toiletries in the main compartment, and tools or medication in a separate pocket. Keep the bag under 1 kg and place it at the top of your carry-on so you can pull it out at security without unpacking everything.
A toiletry bag is the one part of your carry-on that can slow down security, leak onto clothes, or force you to unpack everything at the hotel. The fix is not a bigger bag—it is a repeatable packing order that matches how airports and hotel bathrooms actually work.
This guide walks through six steps for carry-on toiletry packing, from choosing the bag to the final placement in your suitcase. Each step includes a checkpoint so you can catch the common mistakes before you leave.
Step 1: Choose a bag that opens wide and stays light
A toiletry bag for carry-on travel should open flat or wide enough that you can see every item without tipping the bag upside down. Look for a water-repellent lining and a compact shape that fits inside a packing cube or on top of your clothes. The Essential Toiletry Bag in Navy is a useful reference point: it is lightweight, made from 100% recycled ripstop fabric, and has a wide-opening main compartment with an internal water-repellent lining.
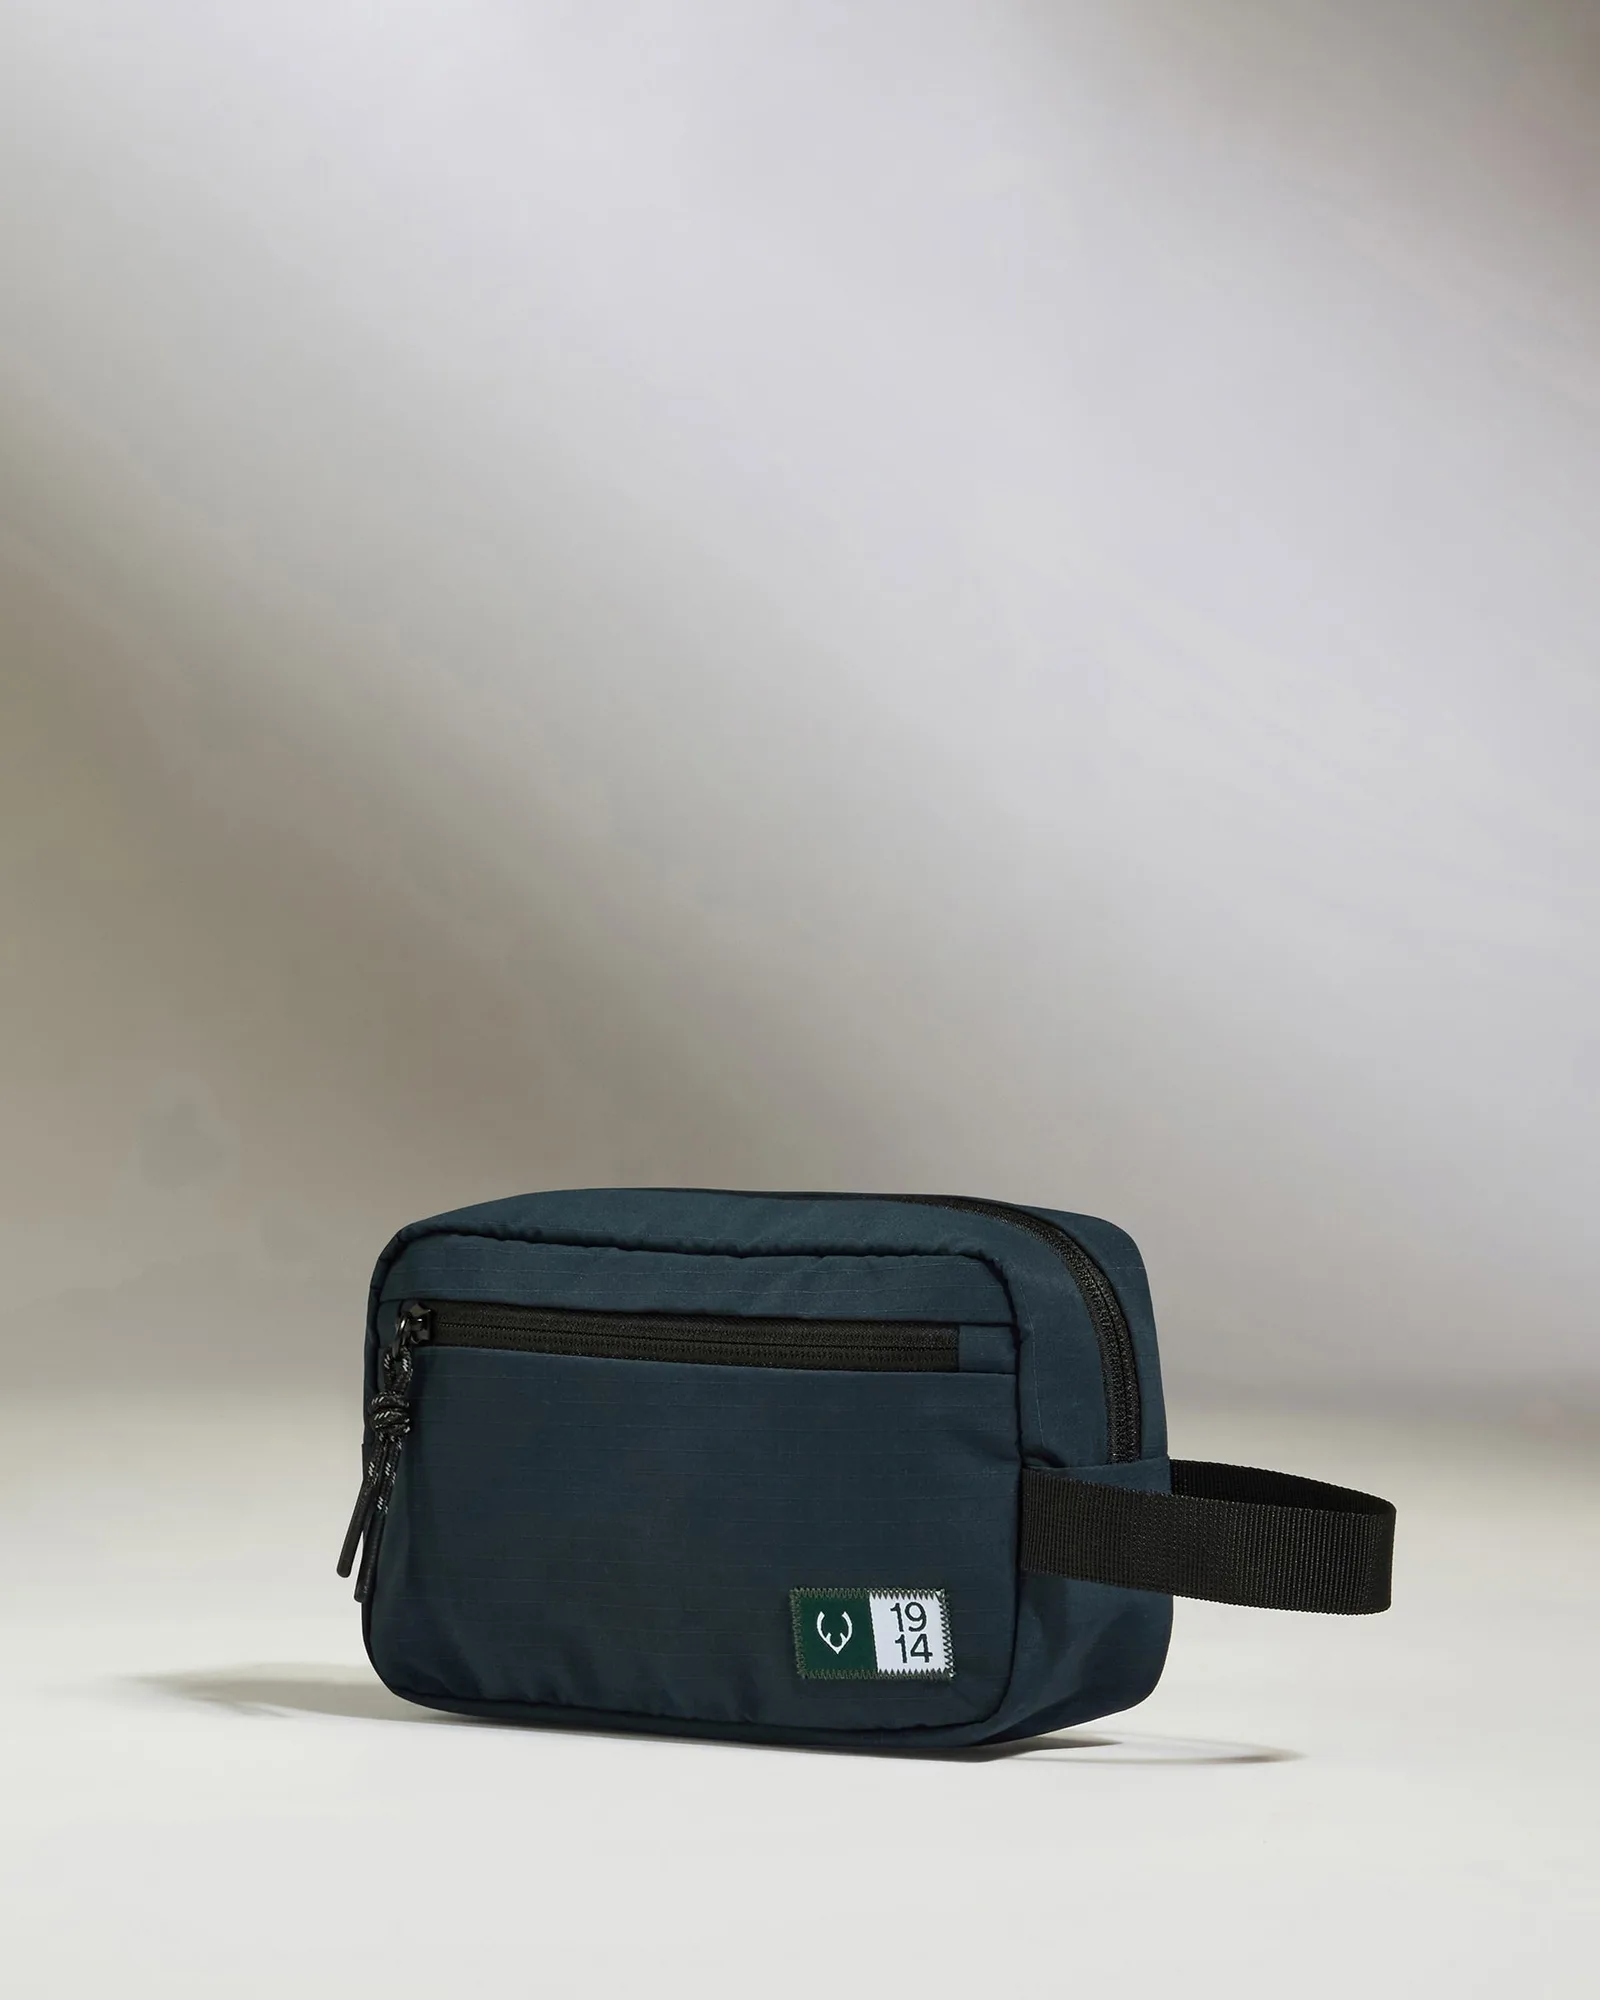
Essential Toiletry Bag in Navy
Weight matters more than capacity here. A bag that is already heavy before you add shampoo and a hairbrush eats into your carry-on allowance. Checkpoint: if the empty bag feels heavier than a paperback book, it is probably too much bag for carry-on-only travel.
- Avoid bags with hard plastic shells that add weight and do not compress.
- A wide opening matters more than extra pockets for carry-on use.
Step 2: Decant liquids into travel-size containers
To pack liquids for a flight, decant shampoo, conditioner, body wash, and skincare into containers of 100 ml (3.4 oz) or less. Most security rules require all liquid containers to fit inside one clear, quart-size bag per passenger. Do not rely on the original bottle size, even if it is half empty—the container size is what counts.
Label each container with a permanent marker or a small sticker. Checkpoint: if you cannot identify a liquid by smell or sight, it will slow you down at security and at the hotel. Keep decanted amounts to what you need for the trip plus one refill, not a full month's supply.
- Squeeze bottles with a flip cap are less likely to leak than screw-top jars.
- Place the clear liquid pouch in an outer pocket so you can remove it without opening the whole bag.
Step 3: Group dry toiletries so they stay dry
Dry items such as a toothbrush, razor, comb, deodorant stick, and solid cosmetics should live in the main compartment, away from the liquid pouch. If your bag has a mesh window or internal divider, use it to separate dry items from anything that could leak. This keeps toothpaste residue off your toothbrush and prevents a damp razor from touching fabric.
Checkpoint: pack a small microfiber cloth or a few tissues in the dry zone. If a lid loosens in transit, you can wipe the bag instead of discovering the mess at the hotel.
- Keep a dedicated toothbrush case rather than letting the brush touch the bag lining.
- Solid shampoo bars and stick deodorant count as dry items and save liquid space.
Step 4: Add a small medication and tool pocket
Prescription medication, contact lens cases, and small tools such as nail clippers or tweezers should go in a separate pocket or pouch inside the toiletry bag. This makes them easy to find and keeps them from scratching other items. If you carry liquid medication, keep it in its original labeled container and declare it separately at security when required.
Checkpoint: do not bury medication at the bottom of the bag. If you need it during a flight or a delay, you want to reach it without unpacking the whole carry-on.
- Keep a copy of prescriptions or a doctor's note for international travel.
- Use a small pouch for tools so they do not puncture the bag lining.
Step 5: Compress and place the bag at the top of your carry-on
Once packed, press the bag flat and slide it into the top layer of your carry-on, above your clothes. If you use packing cubes, place the toiletry bag beside or on top of the cube rather than underneath it. This position lets you pull the bag out at security and at the hotel without disturbing the rest of your packing.
Checkpoint: close the bag and turn it upside down over a sink or table. If anything falls out or leaks, your closure or container seals need attention before you travel.
- Place the clear liquid pouch in an exterior pocket if your carry-on has one.
- Keep the toiletry bag accessible until you are through security.
Step 6: Reset the bag after every trip
When you get home, empty the bag, wipe the lining with a damp cloth, and let it air dry fully before closing it. Refill only what you used, and replace anything that leaked or expired. This five-minute reset means your toiletry bag is ready for the next trip without a last-minute scramble.
Checkpoint: if the bag still smells like shampoo after drying, the lining needs a deeper clean. A water-repellent lining helps, but it does not replace regular wiping.
- Store the bag open, not zipped, so air can circulate.
- Keep a small travel-sized stain remover wipe in the bag for accidental spills.
Carry-on toiletry packing steps at a glance
- Pick a wide-opening, lightweight bag: Choose a bag with a water-repellent lining and a shape that fits inside your carry-on without adding bulk. Checkpoint: the empty bag should feel light enough to carry all day.
- Decant liquids into 100 ml containers: Transfer shampoo, conditioner, and skincare into travel-size bottles and place them in one clear quart-size pouch. Checkpoint: every liquid container must be 100 ml or less.
- Keep dry items separate: Use the main compartment or a mesh divider for toothbrush, razor, deodorant, and solid toiletries. Checkpoint: nothing damp should touch the dry zone.
- Add a medication and tool pocket: Store prescription medication, contact lens cases, and small tools in a dedicated pocket or pouch. Checkpoint: medication should be reachable without unpacking the bag.
- Place the bag at the top of your carry-on: Slide the toiletry bag above your clothes or packing cubes so you can remove it quickly at security. Checkpoint: turn the closed bag upside down to test for leaks.
- Reset after every trip: Empty, wipe, and air dry the bag, then refill only what you used. Checkpoint: store the bag open so it stays fresh.
Toiletry bag features that matter for carry-on
- Essential Toiletry Bag in Navy: Lightweight, water-repellent, and smartly designed, with a wide-opening main compartment and an internal water-repellent lining made from 100% recycled ripstop fabric. A wide opening lets you see and reach everything without unpacking, while the water-repellent lining makes spills easier to wipe clean during travel.
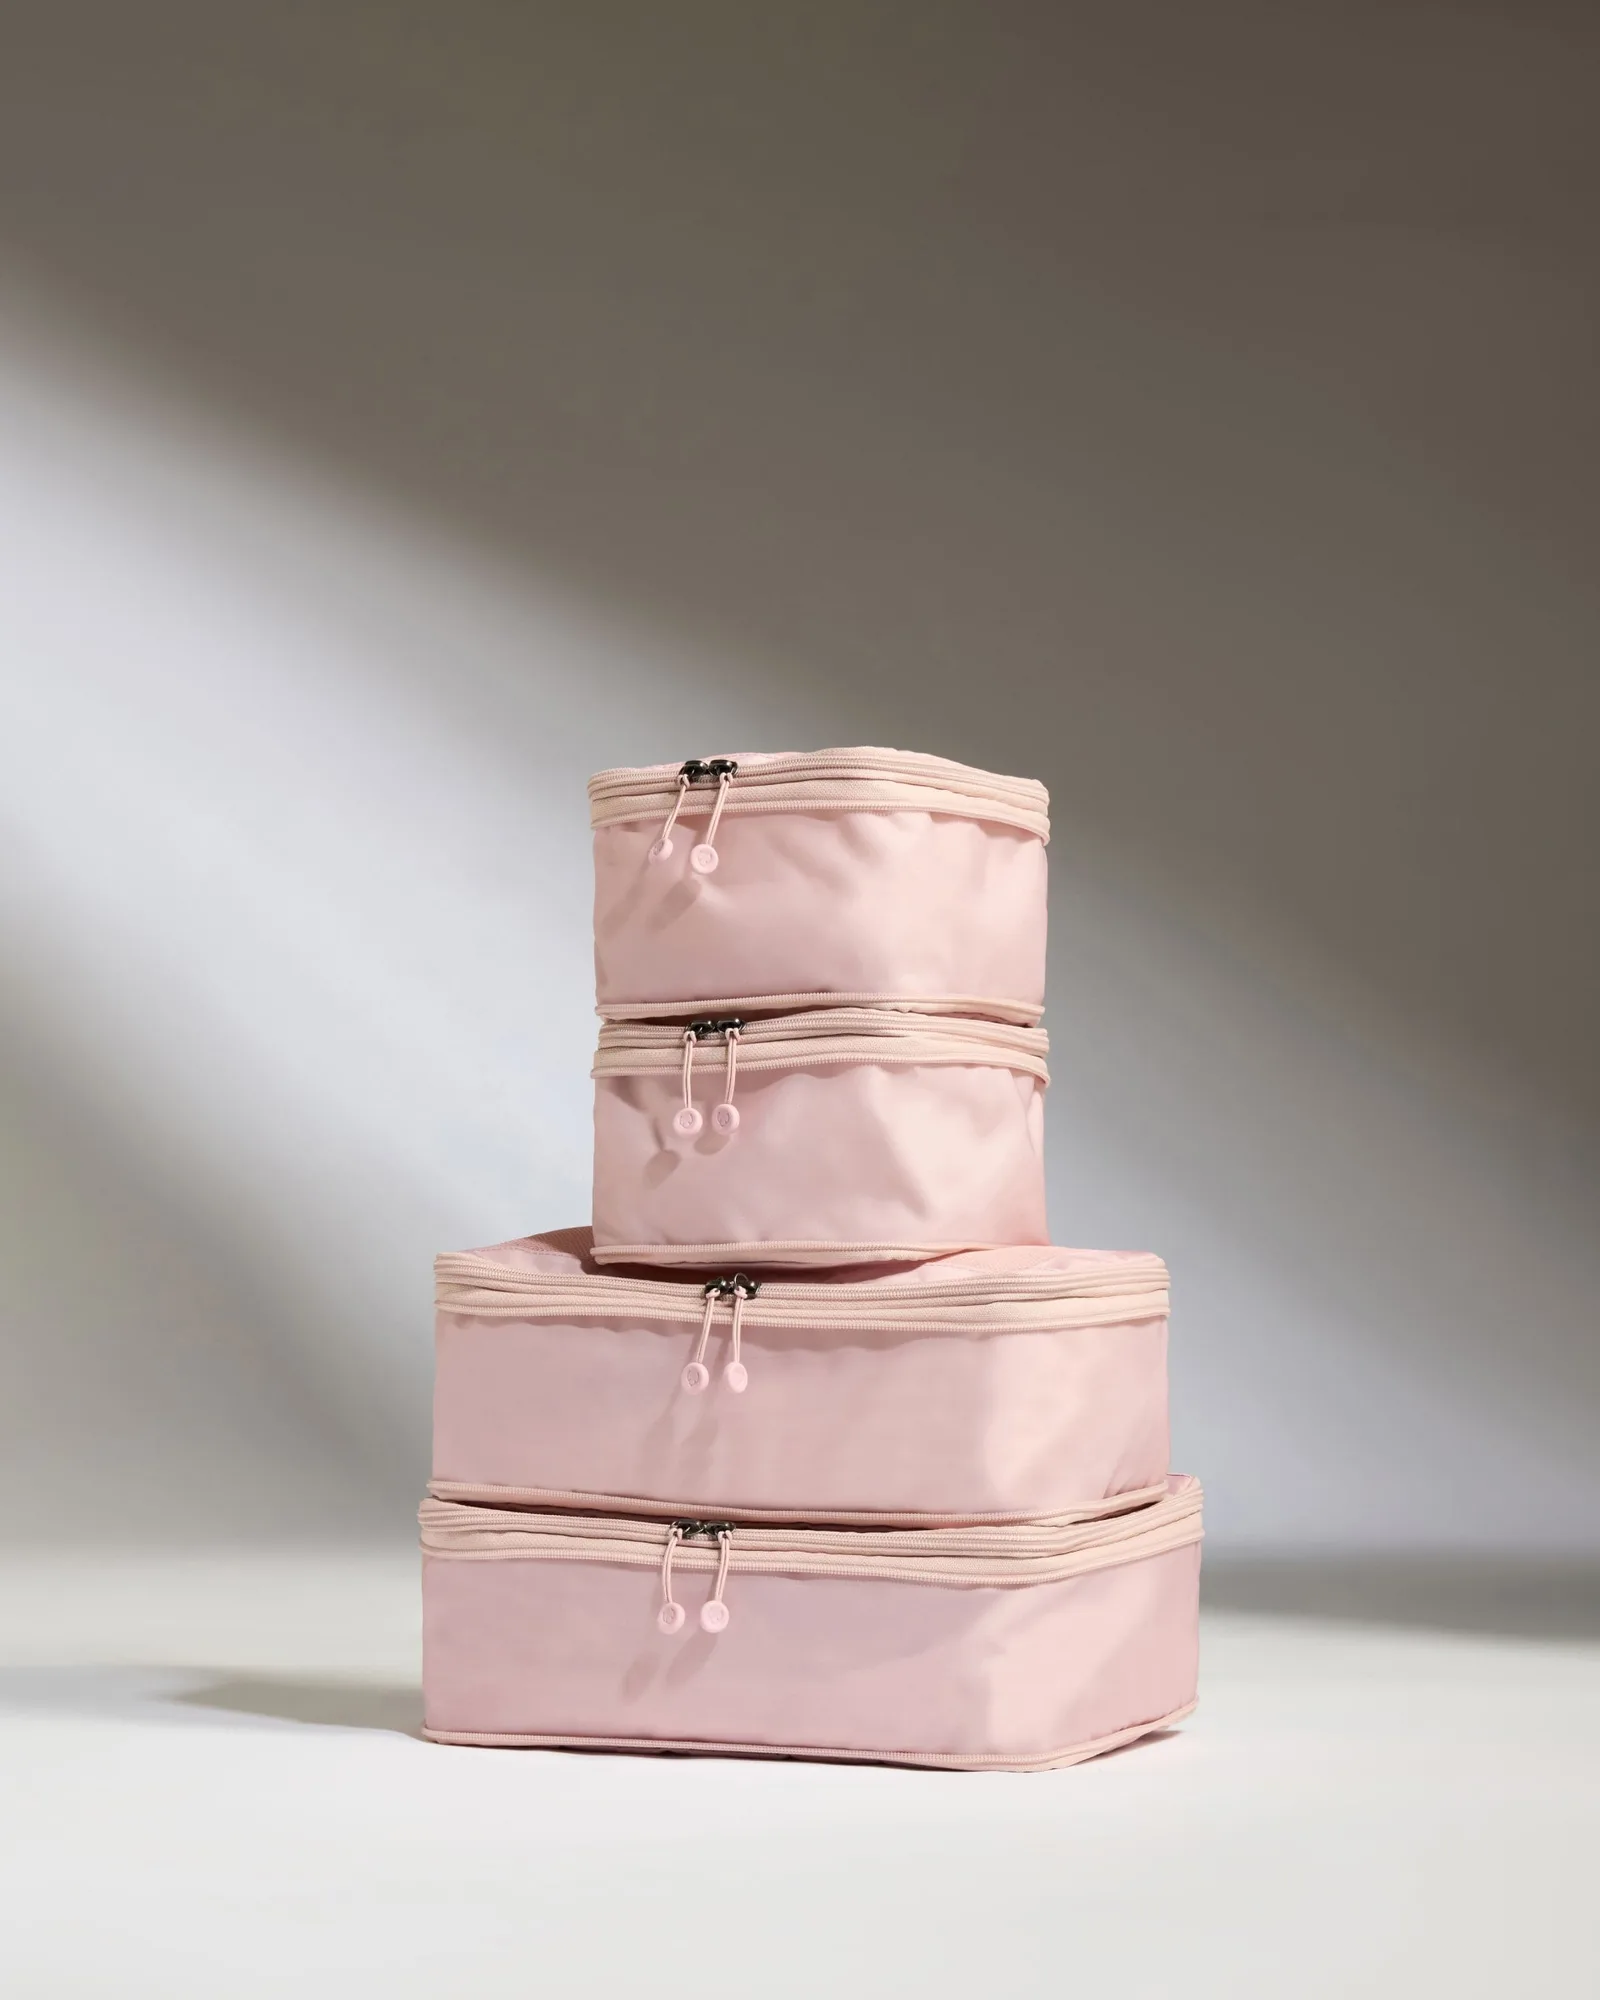
- Packing Cubes in Moorland Pink - Set of 4: Features an extra strong compression zip and a mesh window so you can see contents at a glance. Using a packing cube alongside your toiletry bag keeps the bag from shifting and lets you lift both out together at the hotel.
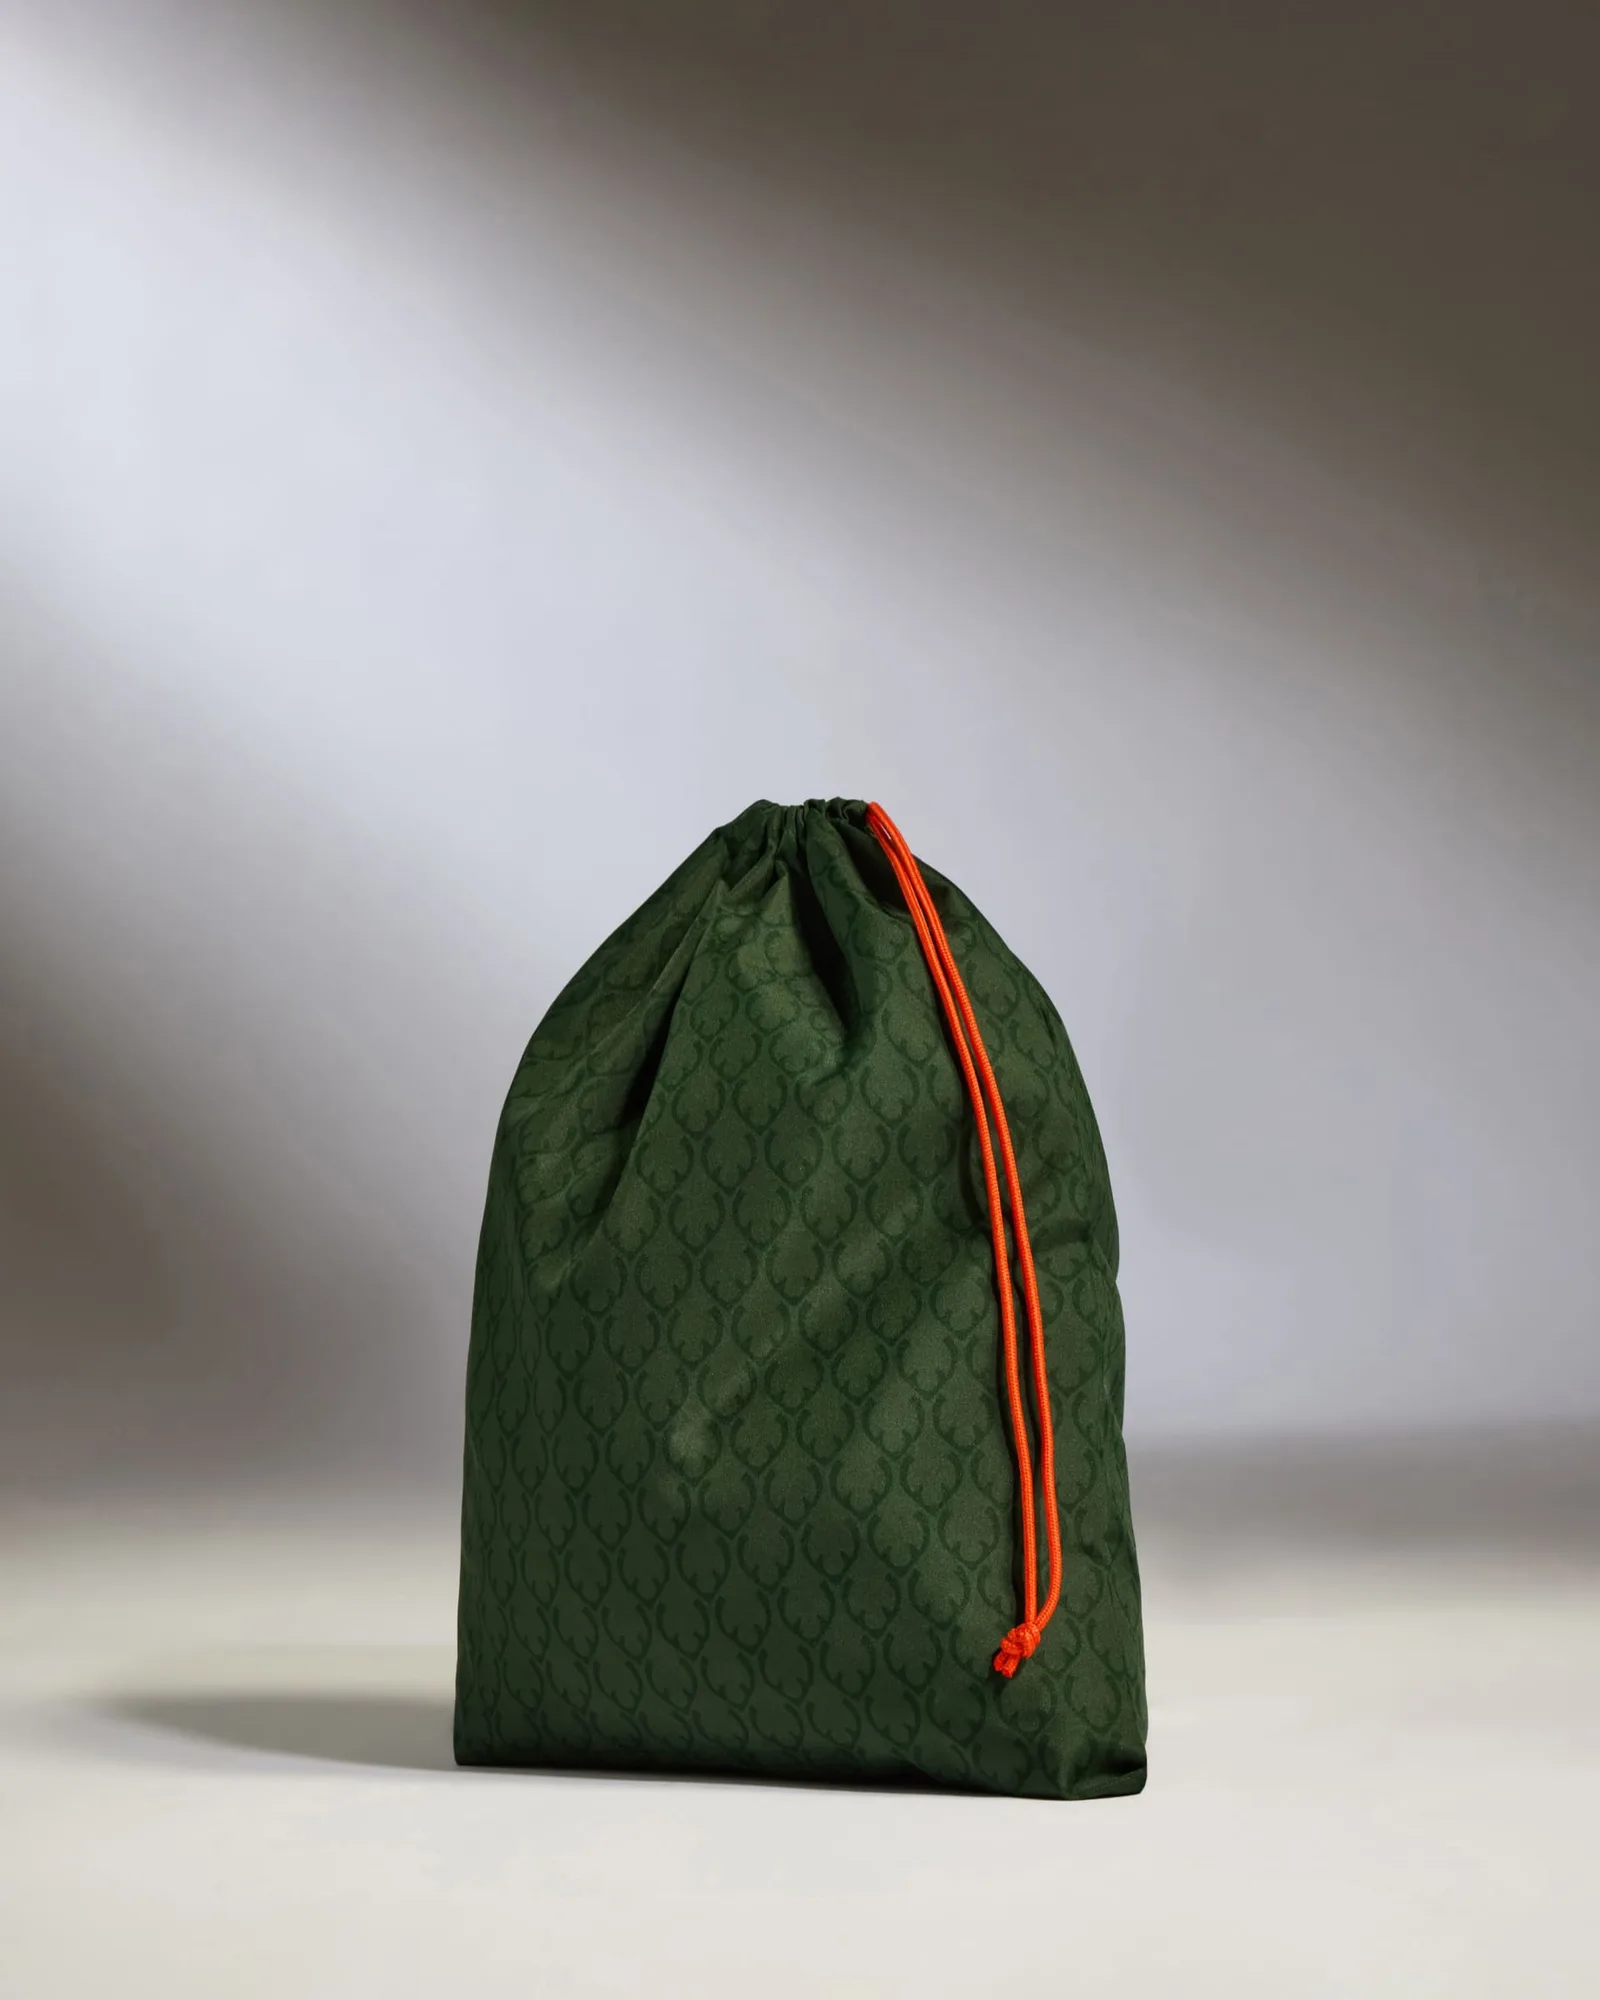
- Laundry Bag in Green: Made from 100% recycled polyester with a drawstring closure and an all-over Antler logo print. A separate laundry bag keeps damp or dirty items away from your toiletry bag and clean clothes, which matters on longer carry-on trips.
Packing a toiletry bag for carry-on travel comes down to order, not volume. Decant liquids, separate dry items, keep medication reachable, and place the bag where you can grab it fast. Do that, and security and hotel unpacking both get easier.