Quick answer
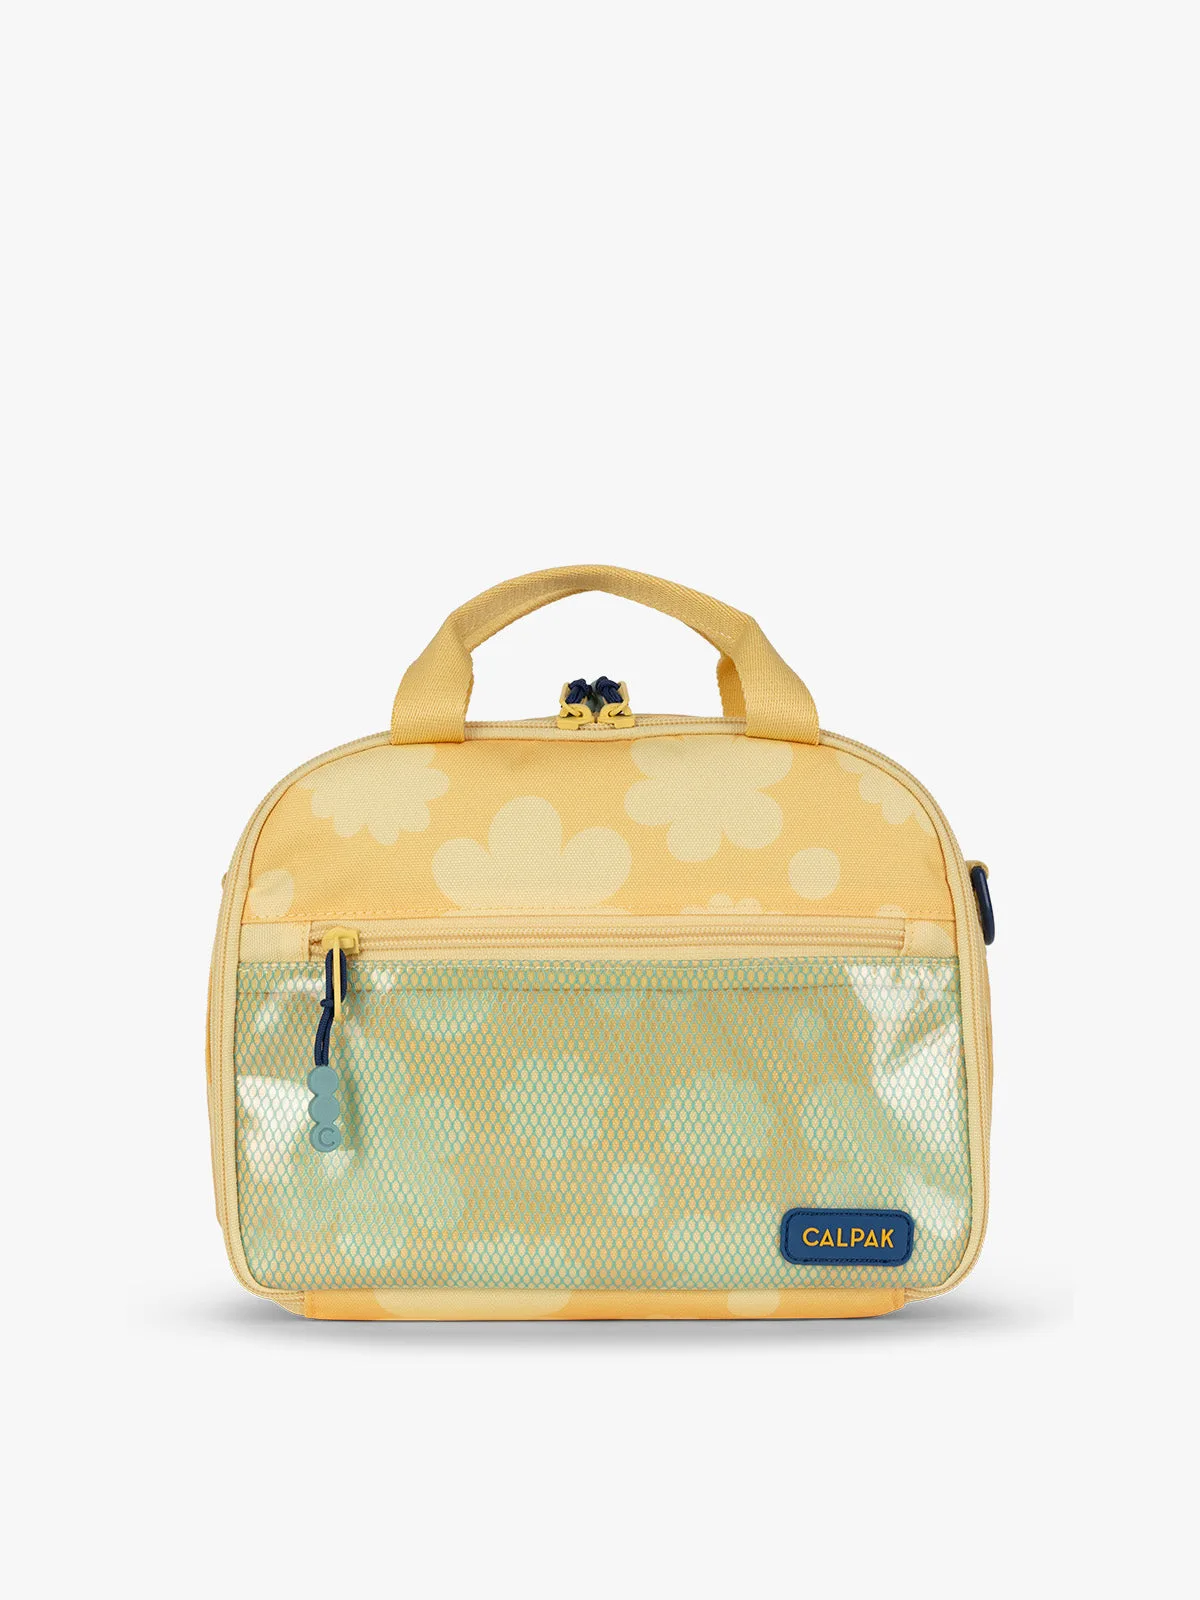
Pack the heaviest, leak-prone items upright against the back wall of the lunch bag, seal every container, and place a frozen ice pack on top so it presses lids down instead of letting them shift. Keep the bag flat during the walk or ride to school, and empty it the same day. The Kids Lunch Bag is built for this routine with a wipeable insulated interior and a dedicated ice pack pocket that keeps the cold source from crushing food.
Start with a dry bag and a sealed container check
Before anything goes in, turn the lunch bag upside down and shake out crumbs. A wipeable insulated interior makes this a ten-second job, but only if you do it daily. Next, fill each container with liquid over the sink and tip it sideways. If a single drop escapes, that container is your leak risk for the day. Move soups, yogurt, and applesauce into a screw-top thermos or a container with a silicone gasket, not a snap-lid snack cup.
The most common mistake is trusting a lid that clicked shut but was never tested on its side. A lunch bag spends hours tilted in a backpack, so a container that only passes an upright test will fail by noon.
Load the bag in weight order and keep wet items upright
Put the heaviest items, like a thermos or a full water bottle, at the back of the bag closest to your child's spine when carried. That keeps the load from sloshing forward and pressing on softer food. Stand leak-prone containers upright and pack soft items like a sandwich or a banana around them as cushioning, not underneath them. If the bag has a front pocket, use it for a napkin and utensils, not for a leaky drink.
A checkpoint before zipping: press the palm of your hand flat on the top of the packed bag. If you feel a container lid, it is overfilled and will be squeezed all day. Remove one item or switch to a slimmer container.
Place the ice pack where it presses lids down, not where it crushes food
A frozen ice pack belongs on top of sealed containers so its weight holds lids in place. If the bag has a built-in ice pack pocket, use it, because it separates the cold source from food and prevents condensation from making bread soggy. Wrap the ice pack in a thin cloth or paper towel if your child's bag has no dedicated pocket, then tuck it against the lid side of the containers. Never lay an ice pack directly on a sandwich or a paper-wrapped snack.
Check the ice pack in the morning: if it is soft or sweating heavily, it will not stay cold through lunch and it will add moisture. Swap in a fully frozen pack.
Close the bag flat and remind your child how to carry it
Zip the bag fully, then lay it flat in the backpack rather than standing it on its side. A lunch bag that rides sideways is the number one cause of school lunch bag leaks. Tell your child to keep the bag flat in the cubby or locker too, and to hang the backpack rather than dropping it. If the bag has a handle, a quick carry by hand on the walk to the bus keeps it level.
At pickup, open the bag before it goes back in the backpack. If you see moisture, wipe the interior right away. Dried spills are harder to remove and can leave a smell that makes kids skip lunch.
Packing steps for a leak-free school lunch bag
- Step 1: Dry and inspect the bag: Turn the bag upside down, shake out crumbs, and wipe the interior with a damp cloth, then dry it fully. Check that the zipper closes smoothly and the interior lining has no cracks or peeling. Checkpoint: the bag should be completely dry before food goes in. A damp interior starts the sogginess before lunch even begins.
- Step 2: Test every leak-prone container on its side: Fill each container with water, seal it, and lay it on its side for one minute. If it drips, move that food to a screw-top thermos or a gasketed container. Do not rely on a snap lid that only passed an upright test. Common mistake: packing yogurt or applesauce in a snap-lid cup because it survived a gentle tip. Test it fully sideways.
- Step 3: Load heavy items at the back and keep wet items upright: Place a thermos or water bottle at the back of the bag, stand leak-prone containers upright, and cushion them with soft foods like a sandwich or fruit. Use the front pocket for napkins and utensils, not drinks. Checkpoint: press your palm on the closed bag. If you feel a lid, remove one item so the bag is not overfilled.
- Step 4: Put the frozen ice pack on top of sealed containers: Use the built-in ice pack pocket if the bag has one. Otherwise wrap the ice pack in a thin cloth and place it above the containers so its weight holds lids down. Never rest it directly on a sandwich or paper-wrapped snack. Common mistake: using a partially thawed ice pack. If it is soft or sweating, swap in a fully frozen one.
- Step 5: Zip, lay flat, and teach the carry habit: Close the bag completely and lay it flat inside the backpack instead of standing it on its side. Tell your child to keep it flat in the cubby or locker and to hang the backpack rather than drop it. Next step: open and wipe the bag at pickup so spills do not dry and leave a smell.
Product facts that support this routine
- Kids Lunch Bag: The Kids Lunch Bag has a wipeable insulated interior, a built-in ice pack pocket, and easy-access front storage, and it comes in multiple colors. The wipeable interior makes the daily dry-and-check step fast, while the ice pack pocket holds the cold source away from food so lids stay pressed down and bread does not get damp. Easy-access front storage keeps utensils and napkins out of the leak zone.
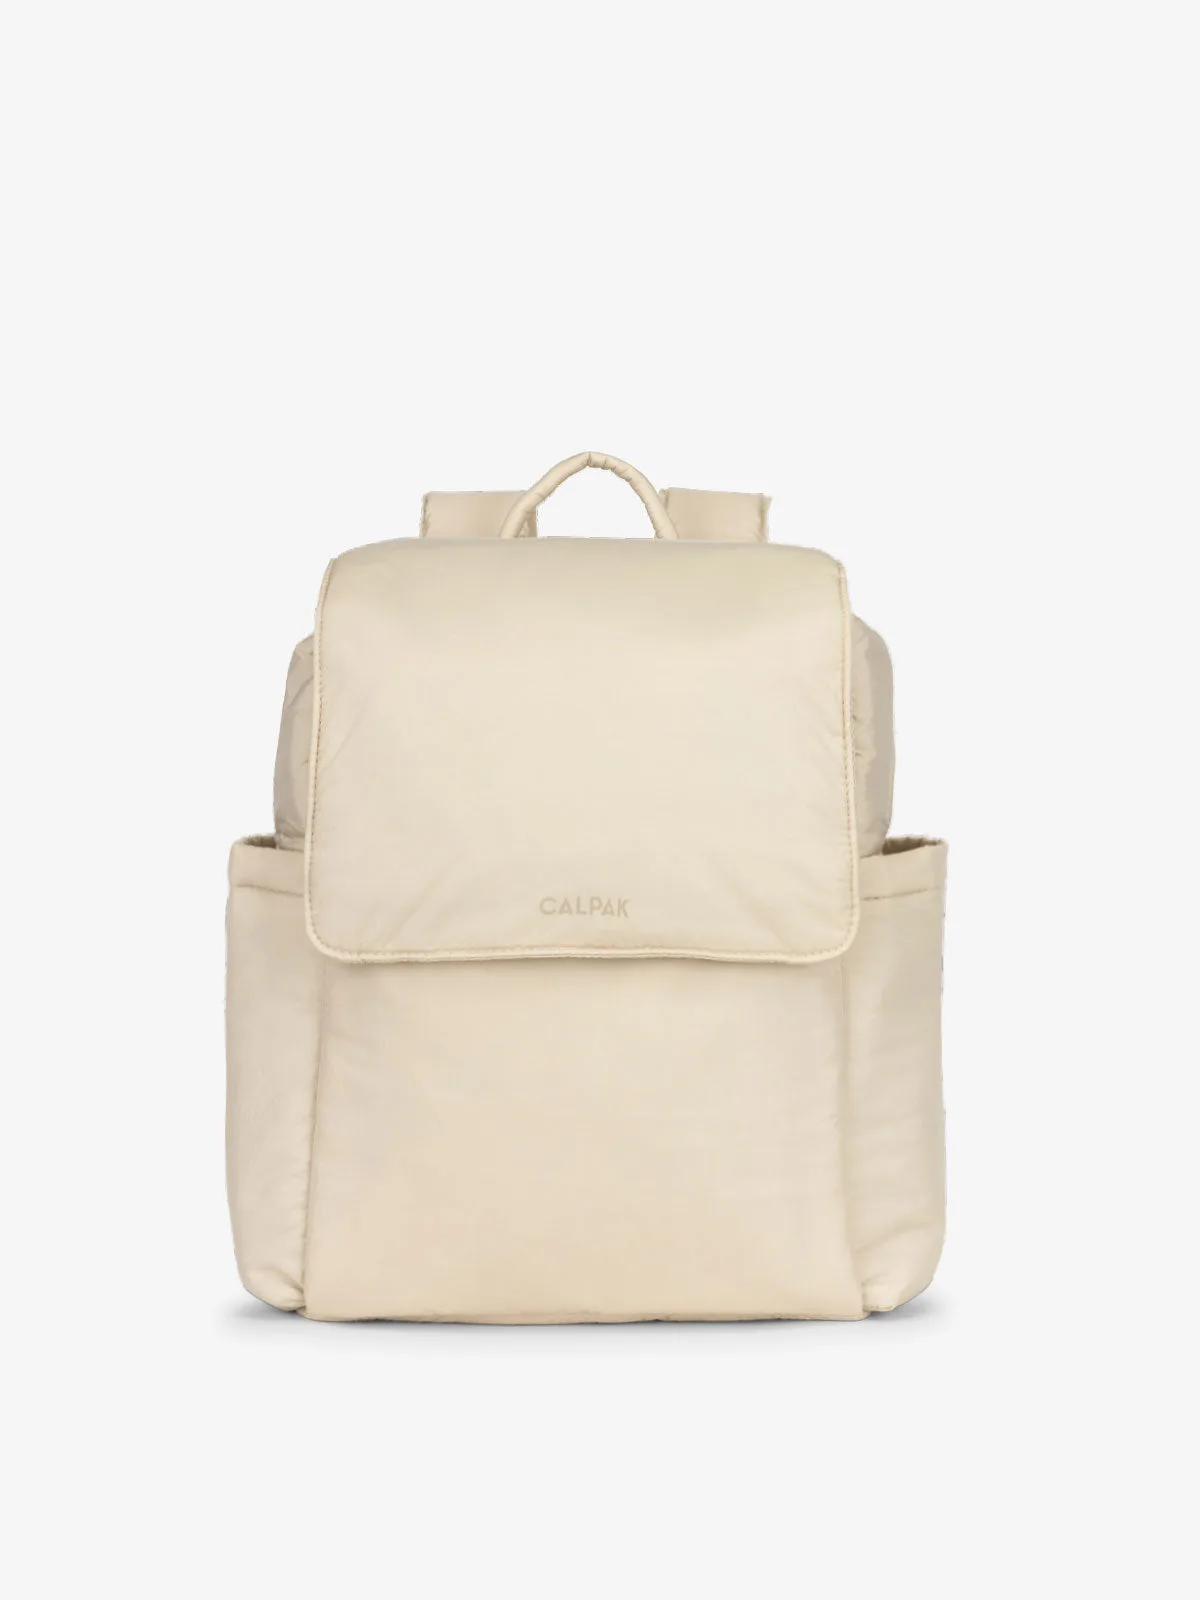
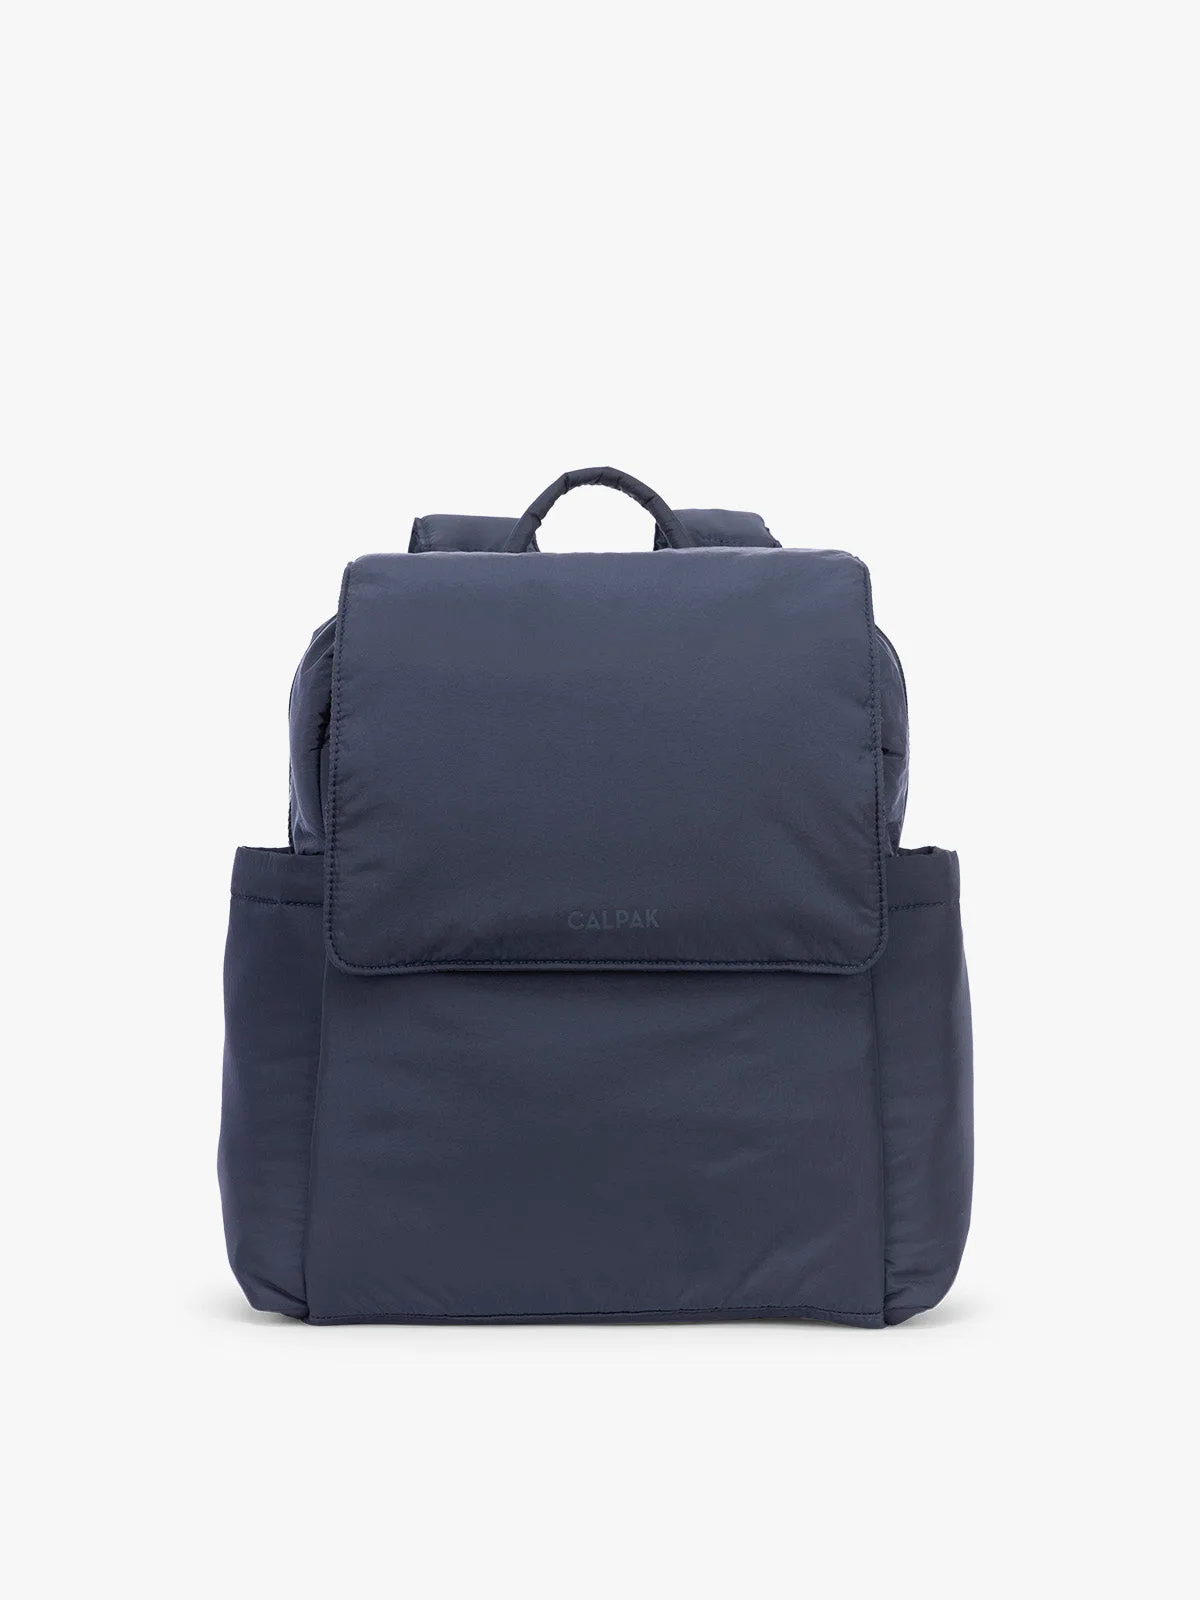
- Convertible Mini Diaper Backpack: The Convertible Mini Diaper Backpack is compact, lightweight, and has insulated bottle pockets and a padded tablet sleeve, with multiple carrying options. If you are packing for a younger child or a parent carrying the lunch bag plus your own essentials, the insulated bottle pockets keep a drink separate from the lunch bag, which reduces the chance of a spill inside the main compartment.