Quick answer
Wrap each clean shoe in a shoe bag or a reusable pouch, then pack them sole-to-sole at the bottom or in a dedicated corner of your suitcase. Never let a bare sole touch fabric, and never pack shoes directly on top of folded clothes. The right order and a simple barrier are all it takes to keep clothes clean.
Shoes are the dirtiest thing most travelers put in a suitcase. Soles pick up grit, moisture, and whatever was on the ground, and one careless toss can leave a mark on a clean shirt. The fix is not complicated, but it does require a repeatable order.
This guide walks through a simple shoe packing method that protects your clothes, uses space efficiently, and works whether you carry a hard suitcase, a soft suitcase, or a backpack. You will also see how a few small accessories make the routine faster.
Why bare shoes ruin a packed suitcase
A shoe sole is a collection of everything it has touched: dirt, tiny stones, moisture, and sometimes oil. In a packed suitcase, that sole sits against fabric under pressure for hours. Even a sole that looks clean can transfer a grey smear onto a light shirt or leave a damp patch that turns into a smell.
The problem gets worse when shoes are packed loose. They shift, tumble, and press against clothes from different angles. A barrier plus a fixed position solves both the dirt and the movement.
- Checkpoint: if you can see the sole of a shoe touching clothing, add a barrier before you close the case.
Step 1: Clean and dry shoes before they go in
Wipe the soles with a damp cloth and let them dry completely. Knock the shoes together outside to dislodge grit. If a shoe is wet inside from rain or sweat, do not pack it yet. Damp shoes trapped in a suitcase create odor and can transfer moisture to anything nearby.
A common mistake is skipping this step because the shoes look fine. Look at the tread edges and the sides near the sole, where dirt collects. A ten-second wipe is the cheapest protection your clothes will get.
- Checkpoint: run a finger along the sole edge. If it comes away dirty, wipe again.
Step 2: Put each shoe in a shoe bag or pouch
A shoe bag creates a physical barrier between the sole and your clothes. Dedicated shoe bags work well because they are sized for the job, but a reusable pouch, a laundry bag, or even a shower cap can do the same thing in a pinch. The key is that the barrier fully covers the sole and stays closed.
If you do not have a shoe bag, place each shoe inside a plastic bag and press out the air. This is not the most elegant solution, but it is effective and costs nothing. For a more durable option, look for a washable fabric bag that can be reused trip after trip.
- Checkpoint: shake the bagged shoe. If the sole is exposed, the barrier is not doing its job.
Step 3: Pack shoes sole-to-sole, not heel-to-toe
Place the two shoes of a pair together with their soles facing each other. This hides the dirty surfaces inside the pair and gives you a compact block that is easier to position. Heel-to-toe packing leaves one sole facing outward, which is exactly what you want to avoid.
For boots or bulky shoes, you can also stuff the insides with socks or small items to hold the shape and use the empty space. That trick saves room and keeps the shoe from collapsing under pressure.
- Checkpoint: after pairing, no sole should face the open side of the suitcase.
Step 4: Choose the right spot in the suitcase
In a hard suitcase, the bottom layer near the wheels is the natural home for shoes. That area is flat, and the shoes act as a base for everything above. In a soft suitcase, the same rule applies, but you may want to place shoes along the hinge side to reduce pressure on the zipper.
If you use packing cubes, keep shoes outside the cubes that hold clothes. A separate shoe bag or a dedicated corner prevents cross-contamination. The goal is a clear boundary between footwear and fabric.
- Checkpoint: shoes should never sit directly on top of folded clothes, even in a bag.
Step 5: Fill gaps and lock everything in place
Once shoes are positioned, fill the gaps around them with soft items like socks or a pouch. This stops the shoes from sliding when the suitcase is moved. A loose shoe can rub against a bag and wear through the barrier over a long trip.
If your suitcase has compression straps, use them to hold the bottom layer steady. Do not over-compress, because too much pressure can push a sole through a thin bag. A snug fit is enough.
- Checkpoint: close the suitcase and tilt it. If you hear sliding, open it and add filler.
Step 6: Use a packing cube or pouch for extra protection
A packing cube adds a second layer between shoes and clothes. It also keeps the shoes contained if the outer bag shifts. This is especially useful when you pack multiple pairs and want to keep them together.
For a single pair, a travel pouch or a wash bag can serve the same purpose. The important thing is that the container is closed and the shoes cannot escape.
- Checkpoint: if you are packing more than one pair, bag each pair separately before putting them together.
Step 7: Unpack shoes first at your destination
When you arrive, take shoes out before you unpack clothes. This prevents a dirty sole from brushing against clean items as you dig through the suitcase. Set shoes on the floor or a rack, not on the bed.
If you used a shoe bag, empty it and let it air out. A quick wipe of the bag interior keeps it ready for the next trip and stops odors from building up.
- Checkpoint: shoes out first, clothes out second.
Shoe packing steps at a glance
- Clean and dry: Wipe soles, knock off grit, and let shoes dry fully before packing. Checkpoint: no dampness inside or out.
- Bag each shoe: Use a shoe bag, pouch, or reusable bag to cover the sole completely. Checkpoint: sole is not visible.
- Pair sole-to-sole: Face the two soles together so dirty surfaces stay hidden. Checkpoint: no sole faces outward.
- Position at the bottom: Place shoes in the base layer of the suitcase, away from folded clothes. Checkpoint: shoes never sit on top of clothes.
- Fill gaps: Use socks or soft items to stop shoes from sliding during travel. Checkpoint: no movement when you tilt the case.
- Unpack shoes first: Remove shoes before clothes at your destination to avoid contact. Checkpoint: shoes go to the floor, not the bed.
Travel accessories that make shoe packing easier
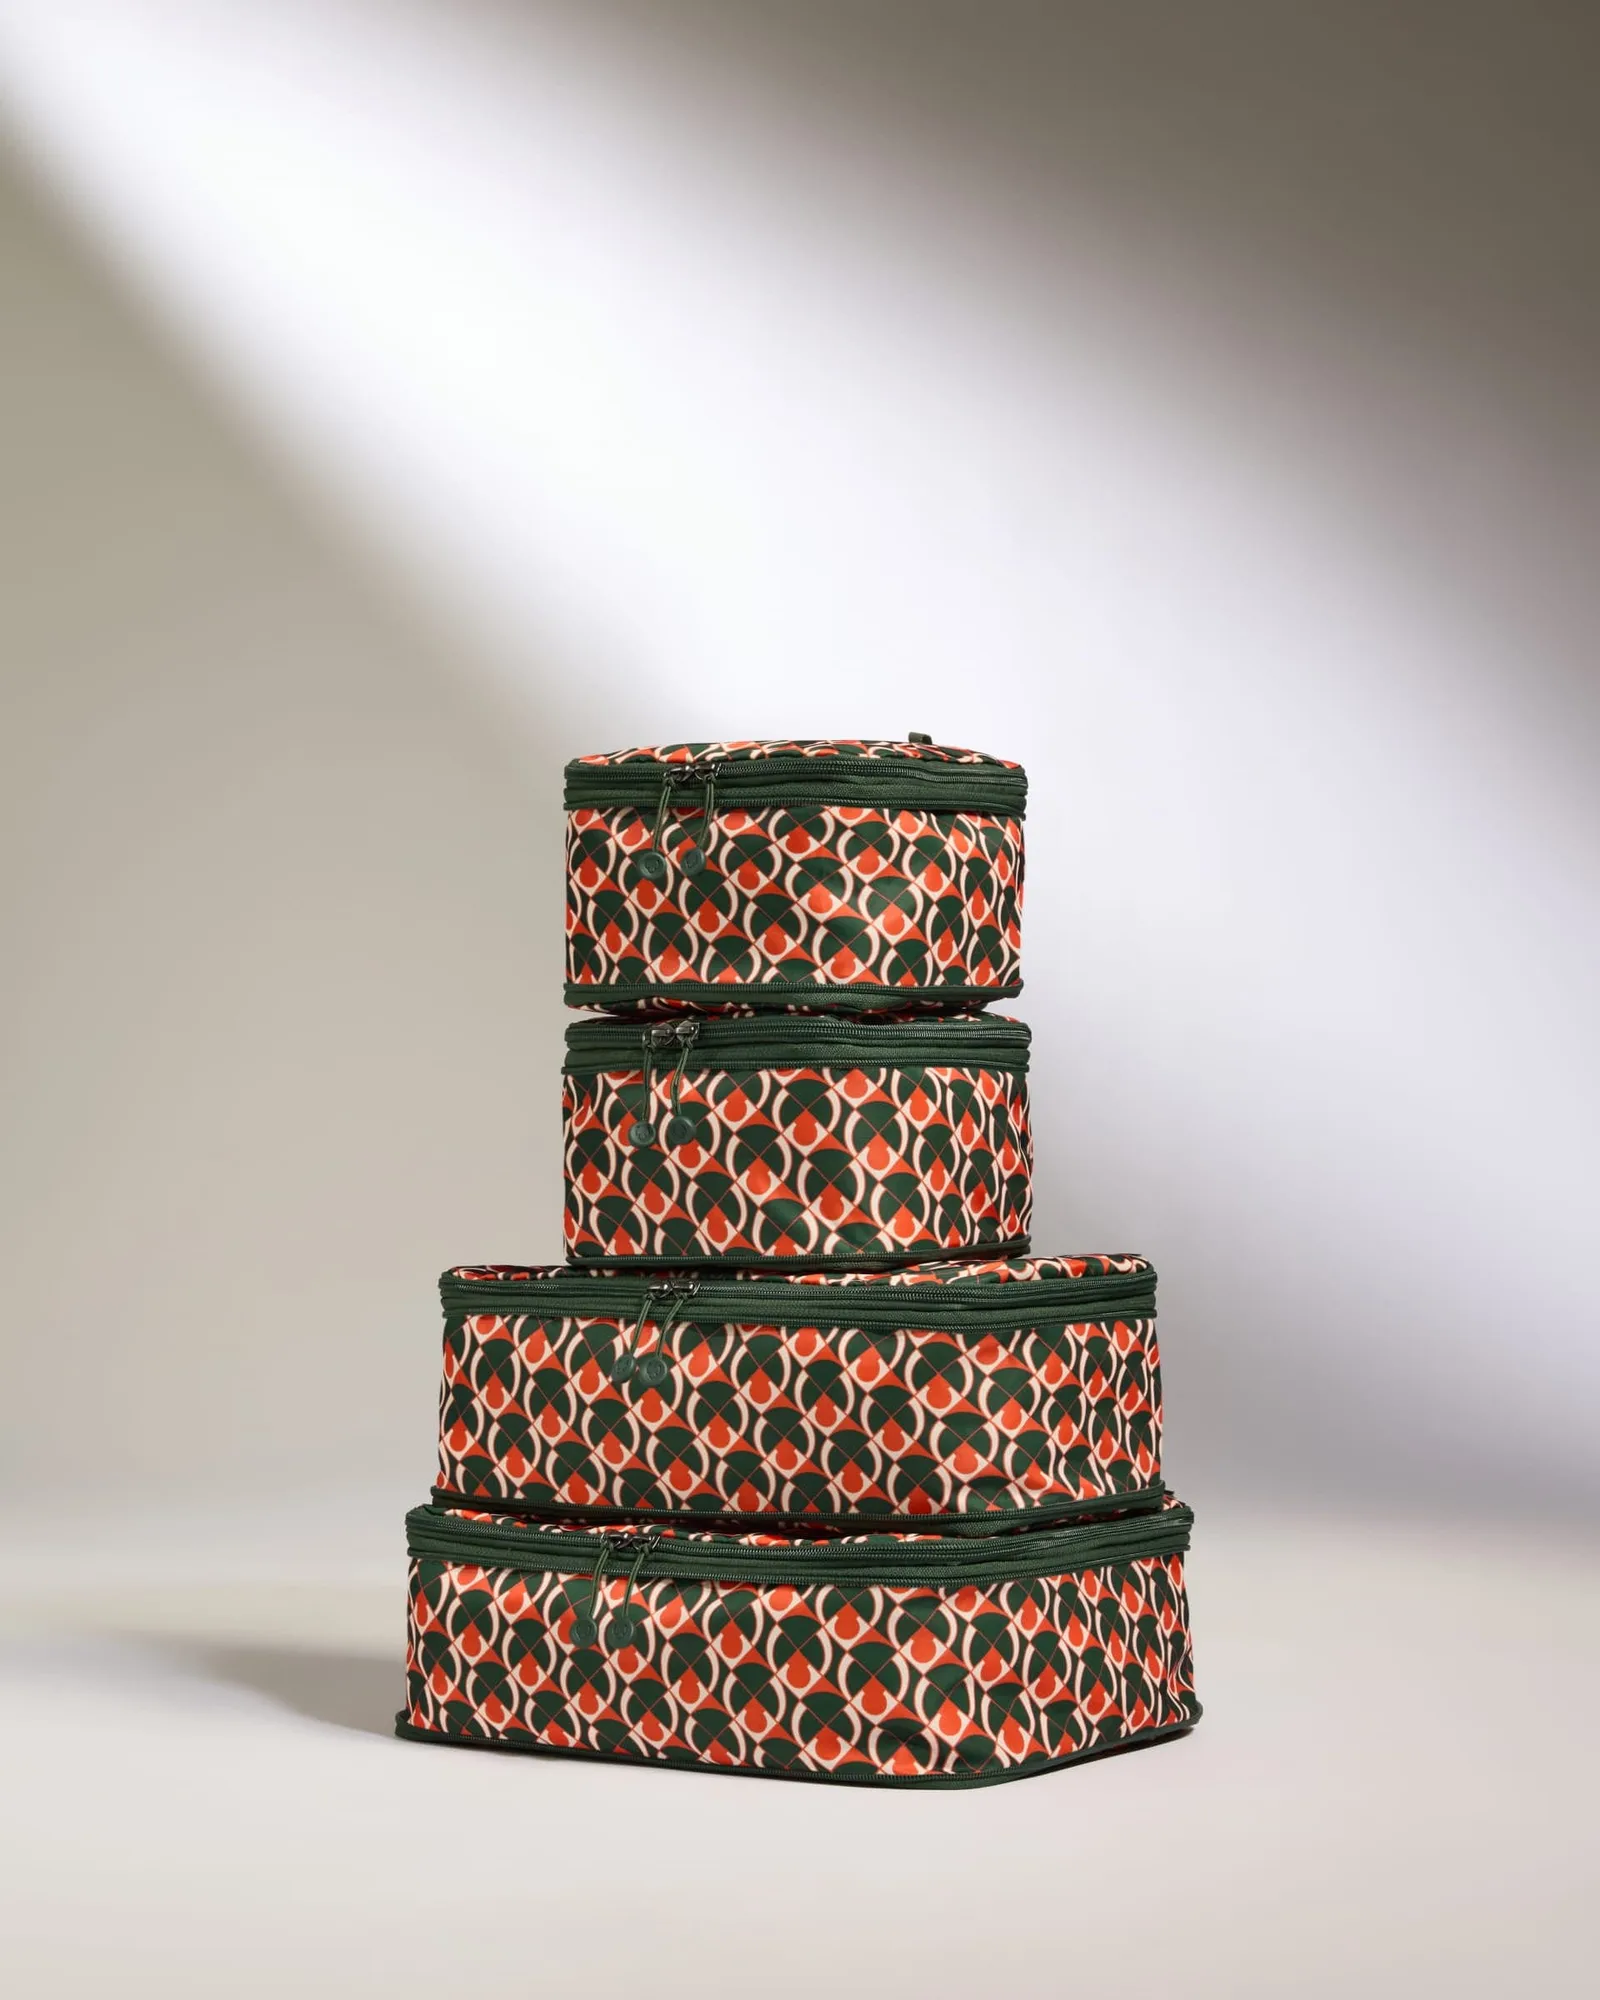
- Packing Cubes in Monogram - Set of 4: Antler's famous packing cubes reworked in the monogram print, with an extra strong compression zip so you can pack more in, and a mesh window so you can see what is inside. Use one cube for shoes and keep the other three for clothes, so soles never share space with fabric. The mesh window lets you check contents without opening the cube.
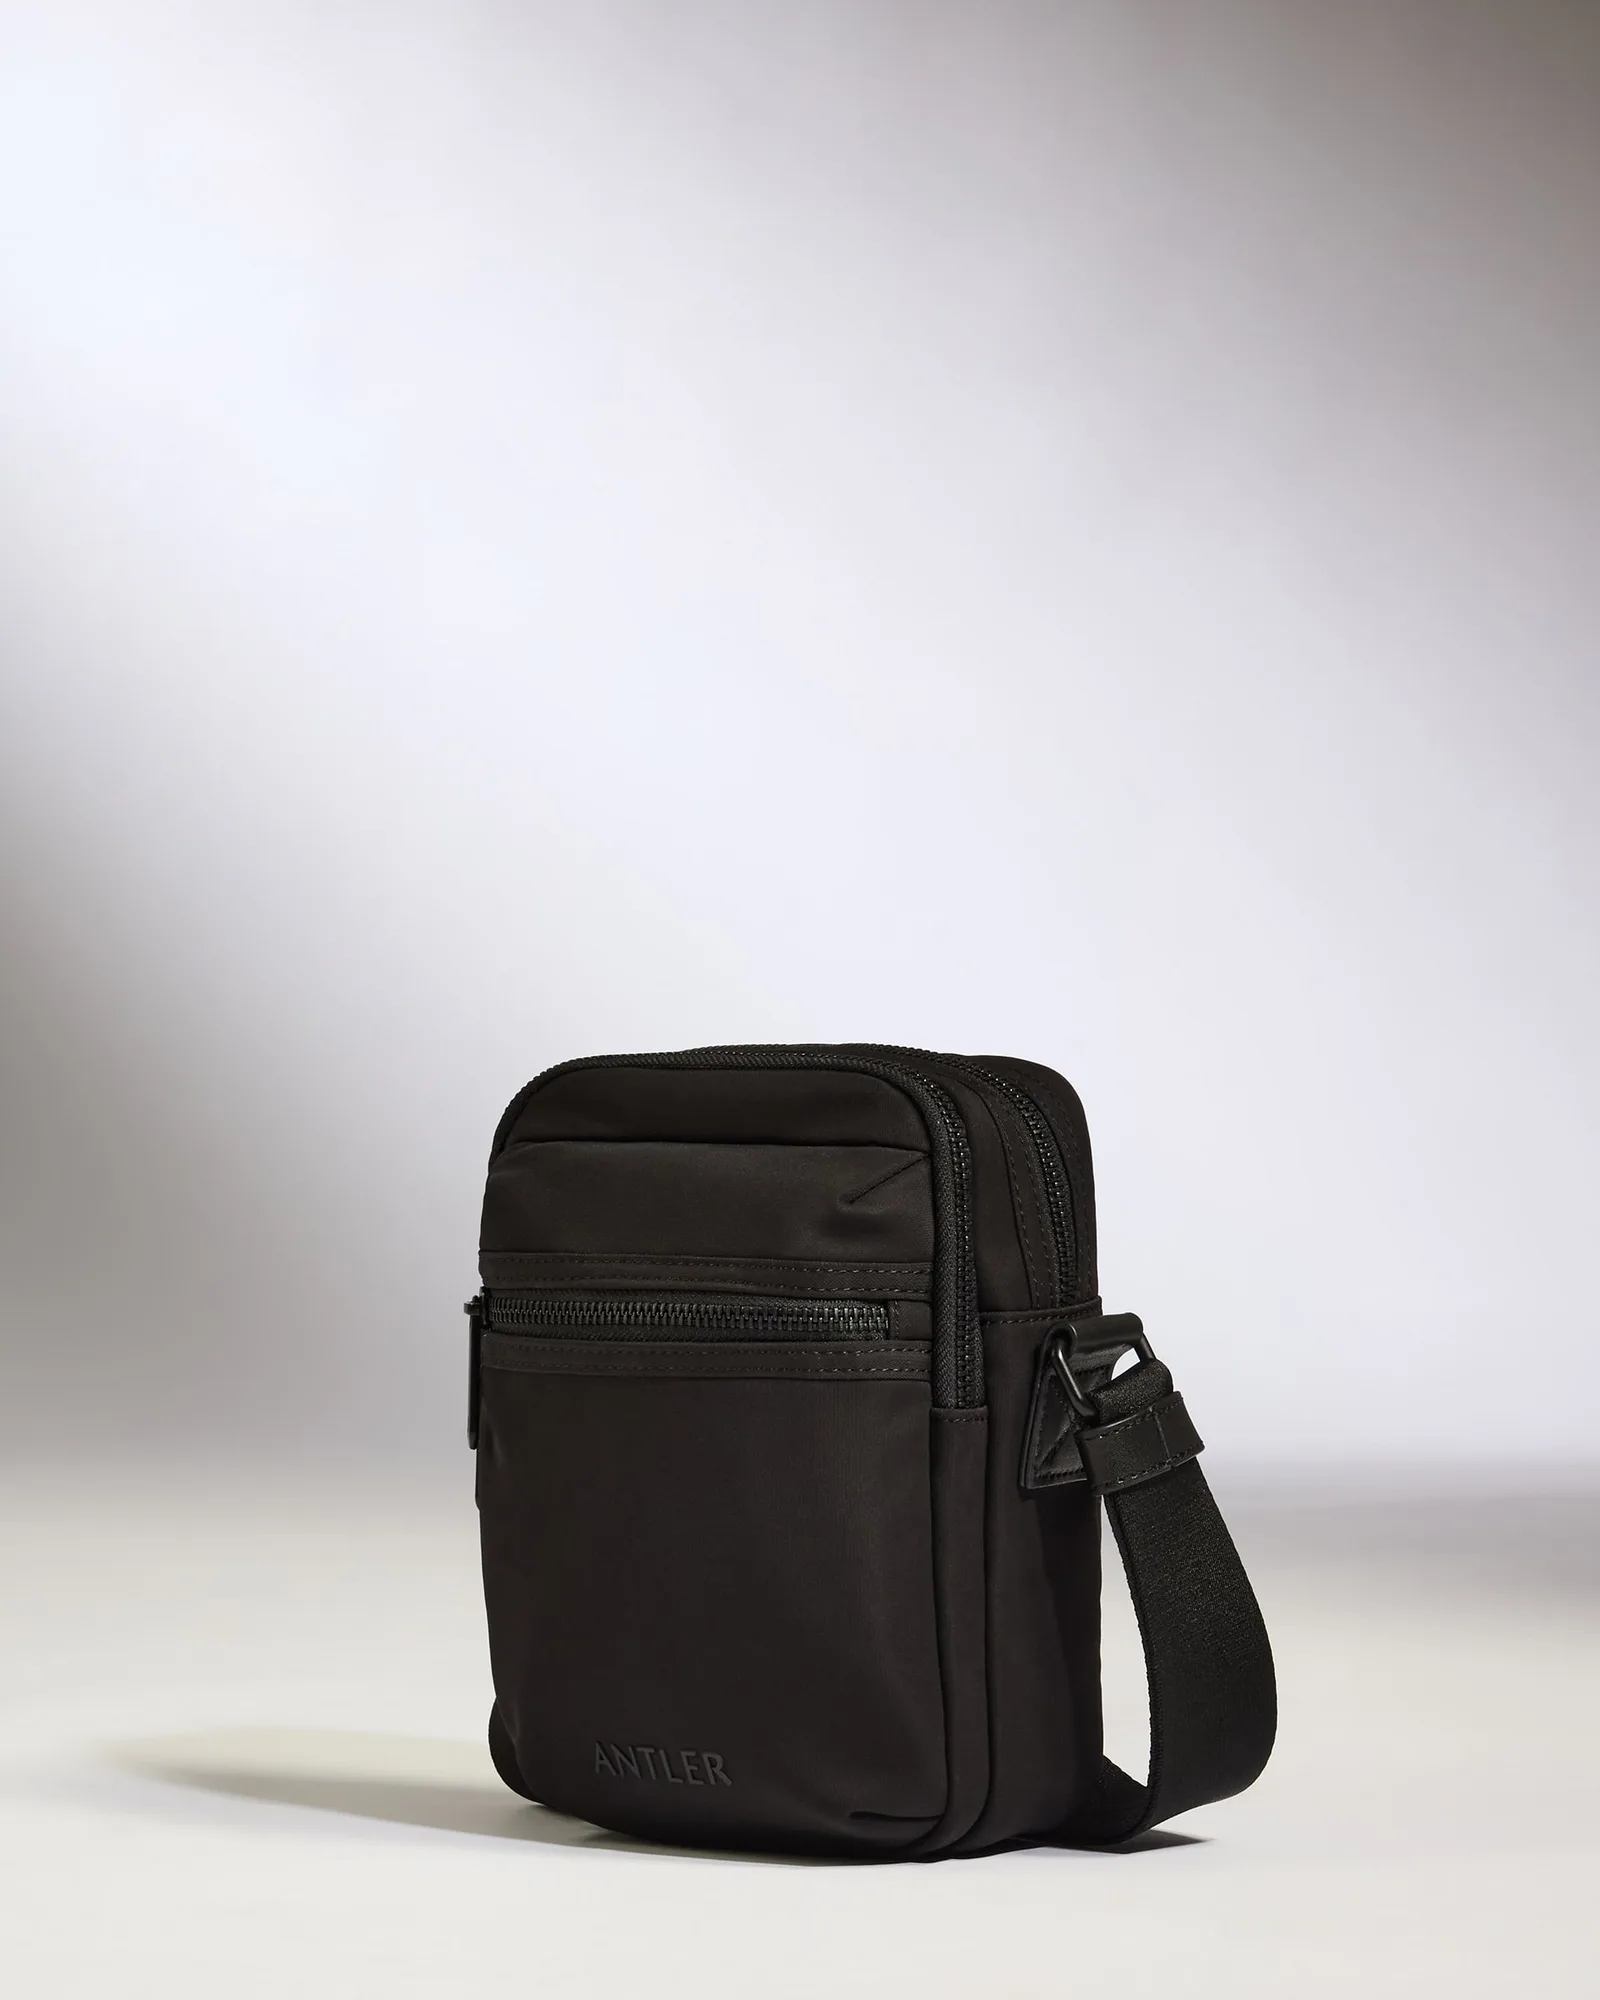
- Icon Crossbody Bag in Black: A camera-style crossbody bag made from 100% recycled, water-resistant materials, with two internal compartments and a back slip pocket. On travel days, this bag keeps a pair of shoes separate from your main luggage, and the water-resistant fabric handles light rain without soaking through.
Packing shoes without dirtying clothes comes down to a barrier, a fixed position, and the right order. Bag each pair, keep soles facing each other, and put shoes at the bottom of the suitcase. Do that, and your clothes arrive as clean as they left.