Quick answer
Pack Stanley travel bottles by starting with a leak test, then grouping them by size and use, and finally layering them in your bag with the heaviest containers at the bottom. Always leave a small air gap, tighten lids until snug, and keep anything with a flip straw upright. This routine prevents leaks and makes security checks faster.
Check each bottle before it goes in the bag
Before packing, fill each Stanley travel bottle with water, seal it, and shake it over a sink. If you see drips, check the gasket or lid threads. A missing or twisted gasket is the most common cause of leaks in luggage. For flip straw lids, confirm the straw is pushed down and the lid is clicked shut. This one-minute test saves you from a soaked suitcase later.
Group by size and purpose
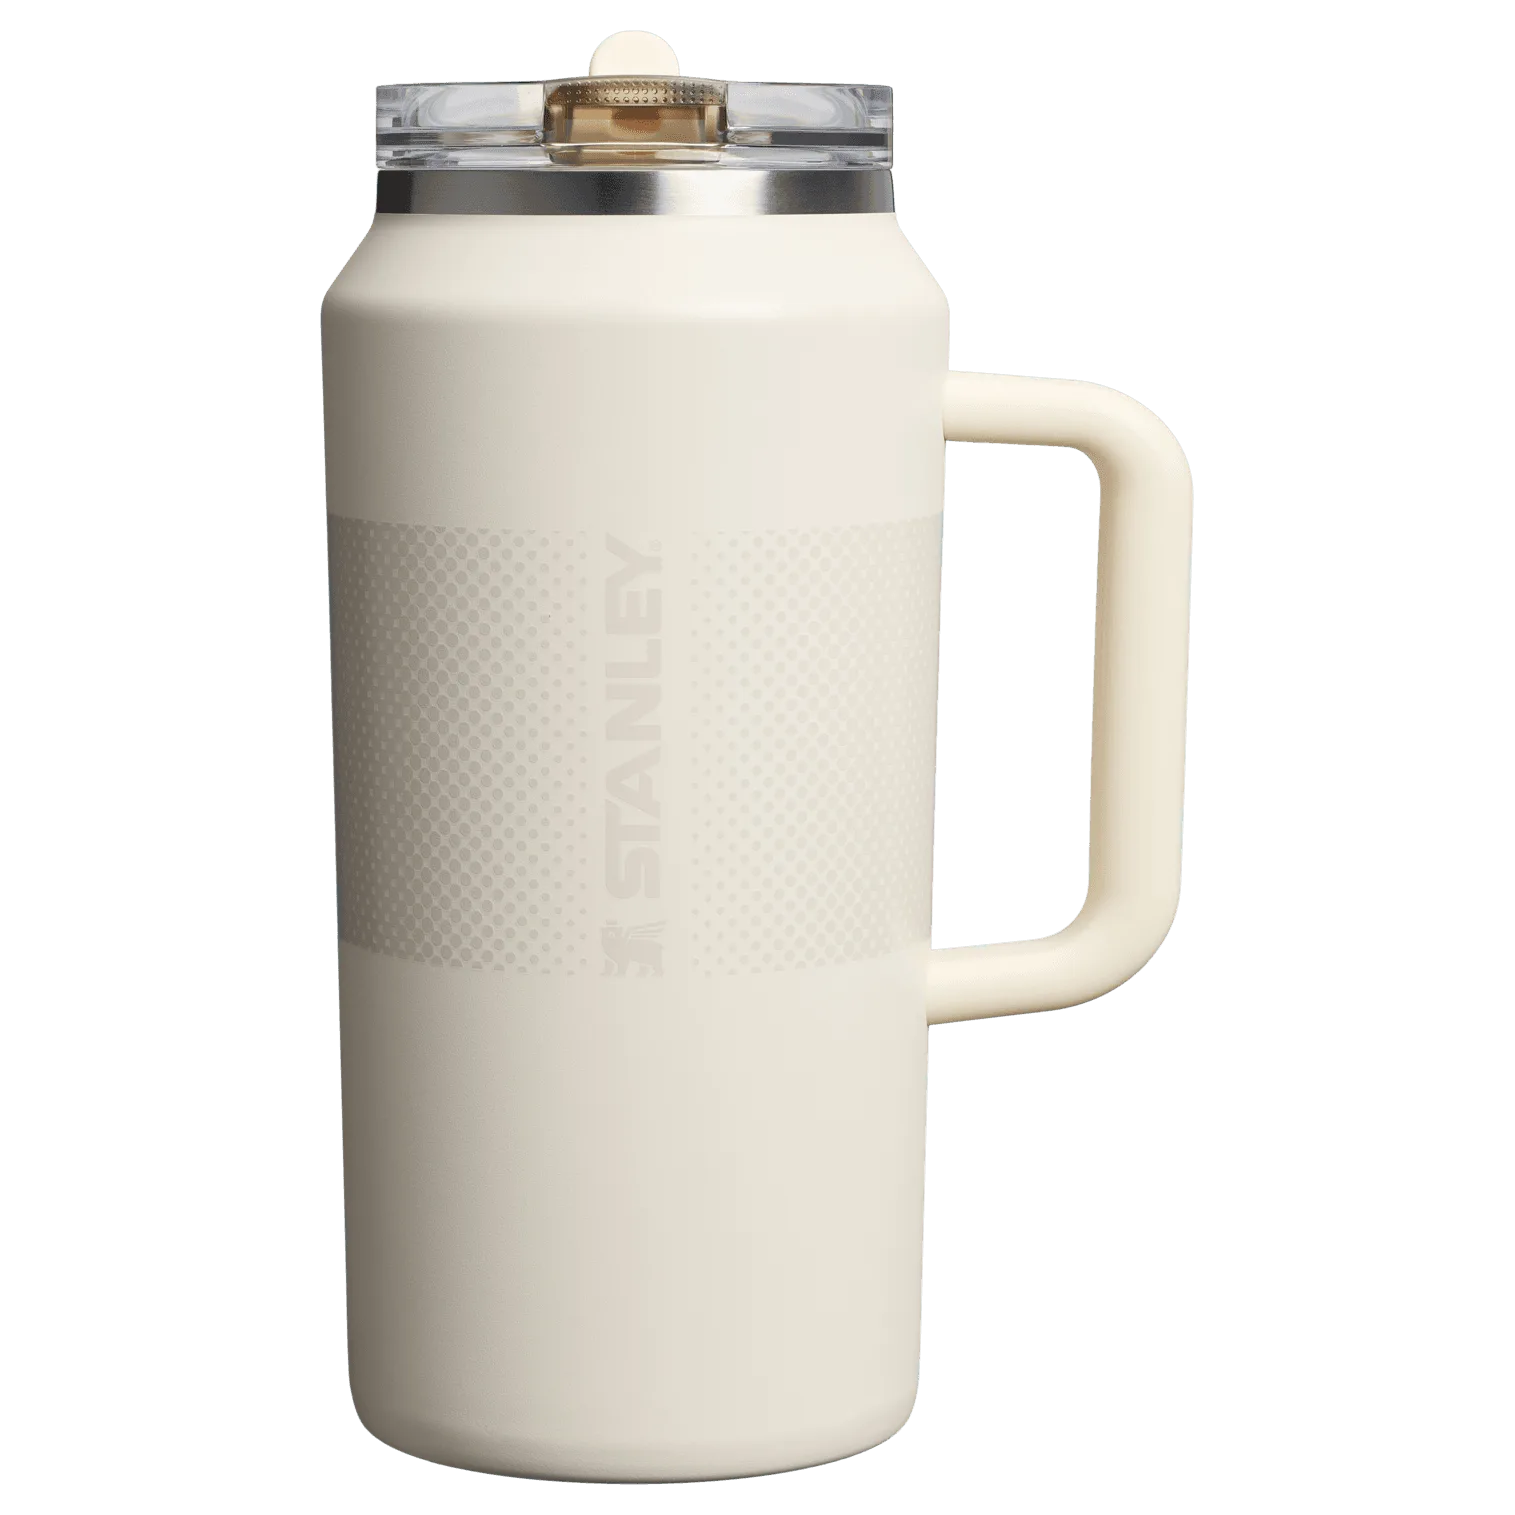
Separate your Stanley travel bottle set into two groups: large bottles for hydration and small containers for toiletries or wine. Large bottles like the 30-ounce or 40-ounce Quencher ProTour Tumblers go in the main compartment. Smaller bottles, such as the 11-ounce size in the LoveShackFancy Wine Set, belong in a toiletry bag or side pocket. Grouping by size keeps weight balanced and makes it easier to find what you need. For TSA approved bottle sizes, remember that liquids in carry-on must be 3.4 ounces or less per container, so only pack travel-sized toiletries in your small bottles.
Layer bottles to prevent pressure and leaks
Place the heaviest, largest bottles at the bottom of your bag, closest to your back or the wheels. Stand them upright if possible. If you must lay them down, put them in a leak-proof pouch or a plastic bag. Never pack a flip straw tumbler upside down, because the straw can trap liquid that may seep out. For extra protection, wrap a soft item like a shirt around each bottle. This cushioning absorbs shocks and reduces the chance of lid loosening during transit.
Use travel container organization to save space
Nesting smaller containers inside larger ones works only if both are empty and dry. Do not nest a wet bottle inside another, as trapped moisture can cause odors or mold. Instead, use the space around bottles for socks or charging cables. Packing cubes with separate compartments help you keep bottles from rolling around. If you are carrying the 34-ounce All Day Slim Bottle, it can hold a full bottle of rosé, so it takes up significant room. Plan to pack it as a standalone item, not stuffed into a crowded pocket.
Secure lids and check pressure changes
Tighten all lids until snug, but do not overtighten, as this can strip threads or crack plastic. For carbonated drinks, leave extra headspace and burp the bottle before sealing. During flights, cabin pressure changes can force liquid out of a poorly sealed lid. After landing, open bottles over a sink to release pressure slowly. If you are checking a bag, consider placing bottles in a hard-sided case or a waterproof bag to contain any unexpected leaks.
Step-by-step packing routine
- Test every bottle for leaks: Fill each Stanley travel bottle with water, seal it, and shake over a sink. Check gaskets and lid threads. If a bottle drips, replace the gasket or swap the lid before packing. A bottle that fails this test will leak in your bag. Fix it now or leave it home.
- Sort bottles by size and use: Put large hydration bottles like the 30-ounce or 40-ounce ProTour Tumblers in the main compartment. Place small containers for toiletries or wine in a separate pouch. Keep TSA approved bottle sizes (3.4 ounces or less) for carry-on liquids. Grouping prevents crushing and speeds up security checks.
- Layer from heaviest to lightest: Place heaviest bottles at the bottom of the bag, upright if possible. Wrap each in a soft item like a shirt. Never pack a flip straw tumbler upside down. Upright packing and cushioning reduce lid pressure and leaks.
- Fill empty space with soft items: Use gaps around bottles for socks, cables, or a light jacket. Do not nest wet bottles inside each other. If carrying the 34-ounce All Day Slim Bottle, pack it as a standalone item. This keeps bottles from shifting and saves room.
- Seal and pressure-check before zipping: Tighten all lids until snug. For carbonated drinks, leave headspace and burp the bottle. After landing, open bottles over a sink to release pressure slowly. A final check prevents surprises at your destination.
Stanley bottles that pack well
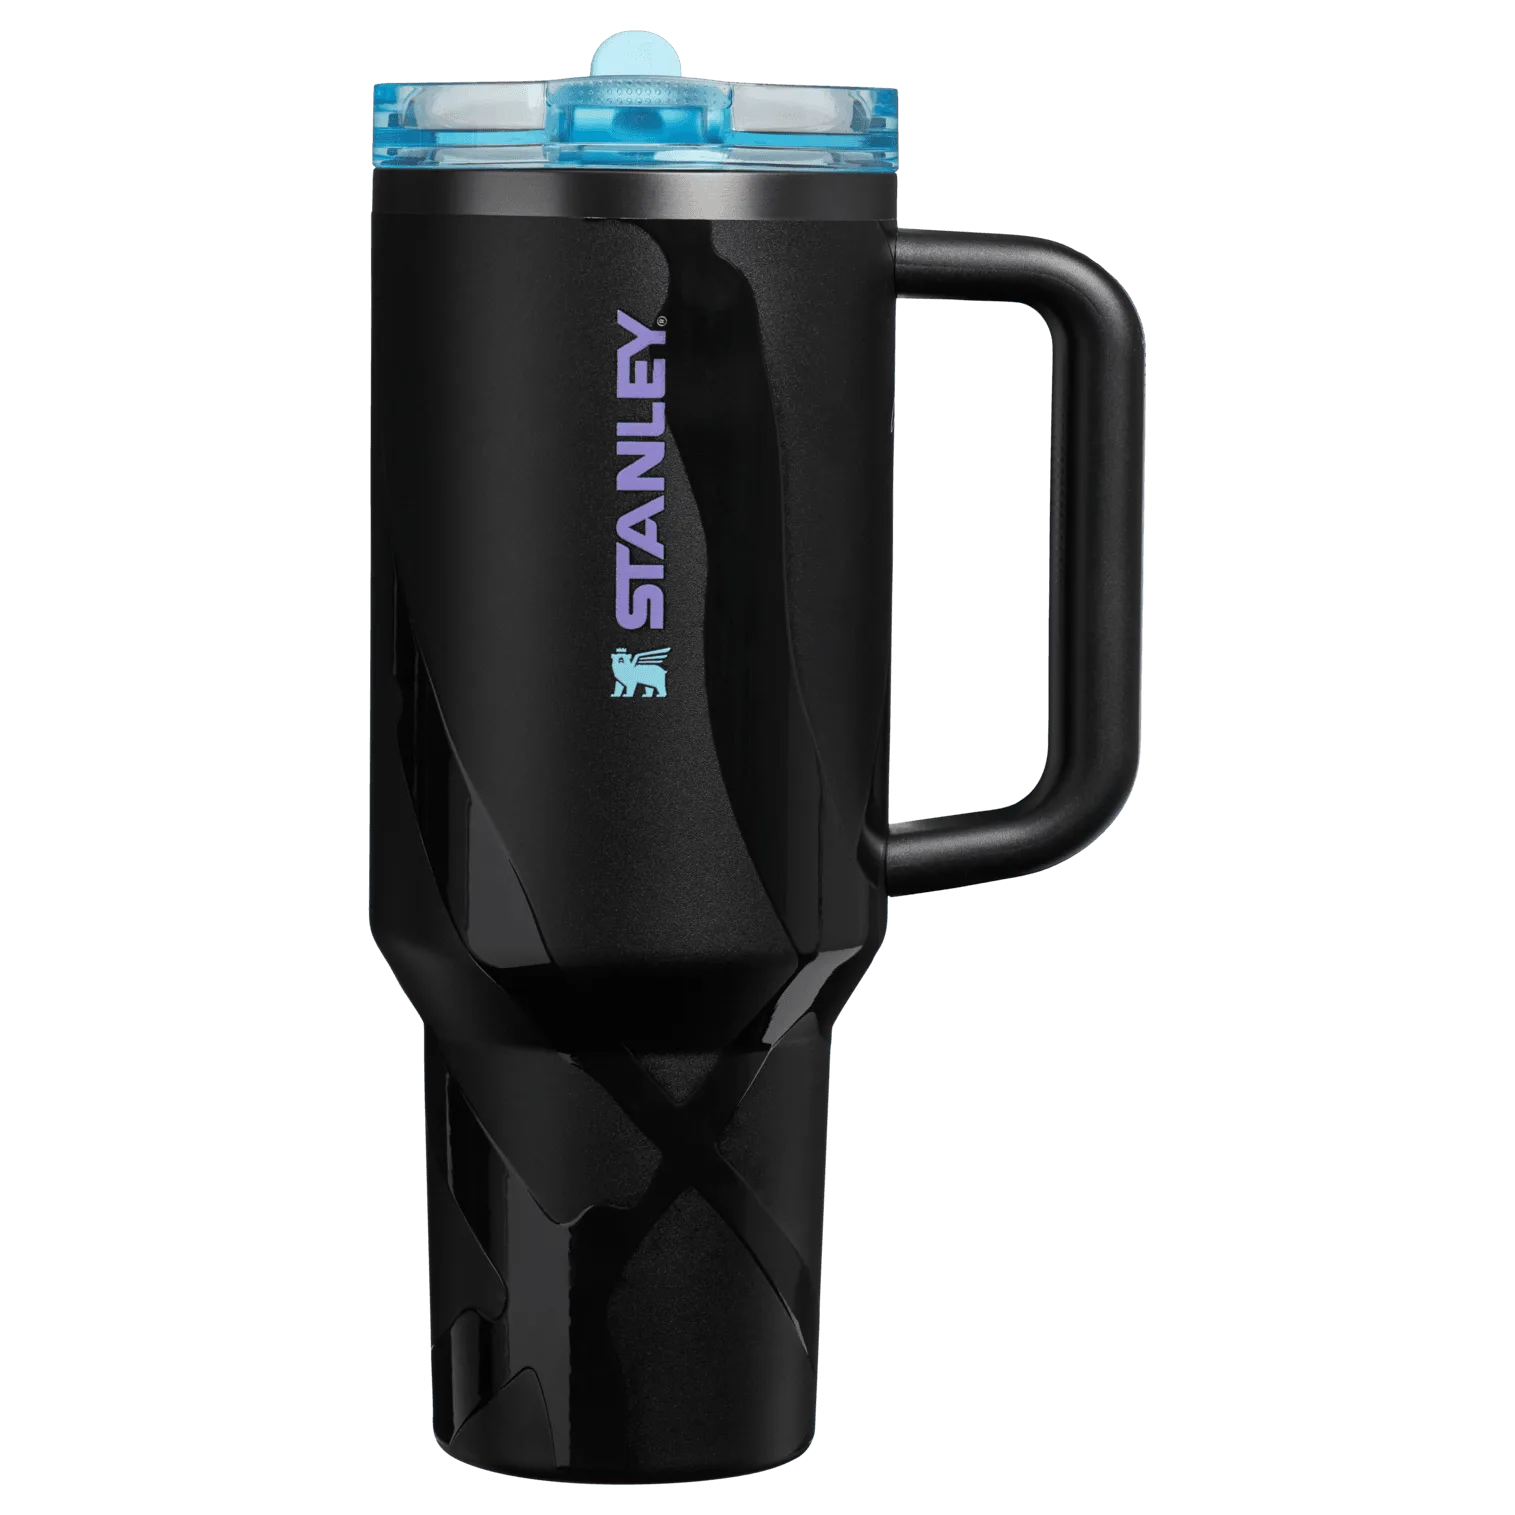
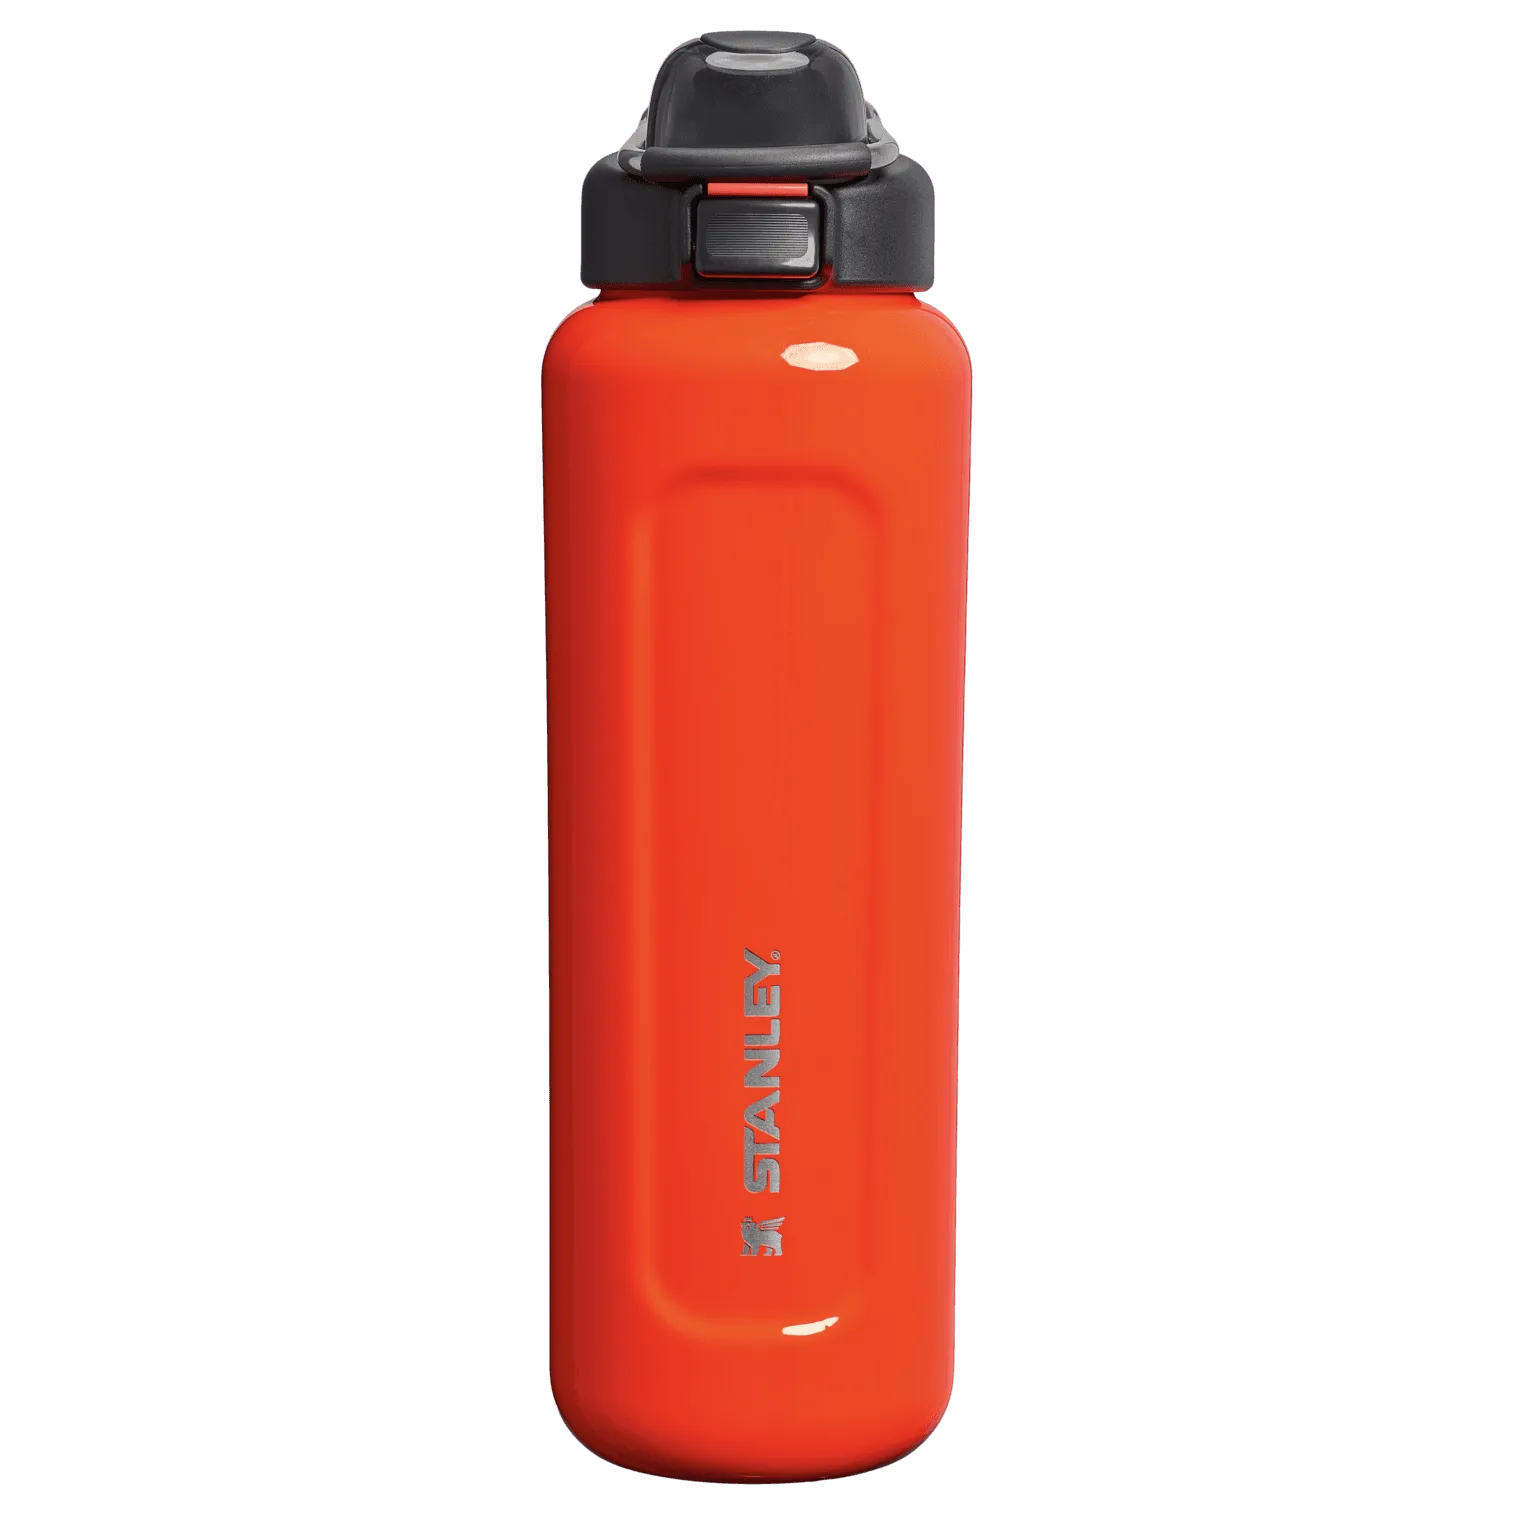
- The Stanley 1913 x Nelly Korda Quencher® ProTour Flip Straw Tumbler | 30 OZ: The Stanley 1913 x Nelly Korda Quencher ProTour Flip Straw Tumbler has a leakproof Flip Straw lid. A leakproof lid means you can pack it with confidence in a carry-on or checked bag, as long as you keep it upright and the straw is closed.
- Stanley 1913 x Caitlin Clark Quencher® ProTour Flip Straw Tumbler | 40 OZ: The Stanley 1913 x Caitlin Clark Quencher ProTour Flip Straw Tumbler is 40 ounces and has a leakproof Flip Straw lid. The larger 40-ounce size holds more water for long travel days, but it takes up more space, so plan to pack it in the main compartment rather than a side pocket.
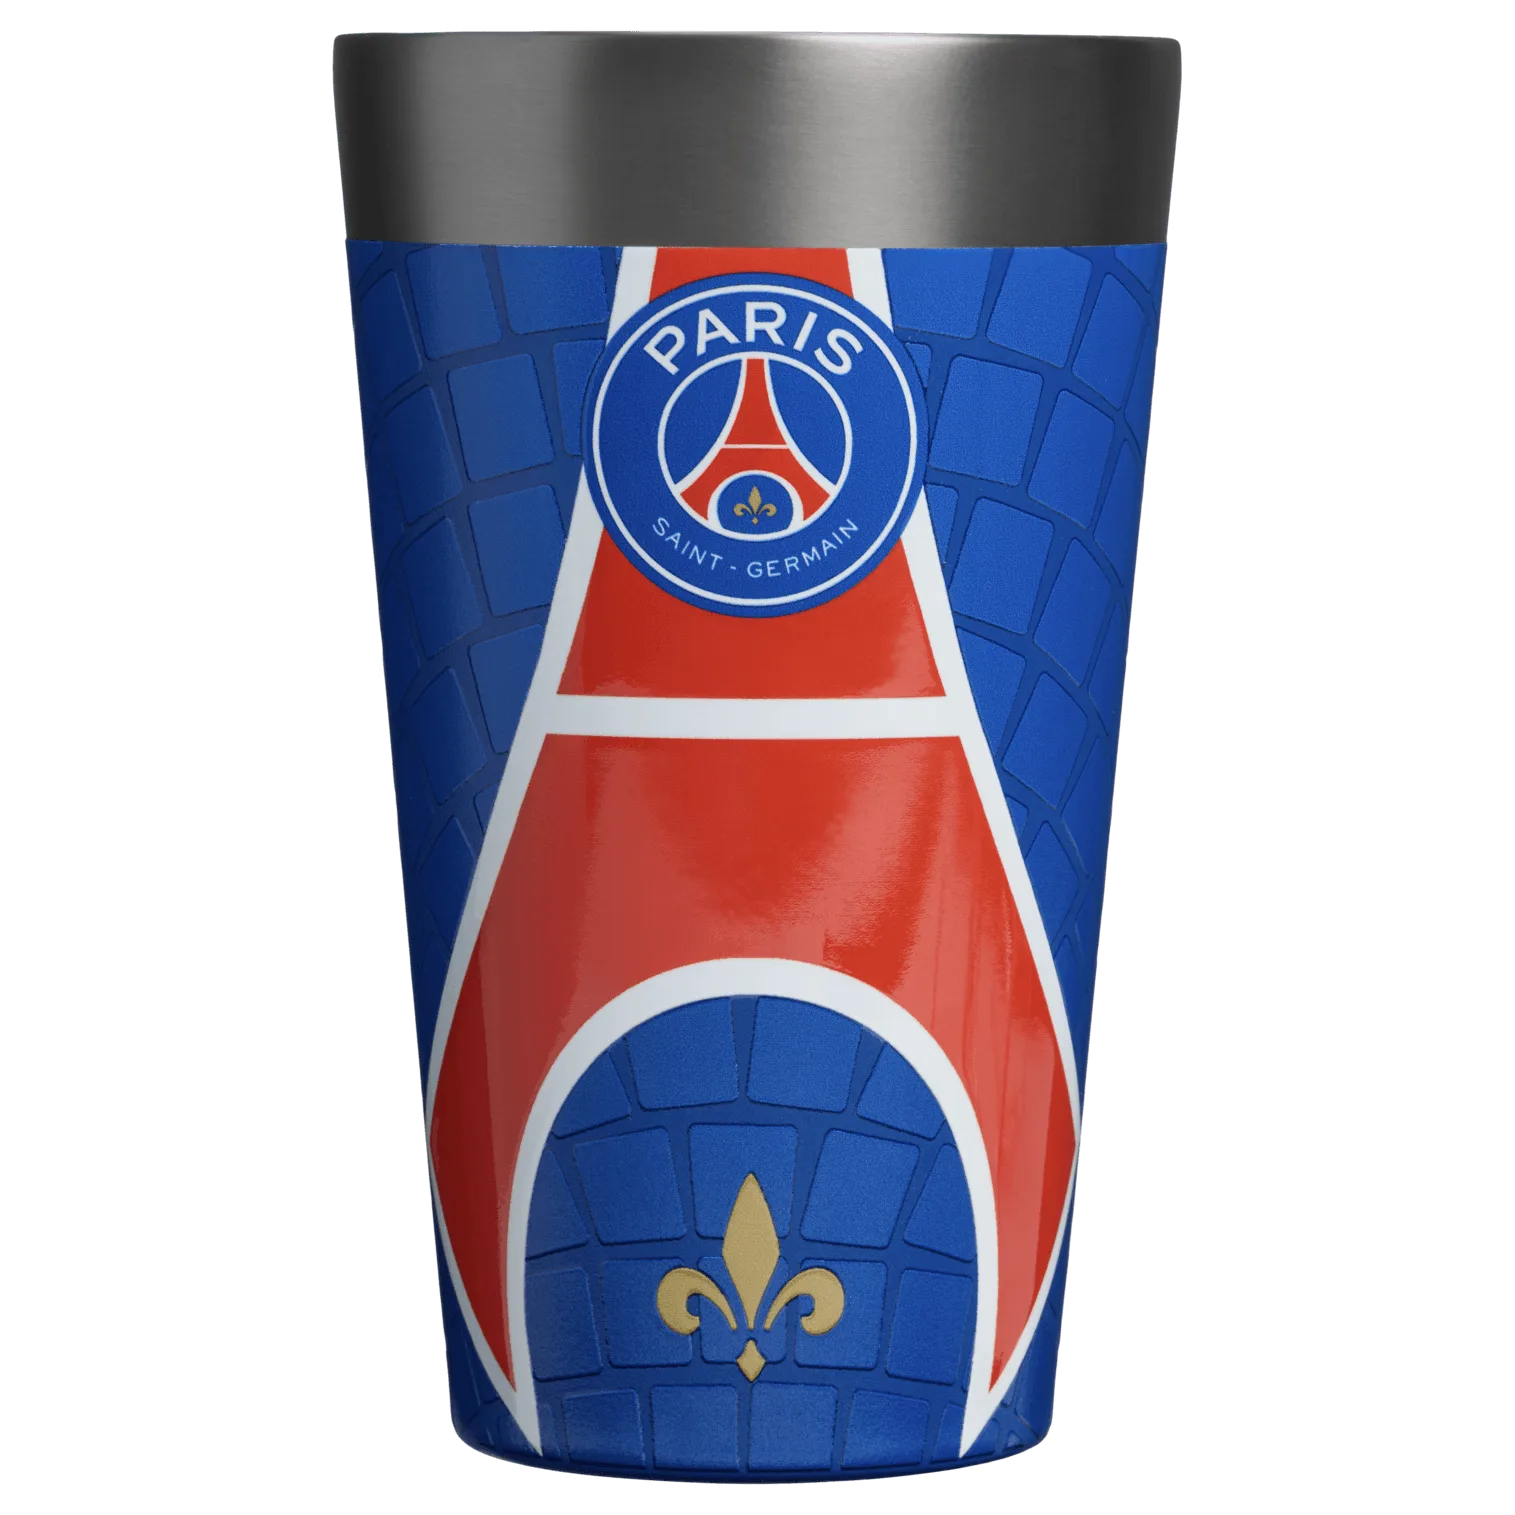
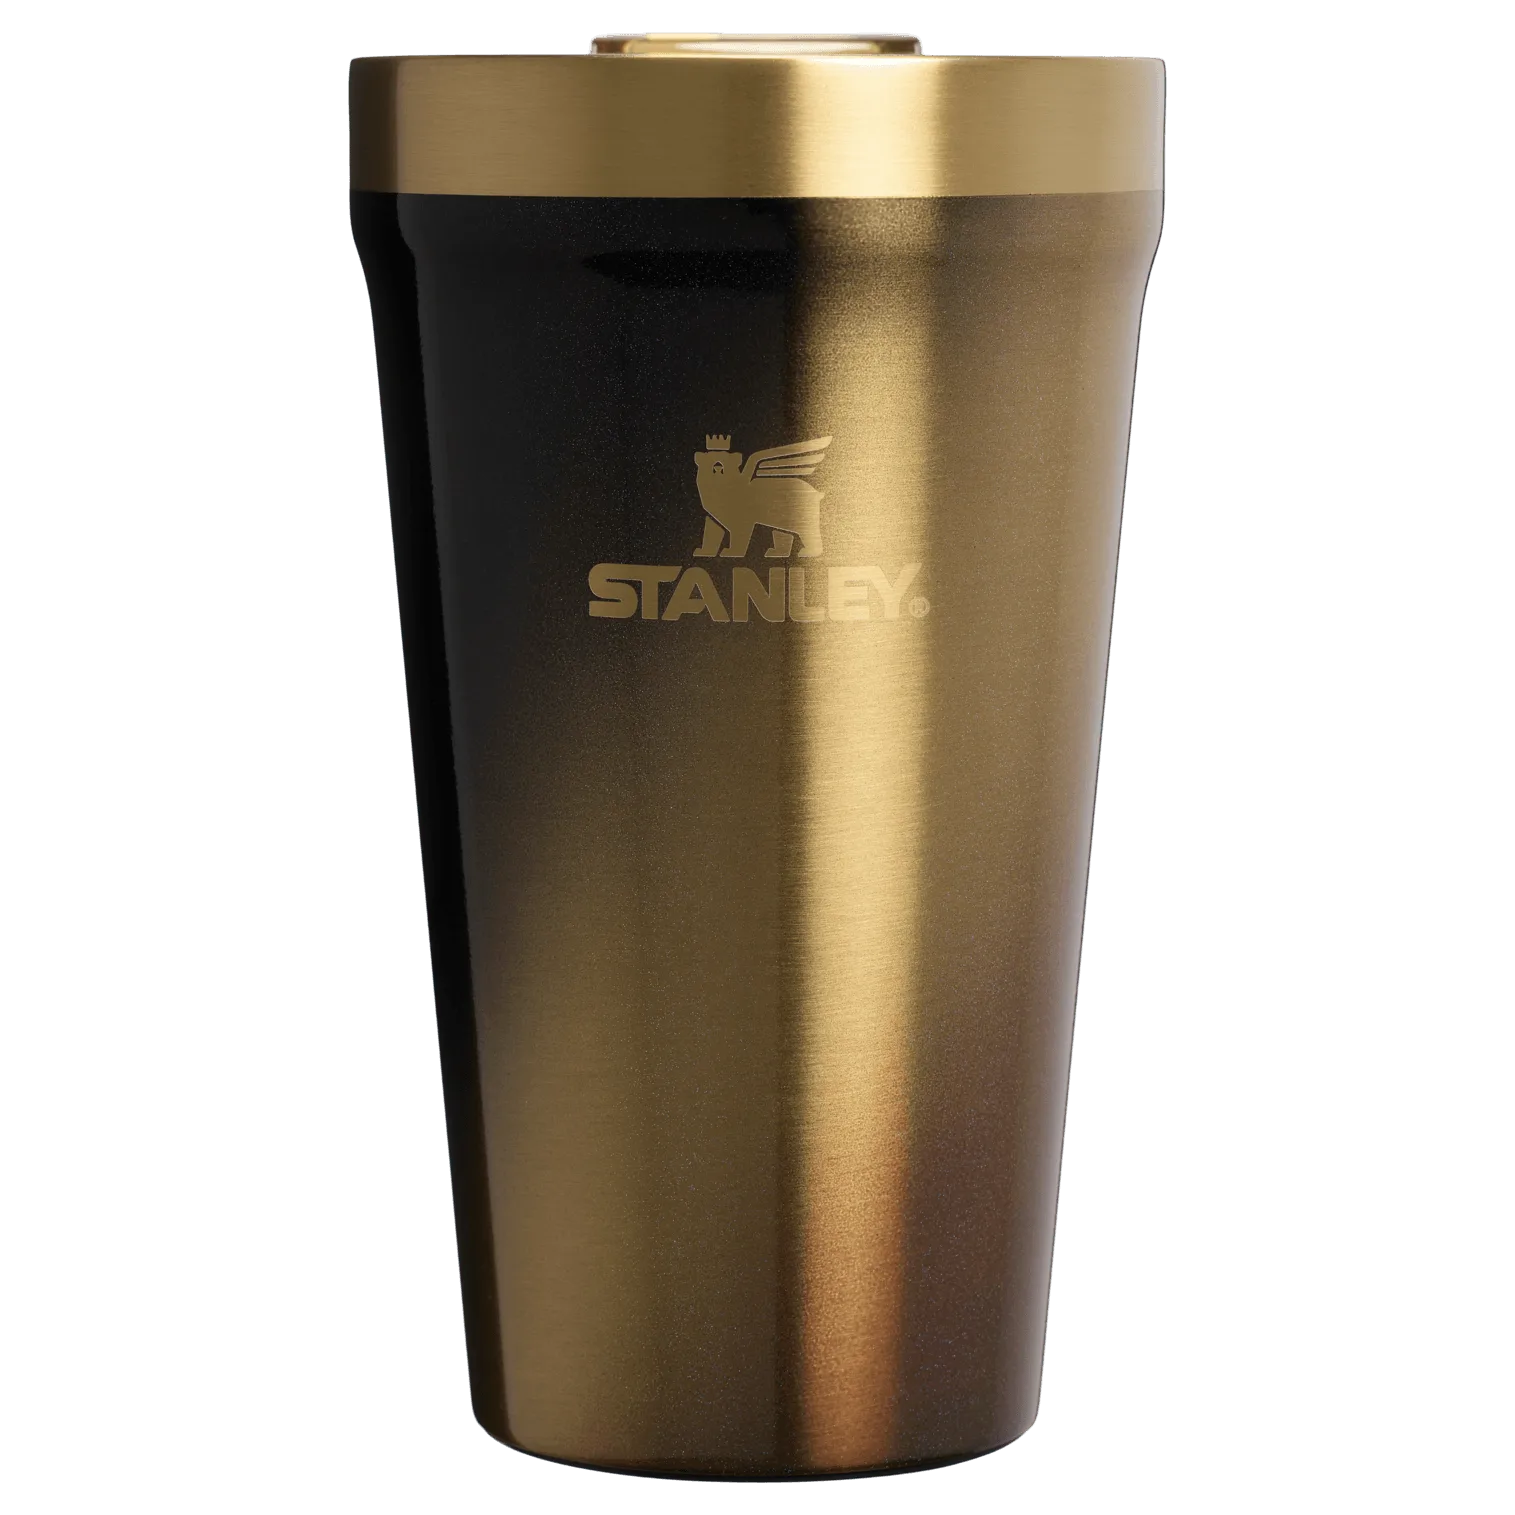
- Stanley 1913 x LoveShackFancy Holiday Reserve All Day Wine Set | 34 OZ | 11 OZ: The Stanley 1913 x LoveShackFancy Holiday Reserve All Day Wine Set includes a 34-ounce All Day Slim Bottle and an 11-ounce container. The slim 34-ounce bottle can hold a full bottle of wine, making it a space-efficient choice for trips where you want to bring a drink, while the 11-ounce size works for smaller portions or toiletries.