Quick answer
To paint board game miniatures, start with a clean, well-lit setup, a wet palette, a size 0 and size 2 synthetic brush, and a primer made for plastic or resin. Prime in thin coats, block in base colors, add a wash, then highlight and seal. Expect to spend 20–40 minutes per miniature for tabletop quality, and always test your paint consistency on a spare base before touching the model.
Set up a painting station that fits your space
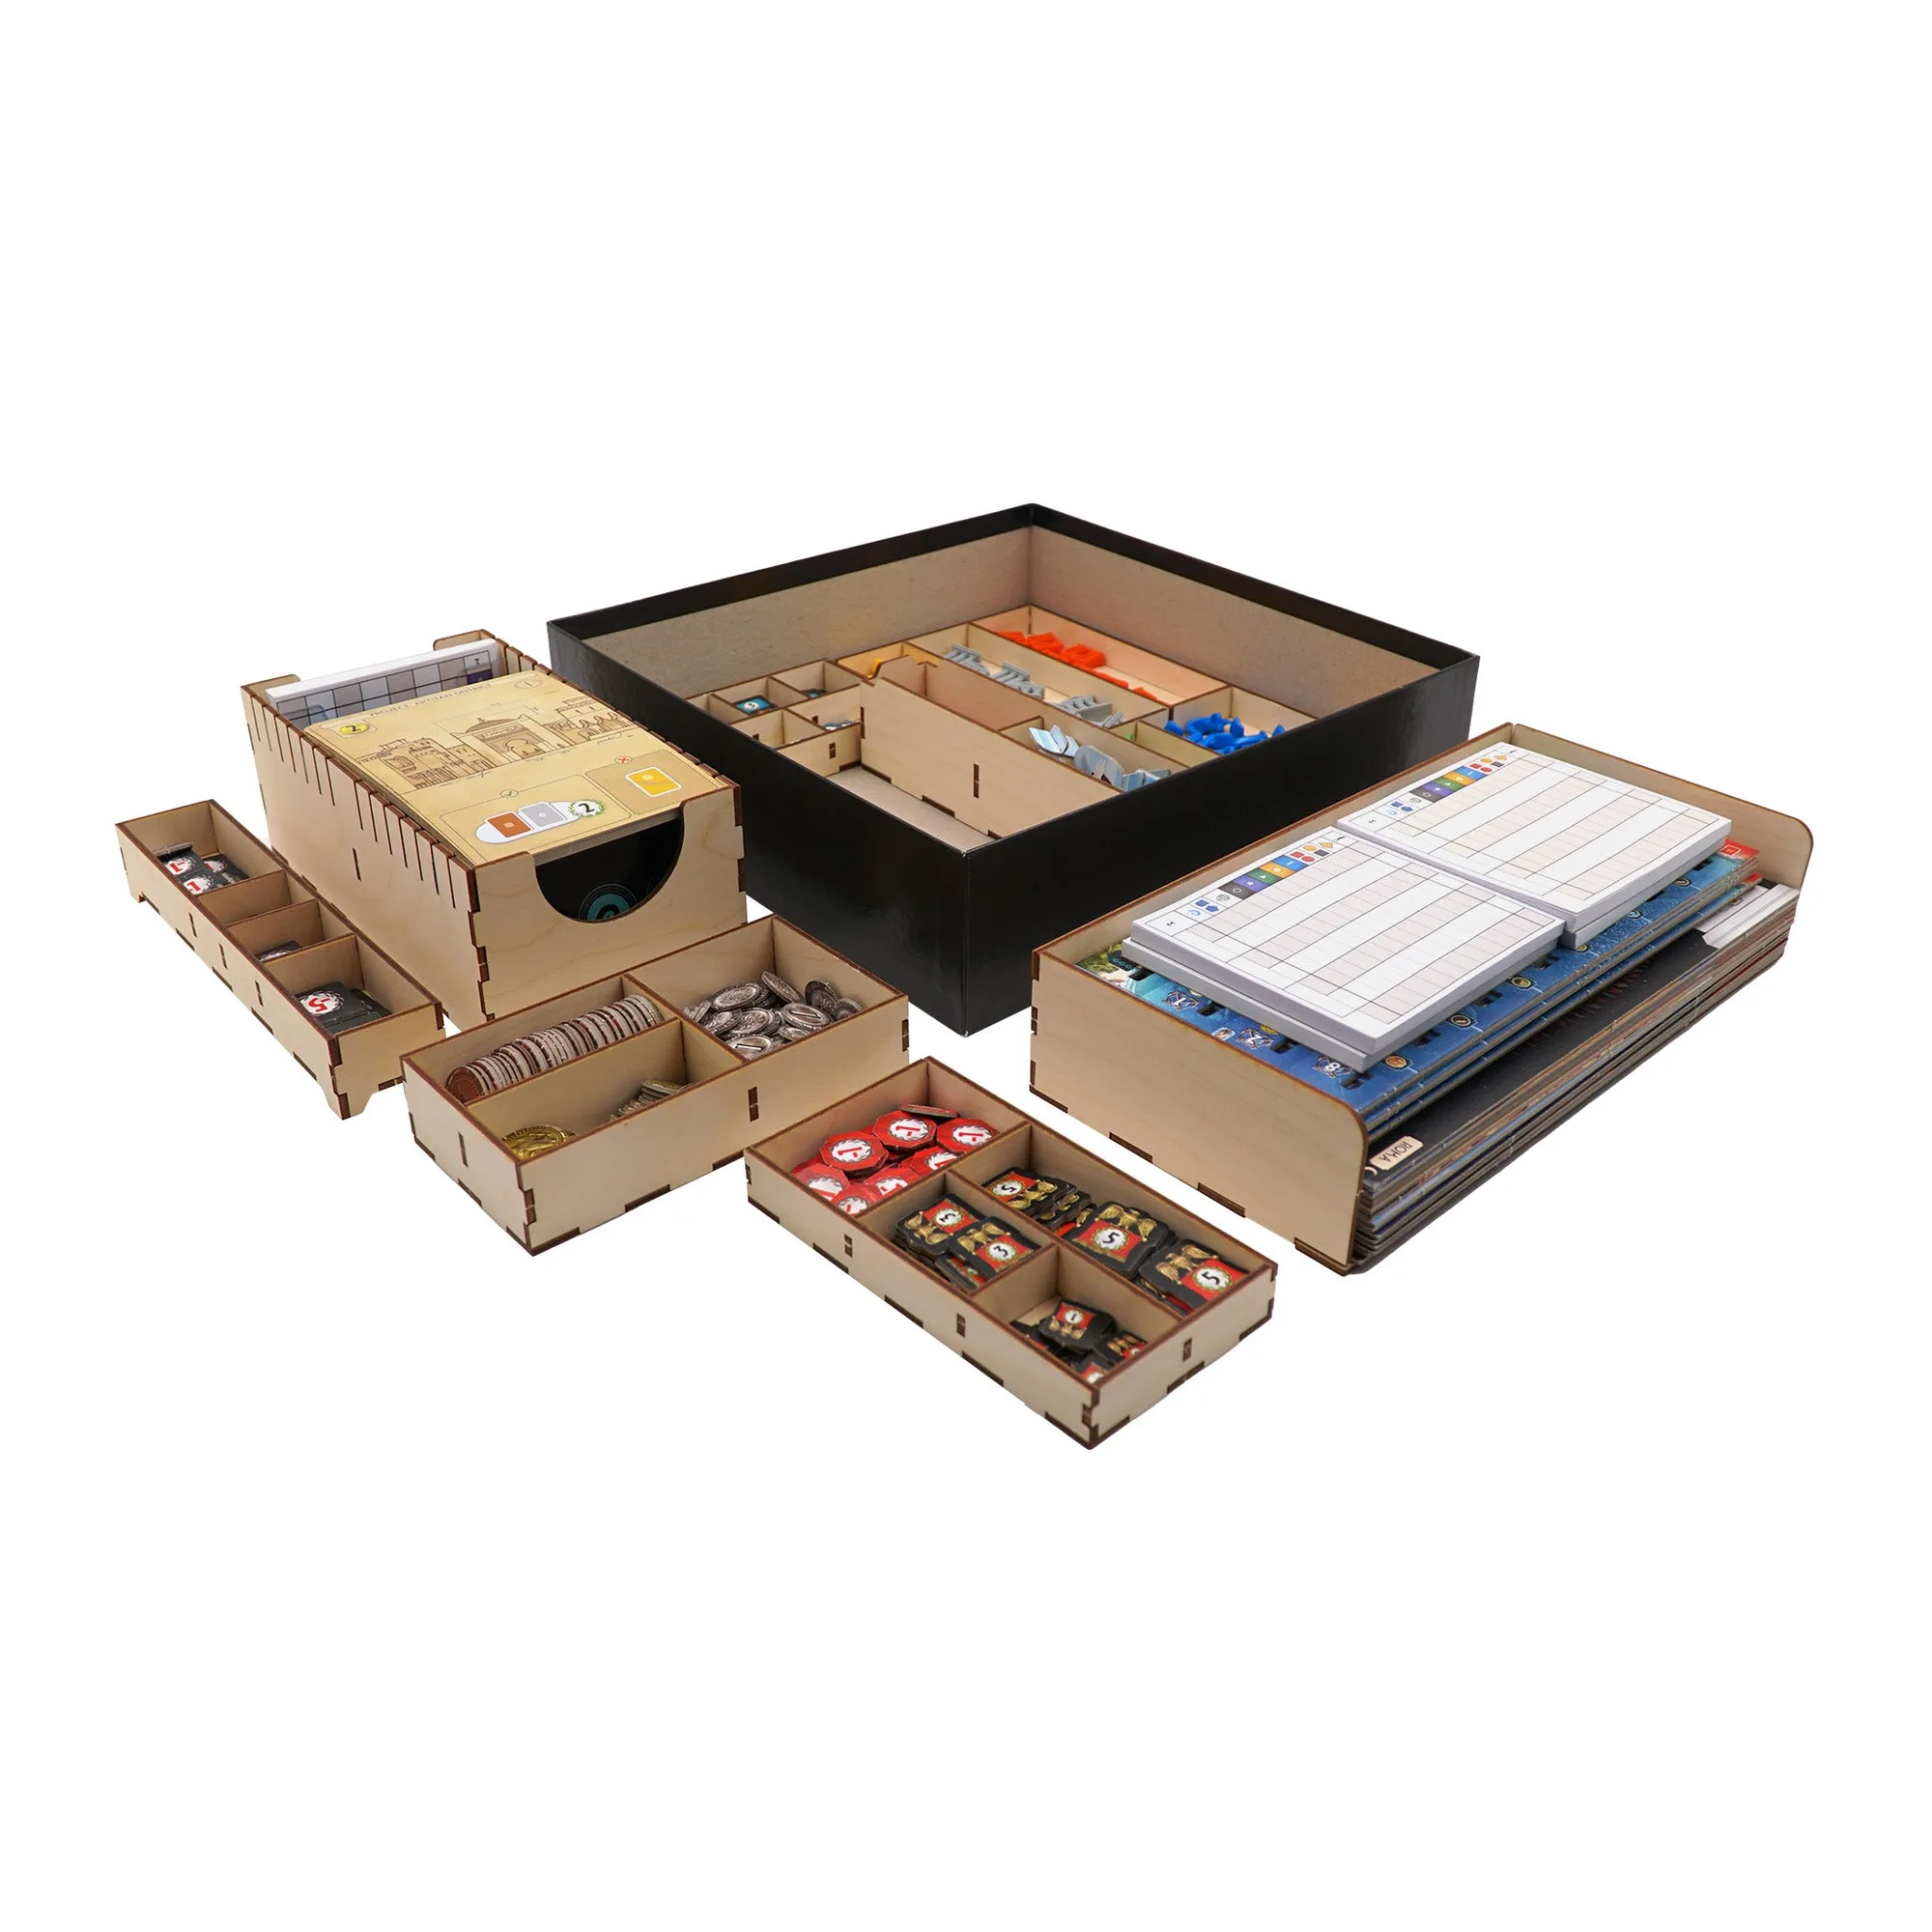
You do not need a dedicated hobby room. A TV tray, a lap board, or a small desk works if it has three things: good light, a surface you can spill on, and a way to keep cats and kids away from wet models. A daylight bulb in a desk lamp shows true colors better than a warm room light, and a simple white paper plate or tile makes a cheap palette. Keep a cup of clean water separate from your rinse water if you use metallic paints, because metallic flakes contaminate everything they touch. If you store your painting gear in a game box insert, use a tray with a lid so dust does not settle on your brushes.
Choose a starter tool kit without overspending
For miniature painting tools for beginners, three brushes cover almost everything: a size 0 round for detail, a size 2 round for base coating, and a cheap flat brush for drybrushing and primer. Synthetic brushes are fine to start; they hold a point well and cost less than sable. Add a hobby knife, a small file or sanding stick, and a pair of flush cutters for cleaning mold lines. A wet palette keeps acrylic paint workable for hours and stops you from constantly mixing new batches. Skip the airbrush until you have painted at least ten miniatures by hand, because the cleanup and thinning learning curve will slow you down more than it helps at first.
Prepare and prime the miniature
Wash plastic or resin miniatures in warm water with a drop of dish soap, then let them dry completely. Mold release agent from the factory can make primer bead up and flake off later. Scrape mold lines with the back of a hobby knife and fill gaps with a tiny amount of modeling putty. For priming, use a spray can or brush-on primer made for the material. Shake the can for a full minute, then spray in short bursts from 8–12 inches away in a well-ventilated area. Two thin coats beat one thick coat every time. If you live somewhere humid or cold, brush-on primer gives you more control indoors.
Base coat, shade, and highlight in order
Thin your acrylic paint to the consistency of skim milk, then apply two thin coats rather than one thick one. Start with the largest areas: skin, cloth, armor. Work from the inside out so you do not smear paint over finished parts. Once the base colors are dry, apply a wash shade to the recesses. A brown or black wash adds instant depth to faces, folds, and scales. After the wash dries, highlight the raised edges with a lighter version of your base color. Drybrushing is the fastest way to highlight textured surfaces like fur or chainmail, but it looks chalky on smooth cloaks, so use a fine brush there instead.
Seal and store your finished miniatures
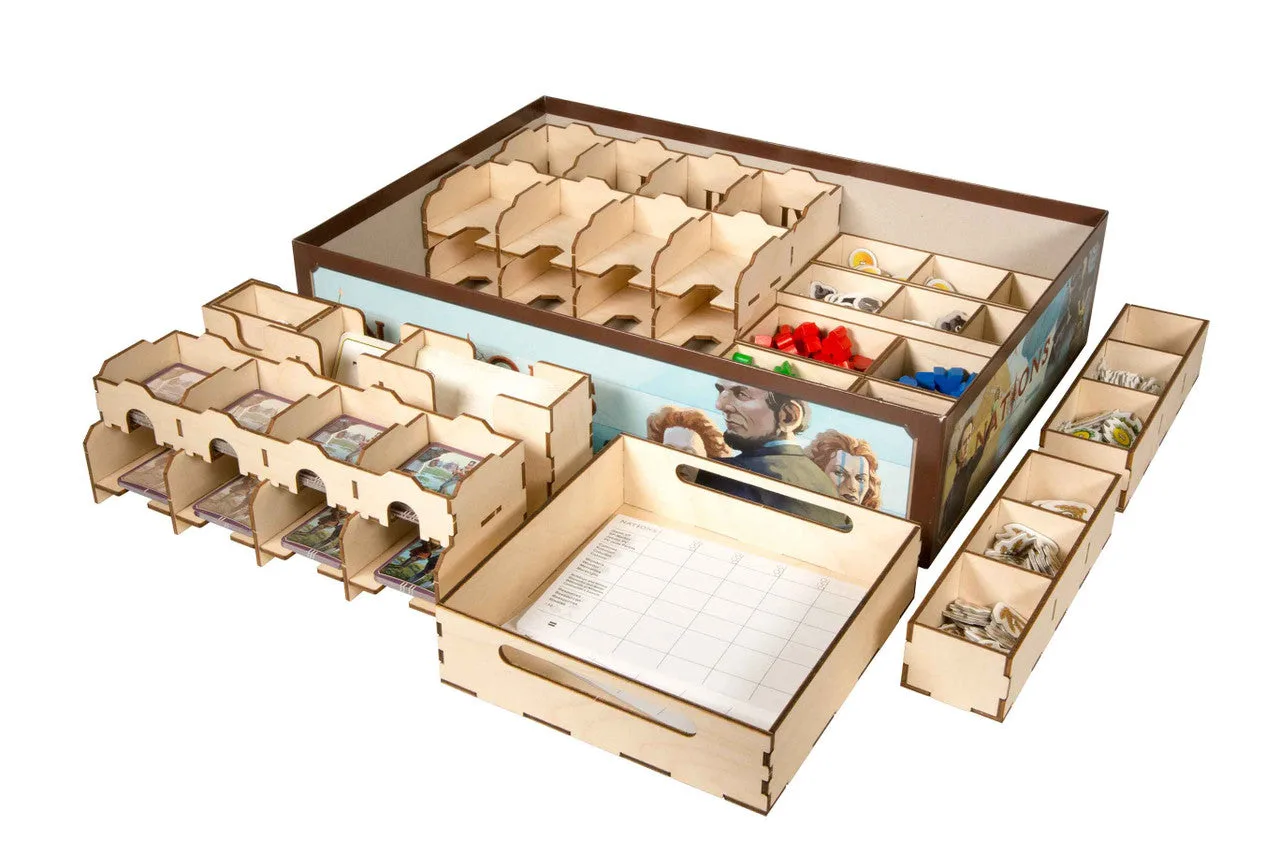
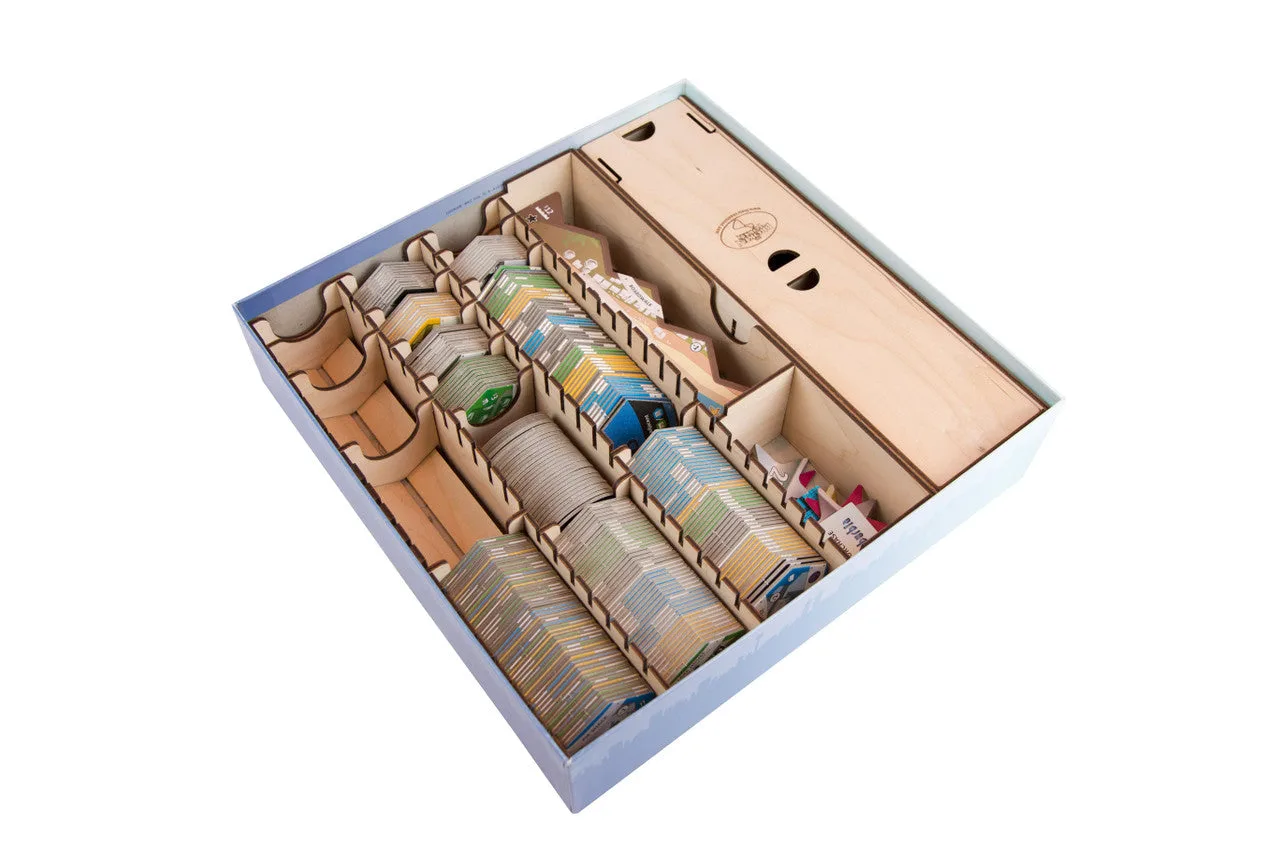
A matte varnish spray or brush-on varnish protects paint from handling wear. Spray in thin coats on a dry day, and let each coat cure before the next. If you game often, a gloss varnish under a matte coat adds extra durability. Store painted miniatures in a foam tray or a compartment box so they do not rub against each other. If your game box already has a custom insert, check that the miniature slots are deep enough for based models; some organizers are designed for cards and tokens rather than painted figures, so you may need a separate figure case.
Step-by-step miniature painting process
- Clean and assemble the miniature: Wash the model in soapy water, scrape mold lines, and glue parts with plastic cement or super glue. Let the glue cure fully before priming. Checkpoint: no visible mold lines or gaps, and the model feels solid when you tap it.
- Prime in thin coats: Shake spray primer for one minute, then apply two light passes from 8–12 inches away. Let each coat dry before the next. Mistake to avoid: spraying too close or too long, which fills detail and creates a fuzzy texture.
- Base coat the largest areas: Thin acrylic paint to skim milk consistency and apply two thin coats, starting with skin, cloth, and armor. Work from inside to outside. Checkpoint: the primer is fully covered but the surface still shows sharp detail.
- Apply a wash shade: Brush a brown or black wash into recesses and let it pool slightly in folds and around details. Wick away excess with a dry brush. Mistake to avoid: letting the wash pool on flat surfaces, which leaves tide marks.
- Highlight raised edges: Use a lighter version of the base color on the tops of folds, knuckles, and weapon edges. Drybrush textured areas, but use a fine brush on smooth cloaks. Checkpoint: highlights catch the light when you turn the model under a lamp.
- Seal and store: Apply matte varnish in thin coats on a dry day, then store miniatures in a foam tray or compartment box away from direct sunlight. Next step: label your storage so you can find painted warbands quickly before game night.
Organizer options that help painting and storage
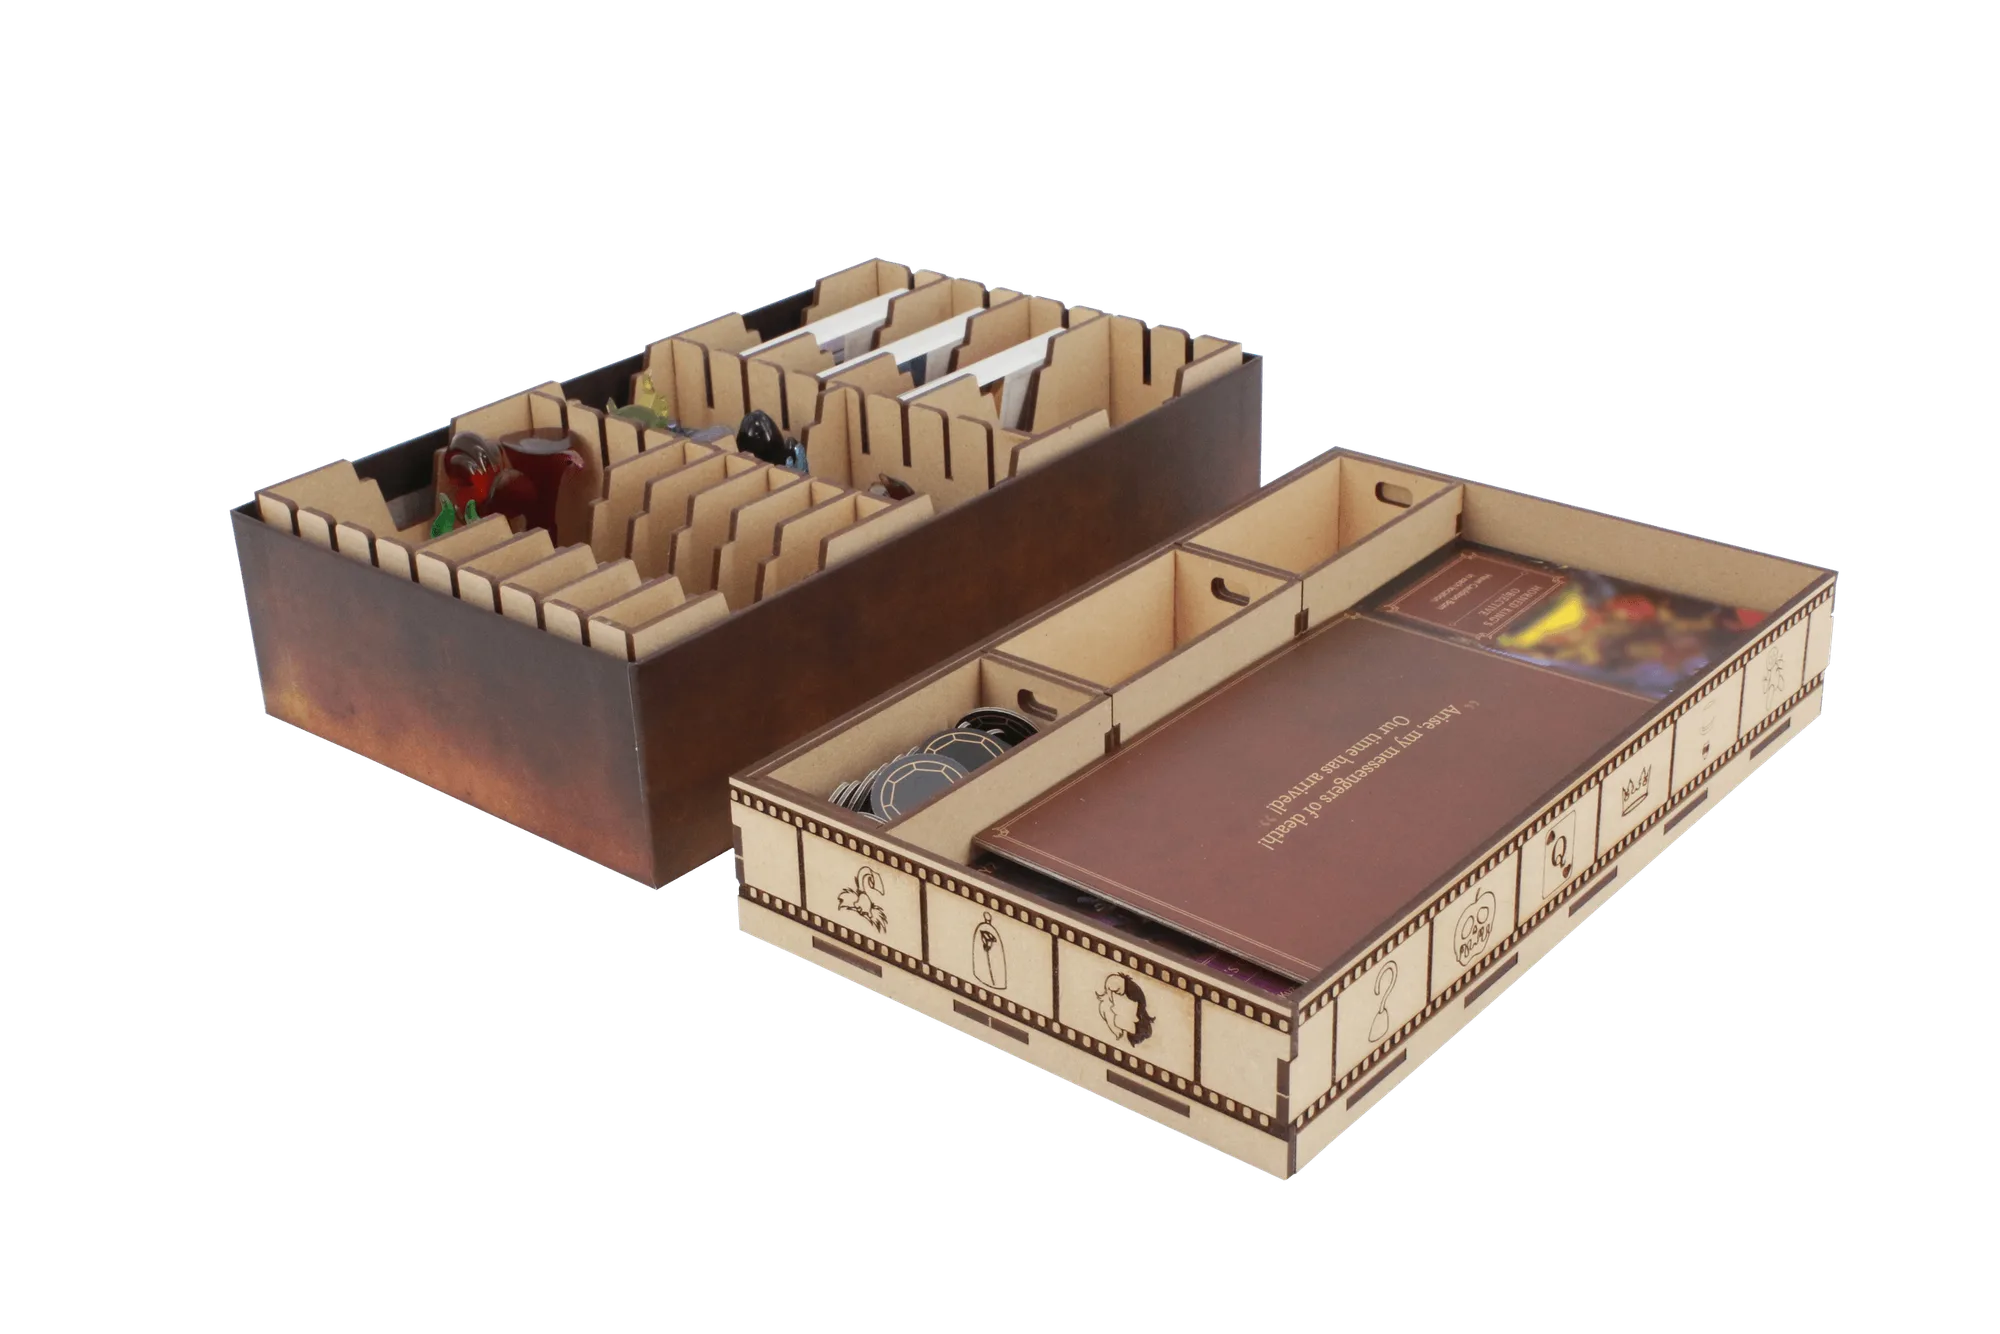
- Arkham Horror 3rd Edition Compatible Expansion Organizer: Expansion organizer made from high-quality laser-cut baltic birch with numerous trays for components. Keeps expansion components sorted so you can find the miniatures you want to paint without unpacking the whole box.
- Marvel Legendary Compatible Game Organizer: Innovative pinwheel design stores cards horizontally and includes 6 wooden dividers; cardboard dividers from the game also fit. Card storage stays organized while you focus on painting miniatures, and the wooden dividers make it easy to separate painted from unpainted figures.
- Mice and Mystics Compatible Game Organizer: Accommodates the base game and Heart of Glorm expansion, with hinged-lid boxes for cheese and wounds plus a spare box for extra components like the wooden Cheese Golem and Ladybug. The hinged boxes keep small tokens secure, so you can paint miniatures without losing track of game pieces.