Quick Answer
To paint the Cutty Sark model kit like a pro, focus on a clean primer coat, thin acrylic layers for the hull and deck, careful masking for the waterline, and subtle weathering to bring out the clipper's character.
Understanding the Cutty Sark Kit's Paint Needs
The Cutty Sark model kit features a two-piece hull with a wood-look deck and detailed structures like cannons and masts. The plastic surface needs a primer to help paint adhere and to reveal any mold lines or imperfections. The wood-look deck benefits from a thin stain or wash rather than opaque paint to keep the grain visible.
A common trade-off: you can paint the hull in authentic Victorian colors (black, white, and red) or add more weathering for a working-ship look. Both are valid, but the choice affects how much detail you emphasize.
Step-by-Step Painting Process
- 1. Prepare and Prime the Hull: Wash the plastic parts in warm soapy water to remove mold release. Let dry completely. Apply a thin coat of gray or white primer to the hull halves. Check for seam lines and sand them smooth before the primer dries fully. Common mistake: skipping the wash leads to paint peeling. A light sanding after primer helps adhesion.
- 2. Paint the Deck with a Wood Wash: Mix a dark brown or tan acrylic paint with water (about 1:4 ratio) to create a thin wash. Brush it over the wood-look deck panel, then wipe off the excess with a cloth. This stains the plastic while keeping the grain visible. Avoid thick paint that fills the grooves—test on a sprue first to get the right transparency.
- 3. Mask and Paint the Hull Stripes: Use fine-line masking tape to mark the waterline and the white/red stripe areas on the hull. Paint the black lower hull first, then the white upper hull, and finally the red stripe. Remove tape while paint is still slightly tacky to avoid lifting. Checkpoint: press tape edges firmly to prevent bleeding. If paint seeps, touch up with a fine brush.
- 4. Detail the Masts and Rigging: Paint masts with a wood or tan color, and use a fine brush for the rigging blocks. For the prefabricated shrouds, apply a light dry-brush of gray to highlight the texture. Attach rigging thread after painting to avoid paint buildup. Common mistake: painting rigging thread makes it stiff—better to paint the masts first, then add thread.
- 5. Apply Decals and Seal: Soak the authentic decals in warm water, slide them onto the hull, and press out bubbles with a soft cloth. Let dry 24 hours, then spray a clear matte or satin varnish to protect the paint and decals from UV and dust. Checkpoint: use a decal setting solution if the decal doesn't conform to curves. Varnish prevents future peeling.
- 6. Weathering for Realism: Mix a tiny amount of black or burnt umber acrylic with water to create a wash. Apply it to the hull seams, deck edges, and around the rigging blocks. Wipe off excess with a damp cloth to leave shadows in the recesses. Common mistake: too much weathering hides the decals and paint. Start light and build up gradually.
Product Facts
-
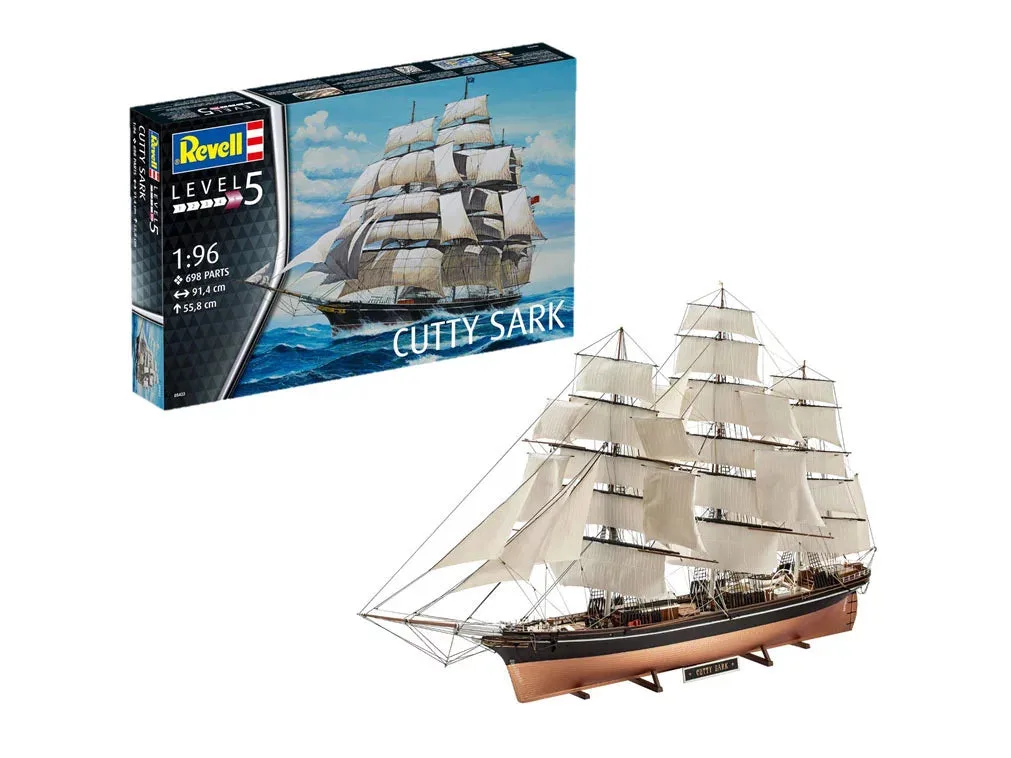
Cutty Sark: The Cutty Sark kit includes a structured two-piece hull, deck with a wood look, detailed masts, authentic sails, prefabricated shrouds, and rigging thread. These pre-shaped parts save time but require careful painting to avoid hiding the wood texture and rigging details.
Cutty Sark