Quick Answer
To paint D&D miniatures with a spray primer, start by cleaning the miniature, then apply several thin coats from a distance, and let it cure fully before painting.
Why Spray Priming Matters
Spray priming creates a uniform surface that helps paint adhere to the miniature. Without a primer, paint can bead up or chip off, especially on smooth plastic surfaces.
A good primer also reveals details that might be hidden by the raw plastic, making it easier to see what you're painting.
Choosing the Right Primer
Not all primers are created equal. For D&D miniatures, a thin acrylic primer like Vallejo spray primer is a popular choice because it goes on smoothly without obscuring fine details.
Avoid thick automotive primers or paints that are not designed for miniatures, as they can fill in the tiny details that make these figures special.
Common Mistakes to Avoid
The most common mistake is spraying too close or too much, which can pool and obscure details. Another is painting before the primer has fully cured, which can cause the paint to peel.
Always test on a sprue or an old miniature first to get a feel for the spray distance and coverage.
Step-by-Step Spray Priming Process
- Clean the Miniature: Wash the miniature with warm soapy water and a soft toothbrush to remove mold release agents. Rinse and let it dry completely. A clean miniature ensures the primer adheres properly.
- Shake the Primer Can: Shake the spray primer vigorously for at least two minutes to ensure the pigment is fully mixed. Insufficient shaking can lead to a gritty finish.
- Set Up a Spraying Area: Work in a well-ventilated area, ideally outdoors or under a fume hood. Place the miniature on a piece of cardboard or a spray stand. Avoid spraying in humid or cold conditions to prevent a dusty or blotted finish.
- Spray from the Right Distance: Hold the can about 8-12 inches (20-30 cm) from the miniature and spray in short, sweeping bursts. Move the can continuously to avoid pooling. If the primer looks wet or shiny, you're too close or applying too much.
- Apply Multiple Thin Coats: Apply a light first coat, let it dry for a few minutes, then apply a second thin coat. Two to three thin coats are better than one thick coat. Thin coats preserve detail and prevent clogging.
- Let the Primer Cure: Allow the primer to cure fully, ideally for at least 24 hours, before you start painting. Check the can's instructions for specific times. Painting too soon can cause the paint to peel or react with the primer.
Miniatures to Practice On
-
Pathfinder Battles: Darklands Rising - Hellspawn Monk #8: This Pathfinder Battles miniature is part of the Darklands Rising set, featuring dangerous creatures from the deepest reaches of Golarion. Its detailed sculpt is perfect for practicing spray priming techniques that preserve fine details.
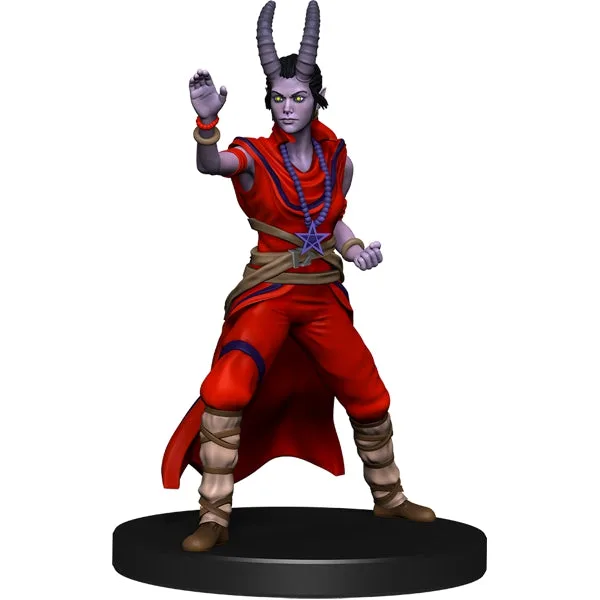
Pathfinder Battles: Darklands Rising - Hellspawn Monk #8
-
D&D Icons of the Realms Miniatures: Rime of the Frostmaiden - Human Hunter #2: This D&D Icons of the Realms miniature from the Rime of the Frostmaiden set represents a human hunter from Icewind Dale. A human-sized figure is a great canvas to test primer coverage before moving on to more complex creatures.
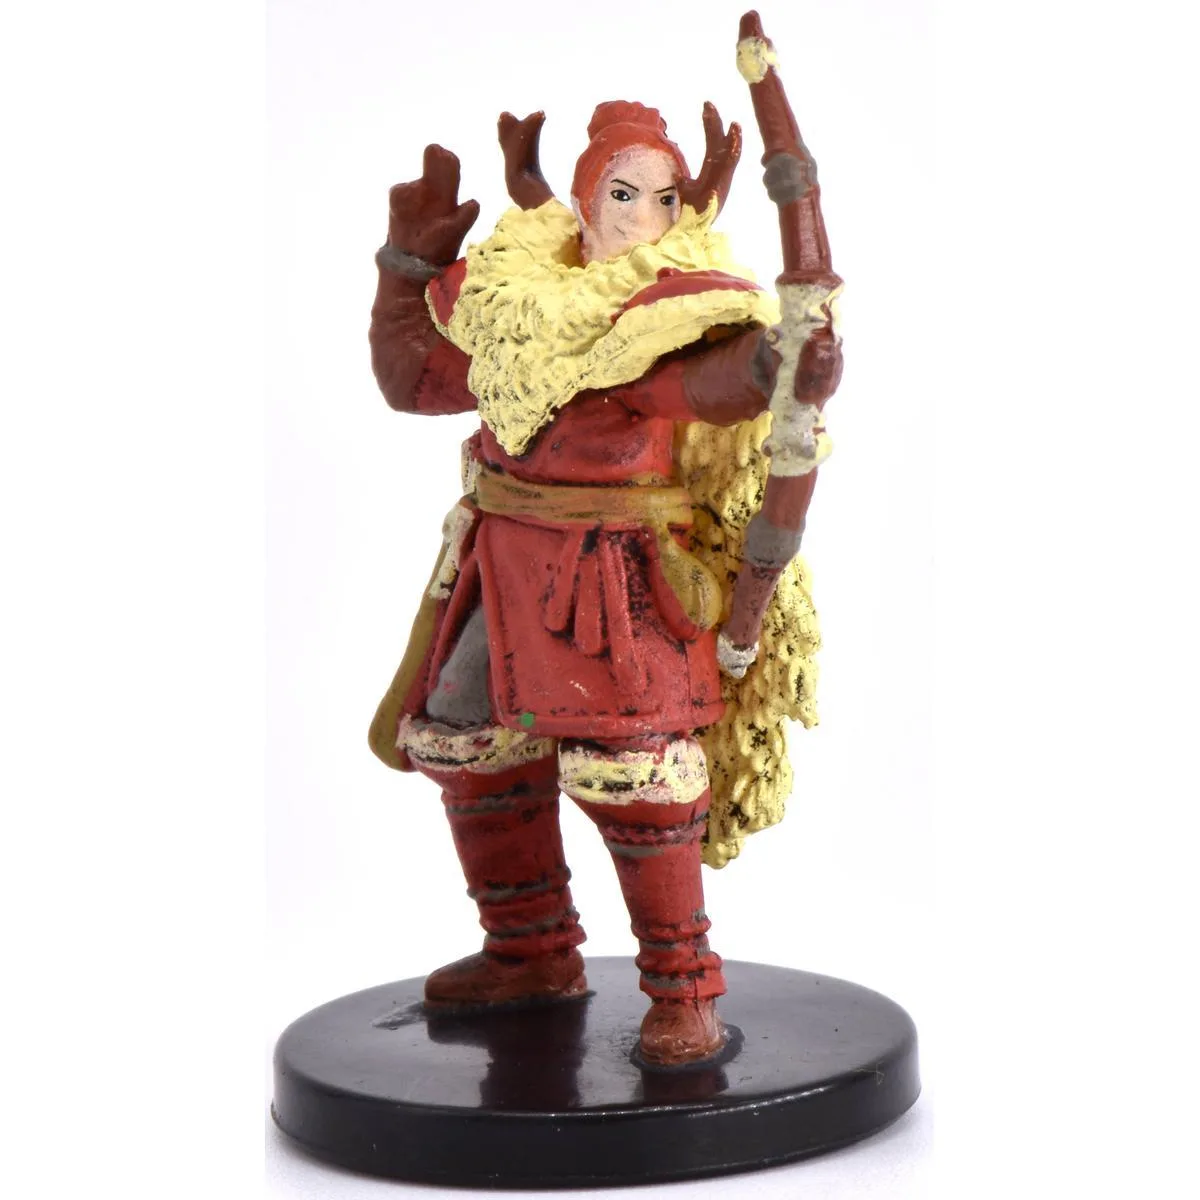
D&D Icons of the Realms Miniatures: Rime of the Frostmaiden - Human Hunter #2
-
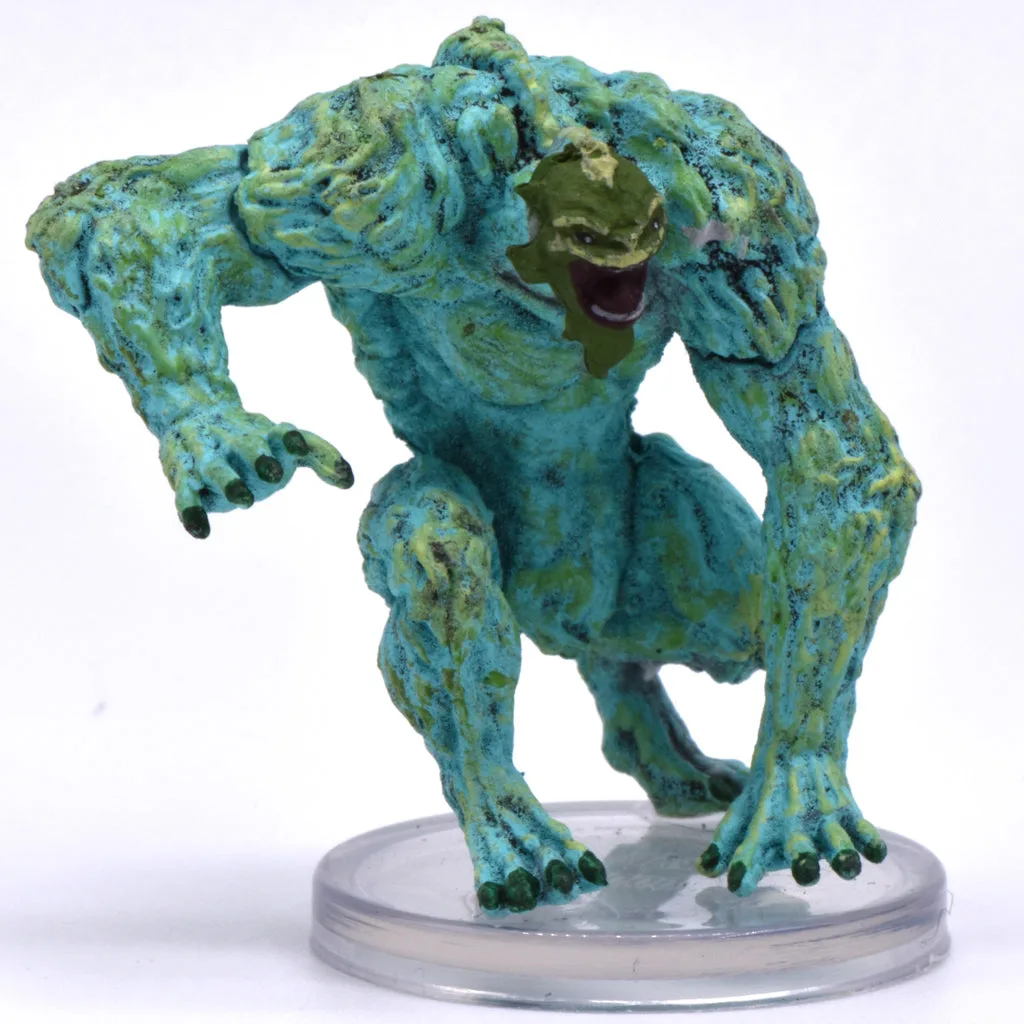
D&D Icons of the Realms Miniatures: Snowbound - Quaggoth #24: This pre-painted miniature from the Snowbound set features a Quaggoth, a classic D&D creature. Its textured fur and claws provide an excellent test for how primer handles different surface textures.