Quick answer
Paint your Nolzur's Myconid Adults with earthy browns and muted purples, using drybrushing to bring out the deep cuts and a wash to shade the cap undersides.
Why these miniatures are great for beginners and experts
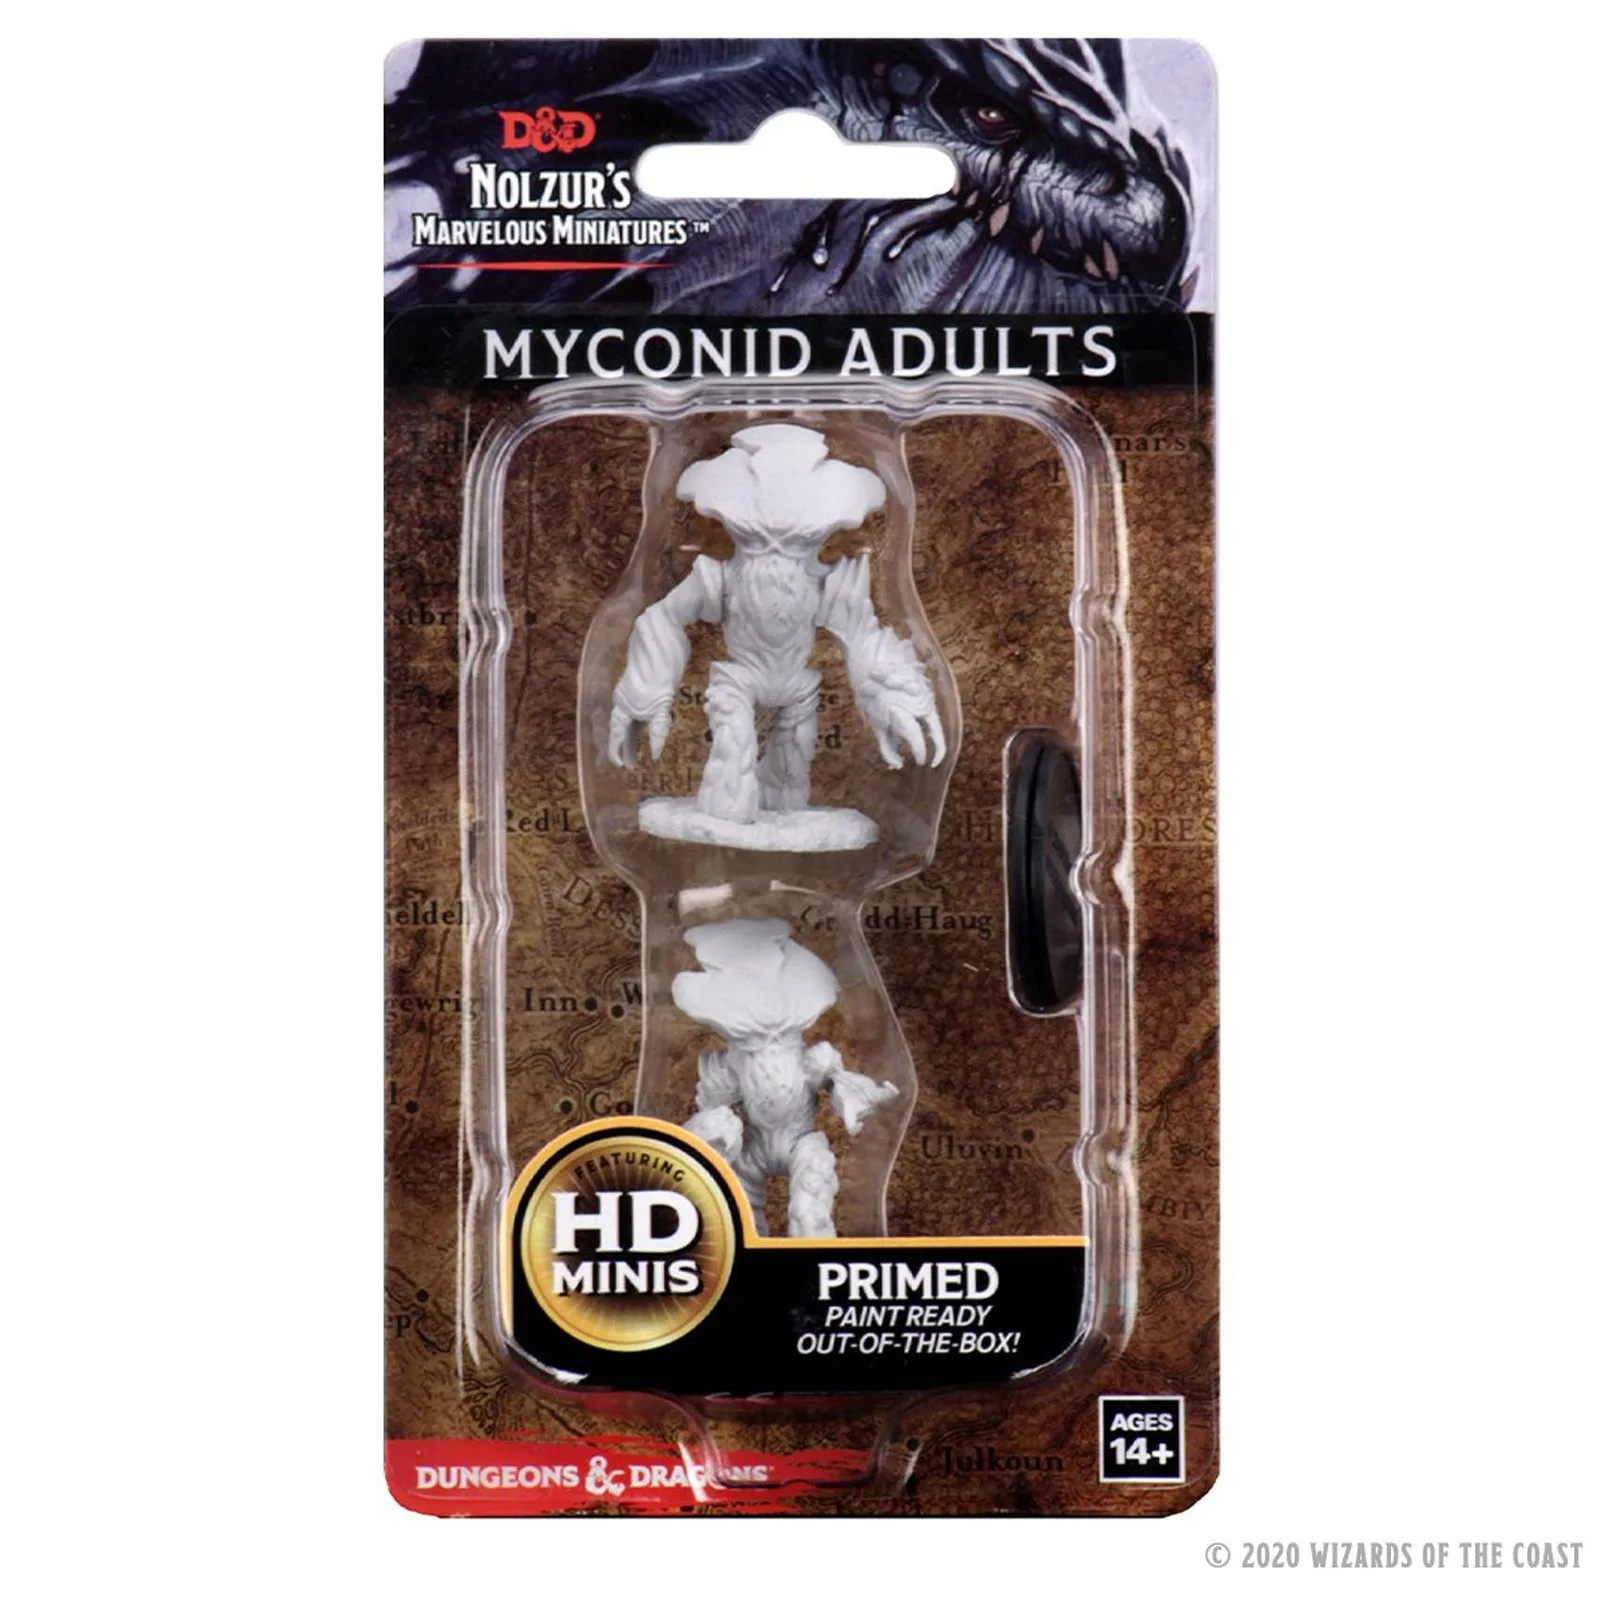
The D&D Nolzur's Marvelous Miniatures Myconid Adults come primed and ready to paint out of the box. The deep cuts and highly-detailed figures make them forgiving for drybrushing and washes, while still offering room for advanced shading and highlighting.
Because the myconids are organic and asymmetrical, minor paint slips look natural. This makes them an excellent project for practicing wet blending or trying new color schemes without worrying about perfection.
Choosing a color scheme for Underdark fungi
Myconids in the Underdark often sport earthy browns, muted purples, and pale yellows. A common approach is a tan or ochre cap with a darker brown stem, but you can also experiment with violet-blue caps for a more magical look.
The miniature's deep cuts help define the cap gills and stem ridges. Using a wash (like Agrax Earthshade or Druchii Violet) will settle into these recesses and create instant contrast.
Step-by-step painting guide
- 1. Basecoat the cap and stem: Apply a basecoat of your chosen cap color (e.g., Zandri Dust) and stem color (e.g., Mournfang Brown). Use thin coats to preserve detail. Common mistake: applying paint too thickly can fill in the deep cuts. Thin your paints with a little water to keep the cuts visible.
- 2. Wash the recesses: Apply a wash (such as Agrax Earthshade) over the entire miniature, letting it pool in the cap gills and stem crevices. Wipe excess from raised areas. Common mistake: leaving too much wash on flat surfaces creates a muddy look. Use a damp brush to wick away excess wash from high points.
- 3. Drybrush the highlights: Drybrush the cap with a lighter shade (e.g., Ushabti Bone) and the stem with a lighter brown (e.g., Gorthor Brown). Focus on the top edges and ridges. Common mistake: using too much paint on the brush can leave streaks instead of a soft highlight. Remove almost all paint from the brush on a paper towel before applying.
- 4. Paint the details (eyes and spores): Paint the eyes with a pale yellow or white, then add a tiny dot of black or a dark color. For spores, stipple a few small dots of pale green or yellow on the cap. Common mistake: making the eyes too large can ruin the miniature's expression. Use the tip of a fine brush and steady your hands against the table.
- 5. Seal the miniature: Once the paint is dry, apply a matte varnish to protect the paint job. This also reduces shine and gives a natural look. Common mistake: using a gloss varnish can make the myconid look wet and unnatural. Spray varnish in thin, even coats from about 12 inches away.
Product details
-
D&D Nolzur's Marvelous Miniatures: Myconid Adults: These miniatures come primed and ready to paint out of the box, with deep cuts for easier painting. You can skip the priming step and start painting immediately, and the deep cuts help wash and drybrush techniques work more effectively.
D&D Nolzur's Marvelous Miniatures: Myconid Adults