Quick Answer
To paint Ork skin that looks natural and reads well on the tabletop, start with a dark green basecoat, shade with a green wash, then layer up to a bright yellow-green. This method works for any Warhammer 40,000 Ork model and takes about 20 minutes per miniature once you have the steps down.
Choosing Your Green Palette
Ork skin is traditionally a vibrant green, but the exact shade depends on the clan and your personal taste. For a classic Goff or Snakebite look, use a dark olive or forest green base. For a more vibrant Evil Sunz or Bad Moons scheme, start with a medium green and highlight toward yellow. Avoid pure emerald greens—they can look cartoonish rather than organic. Stick to two or three paints: a base, a wash, and a highlight layer.
Tools You'll Need
You don't need an airbrush for good Ork skin. A size 2 or 1 round brush, a palette (wet or dry), and a small pot of water are enough. If you have a shade wash like Athonian Camoshade or Biel-Tan Green, that helps. For the final highlight, a pale yellow-green or a mix of your base green with a little white or yellow works well. A steady hand and patience with thin coats matter more than expensive equipment.
Step-by-Step Ork Skin Painting Process
- Step 1: Basecoat the Skin: Apply a thinned layer of dark green (e.g., Caliban Green or a similar forest green) over all exposed skin areas. Use two thin coats to get an even finish. Let each coat dry completely before the next. Common mistake: applying the basecoat too thickly, which hides muscle definition. Thin your paint to the consistency of skim milk.
- Step 2: Shade the Recesses: Apply a green wash (such as Athonian Camoshade or Biel-Tan Green) to the recesses—around the eyes, under the jaw, between muscles, and in the knuckles. Let the wash flow naturally; don't over-brush it. Checkpoint: if the wash pools on flat surfaces, wick away the excess with a clean, damp brush. You want shadows, not stains.
- Step 3: Layer the Mid-Tone: Mix your base green with a small amount of bright green or yellow-green (e.g., Warboss Green or a 1:1 mix of base green and Moot Green). Apply this to raised areas—cheeks, brow ridges, shoulders, and the tops of muscles. Leave the wash in the recesses untouched. Common mistake: covering too much area. Keep the mid-tone to the upper 50% of each muscle group to preserve contrast.
- Step 4: Highlight the High Points: Add a final highlight of pale yellow-green (e.g., Skarsnik Green or a mix of mid-tone with a touch of white) to the very tips: nose, ears, knuckles, and the top of the head. Use the side of your brush for thin, controlled lines. Checkpoint: if the highlight looks chalky, your paint is too thick or you added too much white. A little yellow gives a warmer, more natural Ork tone.
- Step 5: Add Eyes and Details (Optional): Paint the eyes with a tiny dot of black or dark red, then a smaller dot of white or yellow for the pupil. Alternatively, leave the eyes shaded for a mean, squinty look—this is faster and often looks better on tabletop miniatures. Common mistake: trying to paint eyes with pure white first. It's easier to paint the whole eye socket black, then add a tiny dot of red or yellow.
Products That Help
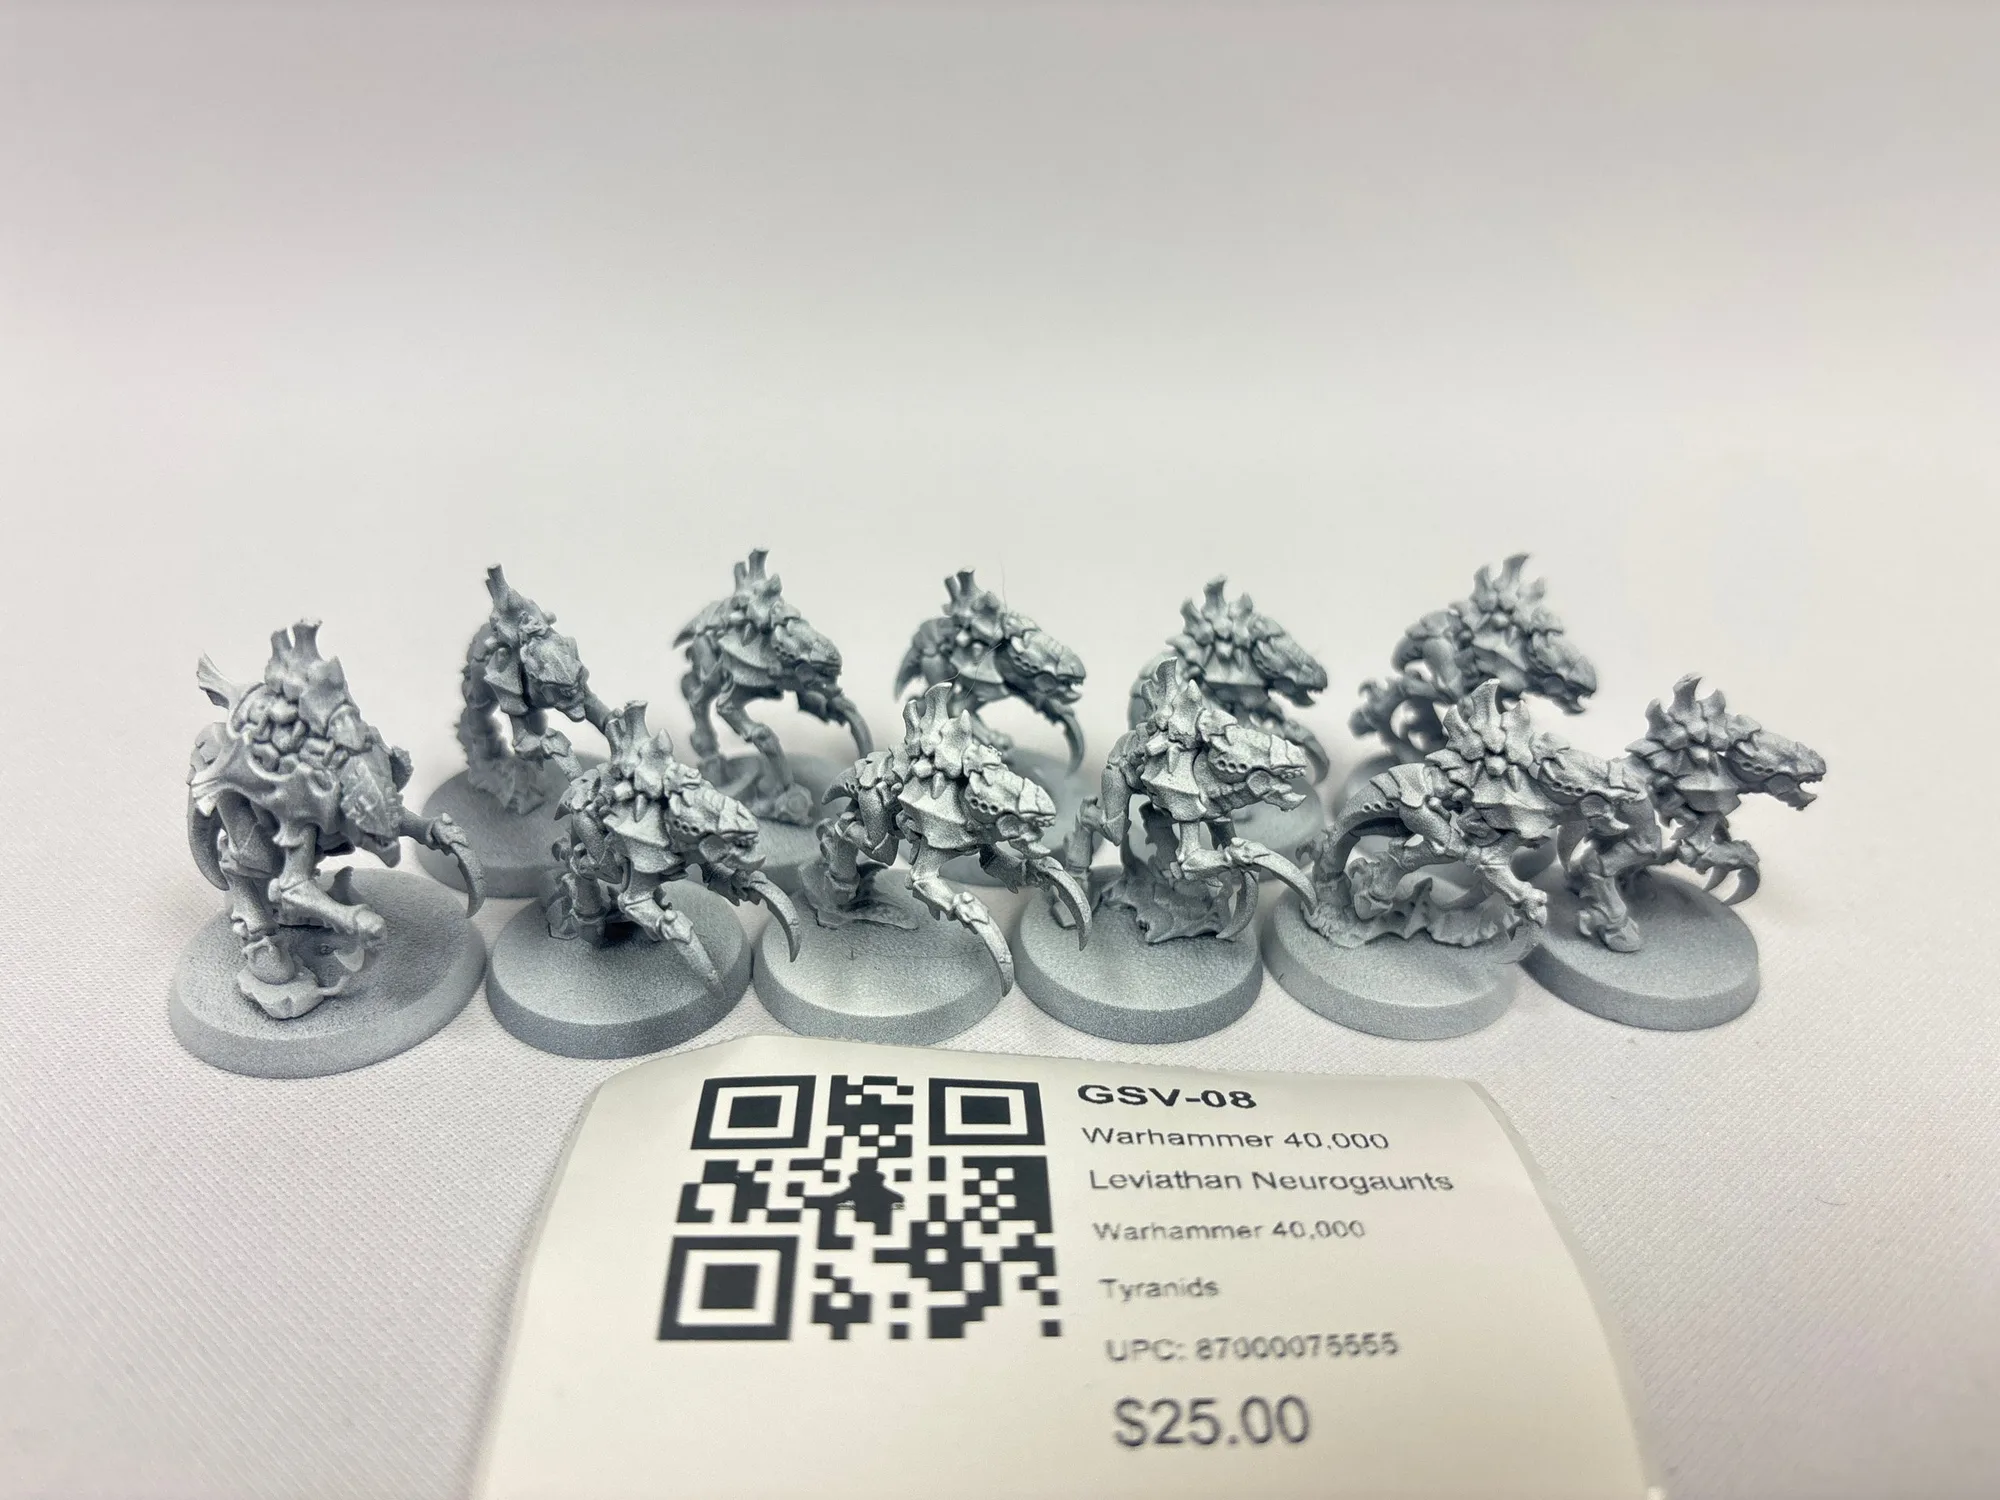
- Warhammer 40,000 Leviathan Neurogaunts GSV-08: Secondhand Shop Product sales are final and sold as-is. Items are 'What you see is what you get' and are purchased exclusively from clients through our Secondhand Store Program. If you're looking for a cheap Ork model to practice skin painting on, a secondhand Neurogaunt or similar miniature can be a low-risk test piece. Just remember that used models may have old paint or glue, so you'll need to strip them first.