Quick answer
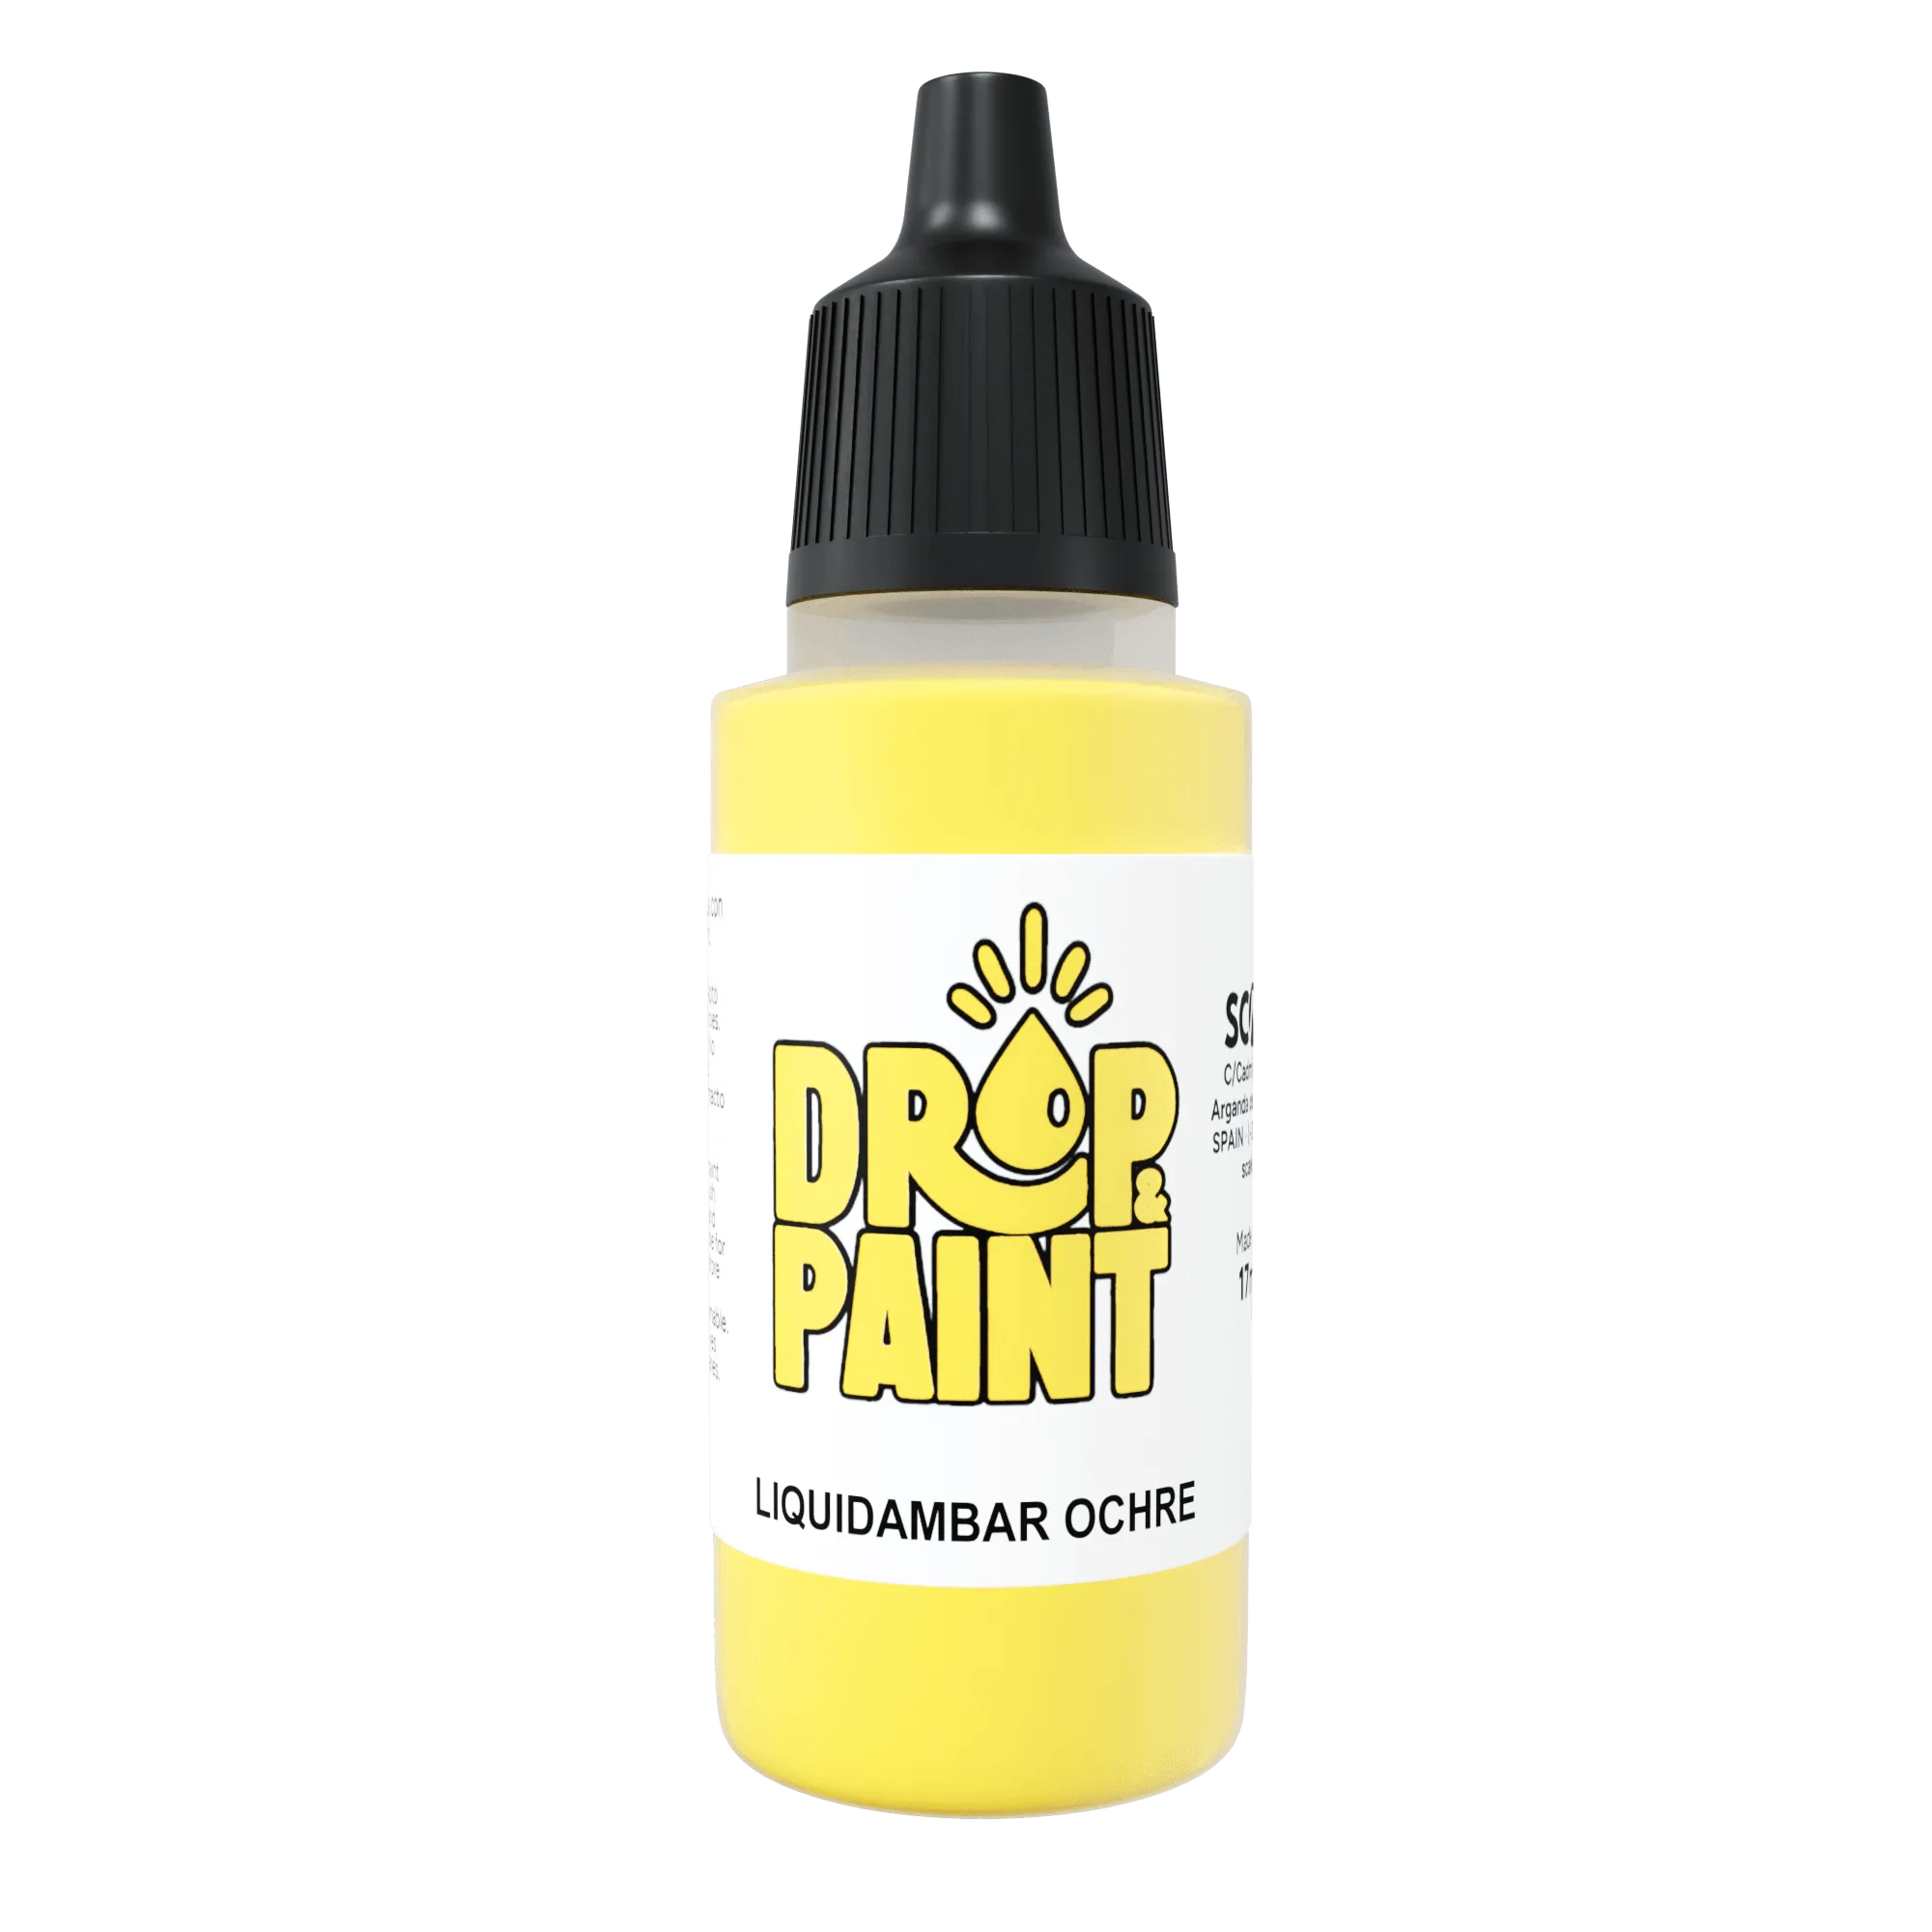
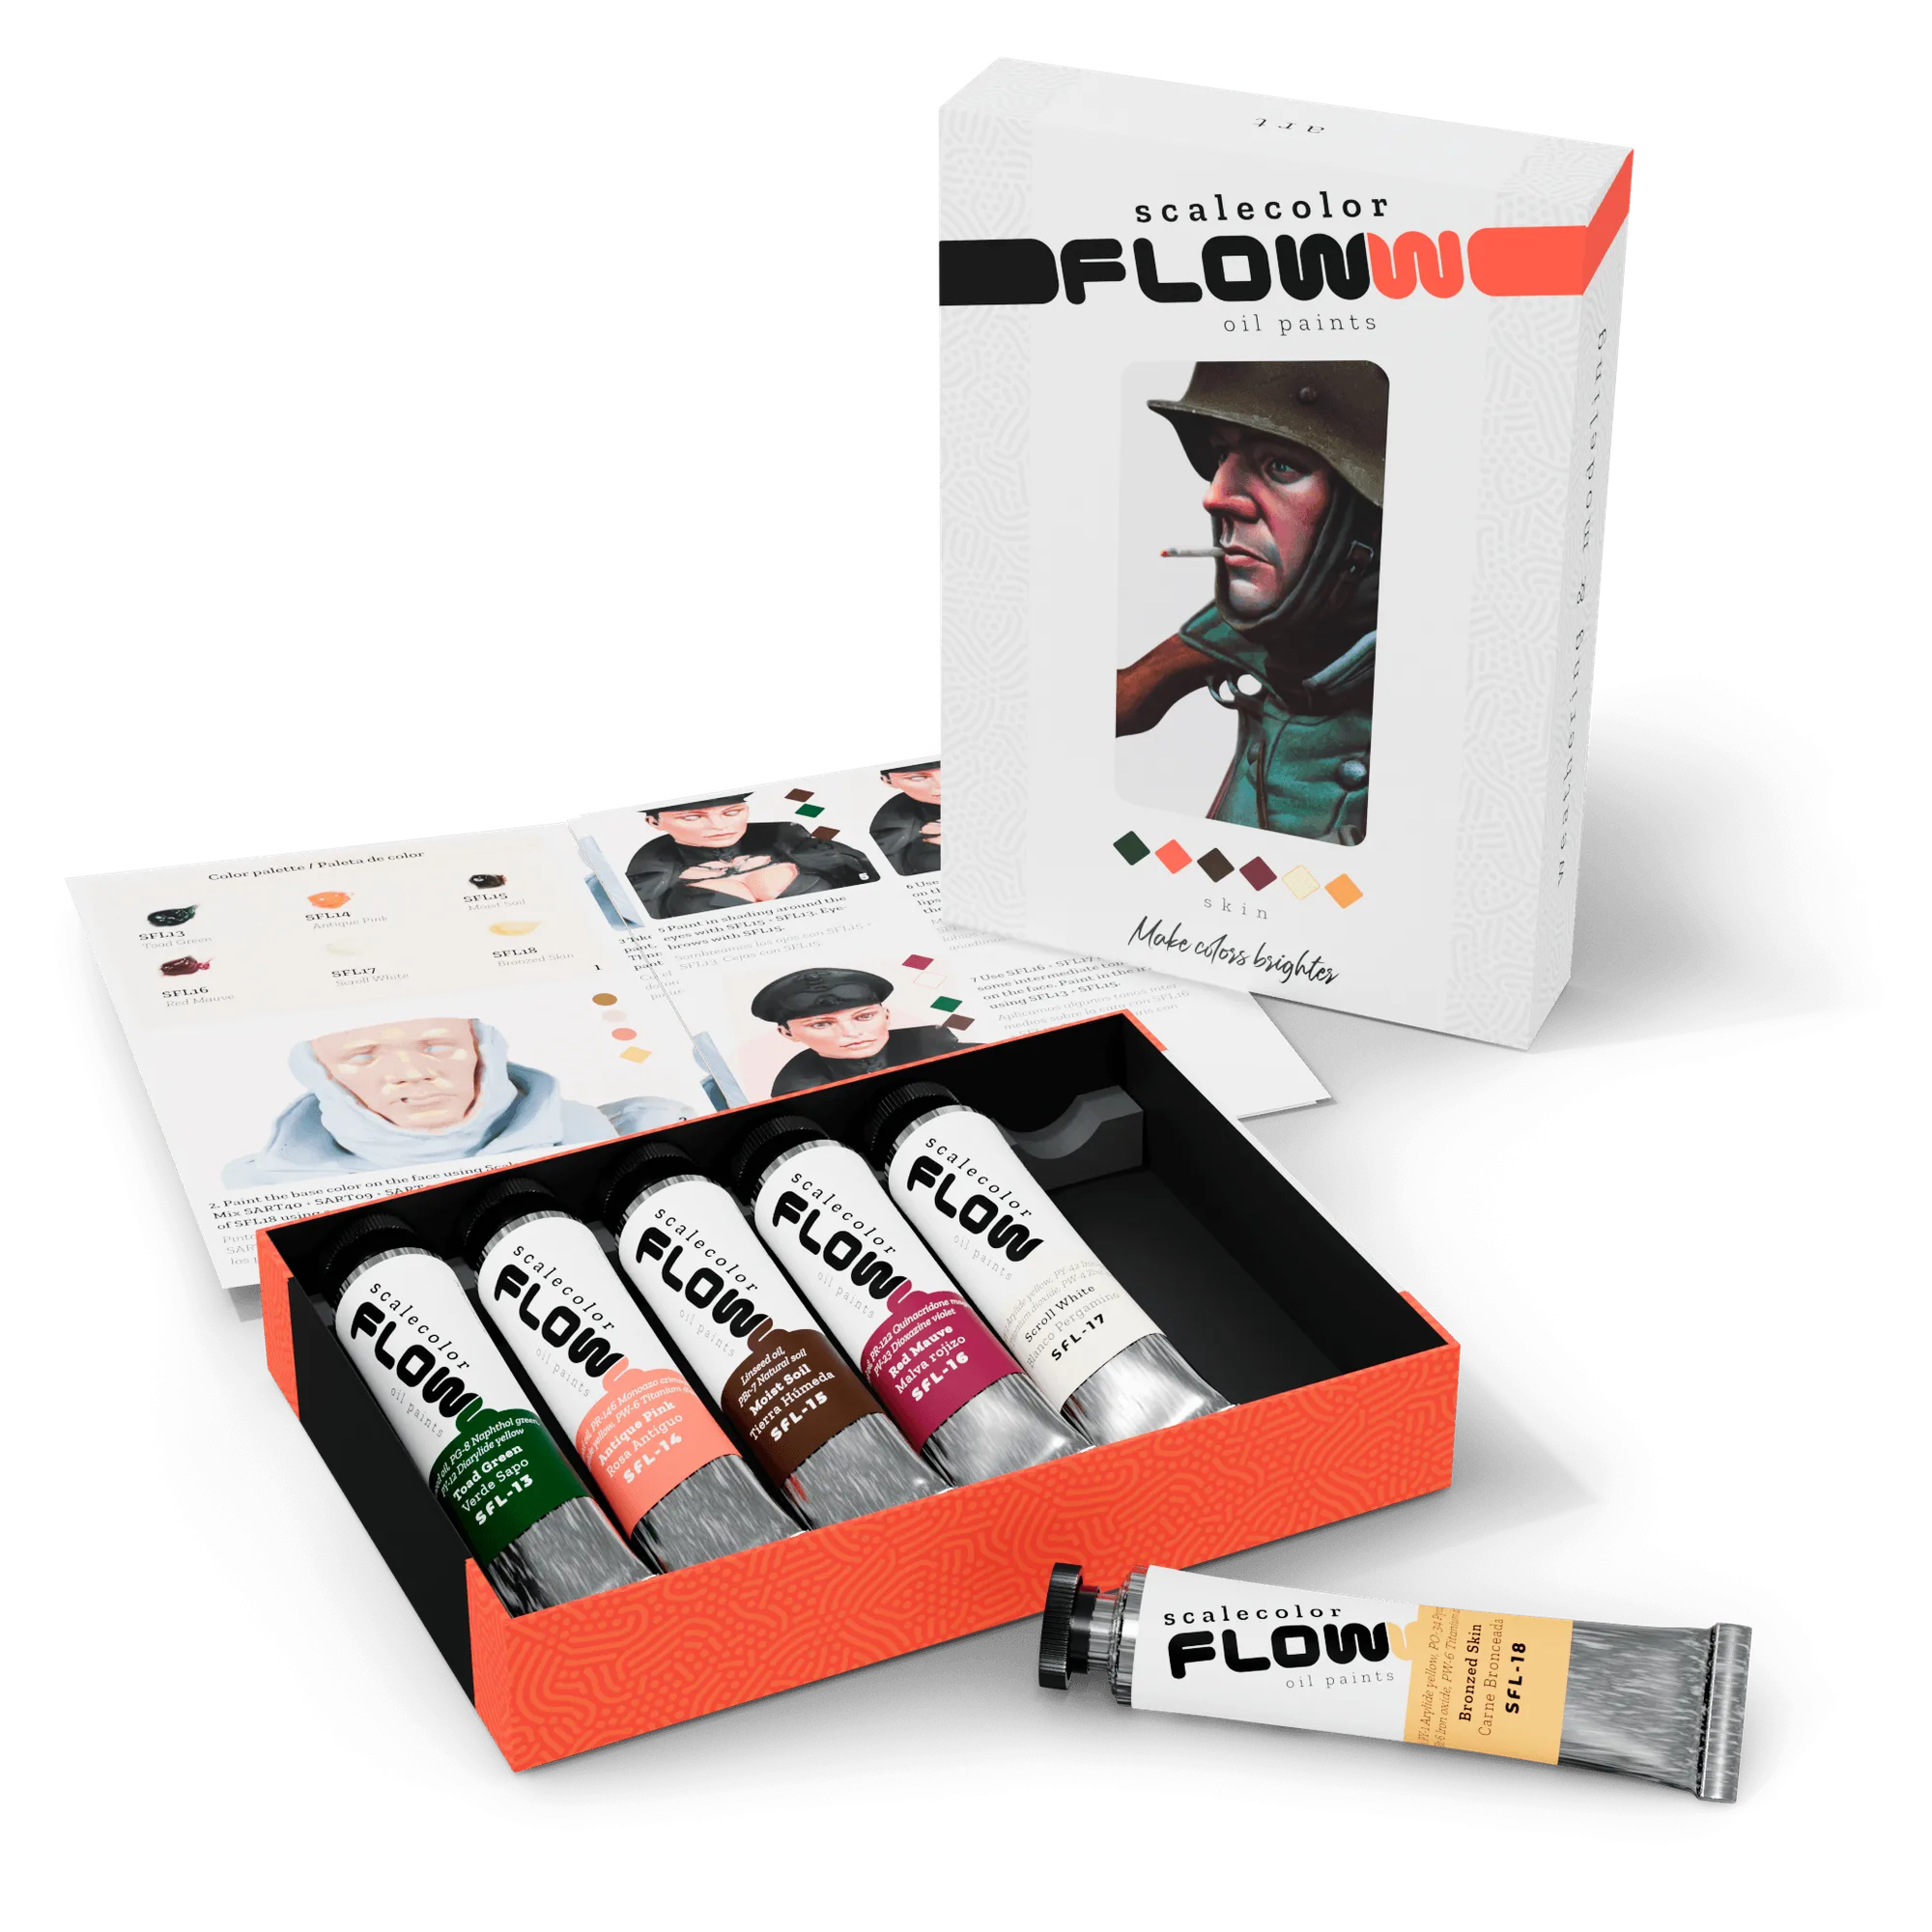
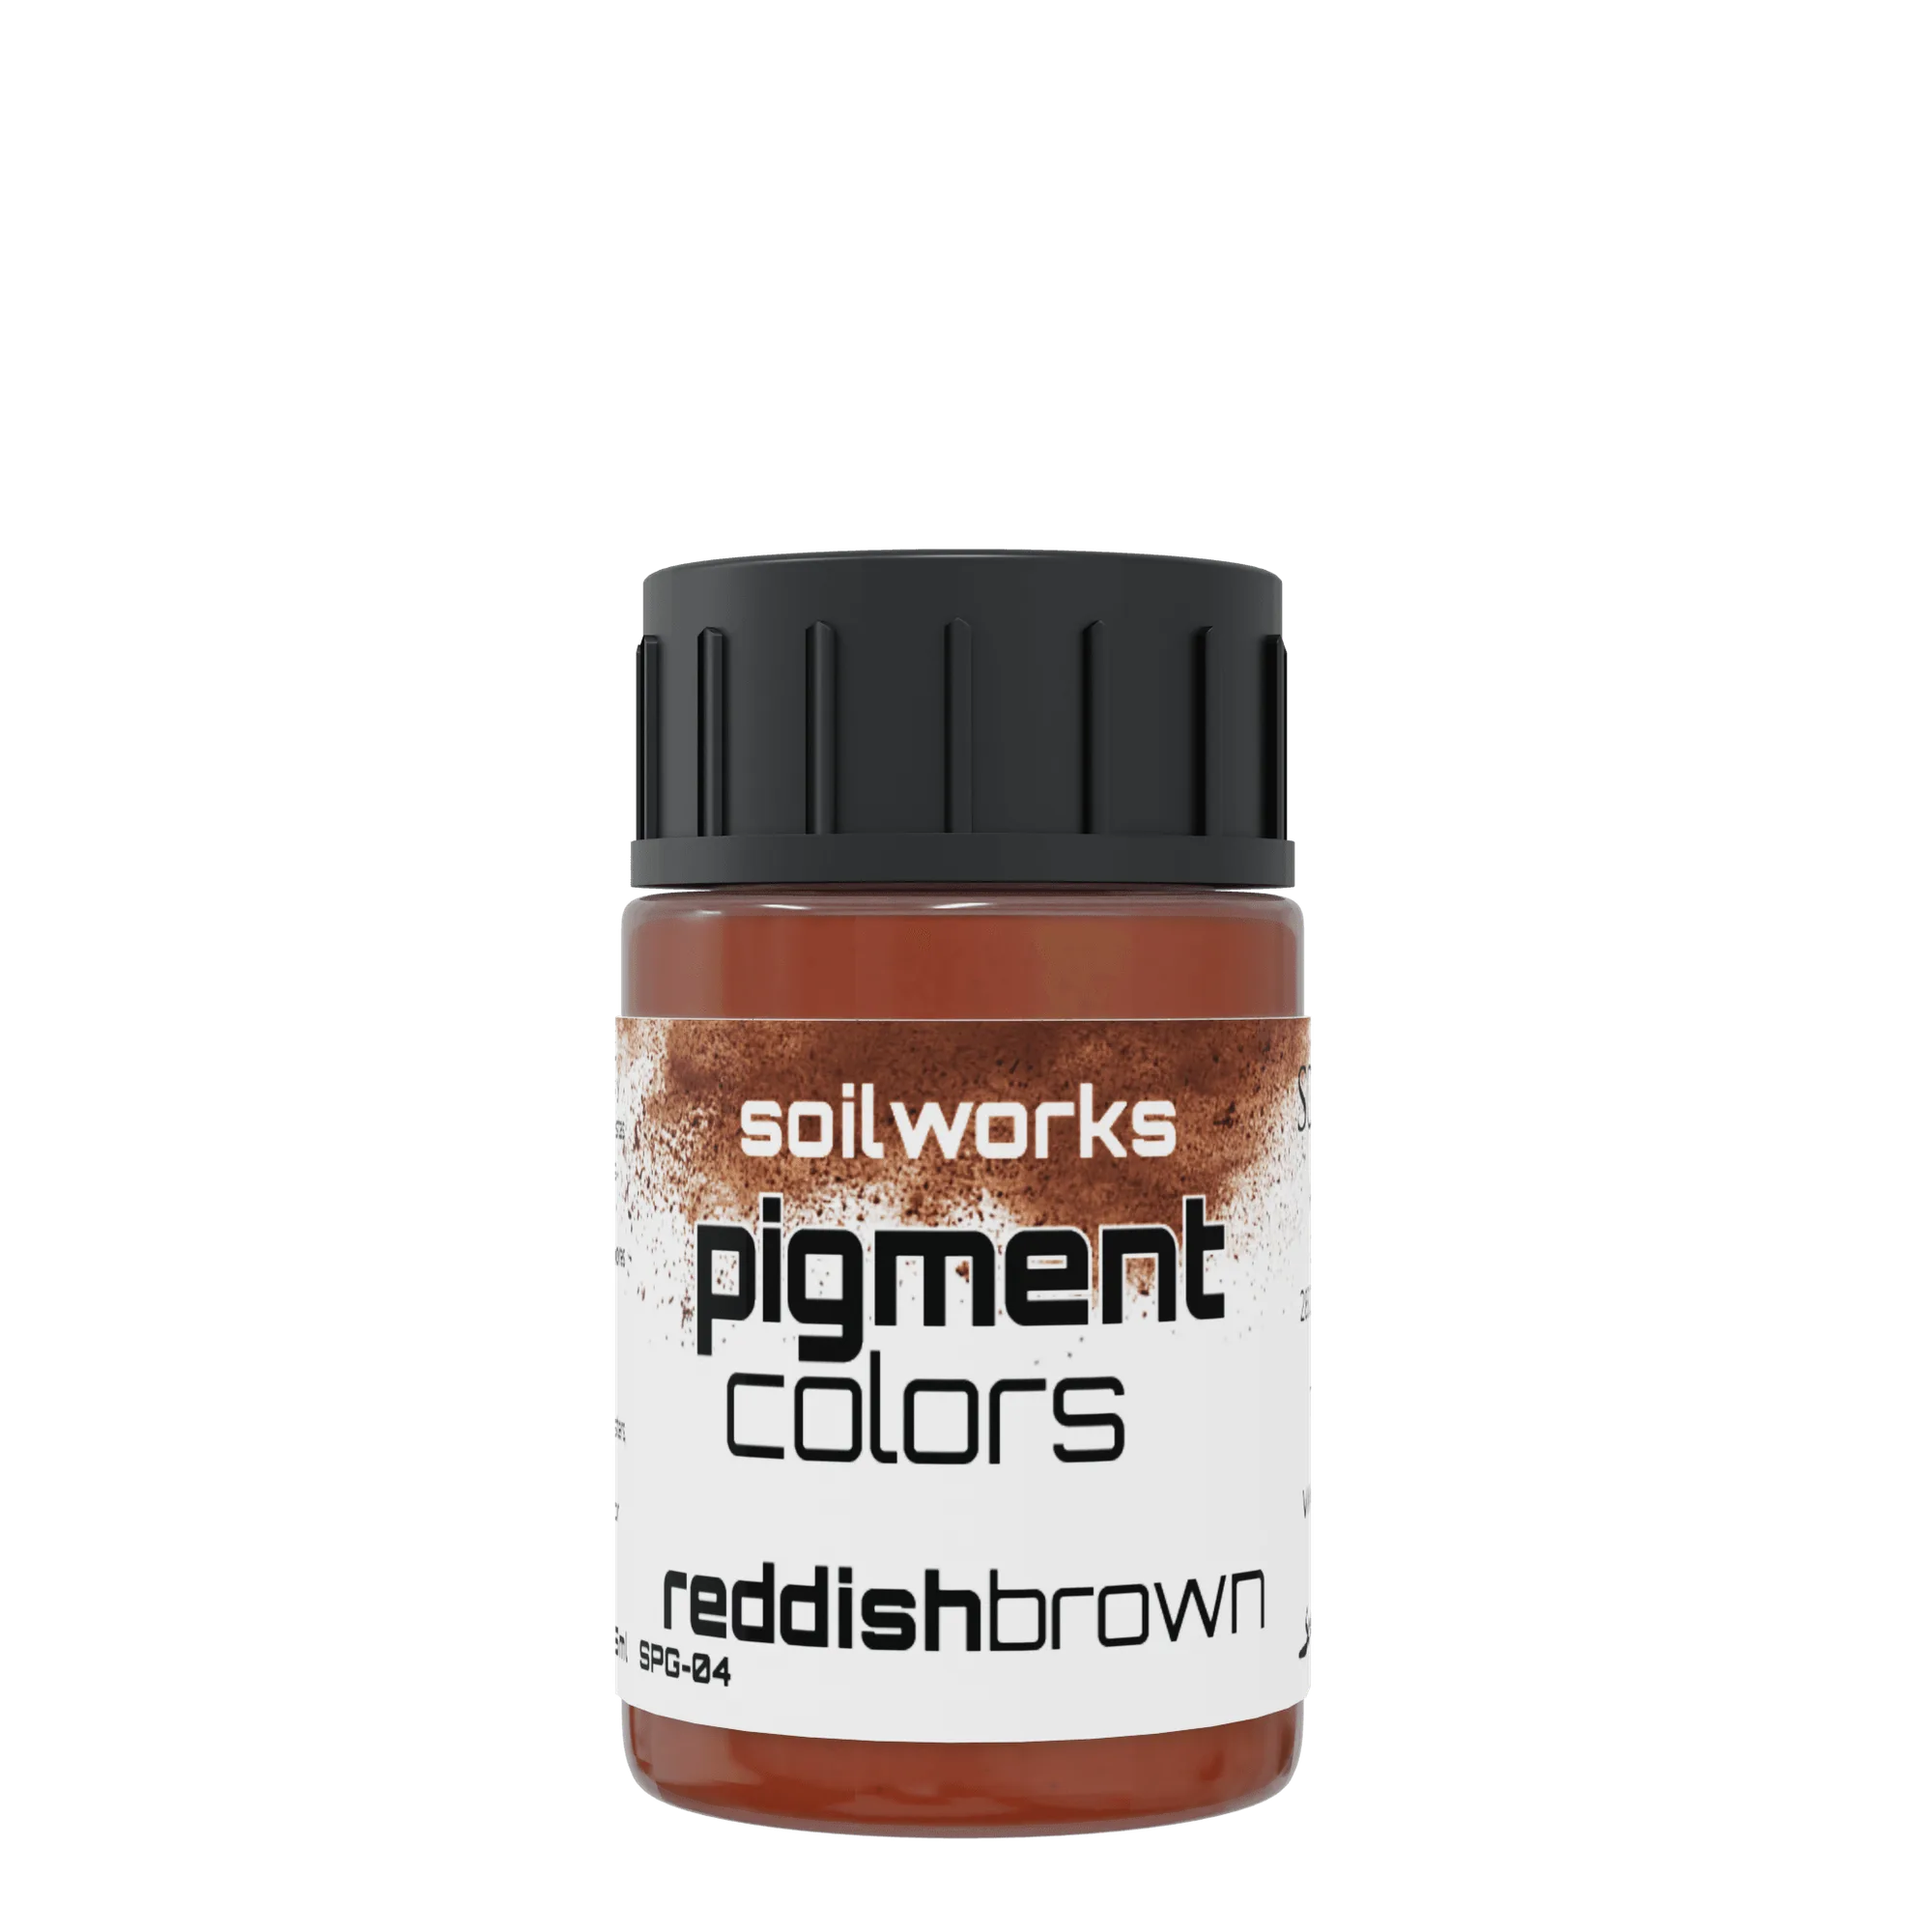
Build miniature skin in thin layers: a reddish brown base, a liquidambar ochre mid-tone, and a pale ochre highlight. Mix the mid-tone by blending the two until it matches the skin you want, then apply each layer thinner than you think you need. This keeps faces warm and readable without chalky buildup.
Skin is the hardest part of a miniature to get right because it sits in the middle of the value range, where mistakes show. Reddish brown gives you the warmth and depth that plain flesh paints often lack, and liquidambar ochre adds the yellow mid-tone that makes skin look alive rather than muddy.
This guide walks through a repeatable order of work: base, shadow, mid-tone, highlight, and final checks. Every step includes the mistake that most often ruins faces so you can catch it before it sets.
Why reddish brown and liquidambar ochre work for skin
Reddish brown sits on the warm side of the color wheel, which is where most human skin lives. Used as a base, it gives you a shadow color that reads as blood under the skin rather than dirt. Liquidambar ochre is a yellow-brown that lifts that base into a believable mid-tone without turning pink or orange-9044978ab4e12cd8d7e14cab-1816325">orange.
The pairing works because the two colors share a warm bias. When you mix them, you get a gradual shift from deep warm shadow to lighter warm mid-tone, which is exactly the transition a face needs. Cool colors added too early flatten that transition and make skin look grey.
- Keep a scrap miniature or spare base nearby to test mixes before committing to a face.
- Work under the same light you will use for display, since warm paints shift under cool bulbs.
Tools and setup before you start
You need a fine brush with a sharp point, a palette with room to mix, clean water, and a paper towel for wicking. Thin your paints to a skim-milk consistency; if the paint pulls back from the surface, it is too thin, and if it covers in one pass, it is too thick.
Work in a well-lit area and keep the miniature steady. A small painting handle reduces hand contact and stops oils from your fingers from affecting how the next layer adheres.
- Load only the tip of the brush; a flooded brush dumps pigment into recesses you cannot reach.
- Rinse between colors so ochre does not contaminate your shadow mix.
Step order at a glance
The sequence below moves from darkest to lightest, which keeps your shadows clean and your highlights crisp. Each layer should be dry before the next one goes on, and each layer should be thinner than the one before it.
If you rush the order and highlight before the mid-tone is even, the face will look flat and the highlights will sit on top rather than blend in. Follow the order and the transitions will do most of the work for you.
- Base, shadow, mid-tone, highlight, then final unification glaze.
- Stop while the face still looks slightly under-painted; the last layer is easier to add than to remove.
Step-by-step skin tone recipe
- Step 1: Lay a reddish brown base: Thin reddish brown to a light wash and cover the face evenly. Let it dry fully. This layer sets the warm foundation and shows you where the shadows naturally fall. Checkpoint: if the base looks patchy, add a second thin layer rather than a thicker one.
- Step 2: Reinforce the shadows: Apply a slightly stronger reddish brown into the eye sockets, under the nose, along the jawline, and beneath the lower lip. Keep the brush almost dry so the paint stays in the recesses. Common mistake: flooding the whole face instead of targeting recesses, which erases the base.
- Step 3: Mix and apply the liquidambar ochre mid-tone: Mix liquidambar ochre with a small amount of reddish brown until the color matches the skin you want. Apply it to the raised areas of the face, leaving the shadows untouched. Checkpoint: test the mix on a spare surface first; if it looks pink, add more ochre.
- Step 4: Build the highlights: Add a touch of pale ochre or a light flesh tone to the mid-tone and apply it to the forehead, cheekbones, nose bridge, and chin. Use the side of the brush for control. Common mistake: highlighting too much of the face, which flattens the structure.
- Step 5: Unify with a thin glaze: Thin a small amount of the mid-tone to a glaze and pass it over the whole face to soften transitions. Let it dry and check the result under your normal light. Checkpoint: if the face looks chalky, the glaze was too thick; repeat with more water.
Paints that support this recipe
- BACK TO BLACK: The new acrylic paint is formulated to improve and facilitate airbrushing at any level, with no need to dilute it with another product. Useful if you want to airbrush a smooth base coat on larger skin areas before brush work.
- NEON GREEN: Premium creamy acrylic paint and high coverage ink, 20ml, recommended for novice or professional painters and valid for brush and airbrush. A reminder that SCALE75 paints are designed to work with both brush and airbrush, so your skin mixes can be sprayed or brushed.
- TITANIUM GREY: Warfront acrylic paint, matte finish, 17ml, creamy with opacity that allows glazes to be created with ease. A neutral grey is useful for checking values and for cooling a mix if your skin turns too orange.
- INNSMOUTH BLUE: Satin finish acrylic paint, 17ml, designed for painting all types of miniatures, especially wargame miniatures, with a formulation that resists handling. A handling-resistant finish matters on faces and hands that get touched during play.
Skin is a skill you build one layer at a time. Start with reddish brown, bring in liquidambar ochre for the mid-tone, and keep every layer thin. Once the order becomes habit, you can adjust the mix for different characters without starting over.