Quick answer
To paint unpainted Dwarvenite, wash the pieces in warm soapy water, apply a primer made for plastics, then build up thin basecoats, drybrush highlights, and seal with a matte varnish. Work in batches and keep layers thin so you do not fill in the sculpted detail.
Unpainted Dwarvenite pieces are a blank canvas for your tabletop. They are durable, hold paint well, and let you match any environment you want, from a frozen catacomb to a sci-fi bunker. The process is straightforward, but a few early decisions about prep and paint type will save you time and frustration.
This guide walks through a practical order of operations for your first set. It covers what to do before paint touches the piece, how to build color without losing detail, and how to protect your work so it survives handling.
Why paint unpainted Dwarvenite at all
Dwarvenite is a dense, rubbery material designed for tabletop use, and it takes paint well when prepped correctly. Unpainted pieces give you control over the palette, so you can match an existing collection or create a specific mood. They are also often less expensive than painted versions, which matters if you are building a large layout over time.
The tradeoff is time. A painted set can be used immediately, while an unpainted one needs prep, priming, and drying time between layers. If you want a specific look or need to stretch your budget across many pieces, painting your own is worth the effort.
- Paint in batches of similar pieces to keep your workflow efficient.
- Test your colors on the underside of a piece before committing to a full set.
What you need before you start
You do not need a full studio. A few basics will get you through your first set: warm soapy water, a soft brush, a primer made for plastics, acrylic paints in your chosen palette, a couple of brushes (one for basecoats, one for drybrushing), a palette or tray, and a matte varnish. Paper towels and a cup for water round out the list.
If you are painting pieces that include translucent elements or LED components, plan to paint around those areas rather than over them. The Encounter 12 - Ice Catacomb (Unpainted) set, for example, includes translucent Ice Walls and an LED Icy Runic Column, so you will want to mask or avoid those parts when applying opaque paint.
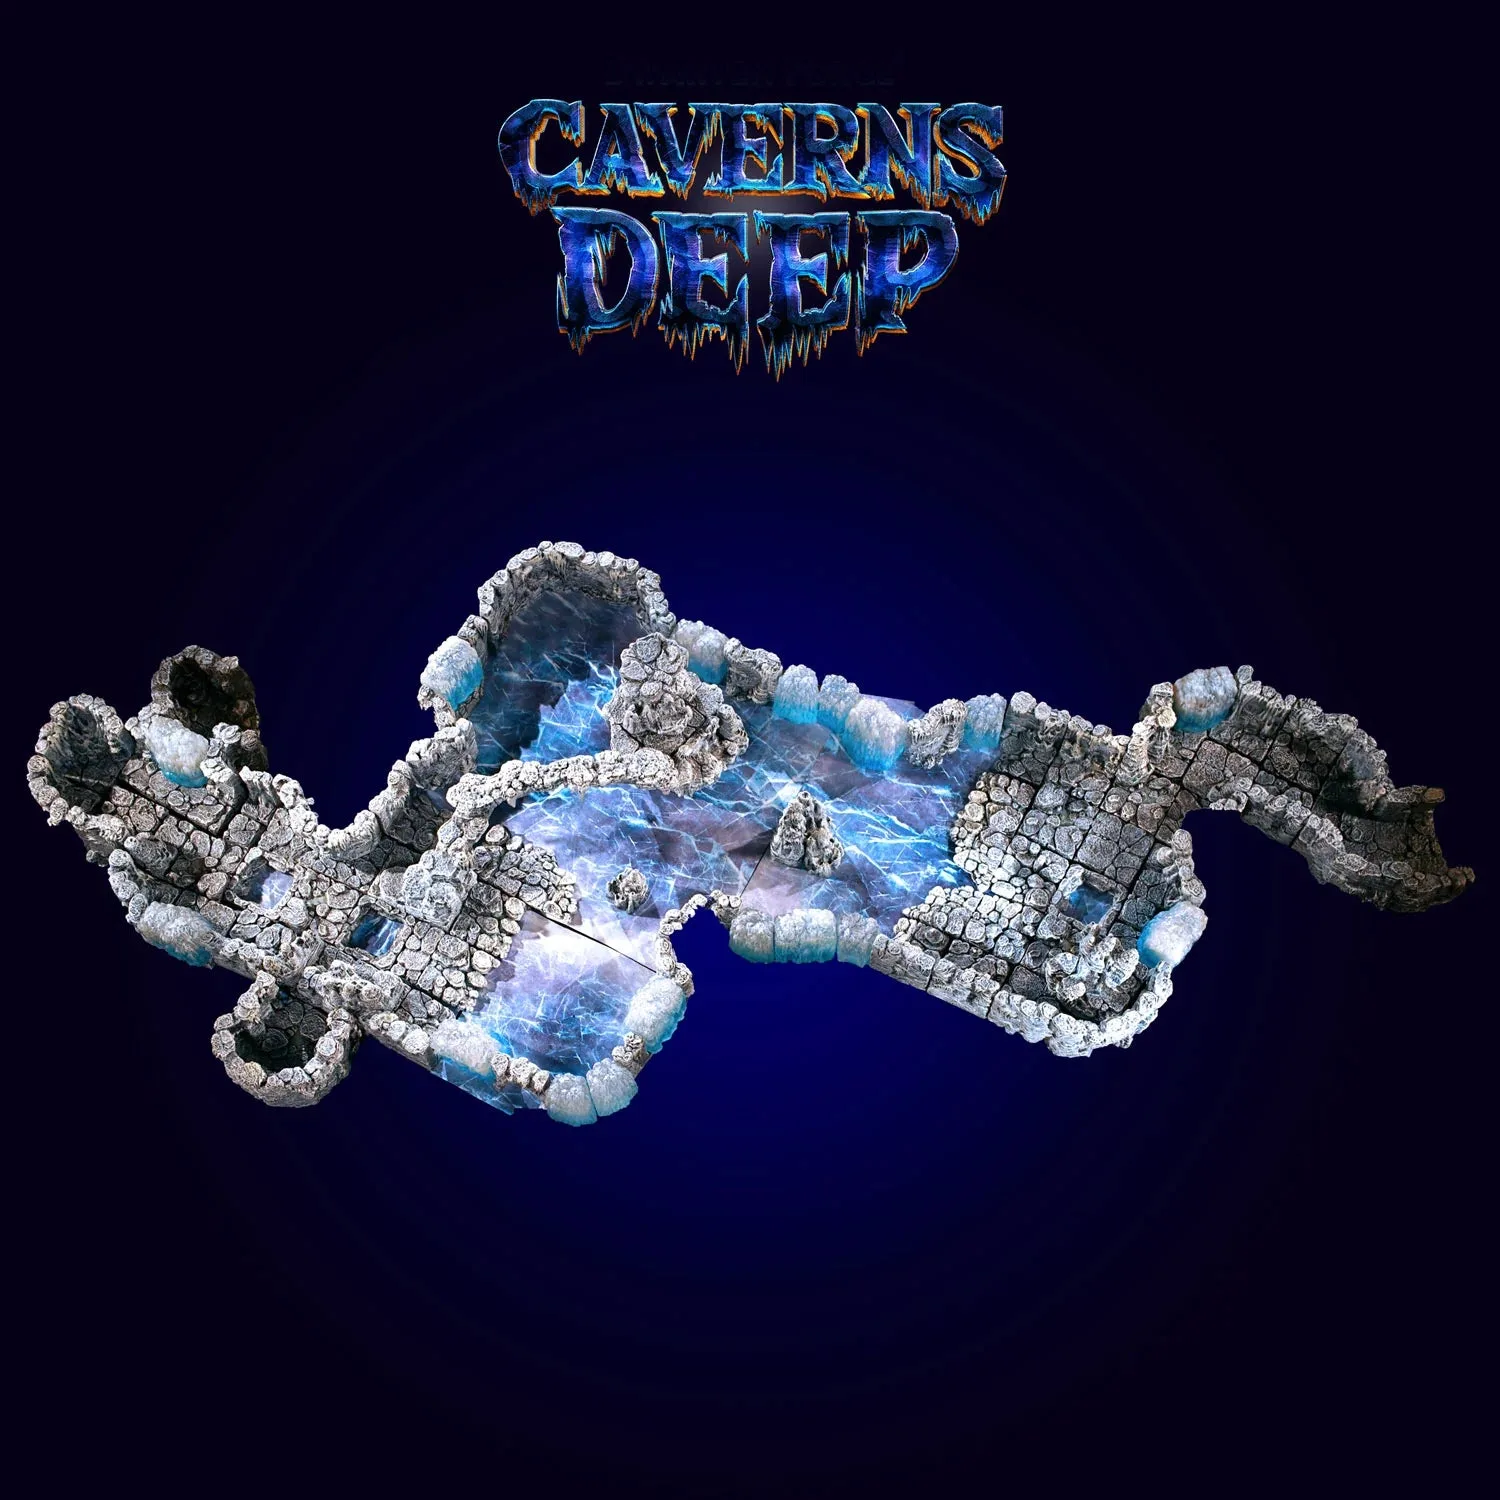
Encounter 12 - Ice Catacomb (Unpainted)
- Use a primer labeled for plastic or vinyl; some primers bead up on flexible materials.
- Keep a dedicated drybrush with stiff, short bristles for highlights.
How to prep and prime unpainted pieces
Start by washing every piece in warm water with a drop of dish soap. This removes mold release and handling oils that can cause paint to flake. Rinse well and let them air dry completely, which may take a few hours depending on humidity. Once dry, inspect for any flash or rough edges and trim if needed.
Prime in thin coats. A single heavy coat can fill in fine detail, so apply two or three light passes instead, letting each dry before the next. If you are working with magnetic pieces like the Dungeon Magnetic Walls - Classic (Painted), note that the painted version already has a finish; for unpainted magnetic walls, prime the face but keep the magnetic contact points clean so accessories still hold.
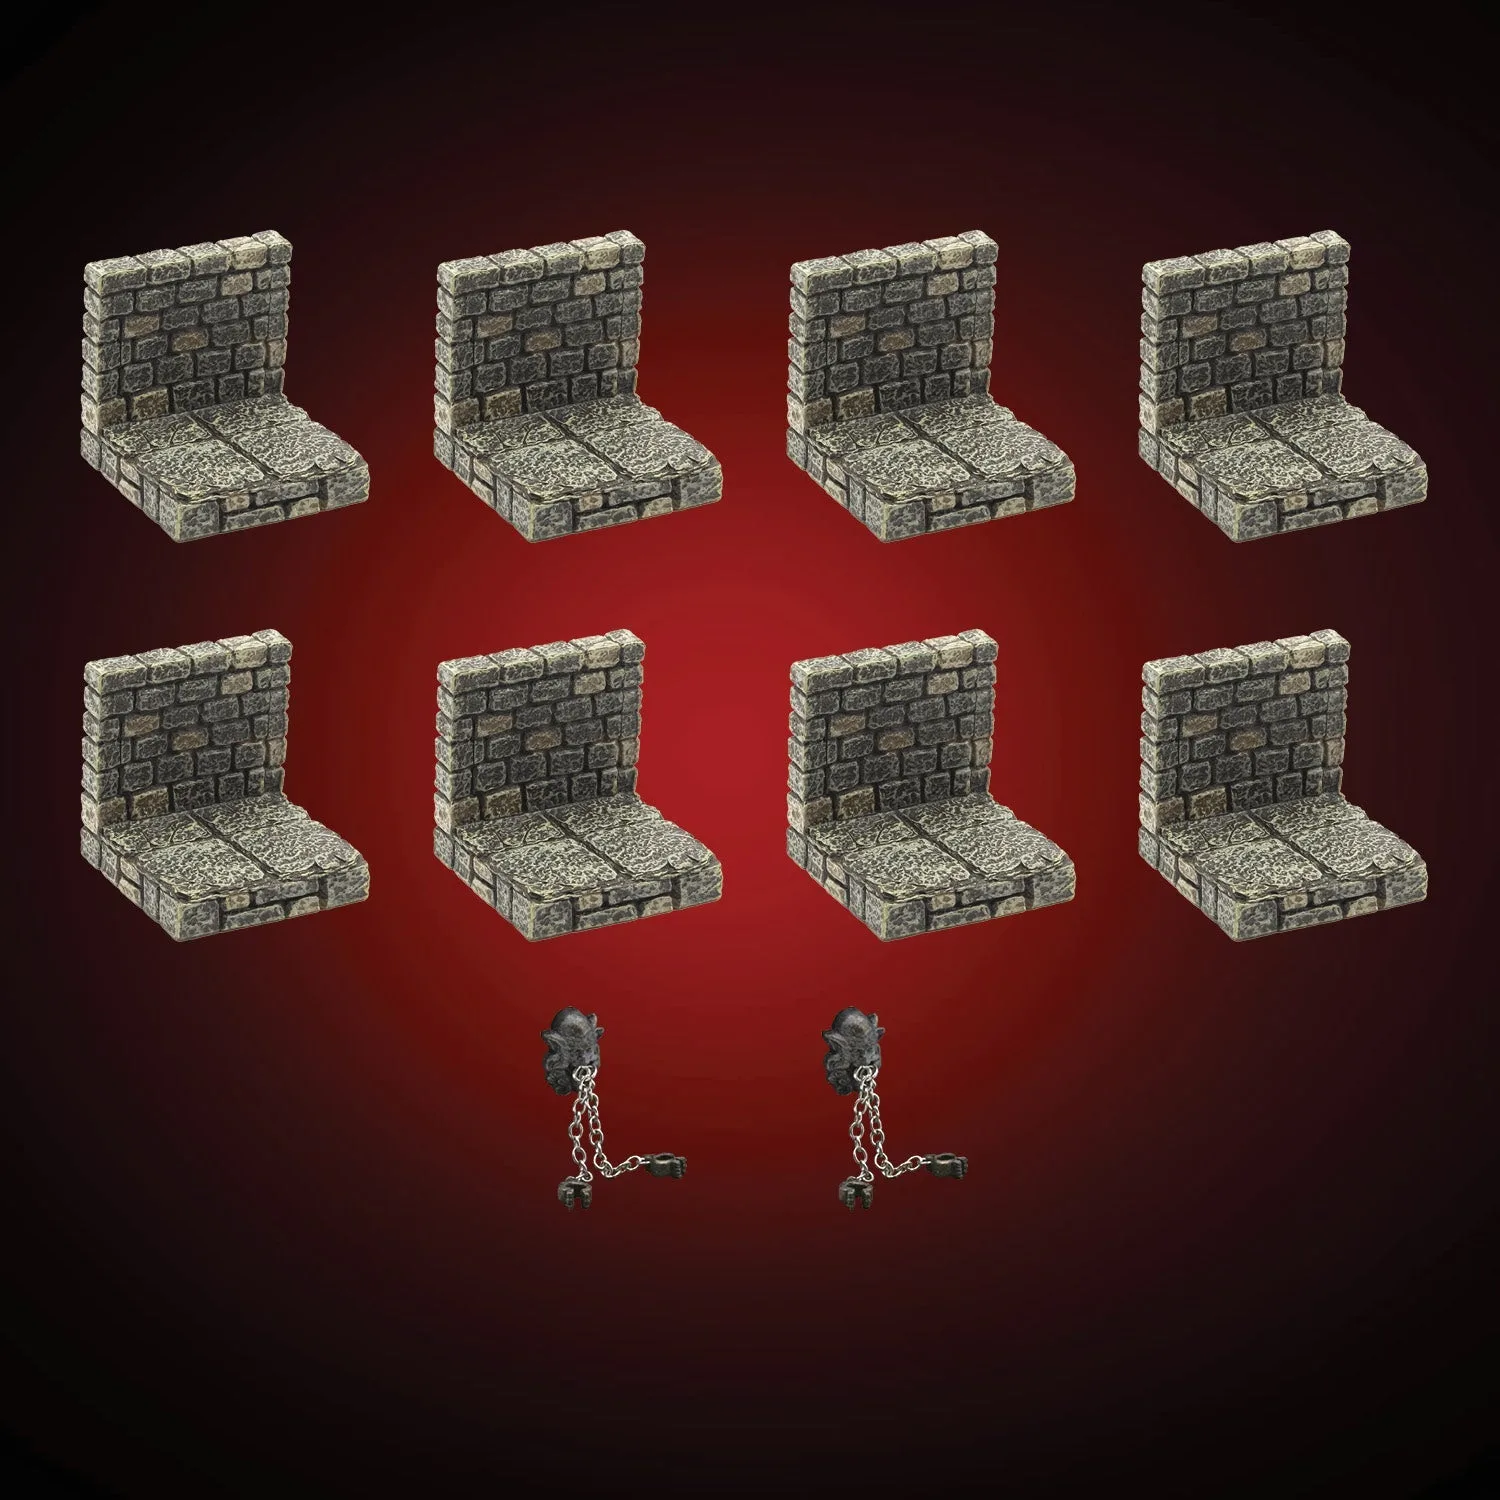
Dungeon Magnetic Walls - Classic (Painted)
- Common mistake: skipping the wash. Paint will not adhere reliably to a dirty surface.
- Checkpoint: after priming, detail should still be sharp, not softened.
Building color with basecoats and highlights
Apply your base color in thin layers, letting each dry before adding the next. Two or three thin coats give better coverage than one thick one and preserve the sculpt. Work from the largest areas to the smallest, so you are not reaching over wet paint to touch up a corner.
Once the base is dry, add highlights with a drybrush technique. Load a stiff brush with a lighter color, wipe most of it off on a paper towel, then lightly drag it across raised surfaces. This catches edges and brings out texture. For pieces with a lot of detail, like the Pipes Cache (Painted) set which includes catwalks and specialty pieces, drybrushing is especially effective at making the structure read clearly on the table.
- Common mistake: overloading the drybrush. If paint is visible on the brush, it is too wet.
- Checkpoint: highlights should catch edges, not cover flat areas.
Sealing and finishing your set
After the paint is fully dry, apply a matte varnish to protect the finish from handling and transport. A thin, even coat is enough. If you plan to store pieces loosely in a bin, a slightly stronger seal on corners and edges will help prevent wear.
Avoid sealing over translucent or LED elements unless the varnish is specifically safe for those surfaces. For sets like the Encounter 12 - Ice Catacomb (Unpainted), which includes translucent Ice Walls and an LED column, mask those areas before varnishing so you do not dull the effect.
- Let the varnish cure fully before stacking pieces.
- Common mistake: spraying too close or too heavy, which can cloud the finish.
Your step-by-step painting process
- Wash and dry the pieces: Use warm water with a drop of dish soap and a soft brush to remove mold release and oils. Rinse thoroughly and let air dry completely. Checkpoint: pieces should feel clean and dry, with no residue.
- Prime in thin coats: Apply a primer made for plastics in two or three light passes, letting each dry. Avoid heavy coats that fill detail. Checkpoint: sculpted detail remains sharp after priming.
- Apply thin basecoats: Brush on your base color in multiple thin layers, letting each dry. Work from large areas to small ones. Checkpoint: color is even without obscuring texture.
- Drybrush highlights: Load a stiff brush with a lighter color, wipe most off, and lightly drag across raised surfaces to catch edges. Checkpoint: highlights catch edges, not flat areas.
- Seal with matte varnish: Apply a thin, even coat of matte varnish after the paint is fully dry. Mask any translucent or LED parts first. Next step: let cure fully before storing or stacking pieces.
Pieces that work well for a first painting project
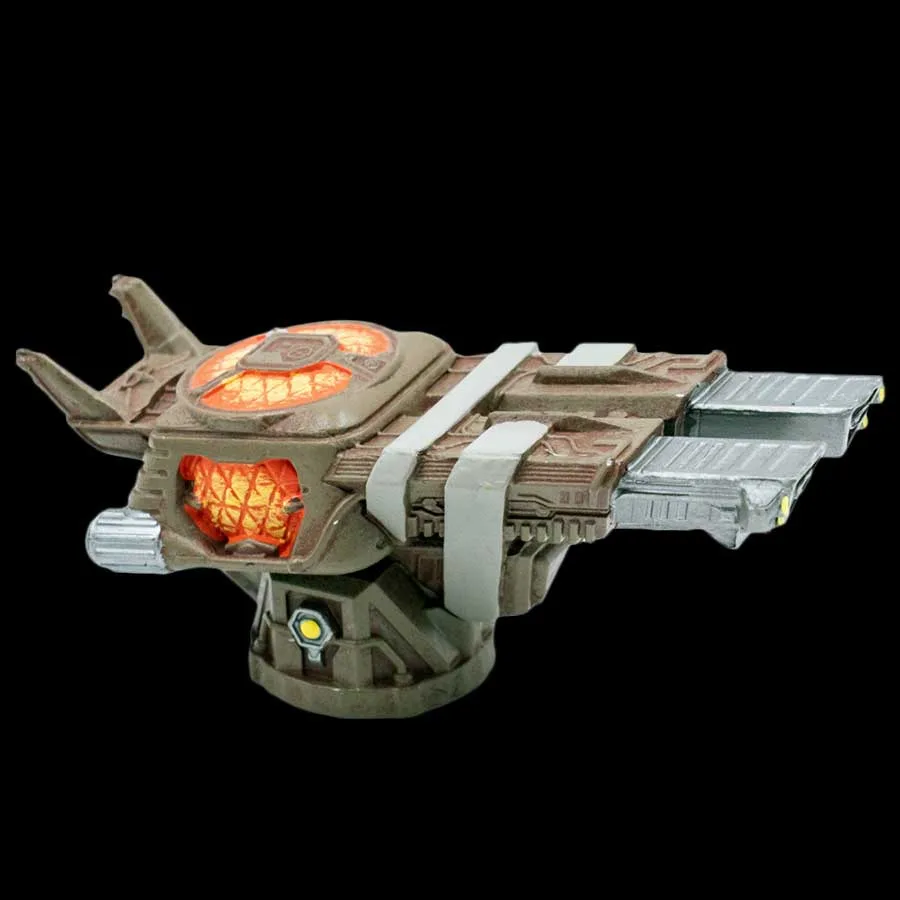
- Tri-barrel Plasma Turret (Unpainted): The Tri-barrel Plasma Turret is an unpainted individual piece from Dwarven Forge, part of the Starforged sci-fi line and the Biscuit System. A single, small piece like this is a low-risk way to practice your prep and basecoat steps before committing to a full set.
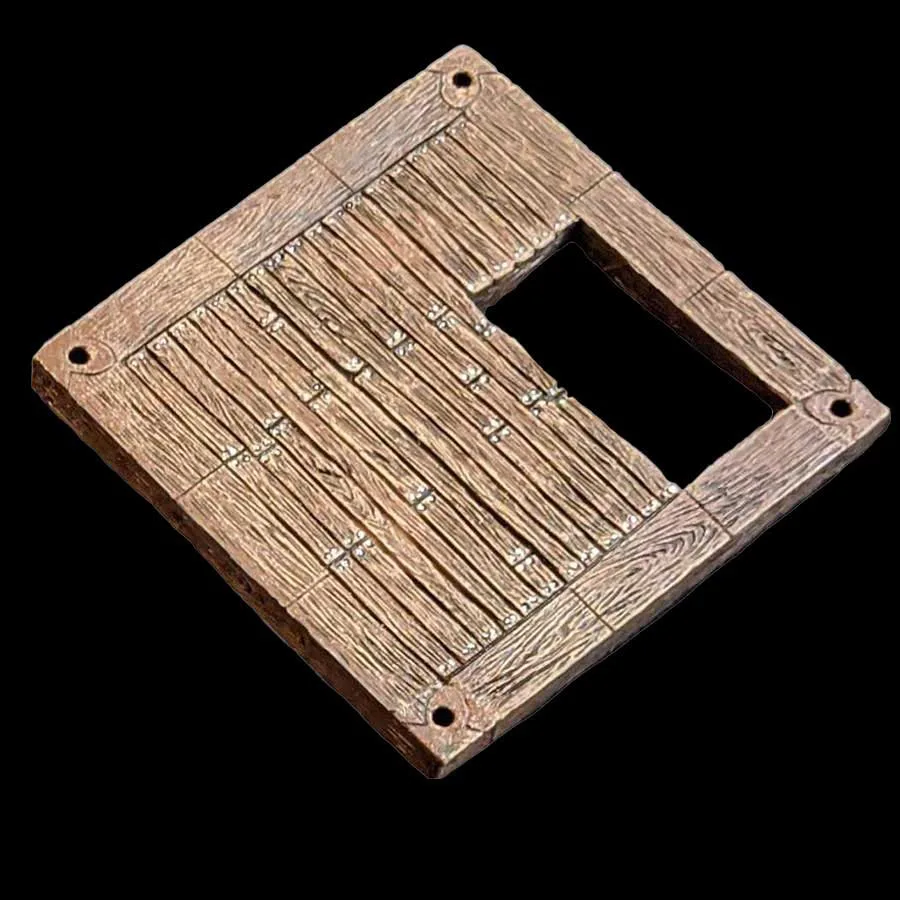
- 4x4 Wood Stairwell Floor (Unpainted): This Dwarven Forge individual piece is a 4x4 Wood Stairwell Floor, offered unpainted. It belongs to the City Builder line and the CBS System, and is tagged as a basic core piece for cities, city buildings, and Tudor buildings. The piece is made of Dwarvenite and includes magnetic accessories. A basic core piece with magnetic accessories lets you practice painting around functional elements without losing the magnetic hold.
- Encounter 12 - Ice Catacomb (Unpainted): The 12th encounter of Caverns Deep has 125 pieces, including Ice Painted Cavern pieces, translucent Ice Walls, an Ice Bridge, an LED Icy Runic Column, and more. A large set like this is best saved for after you have practiced on smaller pieces, and it requires masking translucent and LED parts during painting and sealing.
Painting your first unpainted Dwarvenite set is a manageable project when you take it step by step. Prep and thin layers are the habits that matter most, and a little practice on a single piece will make the rest of your set go faster. Start small, keep your layers light, and seal your work so it holds up to years of tabletop use.