Quick Answer
To personalize your baby carrier with patches, choose embroidered patches that fit your carrier's fabric, place them where they won't interfere with safety or comfort, and sew them on by hand using a needle and thread for a secure, lasting hold.
Why Embroidered Patches Work Best
Embroidered patches have actual texture and dimension from the thread, which gives your carrier a unique, handcrafted look. Unlike flat printed patches, they stand out and feel more premium. They're also durable, so they can handle the wear and tear of regular babywearing.
Where to Place Patches Safely
Place patches on areas that don't come into direct contact with your baby's skin or affect the carrier's structural integrity. Good spots include the outer panel of a stretchy wrap, the waistband of a meh dai, or the shoulder straps of a Lark Kid Carrier. Avoid placing them on the inner panel where your baby rests, or on any buckles, webbing, or adjusters.
Sewing vs. Iron-On: Why Sewing Is Better
Iron-on patches can peel over time, especially with the flexing and washing that carriers go through. Hand-sewing gives you a secure, permanent bond that won't come loose. It also lets you position the patch precisely without worrying about adhesive residue.
Step-by-Step: Sewing Patches on Your Carrier
- Choose the Right Patch and Placement: Pick an embroidered patch that matches your style and the carrier's fabric. Lay the carrier flat and position the patch where it won't rub against your baby or interfere with buckles or straps. Use pins or fabric chalk to mark the spot. Double-check that the patch doesn't cover any safety labels or structural seams.
- Prepare Your Needle and Thread: Use a sharp needle and strong thread that matches the patch's edge. Thread the needle and tie a knot at the end. If the patch has a plastic or paper backing, carefully remove it before sewing. Choose thread that blends with the patch's border to make stitches less visible.
- Sew the Patch Securely: Start from the inside of the carrier so the knot is hidden. Use a simple whip stitch or running stitch around the entire edge of the patch, keeping stitches about 1/8 inch apart. Make sure to go through the carrier fabric, not just the top layer. Avoid pulling the thread too tight, which can pucker the fabric. Test the patch by gently tugging after sewing.
- Finish and Care for Your Patched Carrier: Tie off the thread securely on the inside and trim any excess. When washing your carrier, turn it inside out or use a laundry bag to protect the patch. Avoid ironing directly over the patch, as high heat can damage the embroidery. Always follow your carrier's care instructions to keep both the fabric and patch in good condition.
Product Spotlight
-
hope&plum Embroidered Patches: The hope&plum Embroidered Patches feature your favorite hope&plum designs and are made with actual embroidered thread for texture and dimension. These patches add a personal, tactile touch to your carrier and are made by A-B Emblem in Weaverville, North Carolina, ensuring quality craftsmanship.
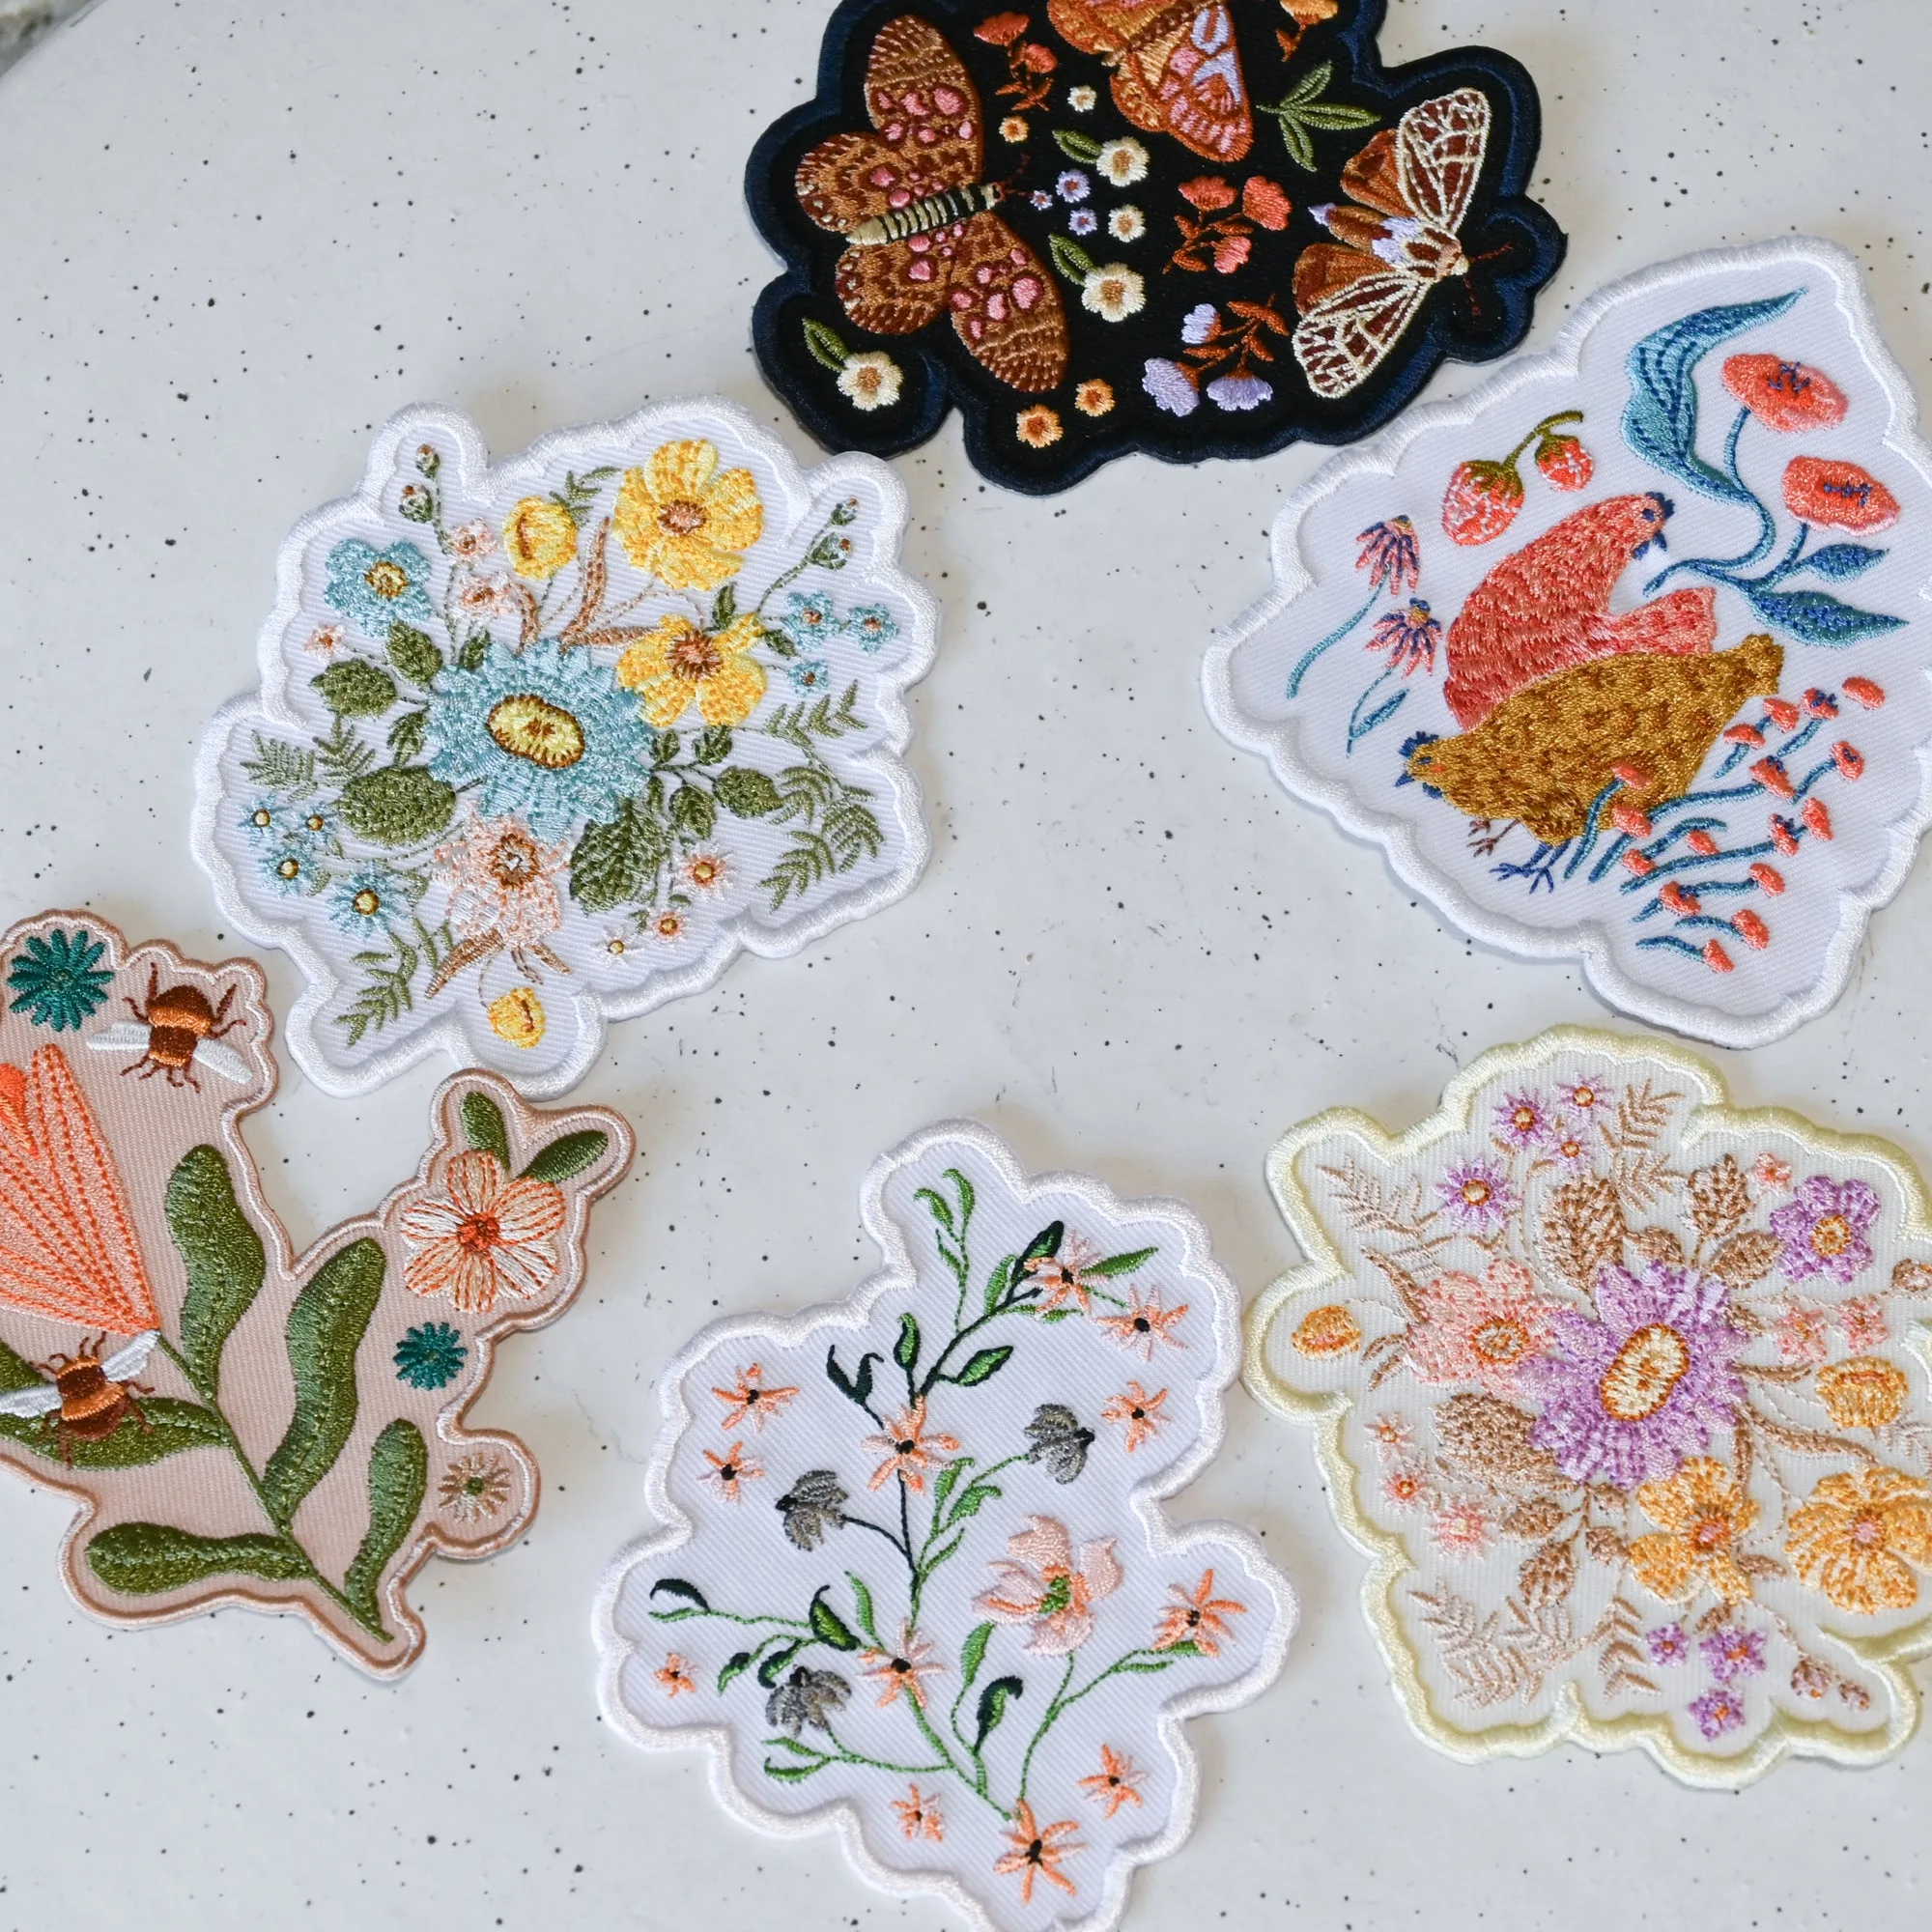
hope&plum Embroidered Patches