Quick answer
Pitch your field camp tent low, tight, and in the right order: choose a sheltered site with natural windbreaks, stake the windward corners first at a 45-degree angle, tension guylines progressively, and only then add a groundsheet inside. If the wind is already strong, build the tent flat and anchored before you raise it. Stop and re-check every stake and guyline once the shelter is standing.
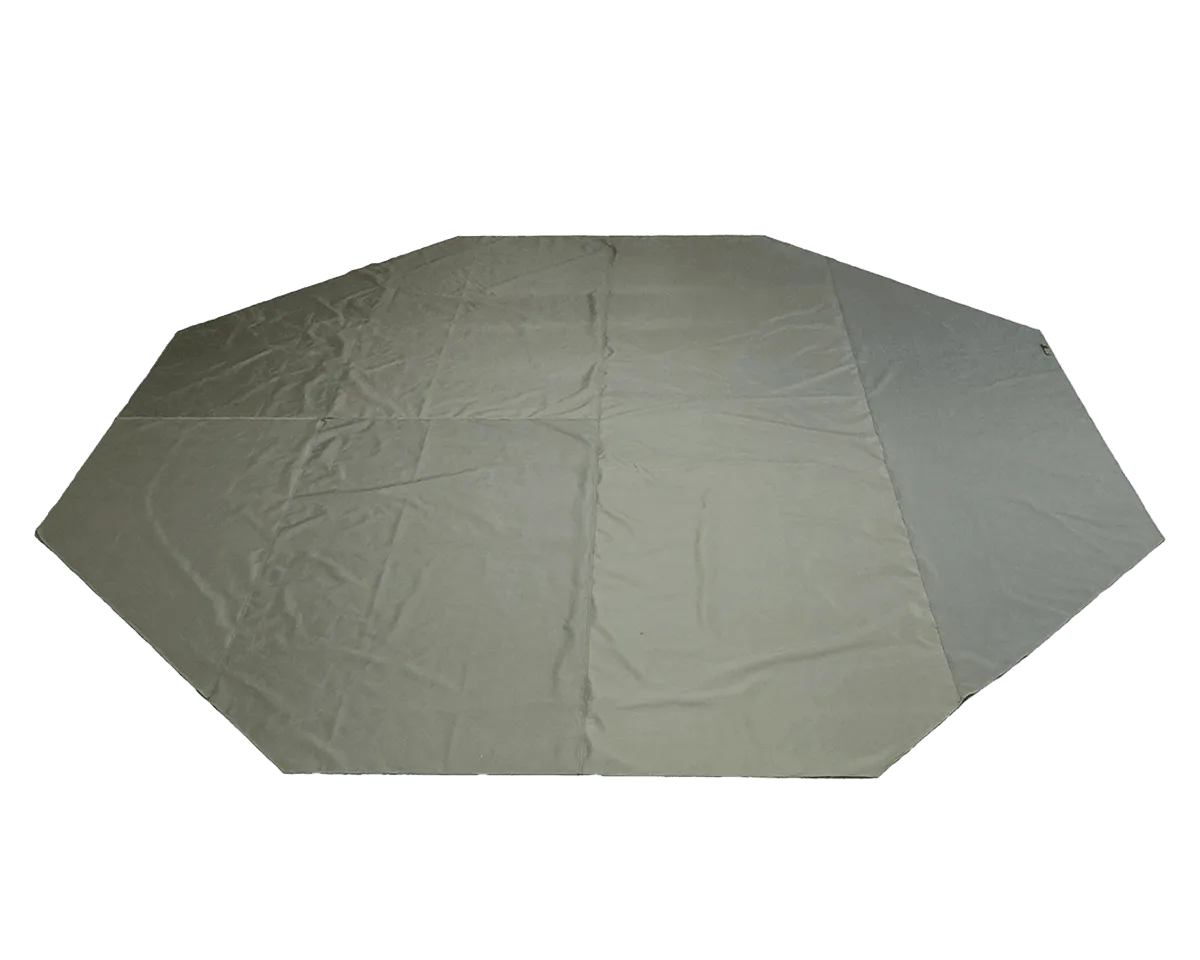
groundsheet
Pick a site that fights the wind for you
The ground you choose matters more than any single stake. Look for a spot with a natural windbreak on the windward side, such as a dense treeline, a rock outcrop, or a rise in the terrain. Avoid exposed ridgelines, open lake shores, and the middle of a clearing where gusts accelerate. In heavy rain, also avoid the bottom of a slope or a dry creek bed, because water will collect there. If you must camp in the open, orient the tent so its lowest, strongest end faces the wind.
Use the right stakes and set them at an angle
Wide, flat stakes hold better in soft ground; long, narrow stakes work better in firm or rocky soil. Drive each stake at roughly a 45-degree angle away from the tent, with the top leaning outward. That angle lets the ground grip the stake instead of pulling it straight up. Leave only the top 2–3 cm above the ground so the guyline cannot slip off. In sand or loose soil, use longer stakes and consider burying them sideways as deadmen anchors.
Build the tent flat before you raise it
In strong wind, do not try to raise a fully assembled tent. Lay the tent flat on the ground, stake the windward corners first, then the downwind corners, and only then insert the poles or raise the structure. This keeps the fabric from catching the wind like a sail. If your tent has an inner and a fly, attach them together before raising so you are not fighting two pieces of fabric in the rain.
Tension guylines in stages, not all at once
Start with the main structural guylines at the corners and the highest windward points. Pull them snug, but not so tight that the fabric distorts. Then work around the tent, tightening secondary guylines until the walls are smooth and the fly is not flapping. Re-check tension after 10–15 minutes, because fabric and lines stretch once wet. A flapping fly is a sign of a loose line, not a bad tent.
Groundsheet discipline keeps water out
A groundsheet protects the floor and adds a barrier against rising damp, but it must not extend beyond the tent footprint. If it sticks out, rain will run under the tent and pool on top of the sheet. Fold or tuck any excess under the floor. Inside, keep gear off the walls so condensation and rain do not wick through. In heavy rain, a small internal groundsheet or a dry bag under your sleeping mat adds a second layer of protection.
Check and re-check before you settle in
Walk the perimeter once the tent is up. Push each stake with your foot to confirm it is firm, and look for guylines that are rubbing against the fabric or crossing each other. Adjust the rain fly so it covers the inner tent completely and does not touch the inner walls. If the wind is forecast to shift, add one or two extra guylines on the new windward side before you sleep.
Storm pitching steps in order
- 1. Scout and orient: Choose a site with a windbreak on the windward side and no low spots where water collects. Orient the tent so its strongest, lowest end faces the wind. Checkpoint: if you can feel the wind pushing you sideways, keep looking.
- 2. Stake the windward corners first: Lay the tent flat. Drive the two windward corner stakes at a 45-degree angle away from the tent, then the downwind corners. Common mistake: staking the door side first, which lets the wind lift the opposite corner.
- 3. Raise the structure: Insert poles or raise the frame only after the corners are anchored. Keep the fabric low and controlled so it does not catch the wind. Checkpoint: the tent should not lift off the ground as you raise it.
- 4. Tension main guylines: Tighten the structural guylines at the corners and high windward points until the fabric is smooth but not distorted. Common mistake: over-tightening one line and pulling the tent out of shape.
- 5. Add and adjust secondary guylines: Work around the tent, tightening secondary lines until the fly stops flapping. Re-check after 10–15 minutes. Checkpoint: a flapping fly means a loose line, not a bad pitch.
- 6. Fit the groundsheet inside: Place the groundsheet inside the tent so no edges extend beyond the footprint. Tuck any excess under the floor. Common mistake: letting the sheet stick out, which channels rain under the tent.
- 7. Final perimeter check: Push each stake with your foot, check guylines for rubbing, and confirm the fly covers the inner tent without touching it. Next step: add extra guylines on any side where the wind is forecast to shift.
Gear that helps in bad weather
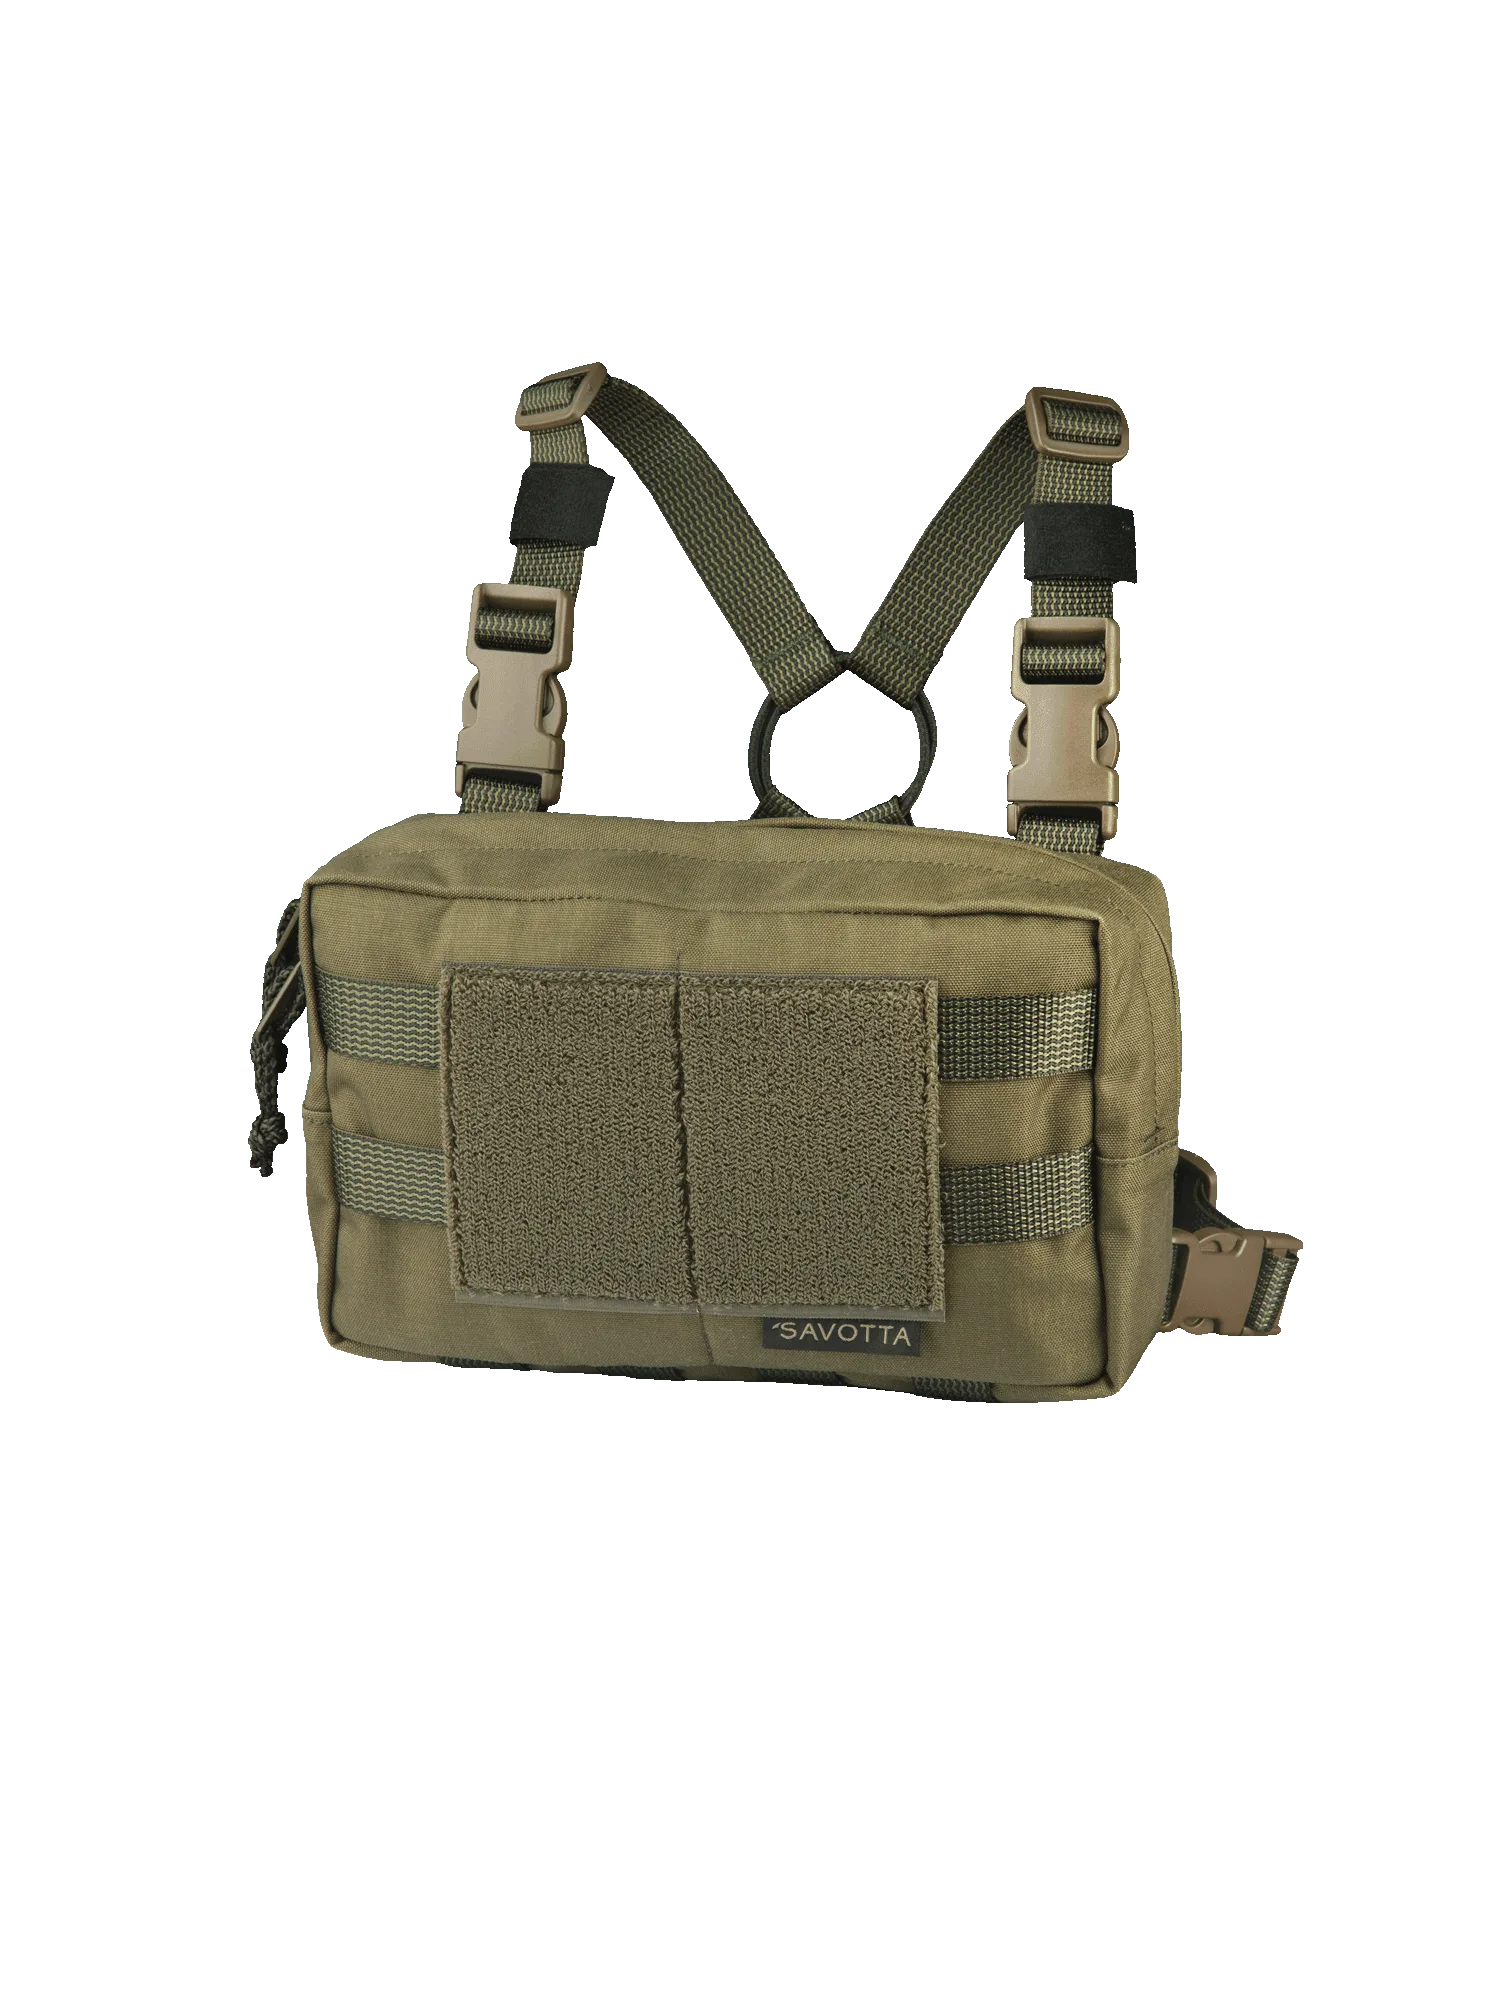
- Rintamus chest pack: The Rintamus chest pack uses a 25 mm webbing X-harness that stays slim and low profile under backpack shoulder straps, and attaches via SR buckles at the top and bottom corners. When you are pitching in wind and rain, you can keep small essentials like stakes, a headlamp, or a repair kit on your chest without taking off your pack or digging through it.
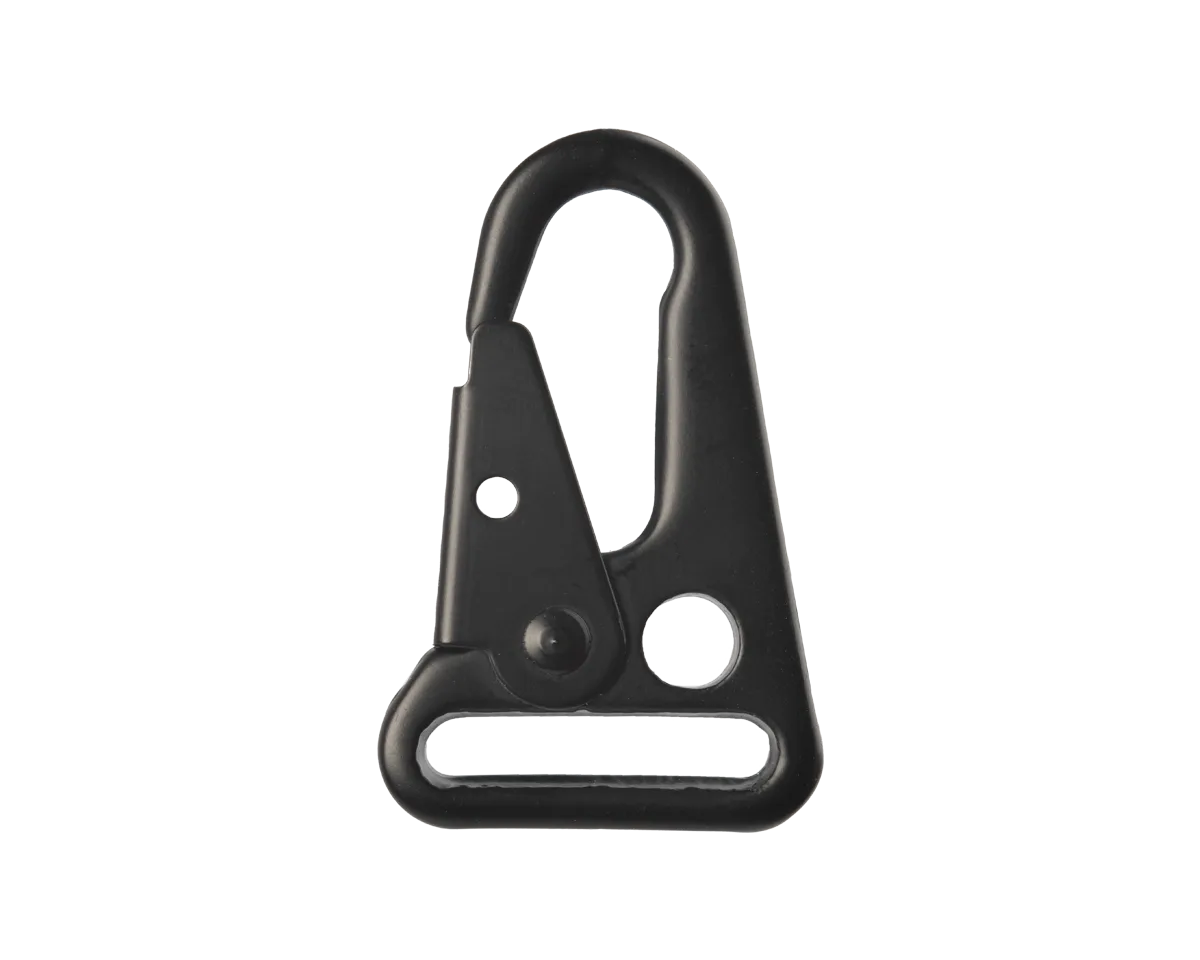
- Slinghook: The Slinghook is an HK hook style sling attachment made for 25 mm / 1-inch wide slings, such as Savotta Griffin Slings. If you use a sling to carry a tool or a bag while setting up camp, a secure hook reduces the chance of dropping gear in wet, windy conditions.