Quick answer
Pitch your tent low, broadside to the wind, and stake it before you add the rainfly. Use rocks or deadman anchors if stakes won't hold, and tension every guy line so the shelter sheds wind instead of flapping. If rain is already falling, keep the inner tent dry by staking the footprint or floor first, then attach the fly before you crawl inside.
Wind and rain turn a routine camp setup into a test of your process. The goal isn't to fight the storm; it's to build a shelter that sheds wind, keeps water out, and stays put while you work. A few deliberate steps make the difference between a dry night and a wet, flapping mess.
This guide walks through a storm-ready pitch from the ground up. You'll choose a protected site, orient the tent correctly, anchor it with stakes or natural anchors, and tension the guy lines. Along the way, you'll see where small mistakes cost you warmth and sleep.
Pick a site that blocks wind and drains water
Look for natural windbreaks: dense trees, a ridge shoulder, or a large rock outcrop. Avoid exposed ridgelines, open meadows, and the base of a single tree where a dead limb could fall. The ground should slope gently so water runs away from your floor, not through it. If the only flat spot is a depression, keep looking.
In heavy rain, a slight rise is better than a perfect flat. Water pools in low spots and saturates the ground, which makes stakes pull out. Clear sharp rocks, pine cones, and branches from your footprint area. This protects your floor and gives stakes clean ground to bite into.
- Avoid camping under the tallest isolated tree; lightning and falling limbs are real risks.
- If you must use a low spot, dig a shallow drainage channel around the uphill side, but only where regulations allow.
Orient the tent broadside to the wind
Point the lowest, strongest wall into the wind. Most tents have a low end and a high end; the low end sheds wind better. If your tent has a vestibule, face it downwind so you can cook or store gear without rain blowing in. In a storm, a broadside wind is easier to manage than a direct hit on a large flat panel.
If wind direction is shifting, set the tent so the most protected side faces the prevailing gust. You can also pitch the tent slightly angled to encourage airflow over the top rather than into the door. Once the fly is on, you can adjust orientation by moving stakes, but it's easier to get it right the first time.
- Check the forecast for wind direction; if it's expected to shift, prioritize the strongest predicted gust.
- Keep doors zipped until the fly is fully secured to prevent the inner tent from inflating like a sail.
Stake the floor or footprint before the fly
Lay out the tent body and stake the corners loosely. If you have a footprint or half floor, attach it now so the interior stays clean and dry. In rain, this is the step where most people get soaked because they try to attach the fly last while the inner tent is already wet. Instead, stake the body, then immediately clip or drape the fly over the top.
Use the stake points at the corners first, then the midpoints. Don't hammer stakes all the way down until you've checked the shape; you may need to shift the tent a few inches to center it. Once the body is up, tension the corners just enough to remove slack, not so much that the floor pulls off the ground.
- In soft ground, drive stakes at a slight angle away from the tent for better holding power.
- If you're expecting heavy rain, place a small rock or log over each stake head to reduce pull-out.
Set guy lines for a storm pitch
Guy lines are what keep a tent from collapsing in high wind. Attach them to the reinforced loops on the fly, then run them out at a low angle, roughly 45 degrees from the tent. A low angle gives the stake more holding power and reduces flapping. Use reflective cord if you have it so you can find lines in the dark.
Tension each line until the fly is taut but not distorted. The fabric should not ripple in the wind. If a line is too short, extend it with a longer cord or move the stake farther out. In extreme wind, double up stakes on the windward corners or use a deadman anchor: bury a stick or rock horizontally and tie the line to it.
- Keep guy lines visible with reflective cord or small flags to avoid tripping at night.
- Re-tension lines after the first hour of rain; nylon and polyester stretch when wet.
Handle stakes that won't hold
Rocky or sandy ground defeats standard stakes. For rock, use a deadman anchor: tie your line to a rock and wedge it behind another rock or in a crack. For sand or soft soil, use wide stakes or bury a stuff sack filled with sand as an anchor. If you're above treeline, build a low rock wall around the windward edge to break the wind and protect your stakes.
If a stake pulls out in the night, don't ignore it. Get up and reset it with a better anchor. A flapping fly can shred in minutes, and a collapsed tent in cold rain is a hypothermia risk. Keep a few spare stakes and a length of cord in your repair kit.
- Carry at least two extra stakes and 10 feet of cord for field repairs.
- In snow, use snow stakes or bury deadman anchors; standard stakes won't hold.
Keep the interior dry during setup
Rain doesn't have to soak your sleeping bag. Before you open the tent, shake off excess water from the fly and stake it out. If your tent has a separate fly, clip it on while the body is still staked and low. Then, when you crawl in, leave wet gear in the vestibule and wipe down the floor with a small towel.
If you're using a tent with a mesh inner, be aware that mesh repairs may be needed if a tear occurs. A small hole in mesh can let in water and bugs. Keep a patch kit handy for quick fixes. For example, GEAR AID Tenacious Tape Mesh Patches are made for mesh repairs on any Argali insert and come as two 3-inch circular peel-and-stick patches. They're a lightweight item to keep in your pack for storm damage.
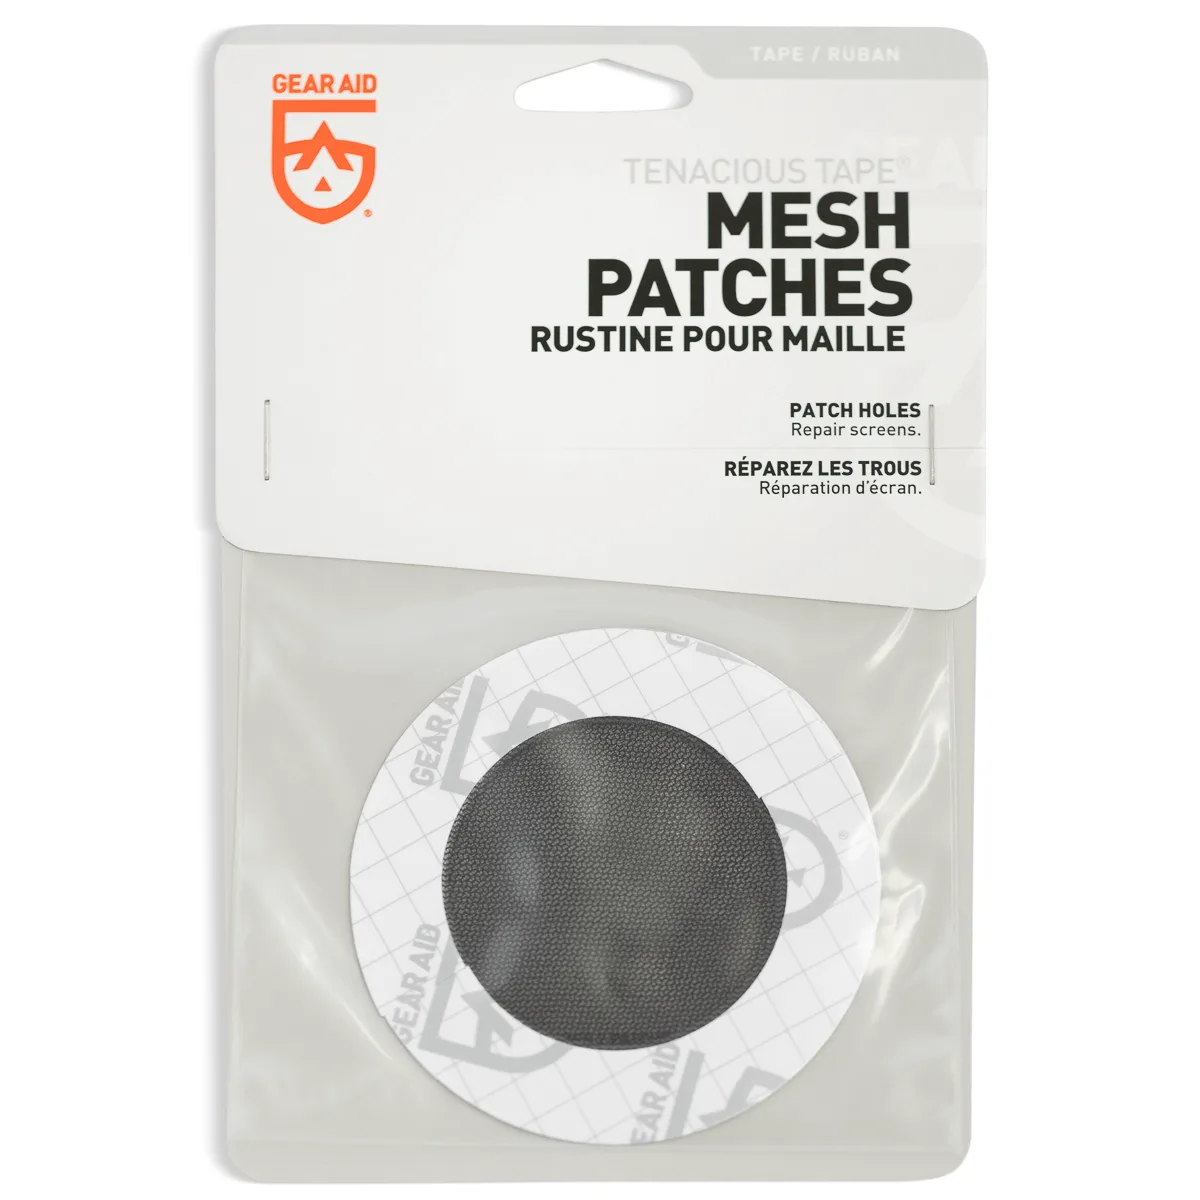
GEAR AID Tenacious Tape Mesh Patches
- Pack a small microfiber towel to dry the floor before you lay out your sleeping bag.
- Ventilate when the rain stops to prevent condensation inside the tent.
Storm pitch checklist: step-by-step
- 1. Scout a protected, well-draining site: Look for natural windbreaks and a slight slope. Clear the ground of sharp objects. Common mistake: choosing a flat depression that collects water.
- 2. Orient the tent broadside to the wind: Point the lowest wall into the wind. Face vestibules downwind. Checkpoint: if wind shifts, you can re-stake corners later.
- 3. Stake the tent body and footprint first: Secure corners loosely, then attach the fly before you get inside. Common mistake: attaching the fly last and soaking the inner tent.
- 4. Set guy lines at a low angle and tension them: Attach to reinforced loops, run lines out at about 45 degrees, and tighten until the fly is taut but not distorted. Checkpoint: no rippling fabric; re-tension after rain starts.
- 5. Use deadman anchors or rocks if stakes won't hold: Bury a stick or rock horizontally and tie the line to it. In snow, use snow stakes. Common mistake: relying on short stakes in loose or rocky ground.
- 6. Keep the interior dry and repair mesh tears fast: Wipe the floor, stash wet gear in the vestibule, and patch mesh holes with peel-and-stick patches. Checkpoint: a dry sleeping area is your safety margin in cold rain.
Gear that helps in a storm pitch
- GEAR AID Tenacious Tape Mesh Patches: Each pack contains two 3-inch circular peel-and-stick repair patches designed for mesh repairs on any Argali insert. A quick field repair for mesh tears keeps bugs and rain out when your tent is stressed by wind.
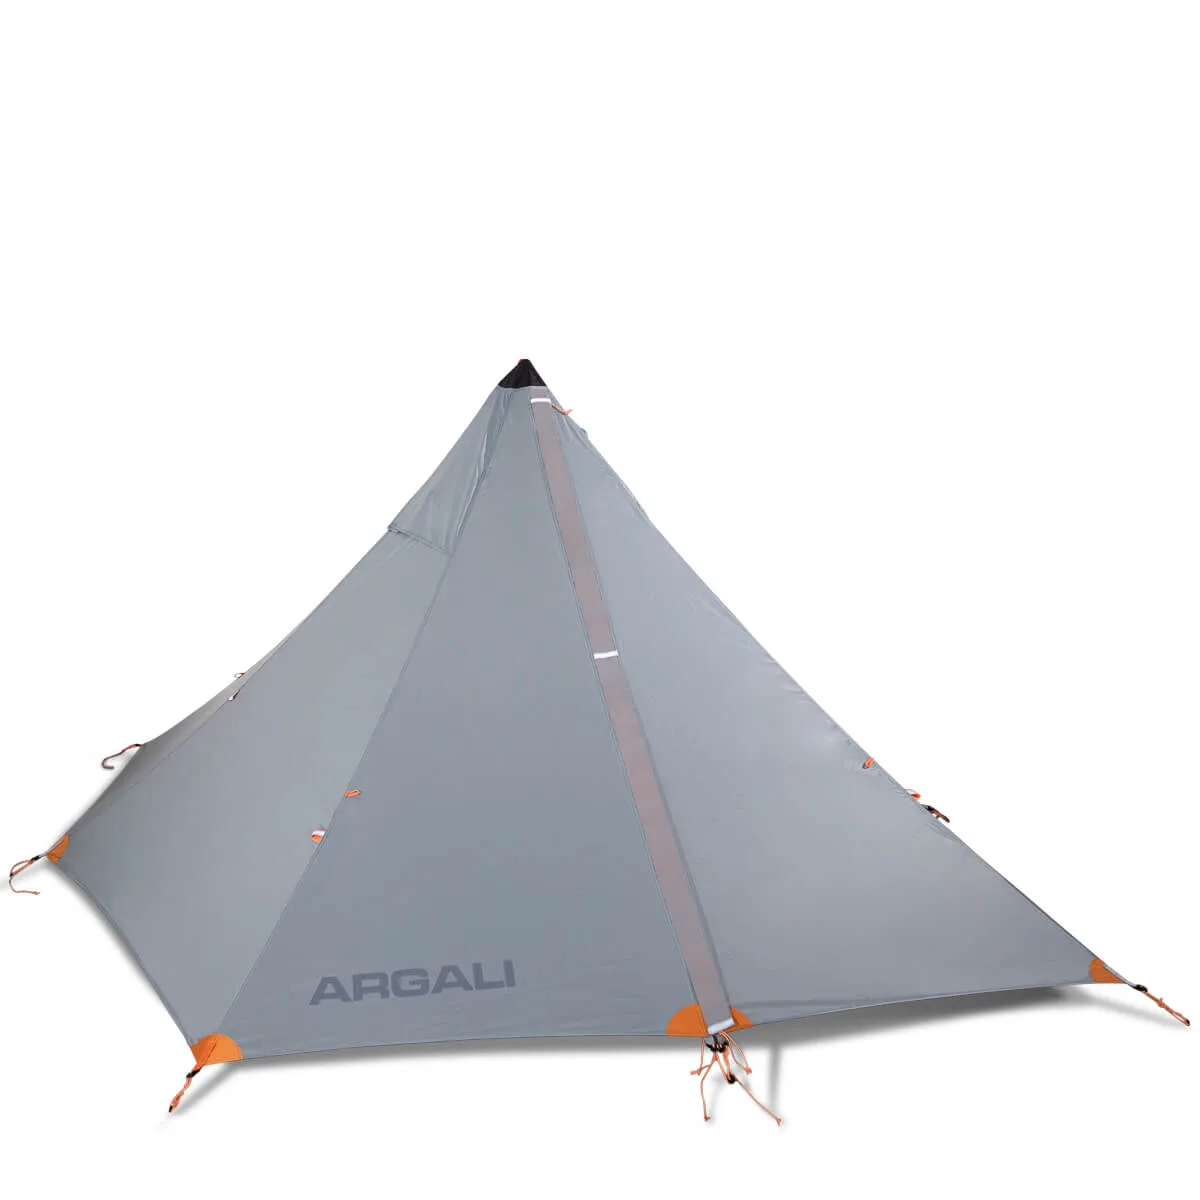
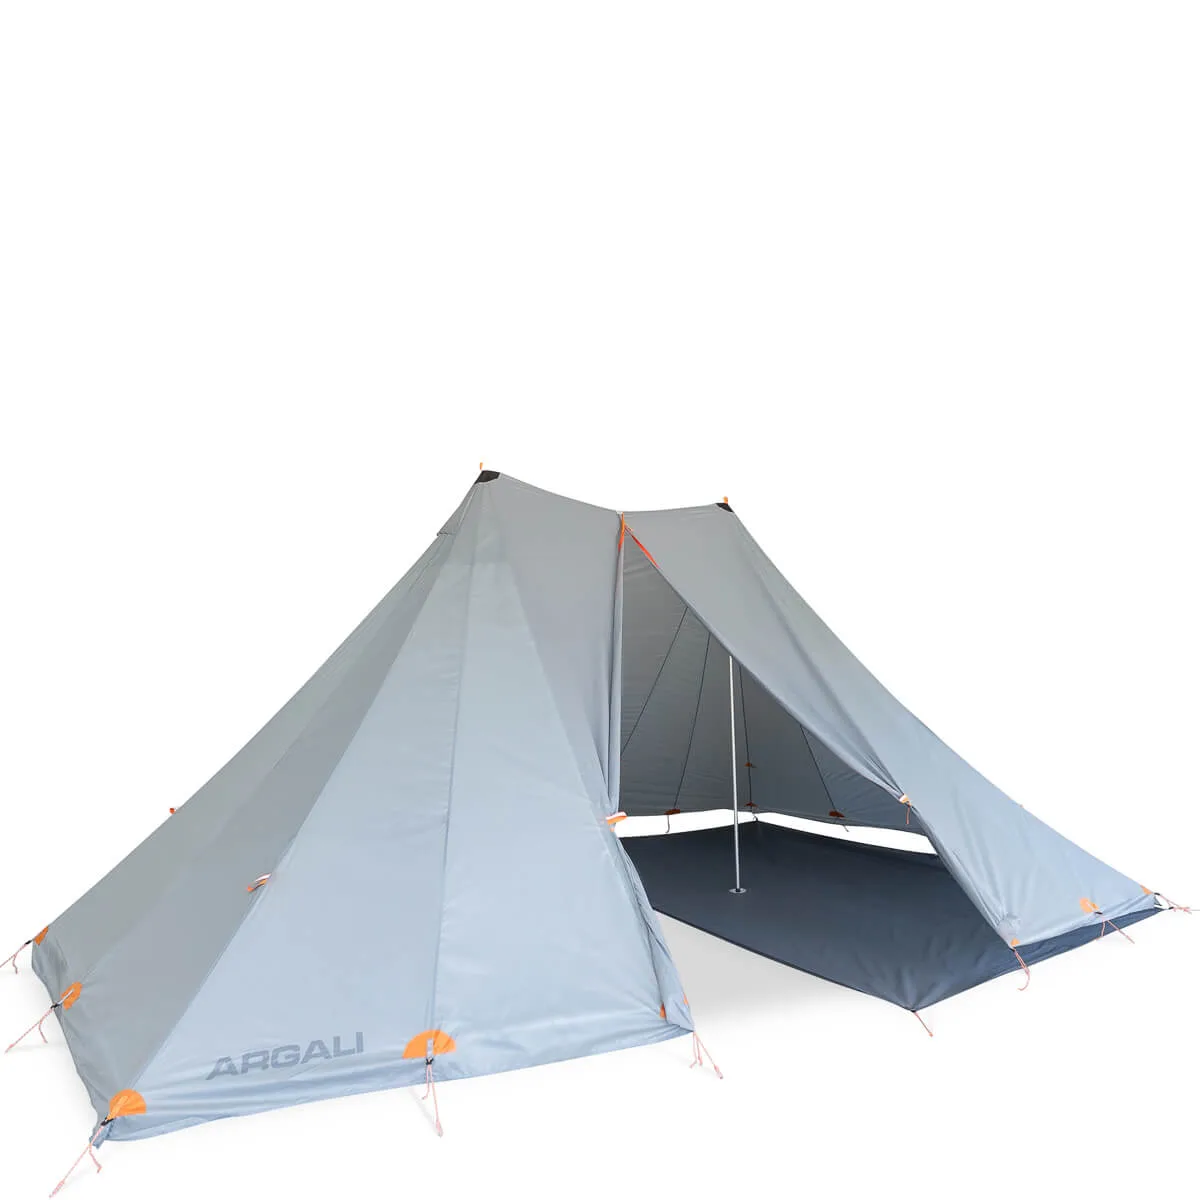
- Yukon 8P Tent: The Argali Yukon 8P Tent has a 7.5-foot peak height, two poles, dual doors, 32 guyout points, and steep side walls for a wall-tent feel. A large group shelter with many guyout points can be tensioned for high wind, but it also catches more wind, so a thorough stake and guy line setup is essential.
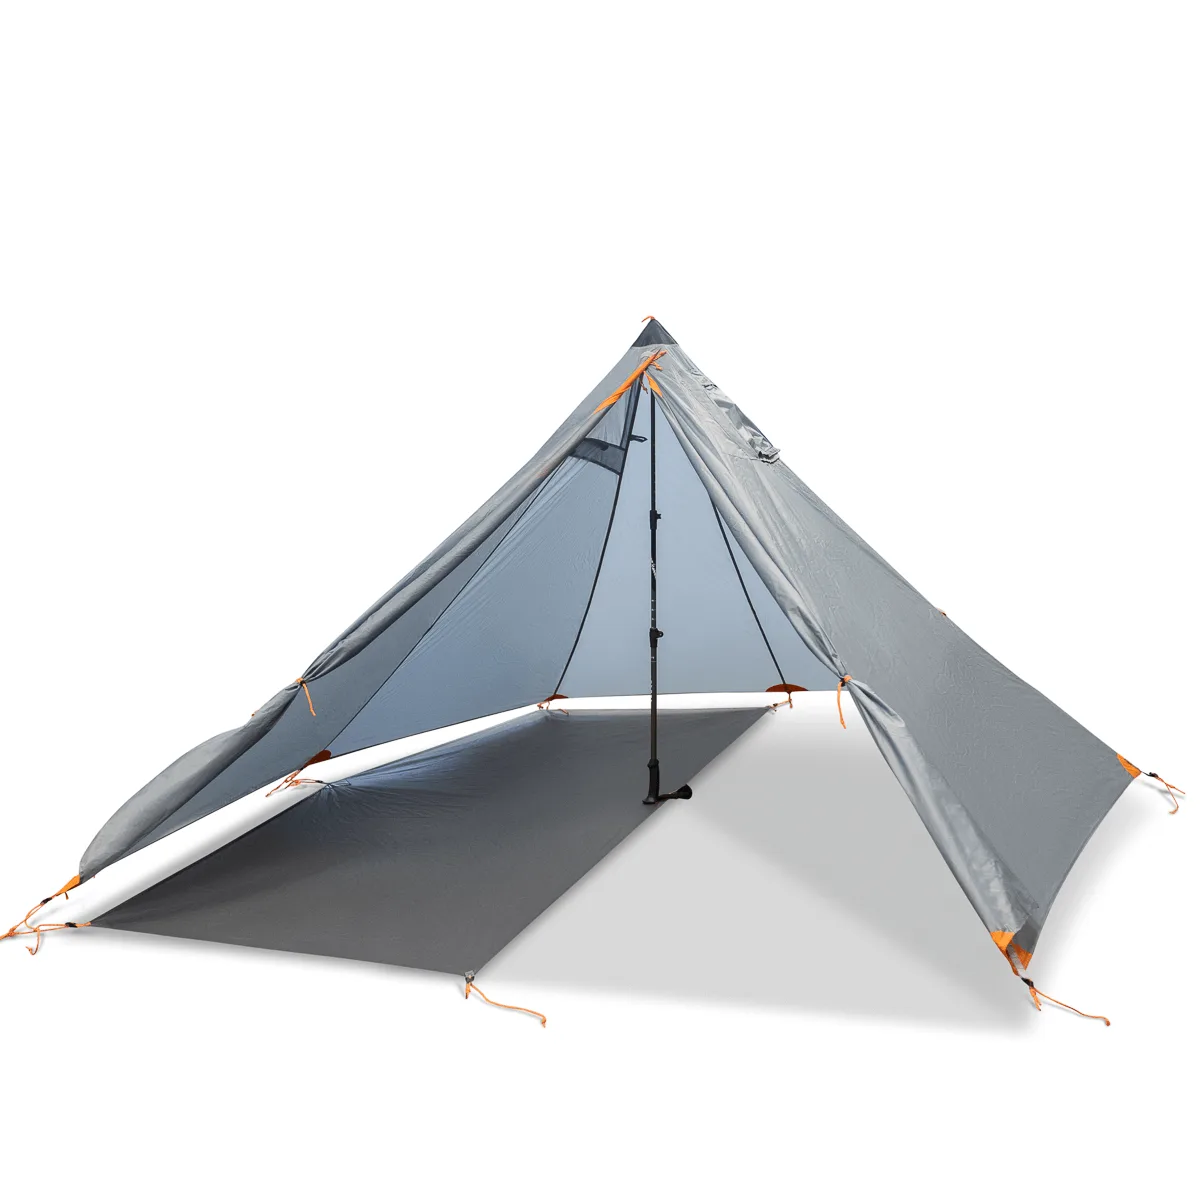
- Rincon 2P Half Floor: The Argali Rincon 2P Half Floor fits inside the Rincon 2P Tent to provide a floor for half of the tent for sleeping or to keep gear off the ground. A half floor lets you keep one side dry for sleeping while using the other side for wet gear or a stove, which helps manage rain and mud.
A storm-ready pitch is a sequence, not a struggle. Pick a protected site, orient the tent broadside to the wind, stake the body before the fly, and tension every guy line. With the right anchors and a small repair kit, you can ride out wind and rain and keep your camp dry.