Quick answer
To pitch the Musha 1Pole Tent solo, stake the four corners of the base first, then raise the single center pole inside the sleeping chamber, and finally tension the guy lines. This order keeps the tent stable while you work alone. The Musha's two-room layout means you can set up the sleeping area and vestibule in one sequence.
Why the Musha 1Pole Tent Suits Solo Campers
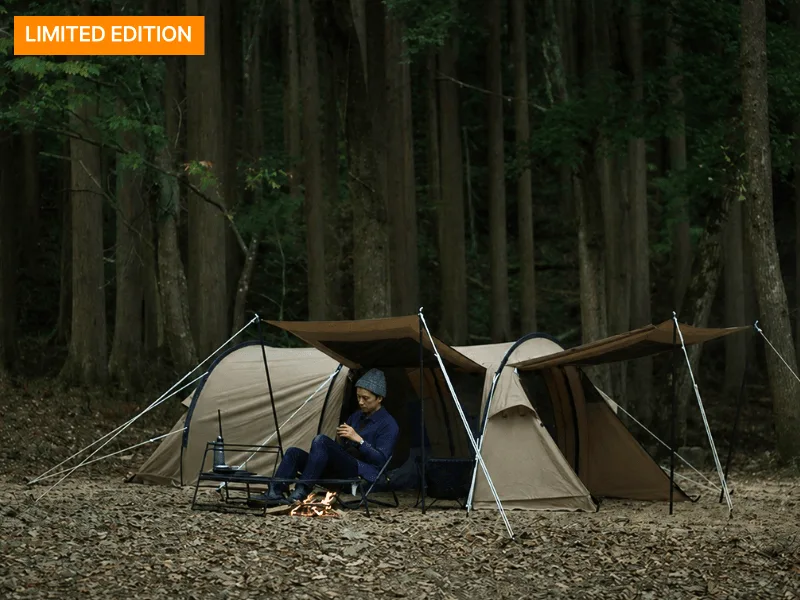
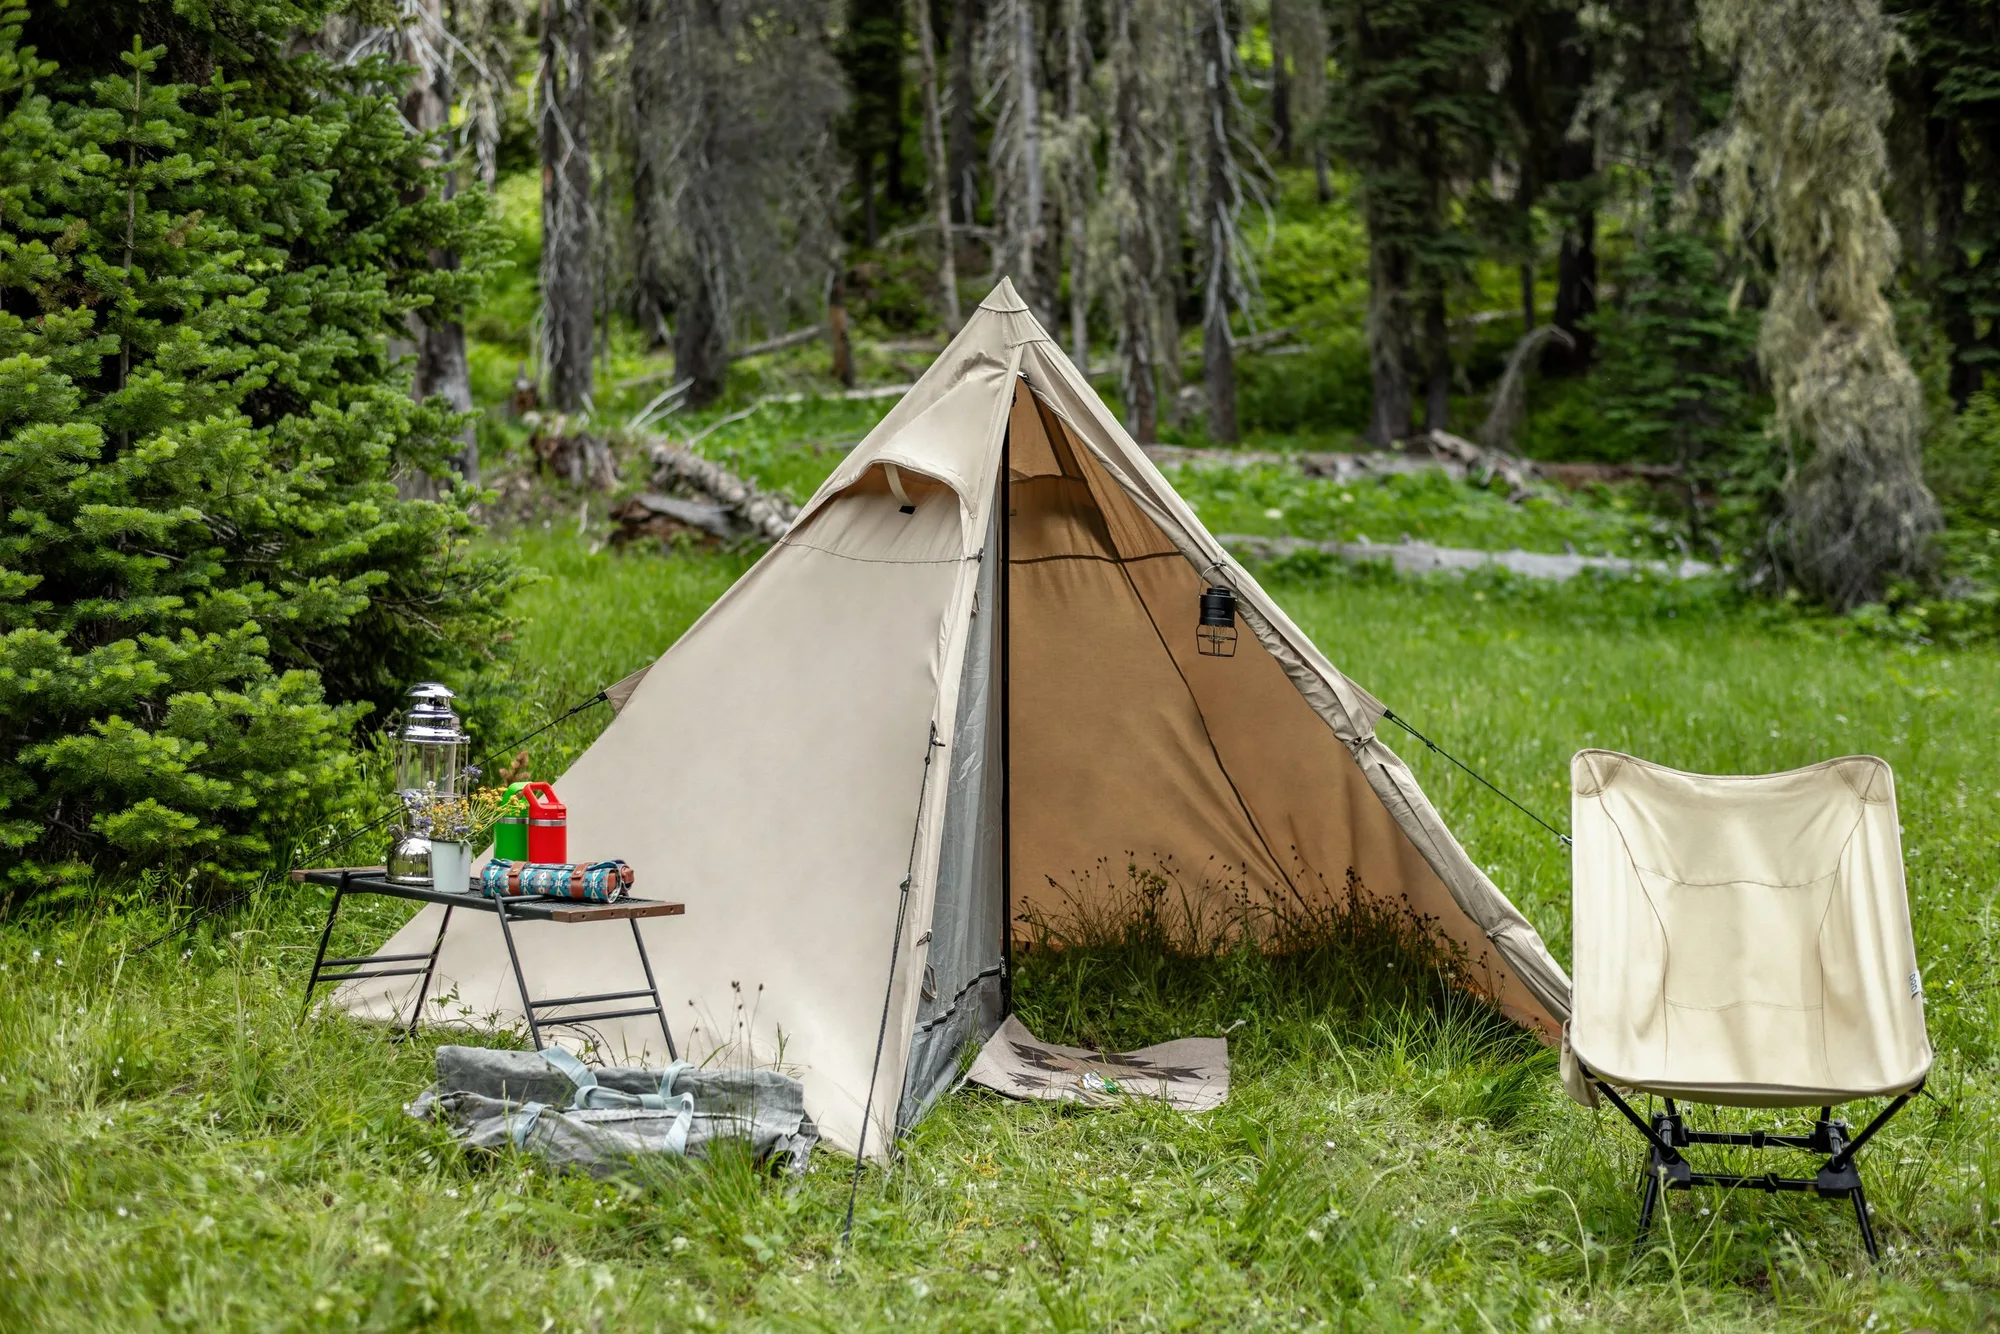
The Musha 1Pole Tent is a two-room, one-pole shelter designed for solo campers who want a private sleeping chamber and a separate vestibule for gear or relaxing under cover. Because it uses a single main pole rather than a multi-pole frame, there are fewer parts to juggle when you're setting up alone. The canopy door doubles as a vertical awning, so you can create a sunshade, windbreak, or blind without extra tarp hardware. Made from Canvo, the fabric is more durable than polyester and breathes better, which helps reduce condensation during solo trips.
What to Check Before You Start
Pick a flat, clear spot and remove sharp rocks or sticks from the footprint area. Lay out the tent body and confirm you have the single main pole, all guy lines, and enough stakes for the corners and guy-out points. If the ground is hard-packed, pre-drill stake holes with a small nail or use a mallet; forcing stakes can bend them and slow you down. Check the wind direction so you can orient the vestibule away from the prevailing breeze, which makes the awning more useful as a windbreak.
How to Pitch the Musha 1Pole Tent Alone
The sequence below keeps the tent from collapsing while you move around it. Work slowly and tension gradually rather than cranking one stake all the way down at once.
- Stake the four base corners loosely first, leaving a little slack in the tent floor.
- Insert the single pole into its sleeve or grommet inside the sleeping chamber and raise it until the tent stands.
- Attach the pole's top fitting to the tent's peak connection point, then adjust the pole length if it is adjustable.
- Stake out the vestibule corners and the canopy door, then tension the guy lines in a cross pattern.
- Re-tension the base corners after the pole is up, since the floor will shift as the shelter takes shape.
Step-by-Step Musha 1Pole Tent Setup
- Clear and lay out the footprint: Remove rocks, pinecones, and sticks from the area where the tent floor will sit. Unfold the tent and locate the single pole, stakes, and guy lines. Common mistake: skipping this step and puncturing the floor or losing small parts in the grass. Checkpoint: the ground is smooth and all parts are accounted for.
- Stake the four base corners loosely: Drive stakes at each corner at a 45-degree angle pointing away from the tent. Leave slight slack so the floor can shift when the pole goes up. Common mistake: over-tightening corners first, which makes the pole hard to raise. Checkpoint: the floor is roughly rectangular and not twisted.
- Raise the single pole inside the sleeping chamber: Insert the pole into its sleeve or grommet and push it upright until the tent stands. Connect the pole top to the peak fitting. Common mistake: forcing the pole when fabric is caught in the sleeve. Checkpoint: the pole is fully seated and the tent holds its shape.
- Stake out the vestibule and canopy door: Pull the vestibule floor taut and stake its corners. If you want the canopy door as an awning, stake it out at the desired angle for shade or wind protection. Common mistake: staking the vestibule too tight before the main pole is fully tensioned. Checkpoint: the vestibule has no sagging floor and the door awning stays put.
- Tension guy lines in a cross pattern: Attach guy lines to the provided loops and stake them out diagonally. Tighten in small increments, alternating sides so the pole stays vertical. Common mistake: tightening one side fully before the other, which pulls the pole off-center. Checkpoint: the tent walls are smooth and the pole is straight.
- Re-tension base corners and do a final walk-around: Go back to the four base corners and snug them down now that the structure is up. Walk the perimeter and adjust any loose guy lines. Common mistake: leaving the base loose, which lets wind get under the floor. Checkpoint: the floor is taut and the tent does not flap in a light breeze.
Musha 1Pole Tent at a Glance
- Musha 1Pole Tent: The Musha 1Pole Tent is a two-room, one-pole tent with a separate sleeping chamber and vestibule. You get a dedicated sleep space plus a covered area for gear or sitting, which is useful when you're camping alone and want to keep your pack out of the sleeping area.
- Musha 1Pole Tent: Its canopy door functions as a vertical awning that can serve as a sunshade, blind, or windbreak. On sunny or breezy days you can adjust the door to create shade or block wind without carrying a separate tarp.
- Musha 1Pole Tent: The Musha is made from Canvo, which is more durable than polyester and breathes. Breathable fabric helps reduce condensation inside a solo tent, and the durability means the shelter holds up better over repeated trips.