Quick answer
Pitch a dome tent alone by staking the four corners first, then assembling the poles and clipping the tent body before you add the rainfly. On tents with Kelty Quick Corners, the pole ends seat directly into the corner hardware, so you can set up without threading a sleeve. Work in one direction, keep the door closed until the fly is on, and tension the guylines last.
Prep the site before you touch the tent
Clear the footprint of rocks, pinecones, and sticks, then orient the tent so the door faces away from the prevailing wind. If rain is likely, pick a spot where water drains rather than pools. Lay the tent body out flat and confirm the pole set is complete before you start; a missing pole segment is the most common reason a solo setup stalls halfway.
Stake the corners first, then build the dome
Stake the four corners at roughly 45 degrees to the ground so the stakes bite into the soil rather than pull straight out. With the corners fixed, the tent body stays put while you assemble the poles. On a dome tent with an X pole design, join the pole sections and feed them through the pole sleeves or seat them into the corner grommets, depending on your model. Quick Corners are designed to let you set up fast because the pole ends lock into the corner rather than requiring a separate step.
Attach the rainfly and finish with guylines
Drape the rainfly over the dome and match the fly's corners to the pole tips or dedicated attachment points. Close the door before you fully tension anything, then stake out the guylines. Pre-attached guylines help stabilize the tent in wind, but they only work if you angle them away from the tent and keep them slightly slack rather than guitar-string tight. Re-check corner stakes after the fly is on, since tensioning the fly can shift the body.
Solo dome tent pitching steps
- Lay out and stake the corners: Spread the tent body flat, find the door, and stake all four corners at a 45-degree angle. Mistake to avoid: staking only two corners and expecting the tent to stay put while you wrestle with poles. Checkpoint: the floor should be taut and wrinkle-free before you pick up a pole.
- Assemble and seat the poles: Join the pole sections, then feed them through sleeves or seat the ends into the corner hardware. On Quick Corner tents, the pole tips lock into the corner rather than needing a separate grommet. Mistake to avoid: forcing a pole joint that is not fully seated, which can split the ferrule. Checkpoint: the dome should stand on its own before you clip anything.
- Clip the tent body to the poles: Work from the top of the dome downward, attaching clips or sleeves so the body follows the pole curve. Mistake to avoid: clipping one side completely before the other, which pulls the dome off-center. Checkpoint: the door zipper should run smoothly with no fabric caught in the teeth.
- Add the rainfly and align it: Drape the fly over the dome and match its corners to the pole tips or attachment points. Mistake to avoid: leaving the door open while you position the fly, which lets rain in and makes the fly harder to center. Checkpoint: the fly should cover the tent body evenly, with no section stretched tight against the inner wall.
- Stake guylines and re-check corners: Stake the pre-attached guylines at a low angle away from the tent, then walk the perimeter and reset any corner stake that pulled loose. Mistake to avoid: over-tensioning guylines, which distorts the dome and stresses the pole joints. Next step: open the door, place your sleeping pad, and confirm the interior is dry before you unpack the rest of your gear.
Kelty tents that make solo setup easier
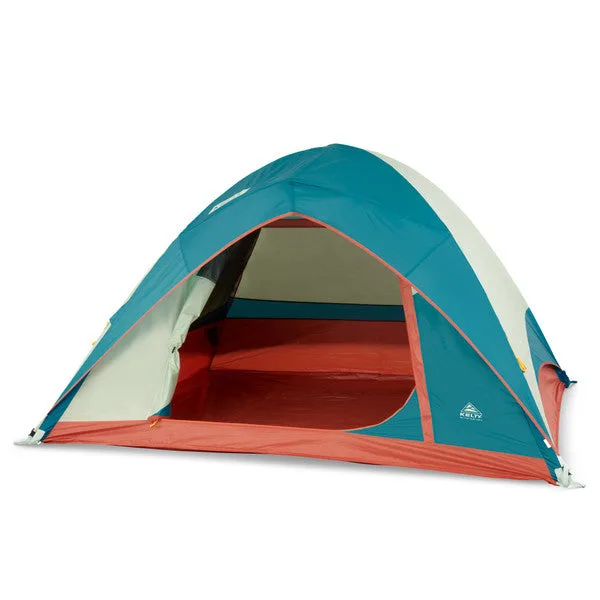
- Discovery Basecamp 4P Tent: The Discovery Basecamp 4P Tent is a 3-season tent with Quick Corners, an intuitive X tent pole design, a large D-door, a waterproof rainfly, and pre-attached guylines. Quick Corners and the X pole design reduce the number of steps where you need two hands, while the pre-attached guylines mean you are not tying knots alone in the wind.
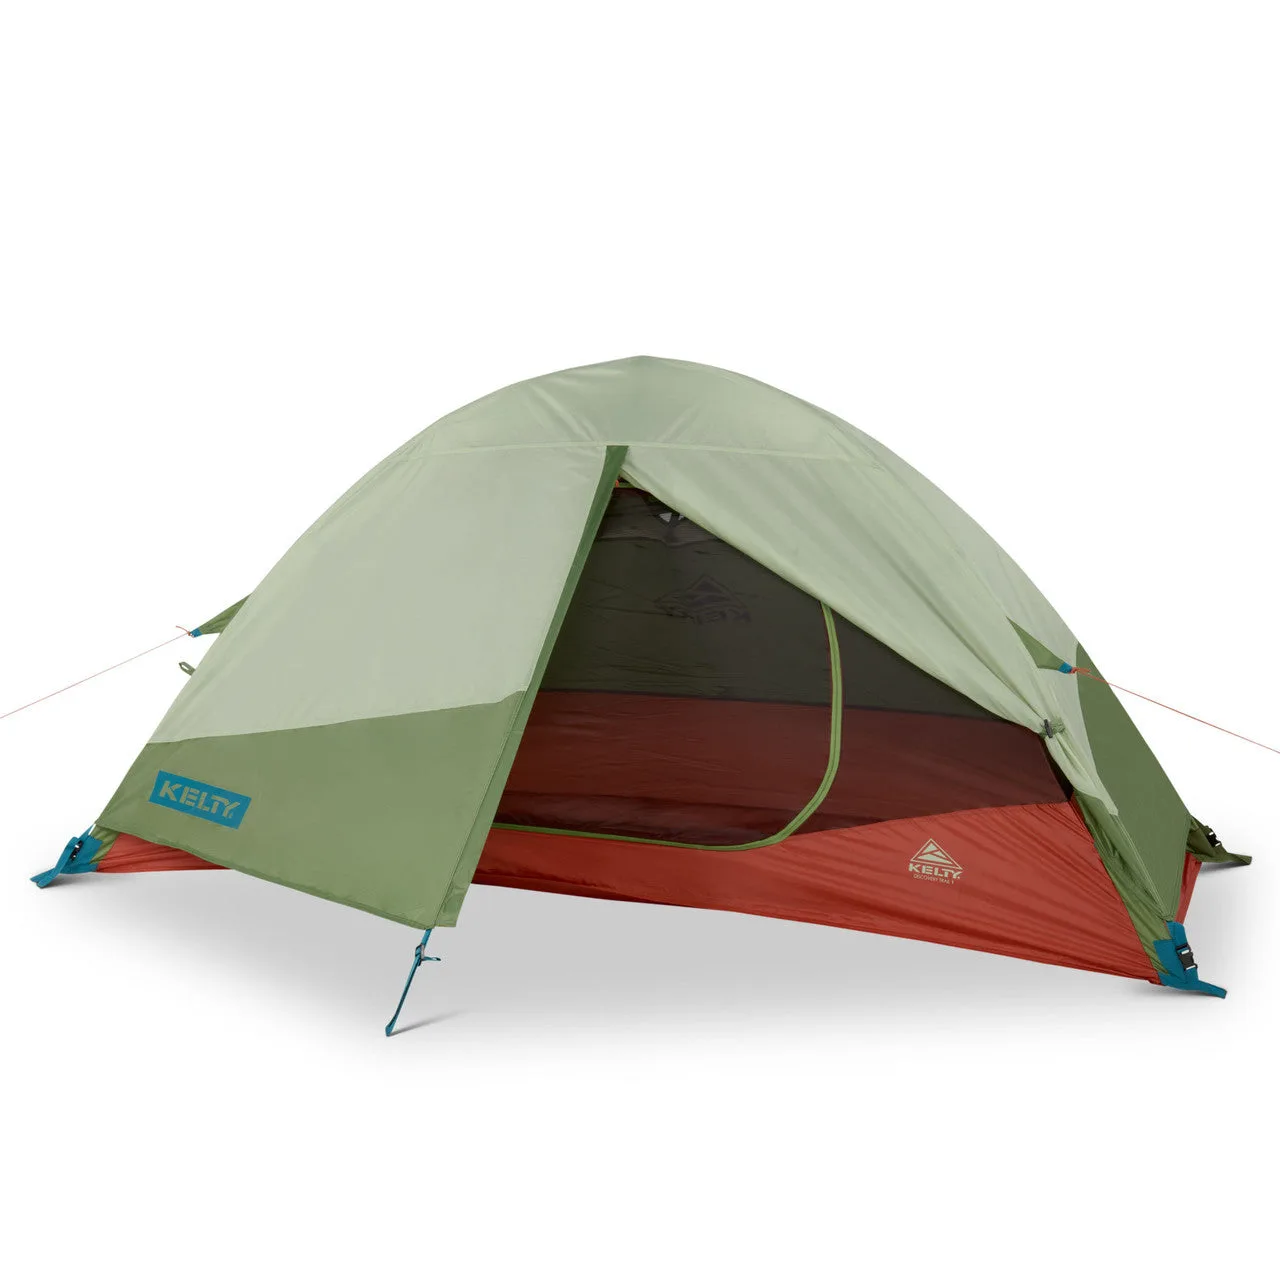
- Discovery Trail 1P Tent: The Discovery Trail 1P Tent is a free-standing dome with Quick Corners, built for backpacking with internal storage pockets. A free-standing dome can be moved after it is pitched, which helps if you set up on uneven ground and need to shift the tent onto a better spot.
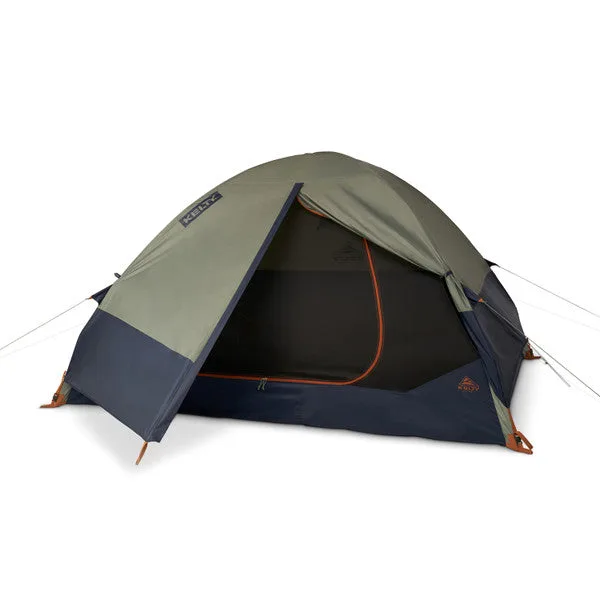
- Late Start 4P Tent: The Late Start 4P Tent uses Kelty Quick Corner technology and pre-bent poles for larger living space, designed for fast setup in any weather or in the dark. Pre-bent poles create more interior room without adding setup complexity, and the fast-setup design is useful when you arrive at camp after dark.