Quick answer
Start by reading the entire pattern before you buy or cut anything. Then gather the tools and fabrics the pattern calls for, check the size and skill level, and make a test block if the design is new to you. Planning ahead prevents fabric waste and keeps your quilt on track.
A quilt pattern book is more than a collection of designs. It is a planning tool that tells you what to buy, how to cut, and how to assemble. But the instructions only help if you read them before you start. Many quilters skim the first page, buy fabric, and then discover a tricky step or a different ruler requirement halfway through.
This guide walks you through a repeatable process for planning any quilt from a pattern book. You will learn how to read the instructions, match fabric and tools to the design, and catch problems before they cost you time or material. The steps work for traditional books, single patterns, and digital downloads.
Read the pattern from cover to cover before you buy anything
The first step in quilt planning is to read the entire pattern, not just the fabric requirements. Look for the finished size, block size, skill level, and any special techniques. Check whether the pattern uses templates, specialty rulers, or pre-cuts. If a step is unclear, read it twice and mark it with a sticky note. This is also the time to confirm the pattern is complete. Some books include multiple projects, so make sure you are reading the instructions for the quilt you want to make.
A common mistake is assuming you already know how to make the block because it looks familiar. Patterns often have subtle differences in seam allowance, pressing direction, or trimming. Read the assembly diagrams carefully. If the pattern includes a cutting chart for multiple sizes, highlight the column for your size so you do not accidentally cut from the wrong one.
- Checkpoint: Can you explain the block construction in your own words? If not, reread the assembly section before buying fabric.
Match your fabric choices to the pattern's design goals
Pattern books usually show the quilt in specific fabrics, but you can substitute. The key is to understand the role each fabric plays: background, feature, accent, or binding. If the pattern uses a large-scale print, a small-scale substitute may change the look. If it uses a tonal, a bold print may overwhelm the design. Read the fabric requirements by yardage and by piece. Some patterns list fat quarters or pre-cut bundles, which can save cutting time but may limit your layout options.
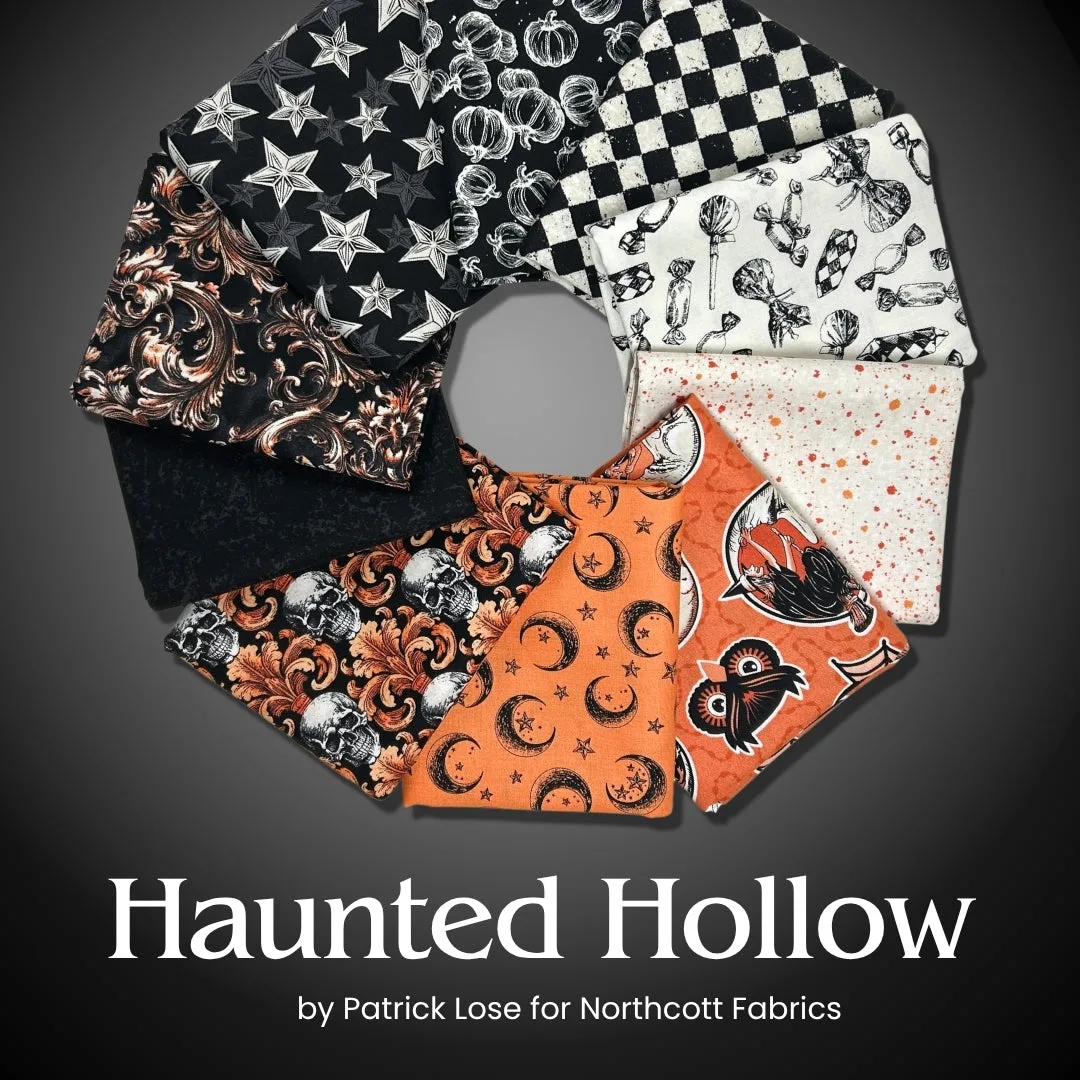
For Halloween or seasonal quilts, a coordinated bundle can simplify planning. The Haunted Hollow Half Yard Bundle includes 10 half-yard pieces in black, ivory, and burnt orange prints, which gives you a curated palette for a spooky project. The Emerald Hollow Half Yard Bundle offers emerald, turquoise, orange, cream, black, and gray prints with haunted houses, pumpkins, and bats. Both are half-yard cuts, so check the pattern's requirements to see if you need additional background fabric. If you prefer a subtle texture, a basic like Linen Texture Marine brings a woven look that reads as solid from a distance and works well for background, sashing, or binding.
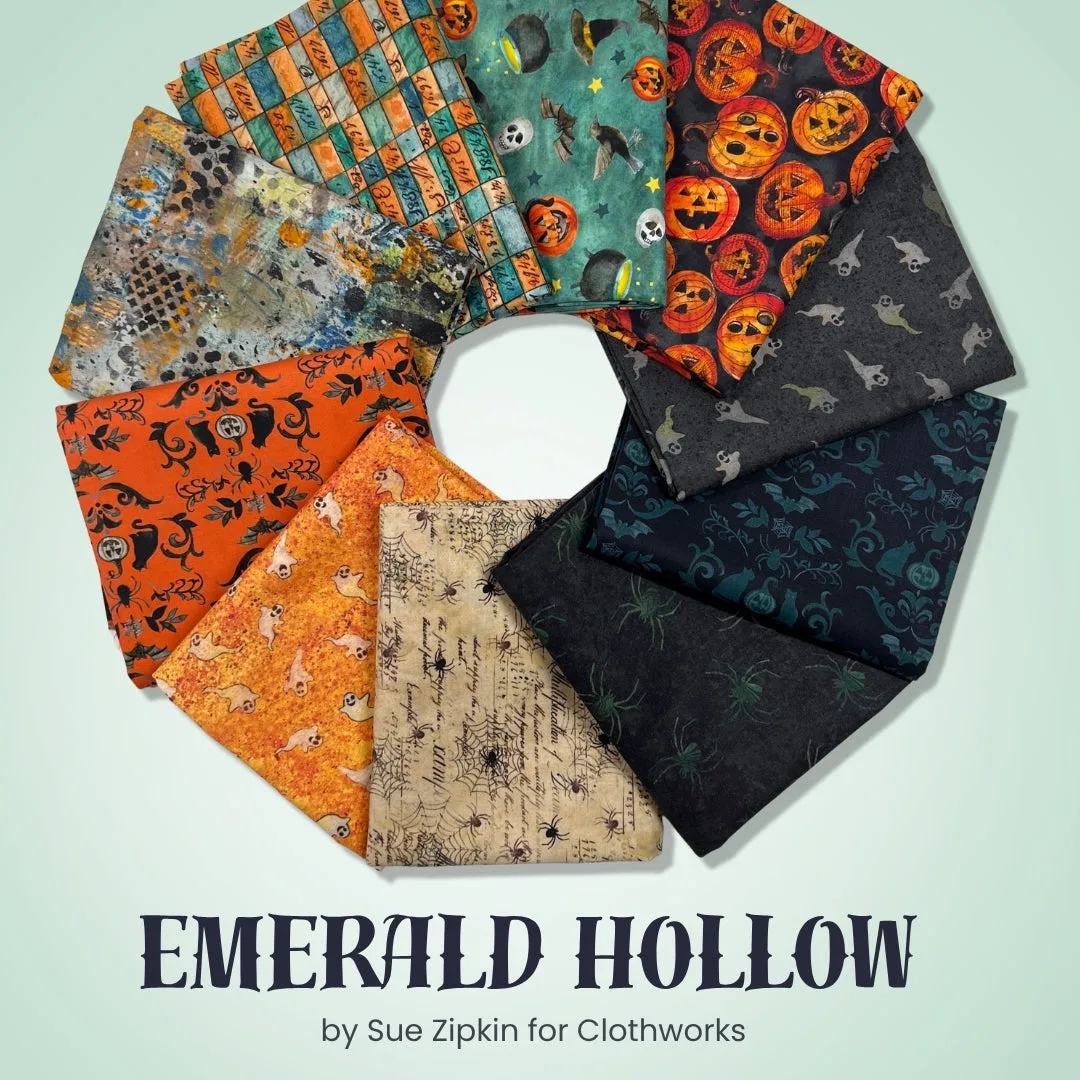
Emerald Hollow Half Yard Bundle
- Common mistake: Buying fabric before you read the cutting chart. You may end up short on background or binding.
Gather the right rulers and tools for the pattern's cutting method
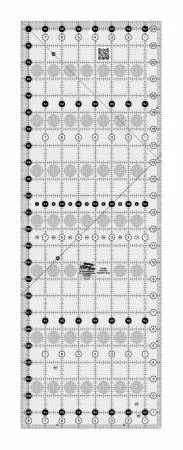
Many patterns specify a particular ruler or cutting method. For example, some table runner patterns are designed for the Stripology Squared Mini Ruler and 5-inch fabric squares, but they also include instructions for regular rulers. If you do not own the recommended ruler, check whether the pattern offers an alternative. If it does not, you may need to adjust your cutting plan or choose a different pattern. A larger rectangle ruler, like the Creative Grids Quilt Ruler 8-1/2in x 24-1/2in Rectangle CGR824, helps you cut wider strips and squares and can cut strips straight off the bolt. It is made in the USA with high-quality acrylic and precision measurements.
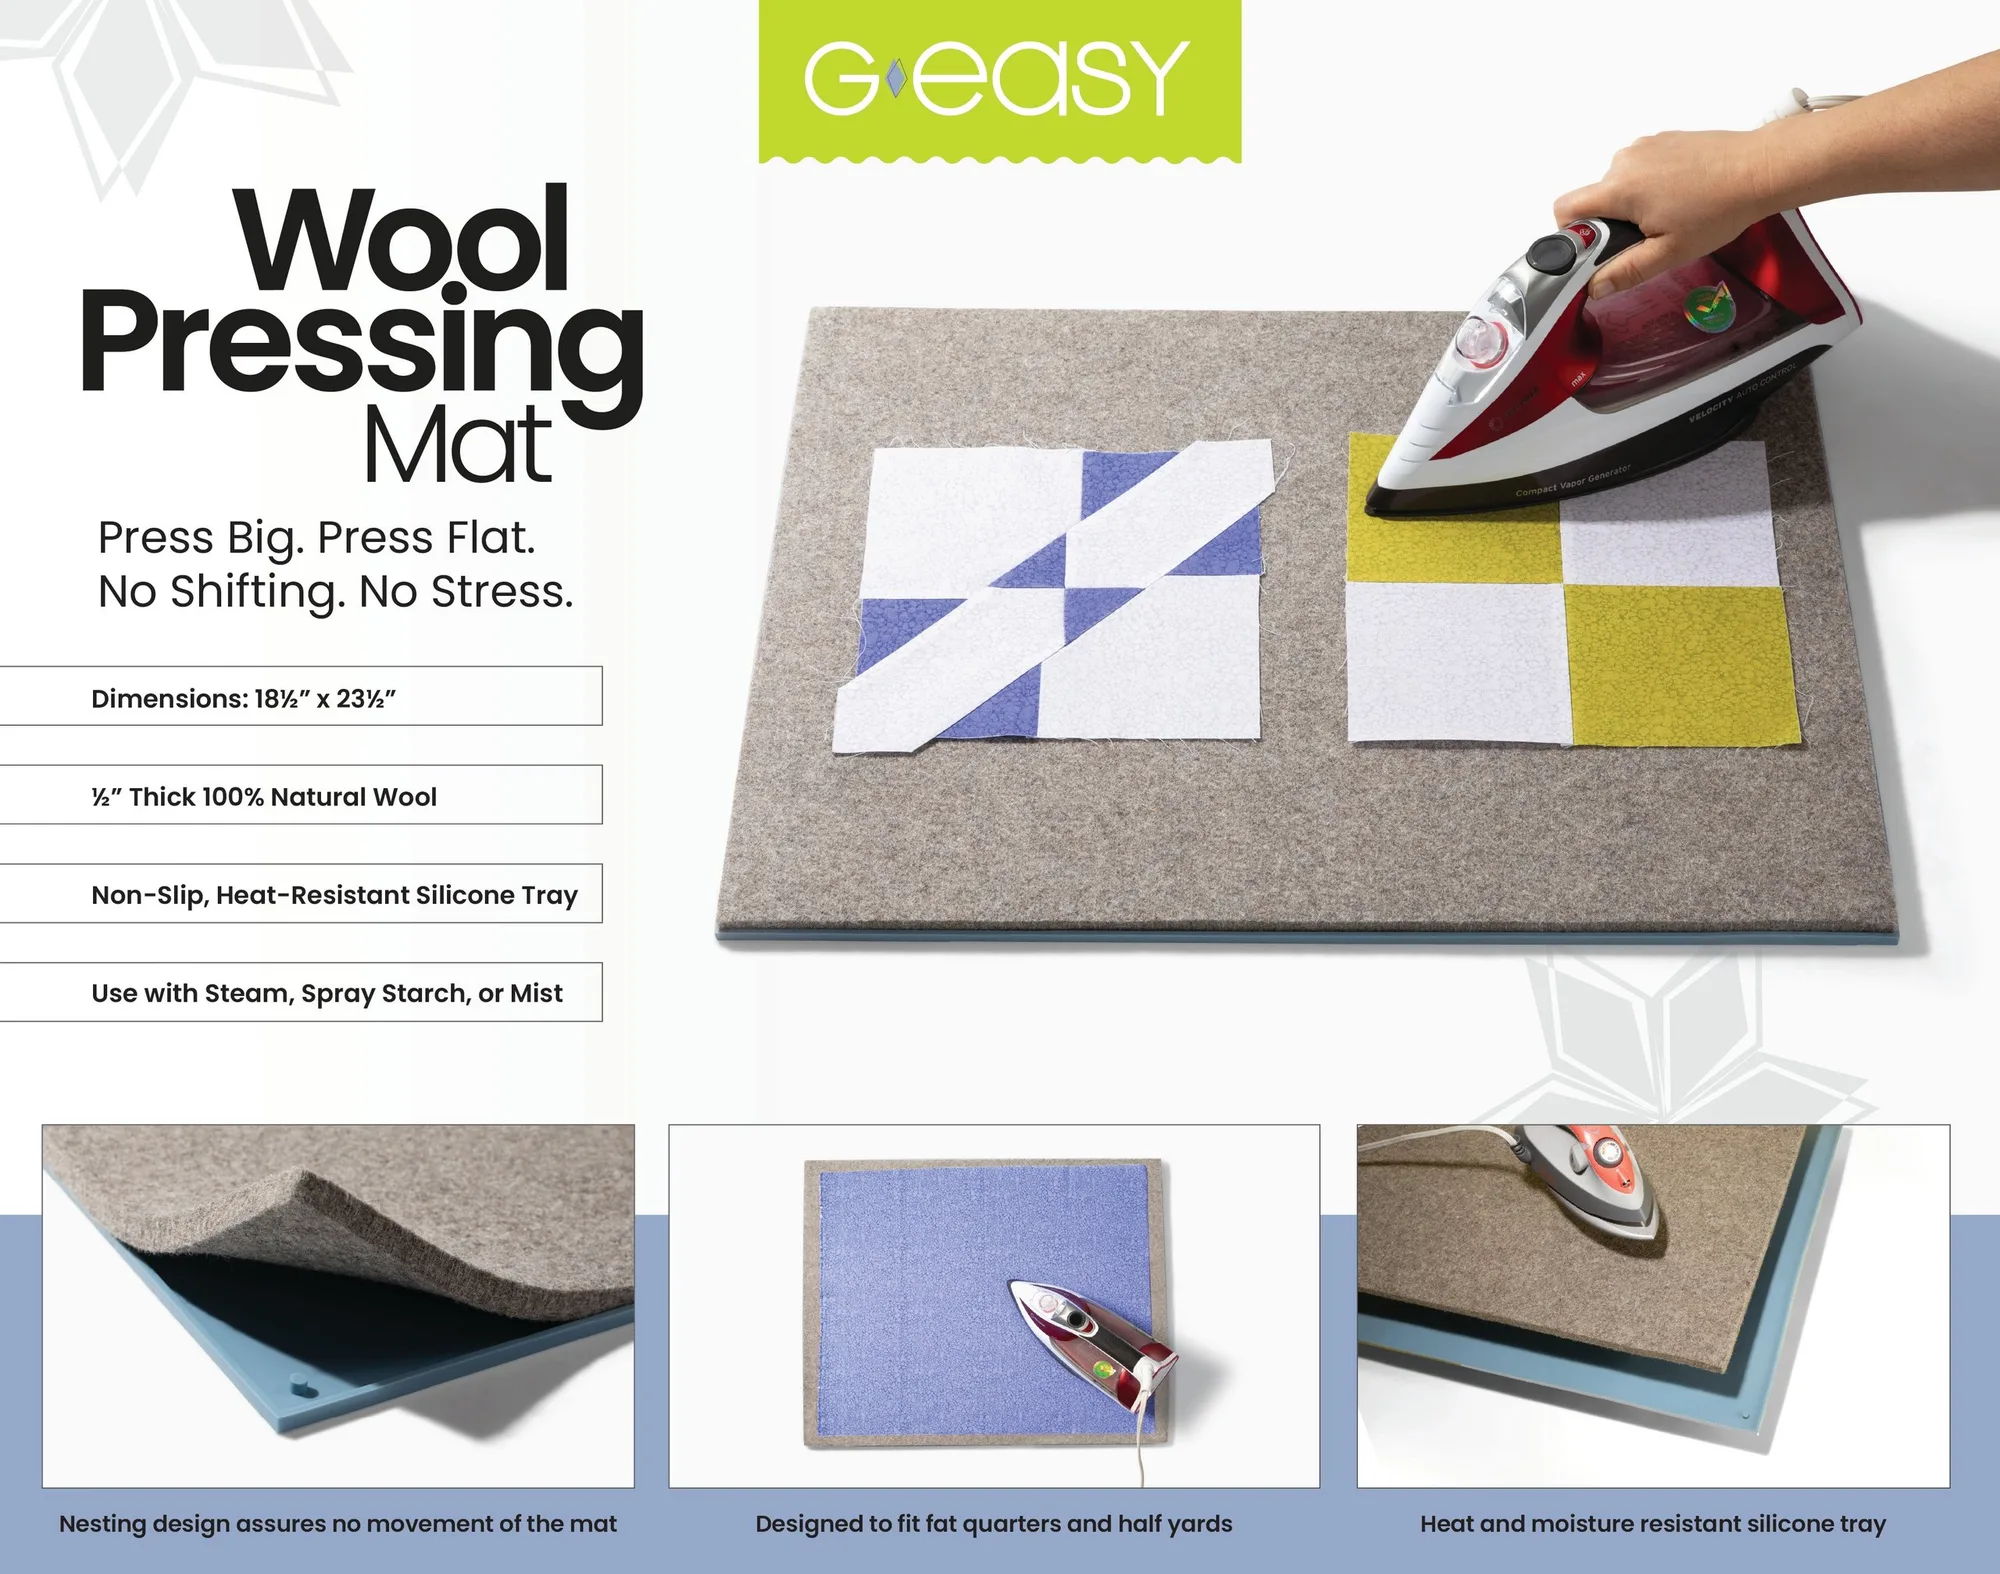
Do not forget pressing tools. Accurate pressing makes a bigger difference than many quilters expect. The GEasy Wool Pressing Mat - Large is a 1/2-inch thick, 100% wool mat with a heat-resistant silicone tray that acts as a heat and moisture barrier. You can press with steam, spray starch, or mist, and the tray protects the surface below while catching condensation. A good pressing setup helps your blocks lie flat and measure true.
- Checkpoint: Test your ruler and cutting method on scrap fabric before cutting into your good fabric.
Plan your cutting and assembly in batches
Once you have your fabric and tools, plan your cutting session. Label your pieces by block or step. Many quilters cut all fabric for one block first, sew a test block, and then cut the rest. This catches errors early. If the pattern has repeated units, cut them in batches to save time. Keep your cutting chart nearby and cross off each fabric as you cut it. If you are using a pattern book, consider making a photocopy of the cutting chart so you can mark it up without damaging the book.
A common mistake is cutting everything at once and then discovering a seam allowance error. Always sew one test block before chain-piecing the entire quilt. Check that your block measures the intended unfinished size. If it is off, adjust your seam allowance or cutting before continuing.
- Checkpoint: Does your test block measure the correct unfinished size? If not, fix it now before cutting more fabric.
Set a realistic timeline and track your progress
Quilt planning includes time management. Estimate how long each step will take based on your schedule. A simple lap quilt may take a weekend, while a queen-size quilt with complex blocks can take weeks. Break the project into milestones: cutting, piecing blocks, assembling the top, quilting, and binding. Write these down or use a project planner. If you are making a gift, work backward from the deadline. This helps you avoid last-minute rushing, which often leads to mistakes.
If you are new to a technique, add extra time for practice. Watch a video class or read a tutorial if the pattern's diagrams are not enough. The goal is to enjoy the process, not just finish. A realistic timeline keeps you motivated and reduces frustration.
- Common mistake: Underestimating the time for quilting and binding. These steps often take longer than expected.
Your step-by-step quilt planning checklist
- Read the full pattern: Read every page, including fabric requirements, cutting charts, and assembly diagrams. Mark unclear steps. Checkpoint: You can summarize the block construction and special tools needed.
- Choose fabric with a purpose: Assign each fabric a role: background, feature, accent, binding. Check yardage and pre-cut options. Common mistake: Buying fabric before reading the cutting chart.
- Match rulers and tools to the pattern: Confirm which rulers the pattern recommends and whether alternatives are given. Test on scrap fabric. Checkpoint: Your ruler and cutting method produce accurate pieces.
- Cut and sew a test block first: Cut one block's worth of fabric, sew it, and measure. Adjust seam allowance or cutting before cutting the rest. Checkpoint: Test block measures the correct unfinished size.
- Set a timeline and track milestones: Break the project into cutting, piecing, assembling, quilting, and binding. Add buffer time for new techniques. Common mistake: Underestimating quilting and binding time.
Tools and fabrics that support pattern planning
- Lil' Roxy - Table Runner Pattern 213: Make this table runner much faster and easier than it looks using the Stripology Squared Mini Ruler and 5-inch fabric squares. Full color instructions include how to use regular rulers as well. Size 15-1/2in x 39-1/2in. A good example of a pattern that offers a ruler-specific shortcut but still gives you a fallback method, so you can plan around the tools you own.
- Creative Grids Quilt Ruler 8-1/2in x 24-1/2in Rectangle CGR824: This 8-1/2in x 24-1/2in rectangle ruler helps you cut wider strips and squares, and the longer length is great for cutting strips straight off the bolt. Made in the USA with high quality acrylic and precision measurements. A versatile ruler that covers many pattern requirements, reducing the need to buy multiple specialty rulers for every project.
- GEasy Wool Pressing Mat - Large: Designed by Gudrun Erla. This exclusive 1/2in thick, 100% wool mat and silicone tray combo is the perfect companion to your sewing room. Press with steam, spray starch or mist. The heat-resistant silicone tray acts as a heat and moisture barrier, protecting the surface below and catching any condensation. Accurate pressing is essential for blocks to measure true. A wool mat with a silicone tray protects your table and helps you press efficiently during assembly.
Planning a quilt from a pattern book is mostly about reading ahead and testing as you go. When you understand the instructions, match your fabric and tools to the design, and sew a test block before cutting everything, you set yourself up for a smoother project. Take the extra step now, and you will enjoy the process more.