Quick answer
Plan a junk journal spread by choosing a theme, printing your ephemera at the right scale, and layering from background to foreground. Work on both pages at once so the spread feels balanced, and leave space for writing. If you are new, start with a single focal point and build around it rather than filling every inch.
Why printable ephemera makes spread planning easier
Printable ephemera gives you control over scale, quantity, and repetition. You can print a sheet of tabs, fussy-cut elements, or background papers in the size that fits your journal, then reprint more if a layout needs extra pieces. This is especially useful when you want a cohesive look across a two-page spread without hunting for matching physical supplies. It also lets you test a layout before committing, since a misjudged piece costs only paper and ink, not a rare sticker.
Set up your workspace and paper choices
Before you print, decide on your journal's paper and your adhesive. Ultra-thick pages handle wet media and layered paper without buckling, but very thin pages may need a dry adhesive or a lightweight backing. Print on matte sticker paper for peel-and-stick convenience, or on regular paper if you plan to use tape or glue. Keep a scrap sheet nearby to test how your printer handles the paper weight. If you are working in a journal with 160gsm pages, you can usually layer several pieces without worrying about bleed-through from glue sticks.
Choose a theme and a focal point
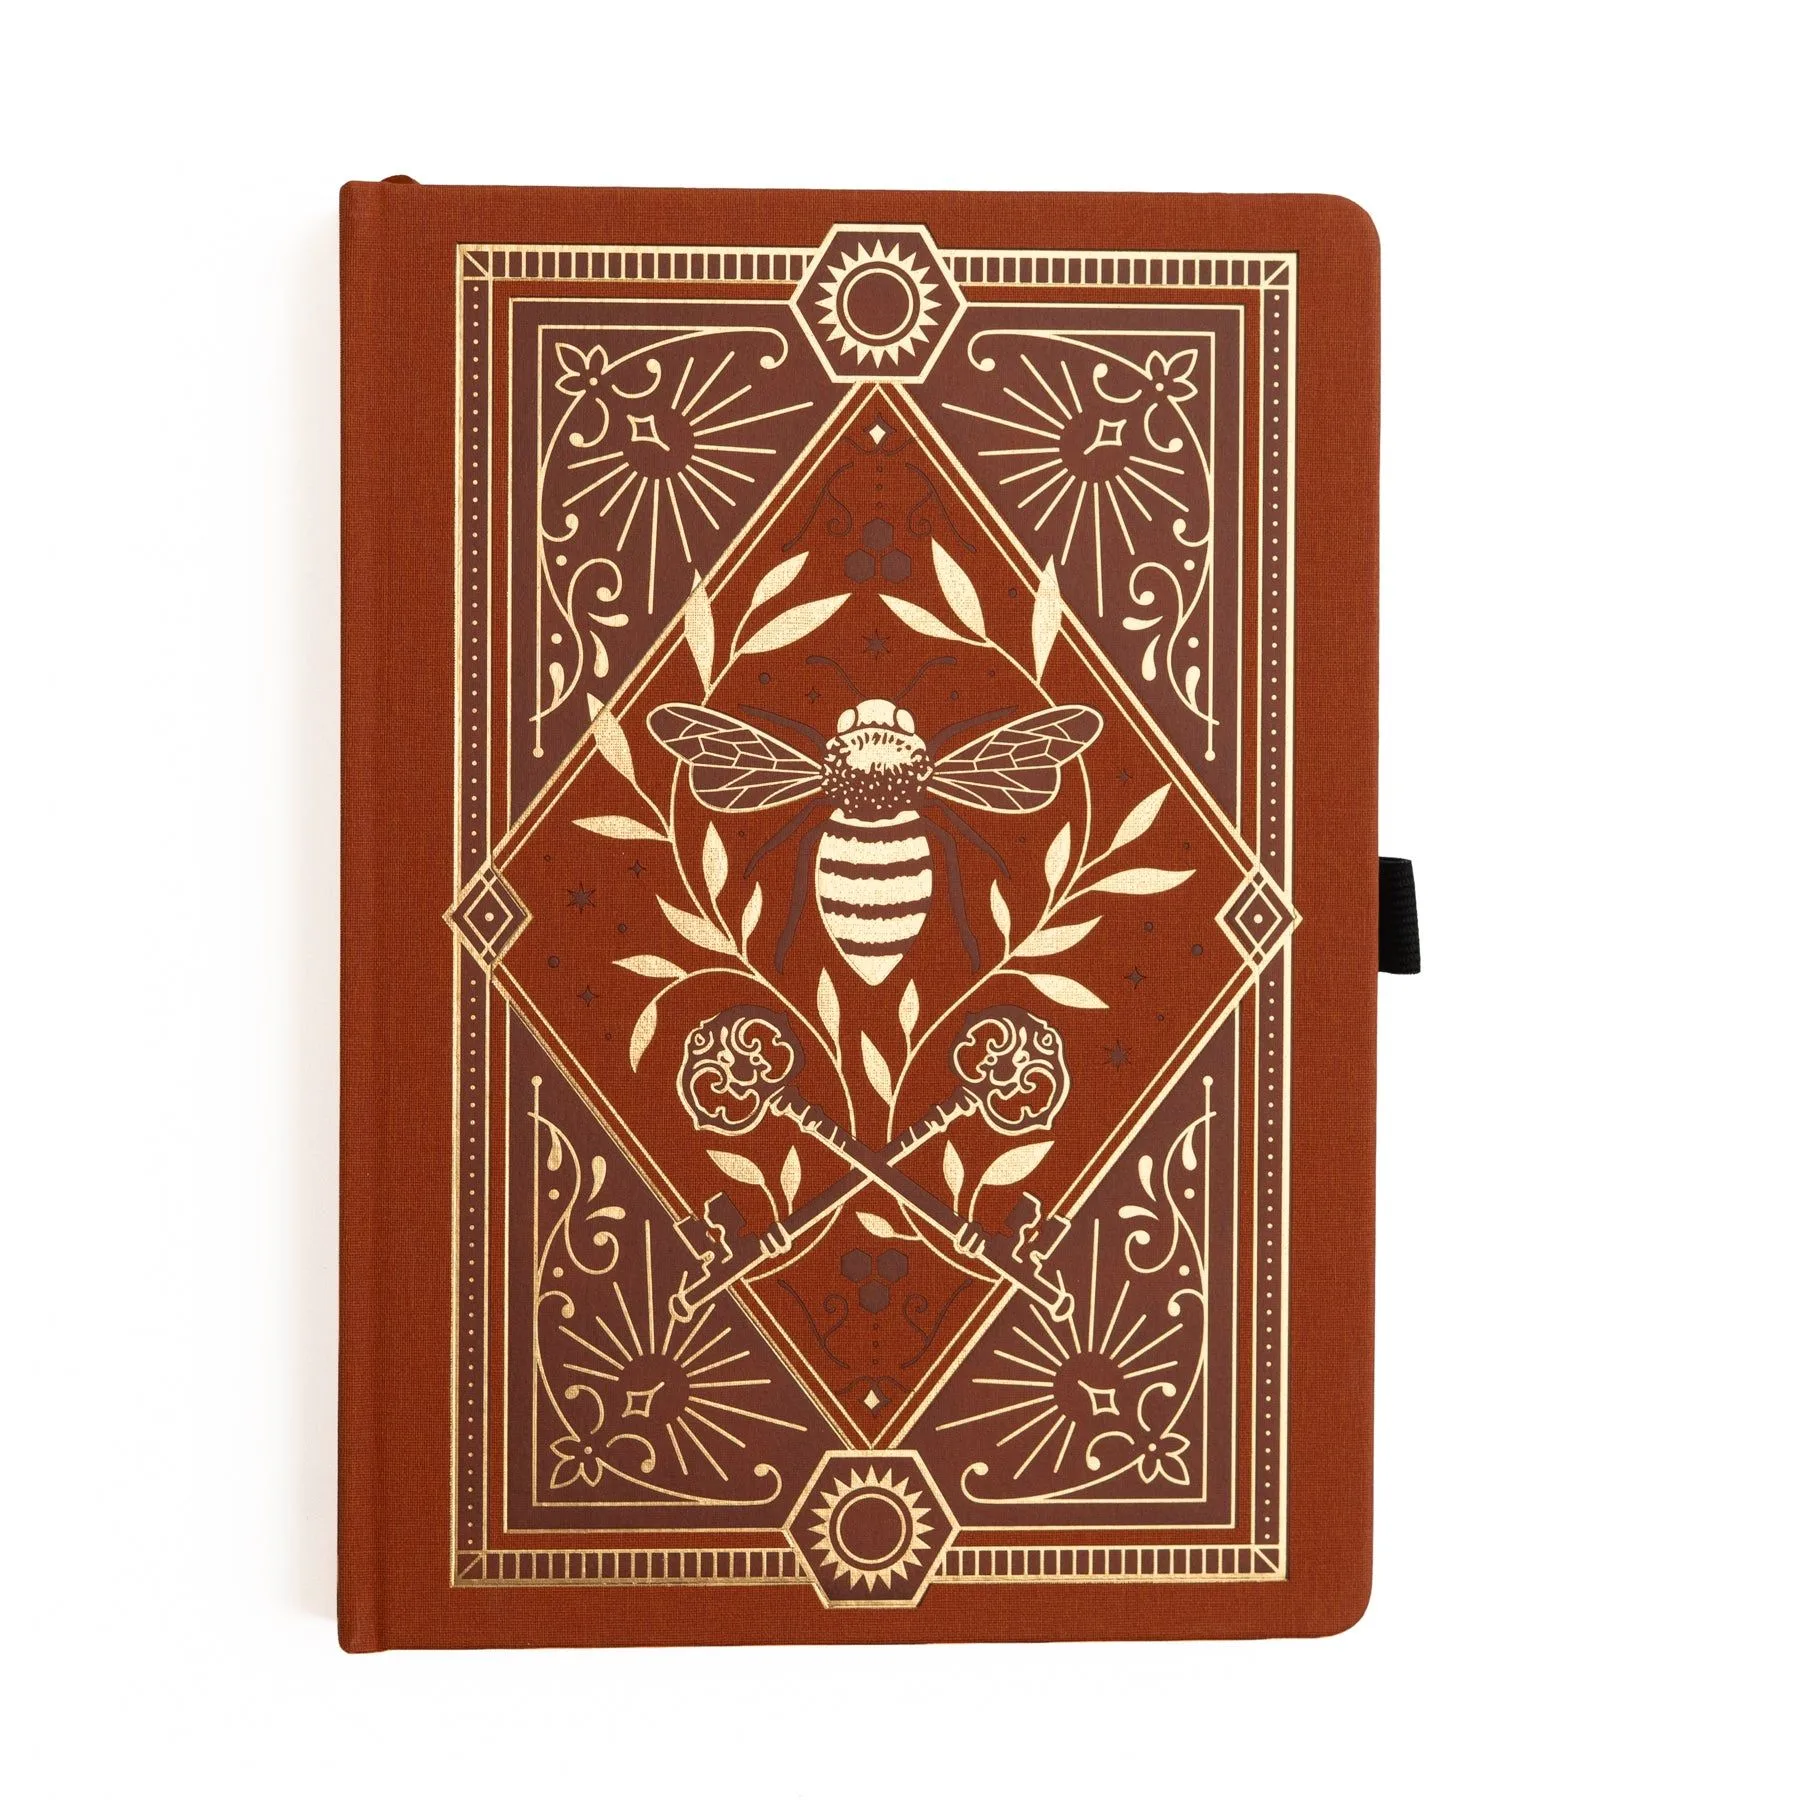
A theme keeps a spread from looking like a random pile. It can be as simple as a color palette, a season, or a motif like bees, keys, or night gardens. Pick one focal point, such as a large cut-apart or a journaling card, and place it slightly off-center. Everything else should support that piece. If you are using a set like the Keeper of Bees album, its rust and gold tones give you a ready-made palette. Write your theme at the top of a scrap page so you do not drift while cutting.
Print and prepare your ephemera
Print at 100% scale first, then measure a few pieces against your page. If the elements look too large, reduce to 80–90% and reprint. Cut with sharp scissors or a craft knife, and leave a small white border if you like a hand-cut look. Group your pieces into background, middle ground, and foreground piles so you do not lose track. For printable tabs, decide whether you want them as page markers or as decorative layers. A common mistake is printing on the wrong side of sticker paper; mark the backing with a pencil before you start.
Lay out before you glue
Place every piece on the spread without adhesive and step back. Check that the two pages relate to each other: a cluster on the left should have a visual echo on the right, even if it is just a repeated color or shape. Move pieces until the flow feels natural. This is also the time to mark where your writing will go. If a layout feels flat, add a small tab or a strip of paper to create a ledge. Do not glue anything until you are happy with the whole composition.
Layer and adhere from back to front
Start with the largest background pieces, then add middle-ground elements, and save the smallest details for last. Use a glue stick for flat paper and double-sided tape for pieces you might want to lift. If you are using printable tabs, adhere them along an edge so they can still function as dividers. Press each layer firmly, especially near the spine. A checkpoint: lift the page gently after each layer to make sure nothing is buckling. If the page starts to warp, pause and let it dry under a heavy book before continuing.
Add journaling and finishing touches
Write after the layers are secure so your pen does not catch on loose edges. Use a fine-liner or gel pen that dries quickly on your paper. If you are unsure, test on a scrap of the same paper first. Leave breathing room around your writing; not every space needs a sticker. Date the spread and add a small note about the theme or supplies you used. This helps you repeat a layout you love later. If you want to add paint or ink, do it before adhering ephemera so you can work flat.
Step-by-step junk journal spread plan
- Pick a theme and gather references: Choose one motif, color story, or season. Pull 2–3 reference images or physical pieces that match. Keep them visible while you work. Checkpoint: if you cannot describe the theme in one sentence, narrow it.
- Print and cut your ephemera: Print at 100% first, then resize if needed. Cut all pieces and sort them into background, middle, and foreground piles. Common mistake: printing on the wrong side of sticker paper. Mark the backing first.
- Place a focal point and build outward: Put your largest or most meaningful piece slightly off-center. Add supporting pieces around it without gluing. Checkpoint: the focal point should be the first thing your eye lands on.
- Balance the two-page spread: Repeat a color, shape, or texture on the opposite page. If the left is heavy, add a lighter element to the right. Common mistake: treating each page as a separate layout instead of one spread.
- Adhere from back to front: Glue backgrounds first, then middle layers, then small details. Press firmly and check for buckling as you go. Checkpoint: lift the page gently after each layer. If it warps, pause and dry it flat.
- Add journaling and date the spread: Write with a quick-drying pen, leaving space around your text. Add the date and a note about the theme or supplies. Next step: photograph the finished spread so you can recreate the layout later.
Printable supplies that fit this process
- Junk Journal Album | Keeper of Bees in Rust: The Keeper of Bees Rust Junk Journal Album features an intricate bee and antique key design in warm rust and gold tones, with a spacious landscape format and ultra-thick pages suitable for scrapbook layouts, watercolor painting, and preserving memories. The landscape format gives you a wide two-page canvas for layering, and the thick pages can handle glued ephemera and light wet media without immediate buckling.
- Printable Planner Tabs: Fairy House: Printable Planner Tabs: Fairy House is a whimsical set of tab dividers inspired by magical cottages, woodland creatures, and storybook gardens, with fairy house scenes, florals, mushrooms, butterflies, and soft patterns. These tabs can act as both functional dividers and decorative elements, so you can use them to mark sections in your junk journal or as layered accents in a spread.
- Radiant Raccoon Printable Planner Tabs: Radiant Raccoon Printable Planner Tabs includes 16 printable tabs inspired by curious creatures on nighttime adventures, designed to print on sticker paper or adhere with tape or glue. The set gives you a repeatable motif for night-themed spreads, and the option to use sticker paper or tape makes it flexible for different journal papers.