Quick Answer
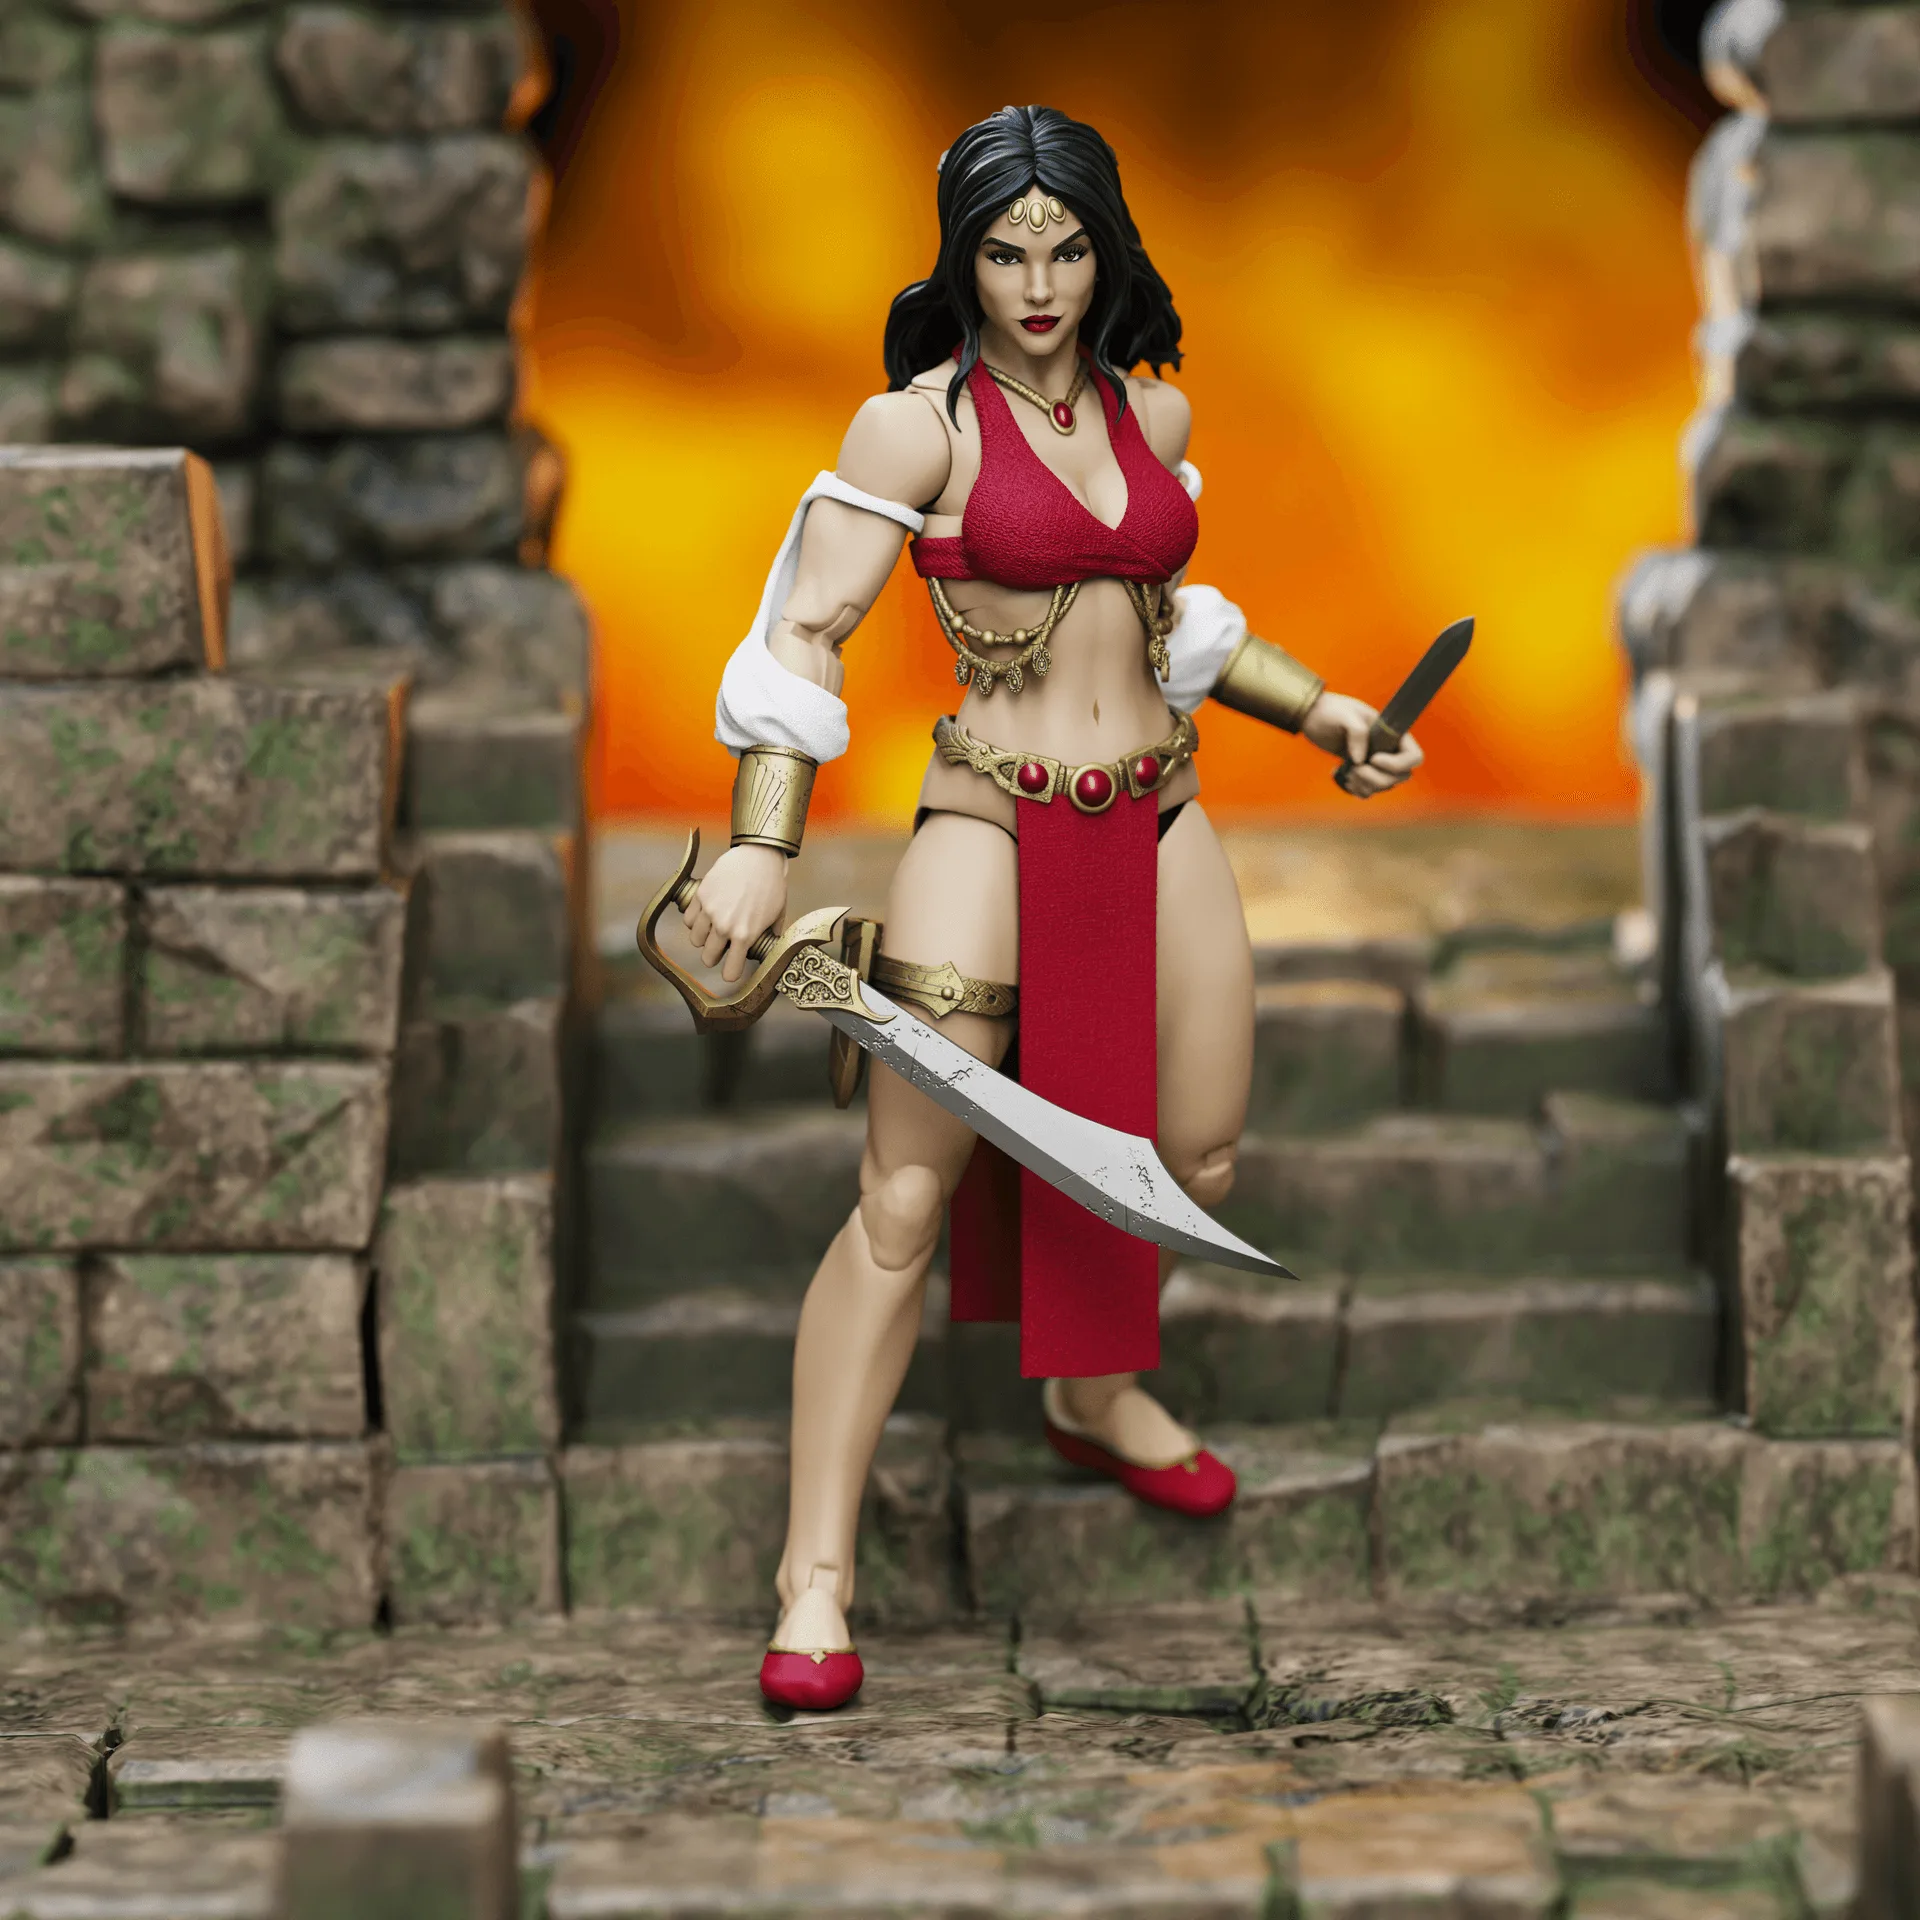
To pose action figures for dynamic scenes, start by establishing a strong base and balance, then build up through the legs, torso, arms, and head. Focus on creating a natural counterbalance and a clear line of action. Use small adjustments and checkpoints to avoid stiff, unnatural poses.
Action figures are more than static collectibles—they're tools for storytelling. Whether you're displaying a lone hero or staging an epic battle, the right pose can make a figure feel alive. But achieving a dynamic pose isn't just about bending arms and legs; it requires understanding balance, movement, and the figure's design.
In this guide, we'll walk you through a step-by-step process to pose your action figures for action-packed scenes. You'll learn how to work with the figure's articulation, avoid common pitfalls, and create poses that capture motion and emotion. Let's get started.
Understanding Your Figure's Articulation
Before you start posing, take a moment to study your figure's joints. Different figures have different articulation points—some may have double-jointed knees, while others might have limited neck movement. Knowing what your figure can and cannot do will save you frustration later. For example, a figure like the Vitruvian H.A.C.K.S. Desert Wanderer is designed with multiple points of articulation, allowing for a wide range of motion.
Check for any restrictions, such as armor or clothing that might hinder movement. Some figures come with accessories that can be removed to improve articulation. If a joint feels stiff, use warm water or a hairdryer on a low setting to gently loosen it—but never force a joint, as it may break.
- Test each joint's range of motion before posing.
- Refer to the figure's packaging or manual for articulation details.
Starting with a Strong Base and Balance
A dynamic pose starts from the ground up. Begin by positioning the feet to create a stable base. For action poses, a wider stance often works best, as it lowers the center of gravity and adds stability. If your figure has ankle articulation, adjust the feet to sit flat on the ground or on a base, ensuring even weight distribution.
If your figure tends to tip over, consider using a display stand or base. Many figures come with stands, but you can also use clear acrylic stands for support. Remember, a figure that falls is not only frustrating but can also get damaged. A secure base allows you to push the pose further without worry.
- Use a stand if the figure has a hard time balancing.
- Adjust the feet so they are flat and evenly placed.
Creating a Line of Action
The line of action is an imaginary line that runs through the figure's body, conveying movement and energy. In dynamic poses, this line is often curved, like a 'C' or 'S' shape, rather than straight. For example, when posing a character mid-punch, the line might curve from the back foot through the torso to the punching arm.
To create a line of action, start by positioning the hips and shoulders at opposing angles. This natural contrapposto stance adds life to the figure. Then, adjust the spine if the figure has torso articulation, and curve the neck slightly to follow the line. This simple technique instantly makes poses look more natural.
- Visualize the motion you want to convey.
- Avoid straight, upright postures for action scenes.
Posing the Legs and Hips for Movement
Legs are the foundation of any action pose. For running or jumping, position one leg forward and the other back, bending the knees slightly. For a fighting stance, place legs shoulder-width apart, with one foot slightly forward for balance. Adjust the hips to tilt, which adds aggression or readiness.
Don't forget to use the figure's hip articulation to create a natural angle. For example, when a character is about to strike, the hip should be twisted slightly to generate power. Practice with different leg positions to see what looks best for the action you're depicting.
- Bend knees slightly to avoid stiff legs.
- Use hip joints to create a dynamic tilt.
Positioning the Torso and Arms
The torso should follow the line of action, twisting or leaning to add momentum. If your figure has abdominal articulation, use it to create a subtle curve. Then, position the arms to complement the action. For a punch, the arm should be extended, with the opposite arm pulled back for balance. For a defensive pose, arms can be raised or crossed.
Pay attention to the elbows and wrists. Bending the elbows slightly, even in a straight-arm pose, adds realism. Wrists should be angled naturally, as if holding a weapon or making a fist. For figures that come with accessories, like the Popeye Classics figure, ensure the hands are positioned to hold them securely.
- Keep elbows slightly bent for natural appearance.
- Angle wrists to match the action, not straight out.
Adding Expression with the Head and Neck
The head is the focal point of any pose. Tilt the head slightly to convey emotion—looking down can show determination, while looking up can suggest triumph or alertness. Use the neck articulation to turn the head toward the direction of action. For example, if your figure is aiming a weapon, the head should be aligned with the target.
If your figure has multiple head options or swappable faces, choose one that matches the mood of the scene. A neutral face might not work for a battle cry. The head position can make or break the illusion of motion, so take your time to adjust it.
- Align the head with the line of action.
- Swap heads if available to match the emotion.
Finishing Touches: Accessories and Details
Accessories can enhance the story you're telling. If your figure comes with weapons or props, position them to complement the pose. For example, a sword should be held at an angle that suggests a swing or a guard. For figures like the Saurozoic Warriors Triax Skiver, you might want to pose it with its weapon ready, as if sneaking through the Night Lands.
Also, consider the figure's environment. If you're using a base or diorama, integrate the pose with the surroundings. For instance, a figure crouching behind a rock needs a lower profile. Finally, step back and view the figure from multiple angles. Make small adjustments until the pose looks balanced and dynamic from every viewpoint.
- Use accessories to add context to the pose.
- Check the silhouette from all angles.
Step-by-Step Posing Checklist
- Step 1: Prepare your workspace: Clear a flat surface and have your figure, stand, and any tools (like a hairdryer) ready. Ensure good lighting so you can see details. Checkpoint: All joints move freely without forcing.
- Step 2: Establish the base: Position the figure's feet to create a stable stance. For action, use a wider stance and bend knees slightly. Attach a stand if needed. Checkpoint: The figure stands without wobbling.
- Step 3: Set the line of action: Visualize the motion and tilt the hips and shoulders in opposite directions. Curve the spine and neck to follow the imaginary line. Checkpoint: The pose suggests movement, not stiffness.
- Step 4: Pose the legs: Adjust legs to match the action: one forward for running, both planted for a punch. Use hip articulation to add tension. Checkpoint: Weight appears distributed naturally.
- Step 5: Position the torso and arms: Twist the torso slightly and bend arms at elbows and wrists. Ensure hands are ready for accessories if applicable. Checkpoint: Arms don't look like straight sticks.
- Step 6: Adjust the head and expression: Tilt the head in the direction of action. If multiple heads are available, choose one that fits the scene's emotion. Checkpoint: The face and head convey the intended mood.
- Step 7: Add accessories and fine-tune: Attach weapons or props, ensuring they are held securely. Step back and view from all angles, making small adjustments. Checkpoint: The pose looks dynamic from every side.
Figures That Make Posing Easy
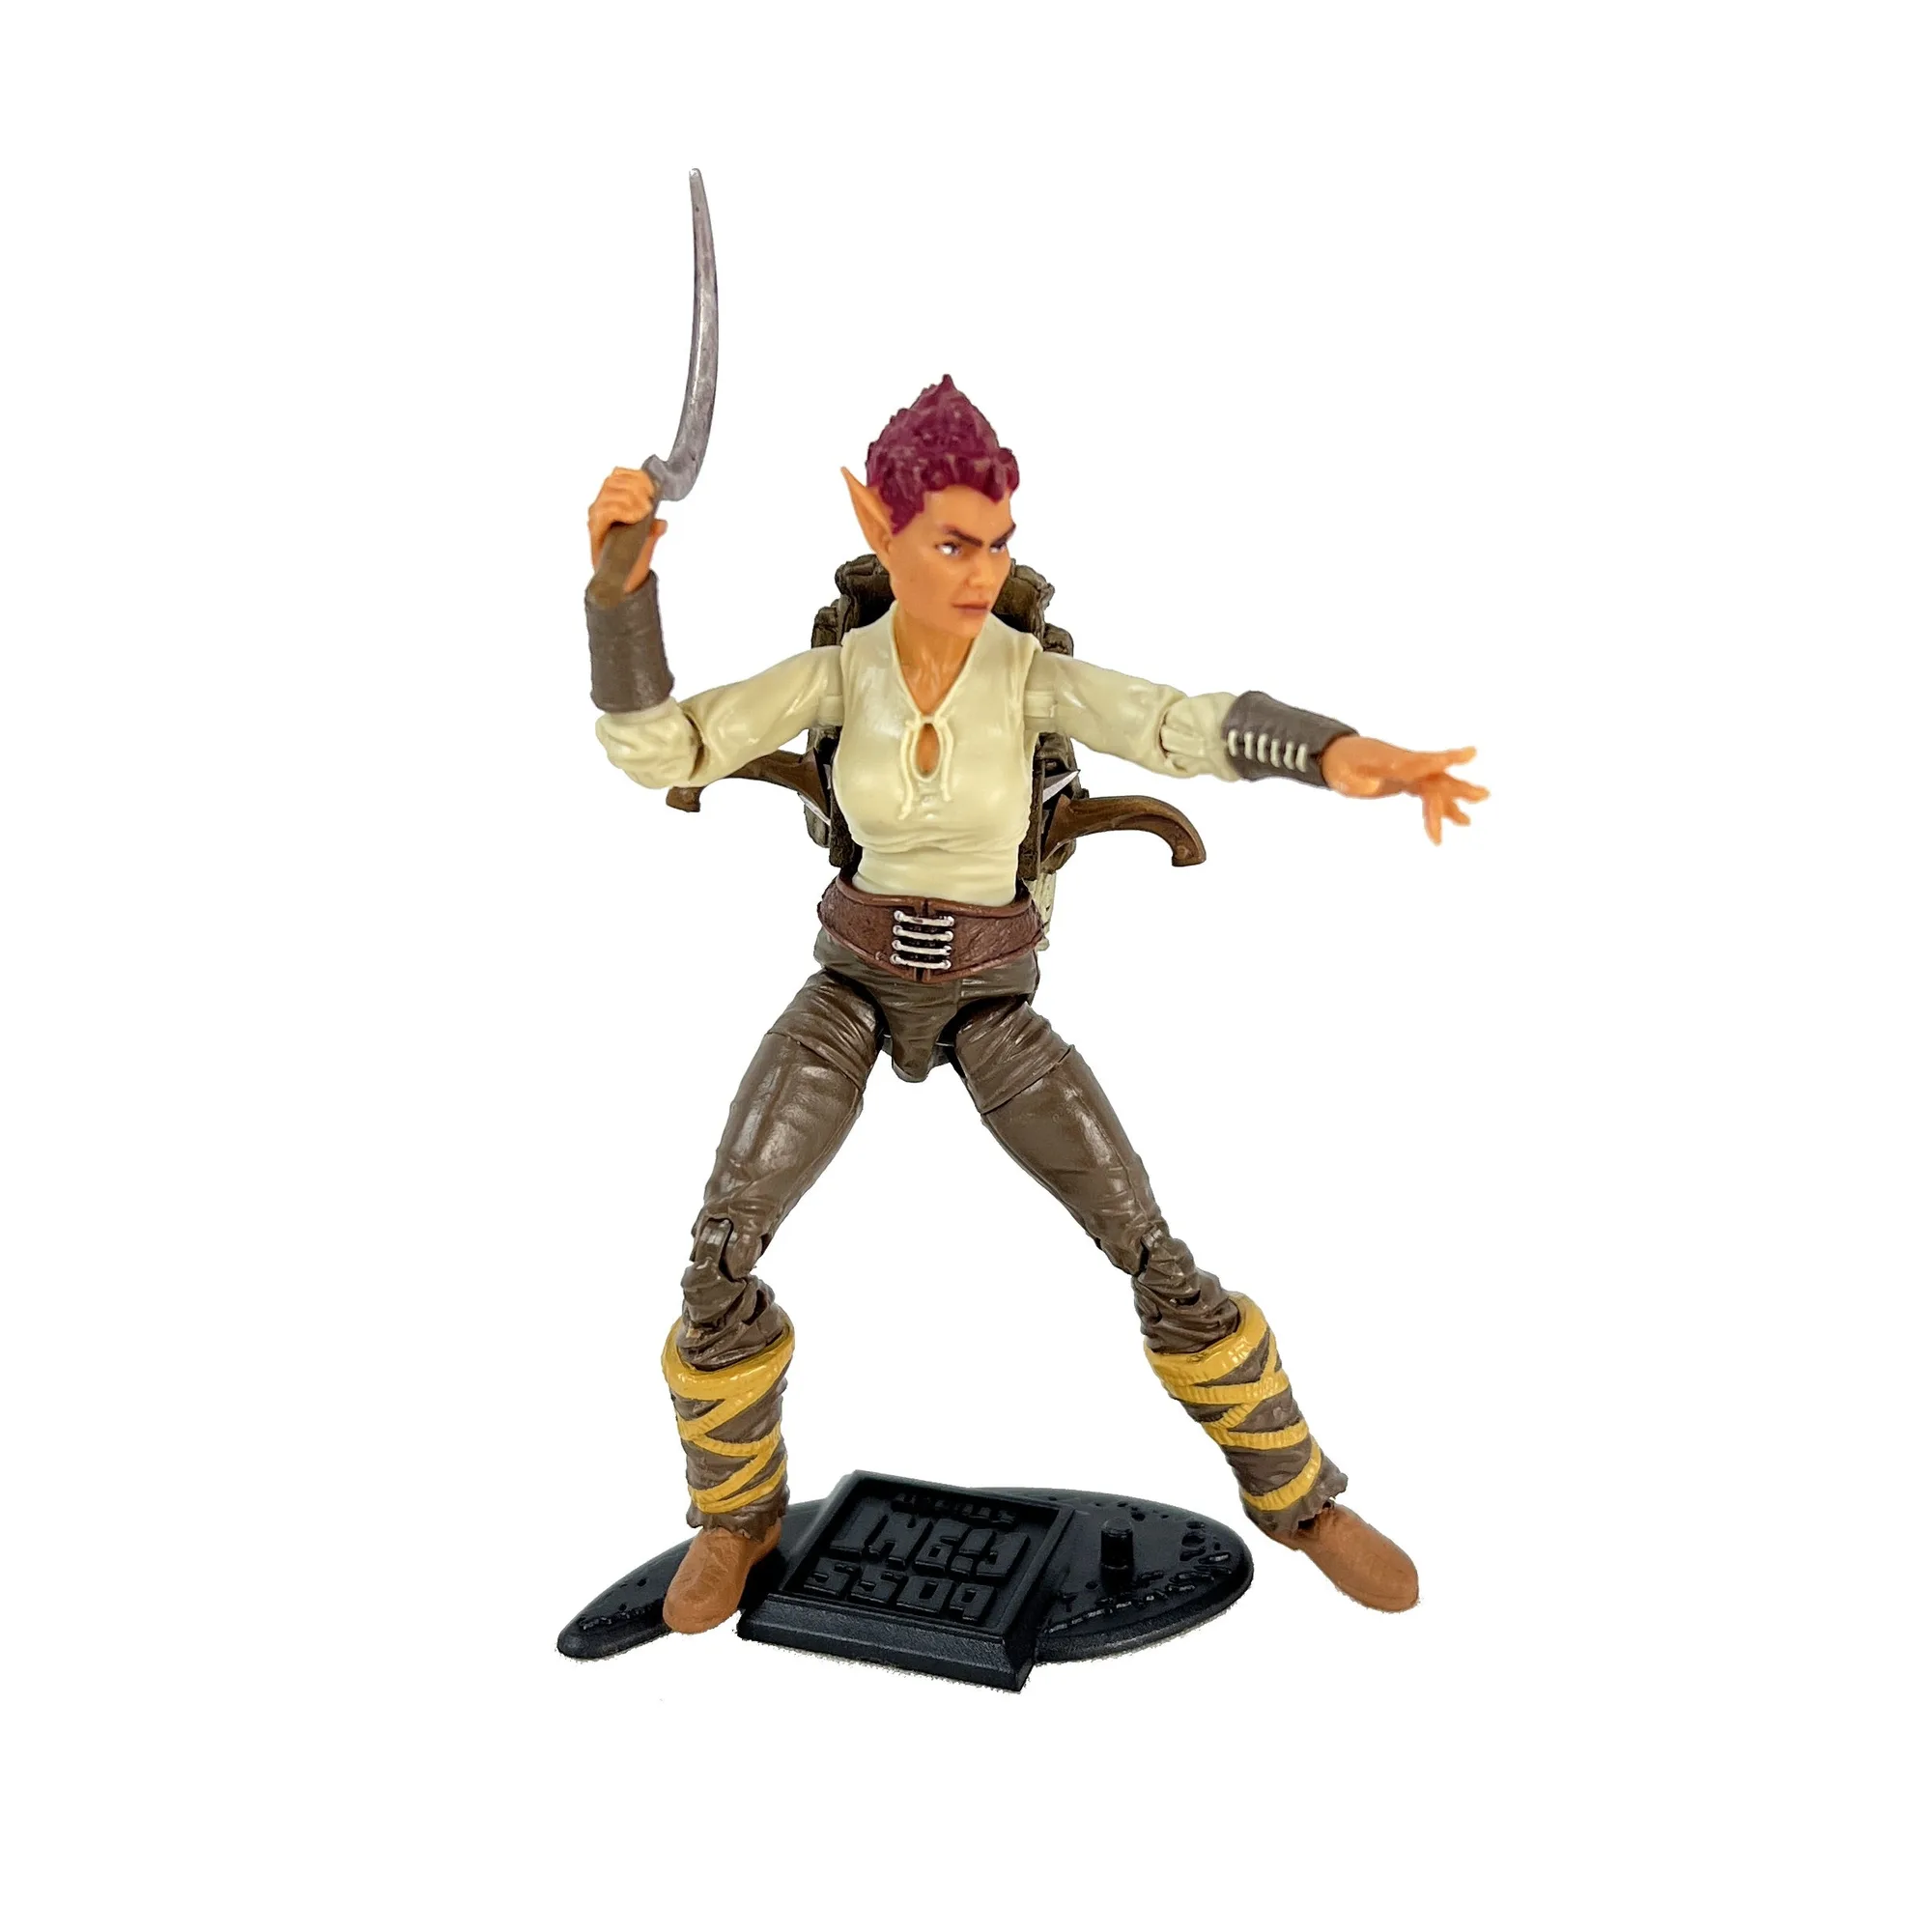
- Vitruvian H.A.C.K.S. Action Figure – Desert Wanderer: Desert Wanderer Barbarian Refugee Even the most inhospitable places have their inhabitants, for generations, humanity has adapted to the harshest conditions imaginable. With the world in turmoil and danger around every corner, small groups of the dispossessed have gathered together under the banner of the Barbarian tribe in an attempt to seek refuge and mutual aid. First came the Stormvaktere Barbarians forced... This figure's design, inspired by desert survival, offers a rugged look that suits dynamic poses like drawing a weapon or scanning the horizon.
- Popeye Classics Action Figure: Popeye 1st Appearance - white shirt: Well Blow Me Down! Everyone’s favorite Sailor Man and his crew are finally coming to highly articulated figure form! Drawing inspiration from the classic Segar comic strips, these figures are sure to delight all Popeye fans! These 1:12 scale figures stand between 4-6 inches depending on the character. What better way to celebrate Popeye’s 95th anniversary than a figure that, for the first time anywhere, reflects... With its classic comic-inspired look and articulation, this Popeye figure is perfect for playful action poses, like throwing a punch or flexing a muscle.
Posing action figures is a skill that improves with practice. By following these steps, you can transform a static figure into a dynamic character frozen in an exciting moment. Remember to work patiently, use the figure's articulation to your advantage, and don't be afraid to experiment. With these tips, your action scenes will come to life.