Quick answer
Give every ULTIMATES! figure a wide, flat-footed stance, then support the heaviest point with a stand or hidden brace. Pose the legs before the arms, keep the center of gravity over the feet, and never force a joint past its natural range. A figure that stands on its own before you add accessories will stay up after you add them.
Start with a stable base, not a dramatic pose
Most shelf dives begin at the feet. Before you touch the arms or head, set both feet flat on the shelf or stand, toes angled slightly outward, and spread the ankles about shoulder-width apart. On a detachable stand, press the foot pegs fully into the soles until you feel them seat; a half-seated peg is the most common cause of a slow lean that ends in a fall. If the figure has a cape or coat, let it rest behind the legs rather than under a foot.
Pose from the hips down, then work upward
Work in one direction: hips, knees, ankles, then torso, shoulders, elbows, wrists, and finally the head. Rotating a hip after the arms are posed usually shifts the center of gravity and undoes your balance. Keep knees slightly bent rather than locked straight, and check that the torso sits over the midpoint between the feet. If the figure feels tippy at this stage, the problem is almost always the lower body, not the stand.
Match the pose to the shelf, not to a poster
A deep lunge or a high kick looks great in photos but needs more footprint than a narrow shelf provides. On a crowded shelf, choose grounded action poses: a braced stance, a two-handed weapon grip, or a slight forward lean. Leave at least a finger-width of clearance behind the figure so a bumped shelf does not push it into the wall or off the edge. If you want an airborne pose, plan for a stand or a wall-mounted bracket from the start.
Use stands and hidden support correctly
A stand only helps if it contacts the figure at a point that actually bears weight. For most figures, that means the feet on the base and, for lean-heavy poses, a waist or back clip. Clear acrylic stands are less visible but show dust faster; opaque stands hide scuffs but can look bulky on a close shelf. Whichever you choose, check the stand's footprint against your shelf depth before buying, and avoid stacking a stand on top of another stand.
Handle joints gently and know when to stop
Articulation is meant to move, but not to be forced. If a joint resists, rotate it slightly in the opposite direction first to find its free range, then move it where you want. Never use tools to pry a joint, and never hold a figure by one limb while posing another. Cold rooms make plastic less forgiving, so let a figure reach room temperature before a big re-pose. If a joint feels loose after posing, return it to neutral rather than propping the figure against a wall.
Dust, light, and long-term shelf habits
Dust is abrasive and light is patient. Dust with a soft brush or a camera blower instead of a cloth, which can snag capes and paint edges. Keep shelves out of direct sun and away from heat vents; both speed up plastic aging and can make joints stiff or tacky. Re-check stances every few months, especially after moving or cleaning, because a figure that was stable in January can lean by summer if a stand peg has worked loose.
Seven-step posing routine
- Clear and level the shelf: Remove neighboring figures, wipe the surface, and check for a wobble by pressing the shelf edge. A shelf that flexes will undo any pose. Checkpoint: the shelf should feel solid with no visible bow.
- Set the feet first: Place both feet flat, shoulder-width apart, toes slightly out, and seat any stand pegs fully. Do not pose the upper body yet. Checkpoint: the figure stands on its own before you continue.
- Build the lower body: Adjust hips, knees, and ankles in small increments, keeping knees slightly bent and the torso centered over the feet. Mistake to avoid: locking the knees straight, which makes the figure top-heavy.
- Add the torso and arms: Rotate the torso, then shoulders, elbows, and wrists. Keep the arms close to the body unless the pose calls for a wide reach. Checkpoint: the figure still stands after each arm adjustment.
- Seat accessories last: Attach weapons, capes, or packs after the body pose is stable, then re-check balance and adjust the stance if needed. Mistake to avoid: posing arms around an accessory before the feet are set.
- Add support only where needed: If the pose leans, use a stand or hidden brace at the waist or back rather than propping a limb against a wall. Checkpoint: the support contacts a weight-bearing point, not a fragile joint.
- Photograph and log the pose: Take a quick phone photo of the finished stance so you can restore it after cleaning or moving the shelf. Next step: re-check the stance every few months and after any move.
Catalog facts that affect posing and display
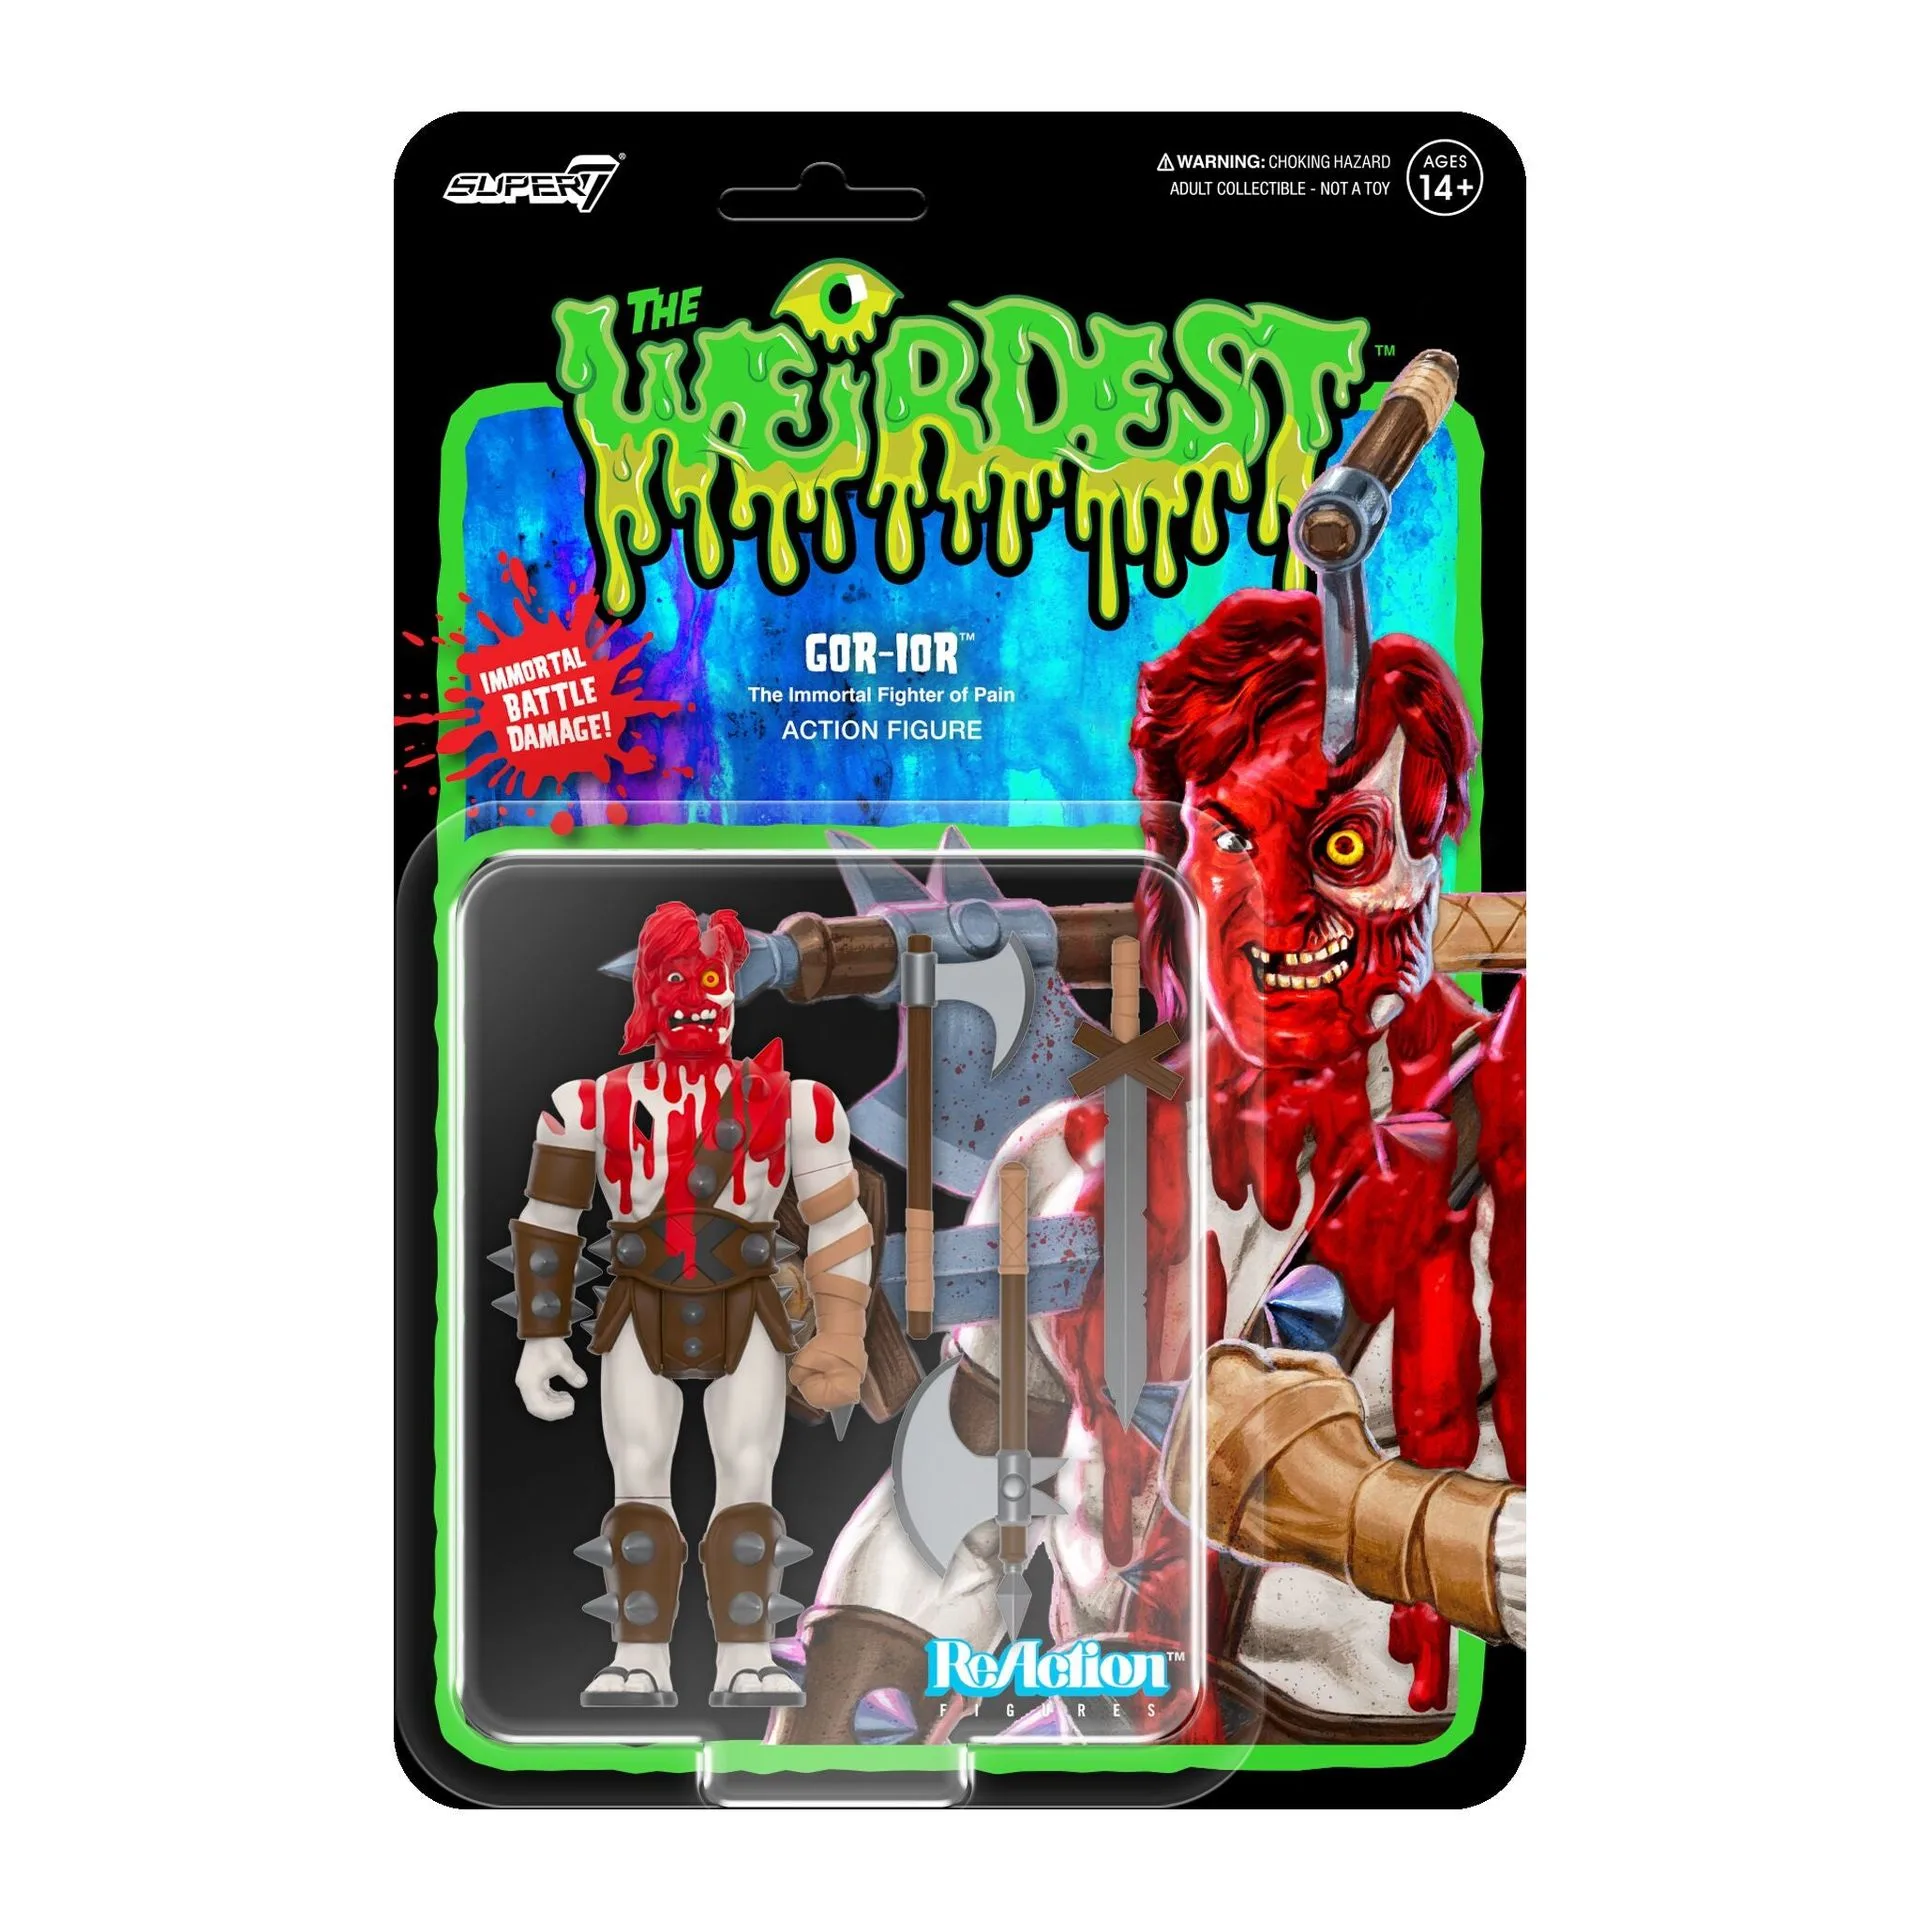
- The Weirdest ReAction Figures Wave 06 - Gor-ior (Infernal Curse): This 3.8-inch articulated Infernal Curse color variant of The Weirdest Gor-ior ReAction Figure is a smaller-scale figure, not an ULTIMATES! release. Use the same balance-first routine, but expect a smaller footprint and lighter weight, so a low-profile stand and a tighter pose work better than a wide action stance.
- The Worst ReAction Figures Wave 3 - X-2 (The Unknown): X-2 (The Unknown) comes with a lethal Blaster accessory. A held accessory shifts weight forward; pose the feet and hips before seating the blaster, then re-check that the figure still stands unsupported.
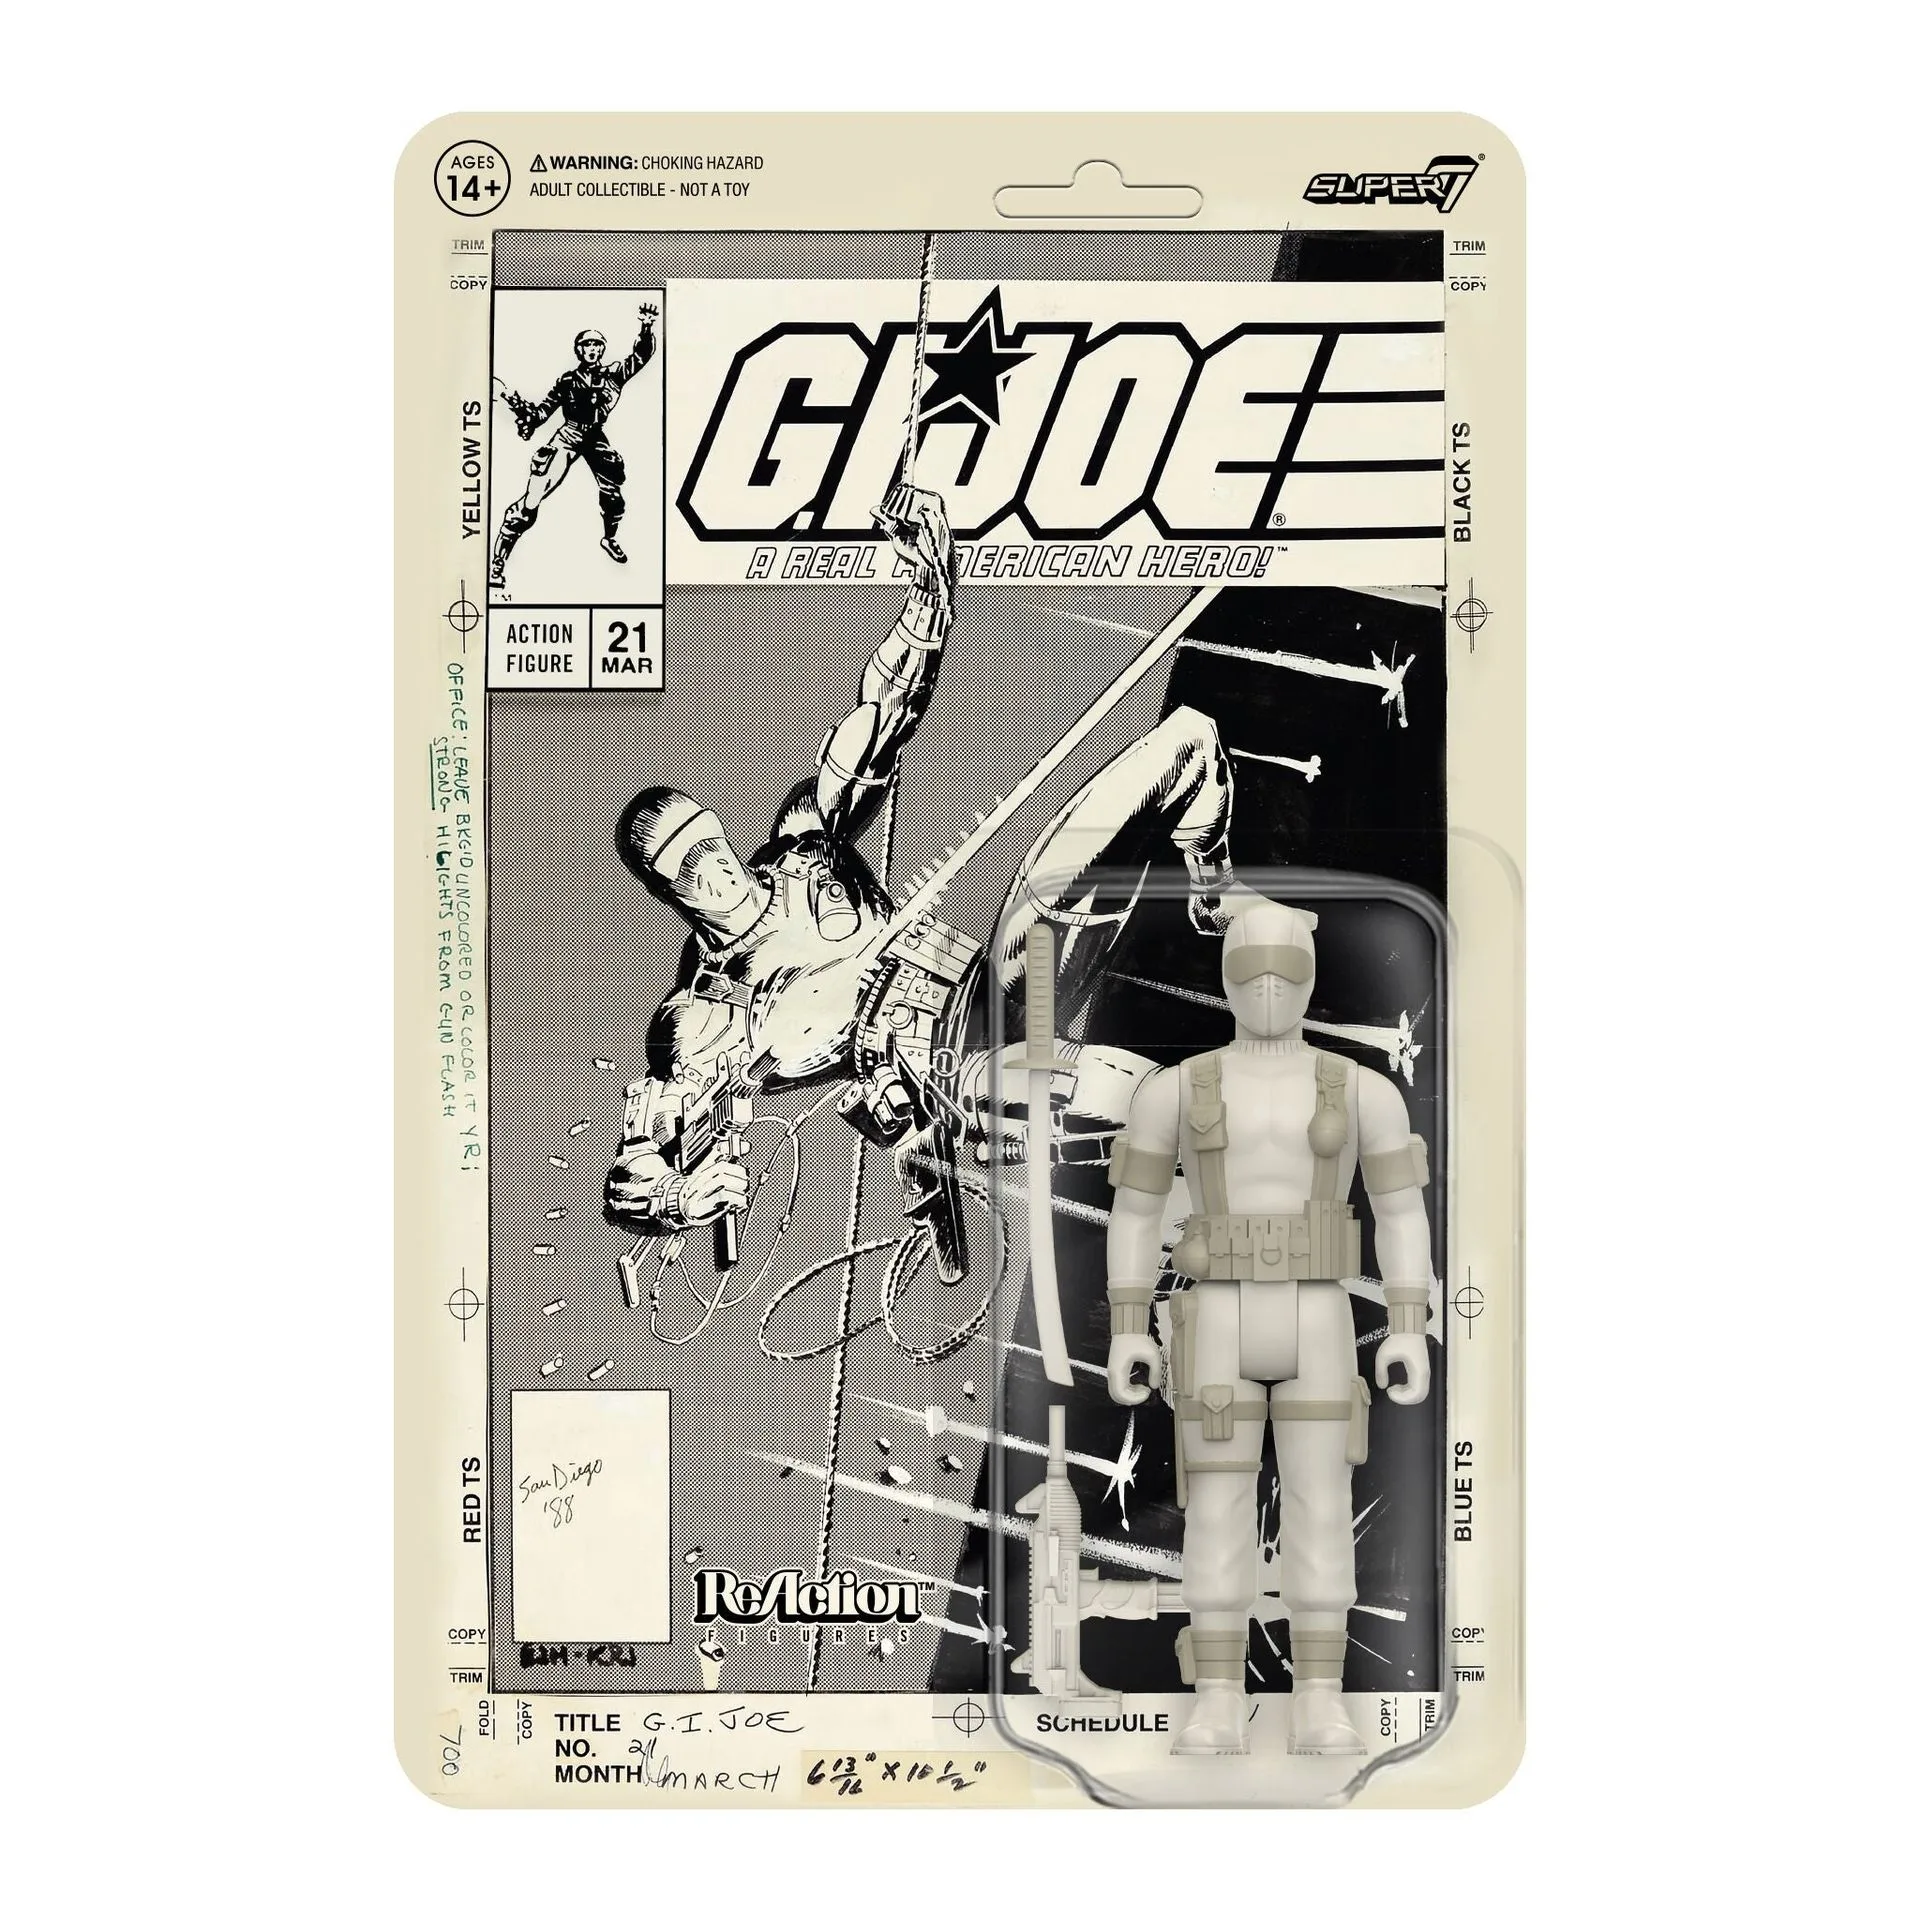
- G.I. Joe ReAction Figures - Snake Eyes (Comic): This 3.75-inch scale articulated Snake Eyes ReAction Figure includes two weapon accessories and ships on a comic-style card back. Two accessories give you more posing options but also more chances to unbalance the figure; decide which weapon is displayed in hand and store the other safely.