Quick answer
Fill the water chamber with hot water, assemble the machine, and press one or two blank shots through the empty basket before adding coffee. This warms the metal body, piston, and cup so the espresso stays hot instead of losing heat to cold parts. For cold-weather brewing, repeat the warm-water rinse and keep your cup covered until you drink.
Why portable espresso machines lose heat so fast
A portable espresso machine is mostly metal and plastic with very little thermal mass, so it cools quickly once it leaves a warm kitchen. When you push hot water into a cold cylinder, the metal pulls heat out of the water before it ever reaches the coffee. That is why a shot that tastes perfect at home can turn lukewarm in a campsite or on a windy balcony. Preheating adds heat back into those cold surfaces so the brewing water stays closer to its starting temperature.
What you need before you start
You do not need special tools, but a few small items make the routine easier. Bring a way to heat water, a separate cup for the warming rinse, and a lid or insulated sleeve for your drinking cup. If you are using ground coffee, measure it before you start preheating so the basket stays dry and ready. A small scale helps you keep the dose consistent, especially when you are brewing outside your normal kitchen setup.
How to preheat step by step
Work through the steps below in order. Each one has a checkpoint so you can tell whether the machine is actually warm before you commit your coffee.
Preheating steps for a hotter shot
- Heat water to just below boiling: Bring fresh water to a boil, then let it sit for about 30 seconds before pouring. Water that is too hot can scald the coffee, while water that is too cool will not warm the machine enough. Checkpoint: the water should be hot enough that you would not want to hold your finger in it, but not rolling boiling.
- Fill the water chamber and assemble without coffee: Pour the hot water into the water chamber, screw the machine together, and leave the coffee basket empty. Do not add grounds yet; this first pass is only for warming the internal parts. Mistake to avoid: adding coffee now wastes a dose and pushes hot water through cold grounds.
- Press one or two blank shots into your cup: Pump the machine as you normally would, letting the hot water run through the empty basket and into your drinking cup. This warms the piston, the brew chamber, and the cup at the same time. Checkpoint: the cup should feel noticeably warm on the outside after the blank shot.
- Empty the cup and refill with fresh hot water: Pour out the rinse water, refill the water chamber with fresh hot water, and add your measured coffee to the dry basket. Work quickly so the machine does not cool down again. Mistake to avoid: reusing the rinse water, which now tastes like metal and carries no useful heat.
- Brew immediately and keep the cup covered: Pull your shot right away, then cover the cup or slip it into an insulated sleeve if you are outside. In cold weather, an uncovered cup can lose heat faster than the machine does. Next step: taste the shot while it is hot, then adjust your preheat routine if it still feels lukewarm.
Gear that helps with preheating and temperature control
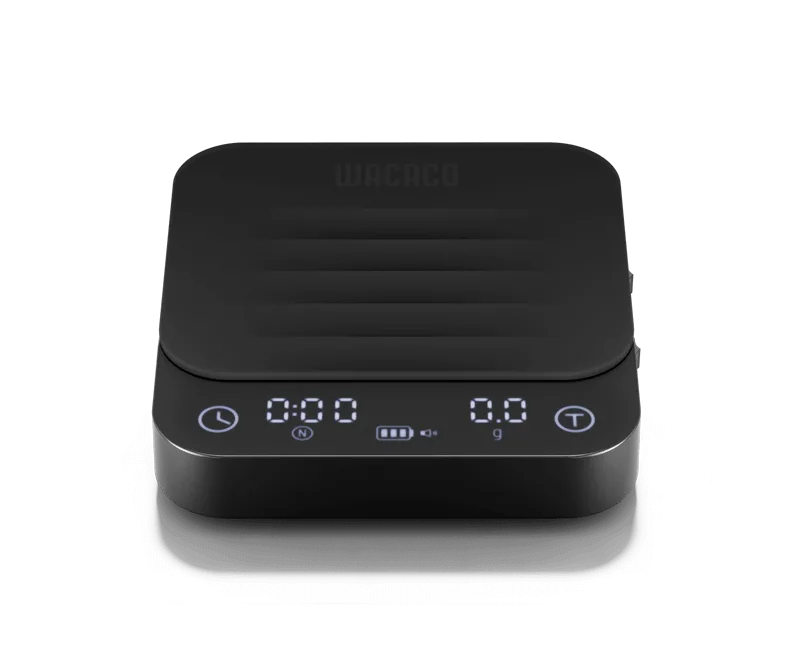
- EXAGRAM: The Wacaco Exagram coffee scale measures the weight of beans or grounds and includes a built-in timer function. Weighing your dose and timing the shot gives you a repeatable baseline, so you can tell whether a change in taste comes from preheating or from the coffee itself.
- EXAGRAM PRO: The Wacaco Exagram Pro includes a Pour-Over Ratio Program and multi-mode functions. If you also brew pour-over while camping, the guided ratio mode helps you keep water and coffee consistent even when your hands are cold and your routine is rushed.
- MINIPRESSO GR: The Minipresso GR is compact and lightweight, and it works with any variety of coffee beans or roast. Because the Minipresso GR accepts any beans, you can preheat it the same way regardless of whether you packed a light or dark roast for the trip.