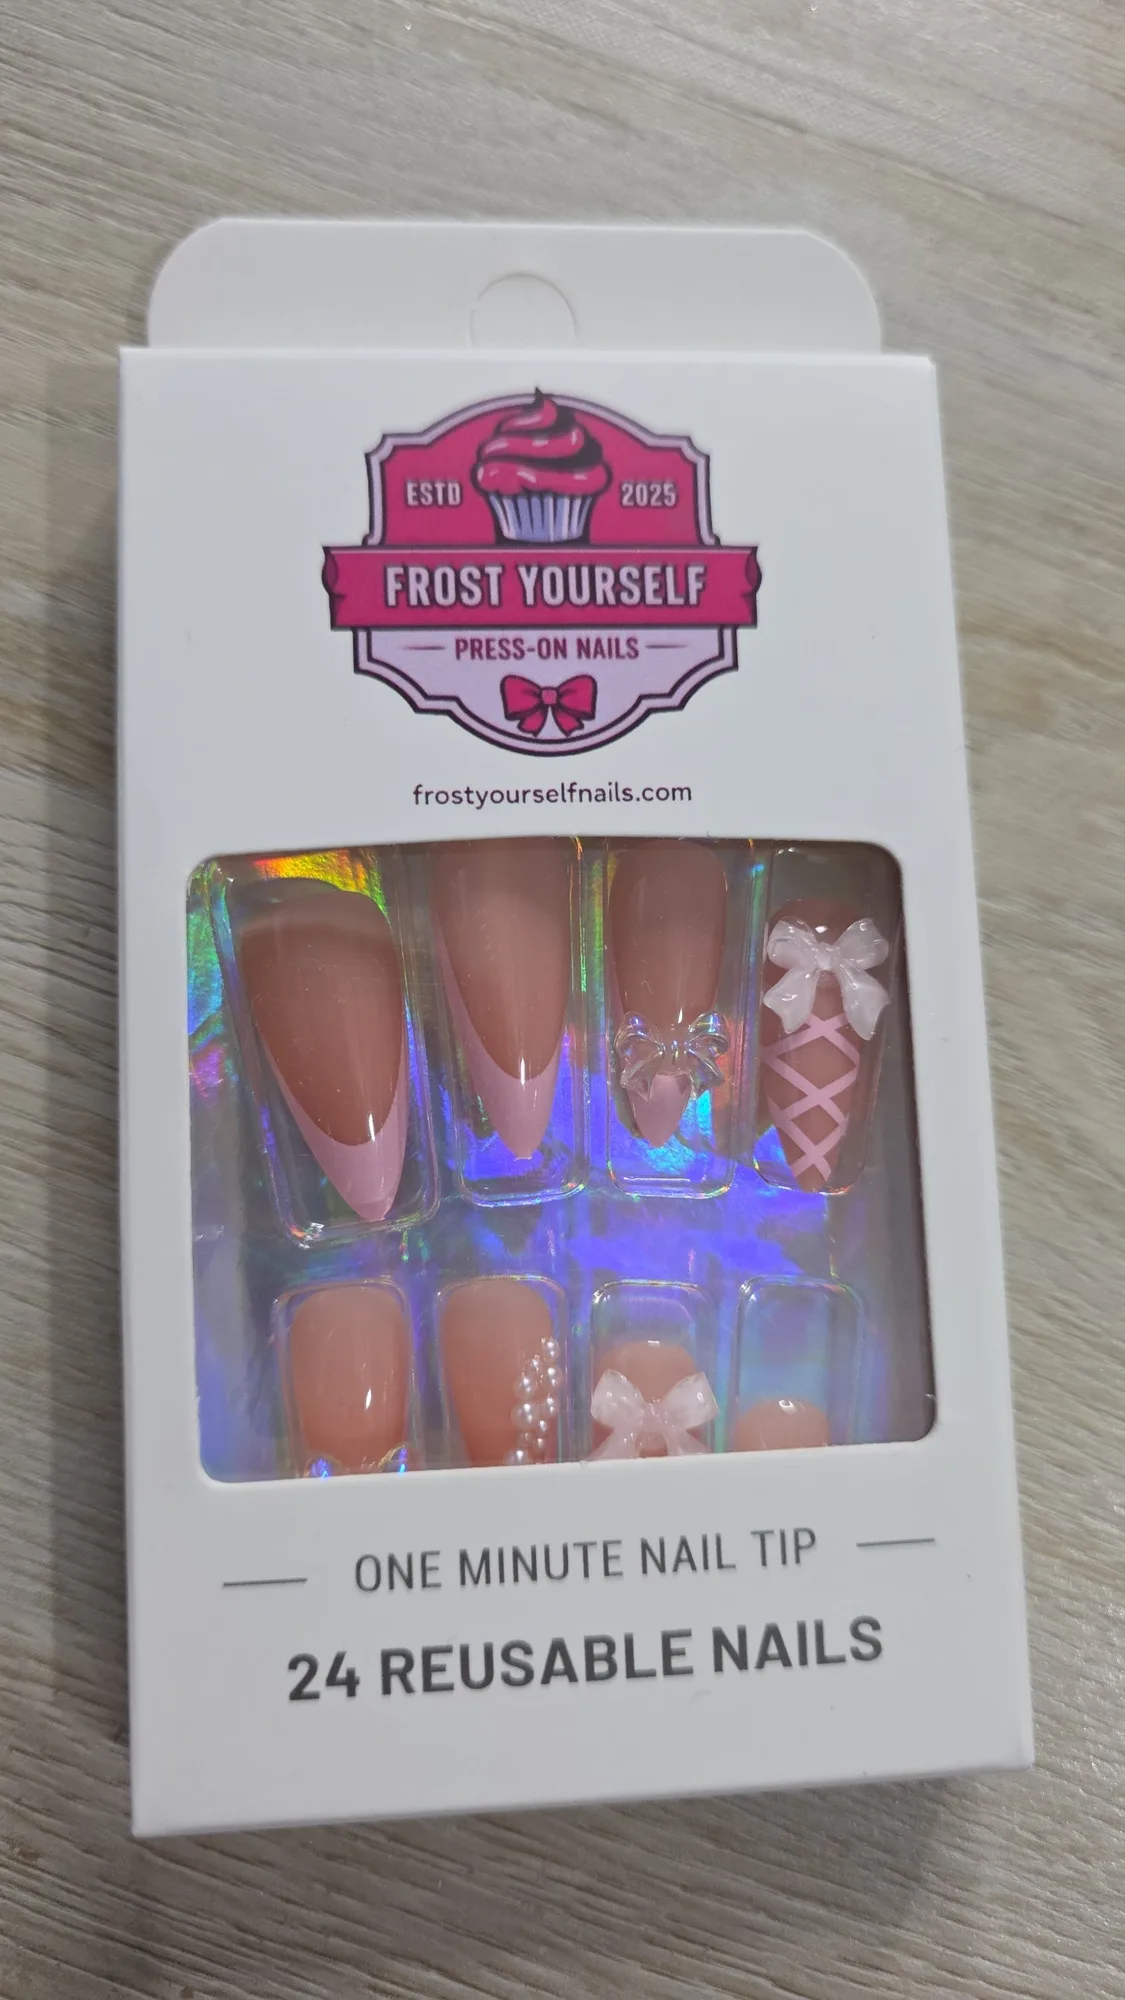
Quick answer
Prep your nails by removing old product, pushing back cuticles, buffing the surface, and wiping each nail with alcohol. Then apply press-ons to clean, dry nails and avoid touching the adhesive. A dedicated prep tray keeps tools and nails organized so you don't skip steps.
Why a dedicated prep tray makes a difference
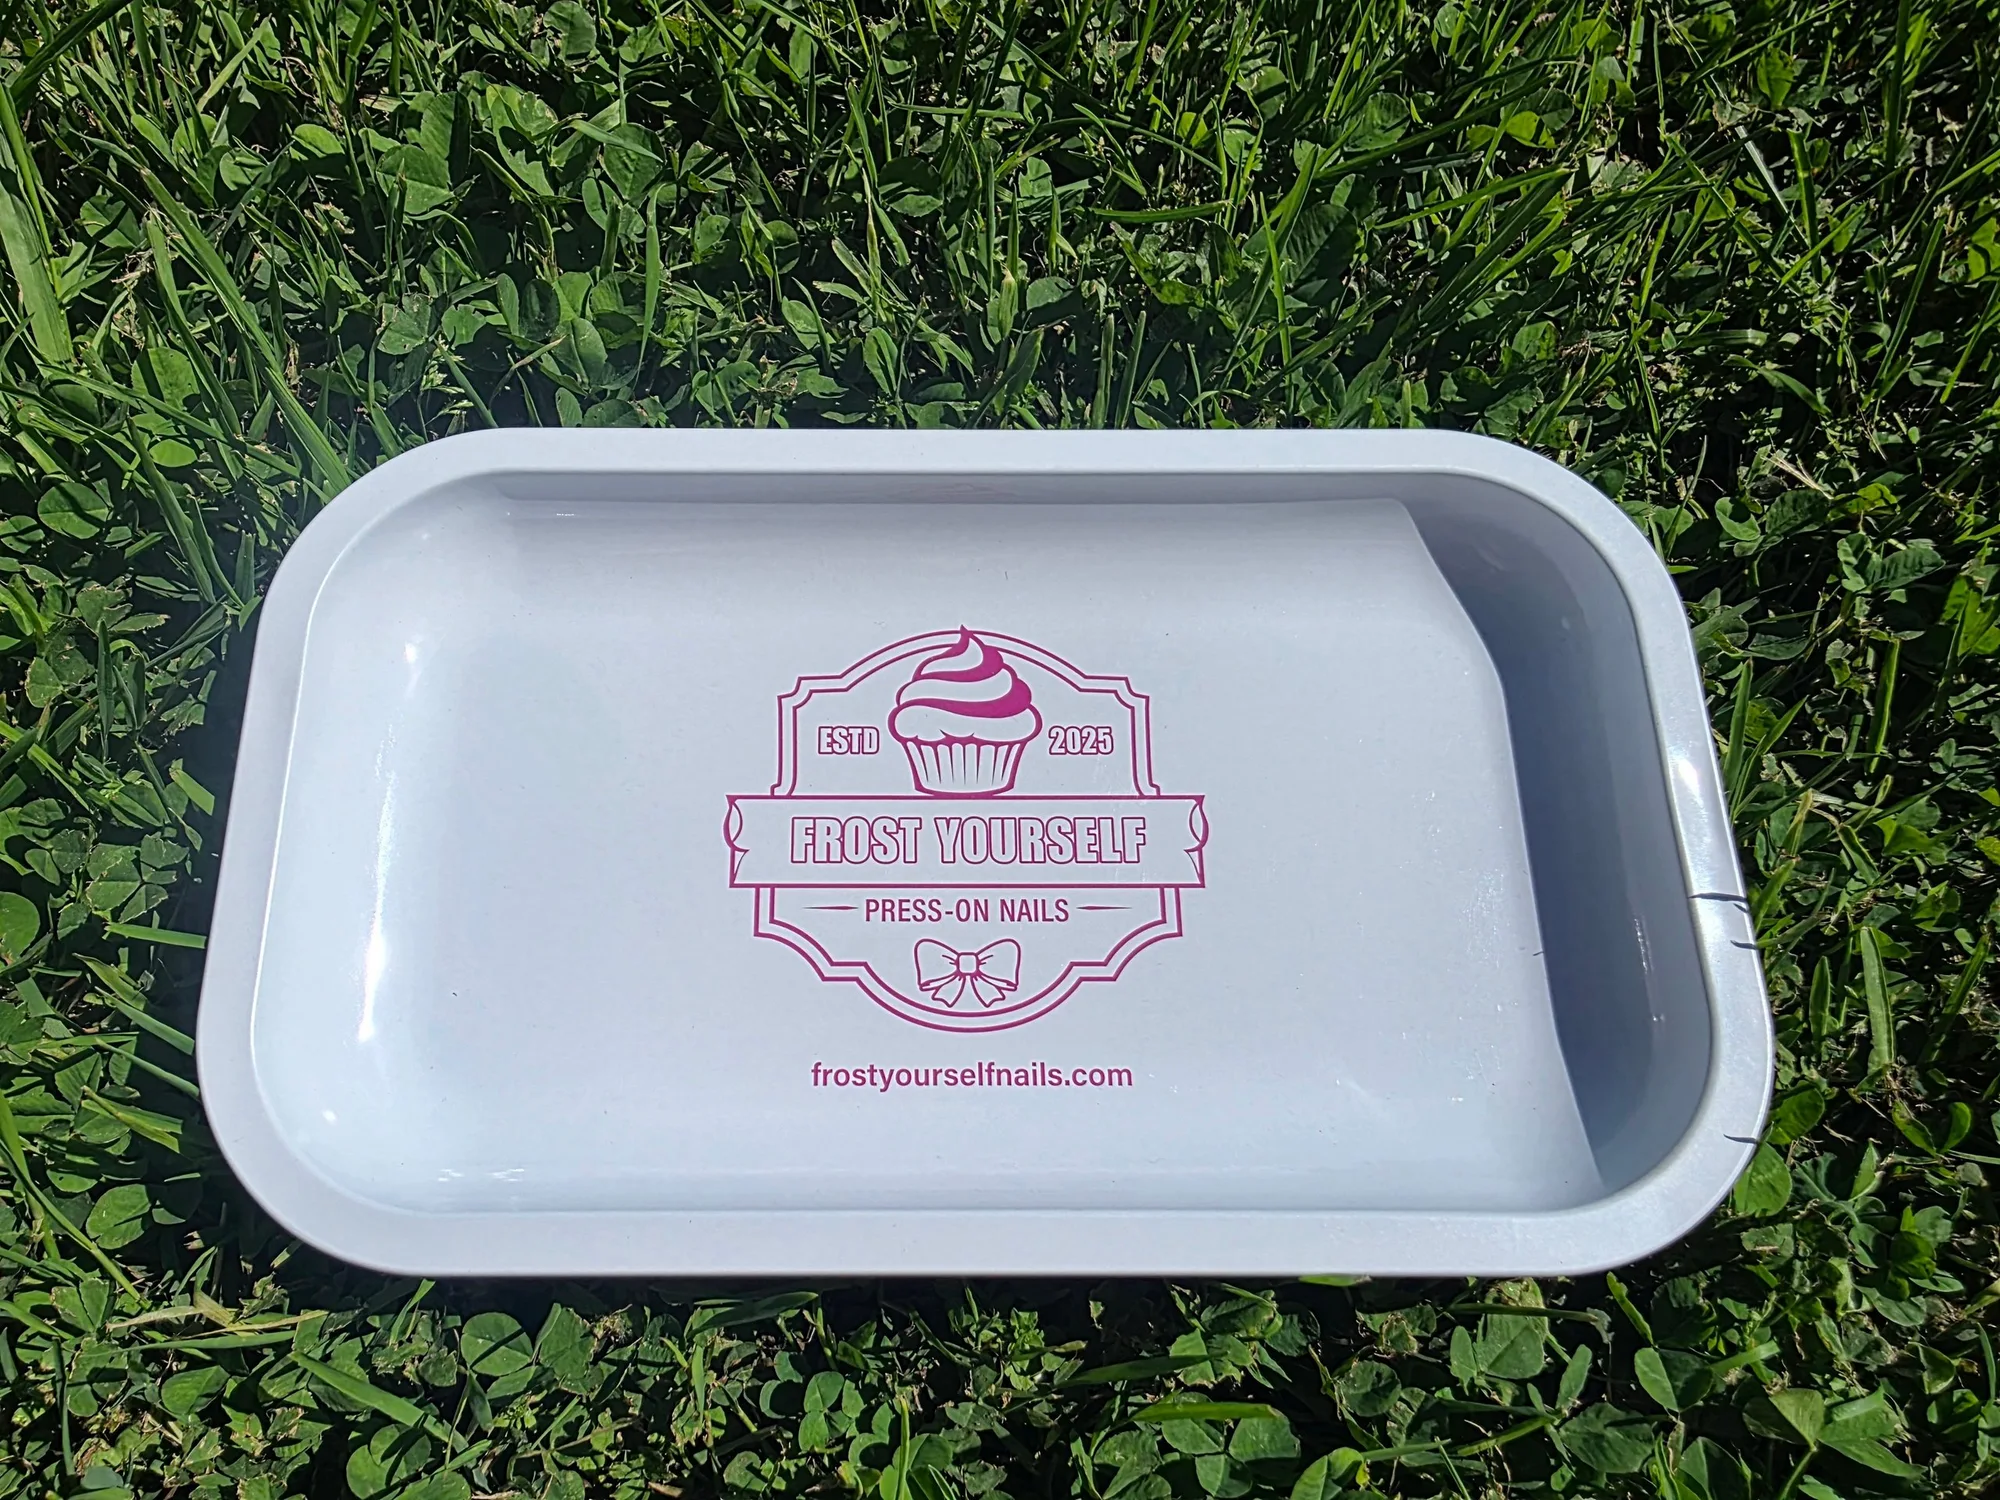
A prep tray isn't just a nice-to-have; it's a practical tool that keeps your workspace tidy and your routine consistent. When you have a specific spot for your file, buffer, alcohol wipes, and press-on nails, you're less likely to misplace items or rush. The FYN Prep Tray is a metal tray sized for exactly this purpose, and it doubles as a bedside jewelry holder when you're not doing your nails. Using one means you can move through each prep step without hunting for supplies, which helps you avoid the common mistake of skipping the final cleanse because your wipe went missing.
Prep steps that actually improve adhesion
The order of operations matters. Start by removing any old polish or press-ons, then shape and push back cuticles. Buff the nail plate gently to create a slightly rough surface — but don't over-buff, as that can weaken the nail. Finally, swipe each nail with an alcohol pad or a lint-free wipe soaked in alcohol. Let them air-dry completely before applying adhesive. If you're using gel tabs, press firmly for a few seconds. For glue, apply a thin line and avoid flooding the cuticle area. The goal is a clean, dry, oil-free surface.
Your step-by-step press-on prep routine
- Remove old product and wash hands: Take off any previous press-ons or polish using your preferred remover. Wash hands with soap and water, then dry thoroughly. Checkpoint: nails should be completely bare and dry before moving on.
- Push back cuticles and shape nails: Use a cuticle pusher (like the one included with Butterfly Sparkle) to gently push back cuticles. File your natural nails to a short, even length. Mistake to avoid: cutting cuticles can cause irritation and increase infection risk.
- Buff the nail surface: Lightly buff the top of each nail with a buffer block to remove shine. Use gentle, short strokes. Checkpoint: the surface should look slightly matte, not thin or damaged.
- Cleanse with alcohol: Wipe each nail with an alcohol pad or a lint-free wipe soaked in isopropyl alcohol. This removes oils and dust. Mistake to avoid: skipping this step is a top reason press-ons pop off early.
- Apply press-ons to dry nails: Select the correct size for each nail. Apply gel tabs or glue according to the product instructions, pressing firmly from cuticle to tip. Checkpoint: avoid touching the adhesive surface with your fingers before applying.
- Set and store your tray: After application, place your tools back in the FYN Prep Tray to keep them ready for next time. The tray can also hold jewelry or spare nails. Next step: wait at least 30 minutes before getting your hands wet.
Products that support your prep routine
- FYN Prep Tray 🎀: Metal prep tray sized for press-on application or removal; also works for storing jewelry bedside. Keeps tools and nails contained so you can follow every step without losing supplies.
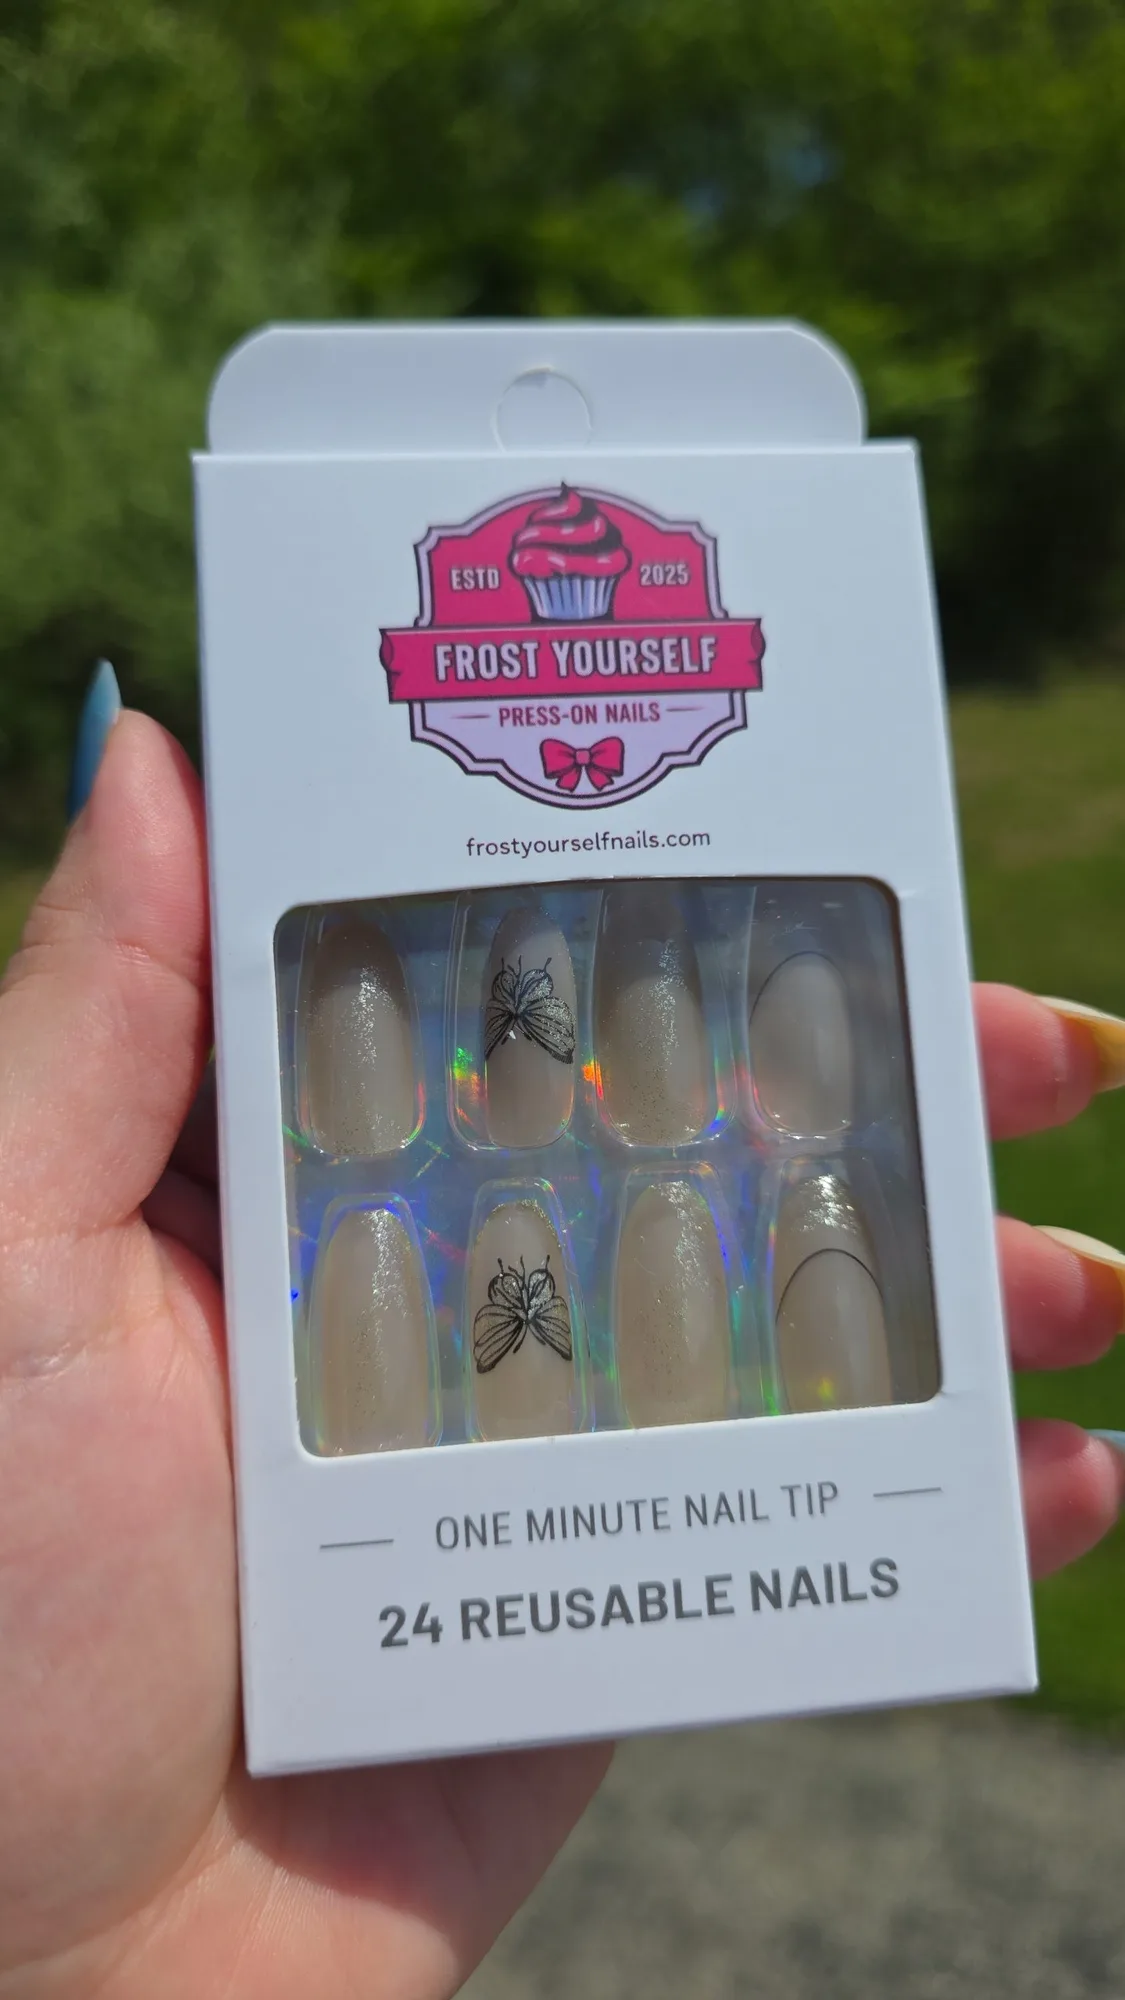
- Butterfly sparkle 🦋 (long): Butterfly Sparkle (Long) is a long round press-on set with 24 nails, gel tabs, a cuticle pusher, and a nail file. Includes the basic prep tools you need, so you can start your routine right out of the box.