Thinking about trying an at-home chemical peel? You're not alone. More and more skincare enthusiasts are turning to professional-grade peels to tackle acne scars, uneven texture, fine lines, and hyperpigmentation from the comfort of their own bathroom. But here's the truth: the success of any peel—especially a strong one like a 30% AHA + 2% BHA combination—depends almost entirely on how well you prepare your skin beforehand.
Prepping your skin for a chemical peel isn't just about slapping on a cleanser and hoping for the best. It's a deliberate, multi-day process that strengthens your skin barrier, reduces the risk of irritation, and ensures that the active ingredients penetrate evenly. In this guide, we'll walk you through the exact steps you need to take before your next at-home peel, including the products and routines that will make your treatment safer and more effective.
Why Pre-Peel Preparation Matters
Imagine your skin as a canvas. If the canvas is dirty, uneven, or damaged, the paint won't go on smoothly—and the final result will be disappointing. The same principle applies to chemical peels. When you apply a high-concentration acid like 30% AHA + 2% BHA Chemical Peeling Gel to unprepared skin, you risk patchy exfoliation, burns, or prolonged redness. Proper preparation ensures that your skin is clean, balanced, and resilient enough to handle the peel without adverse reactions.
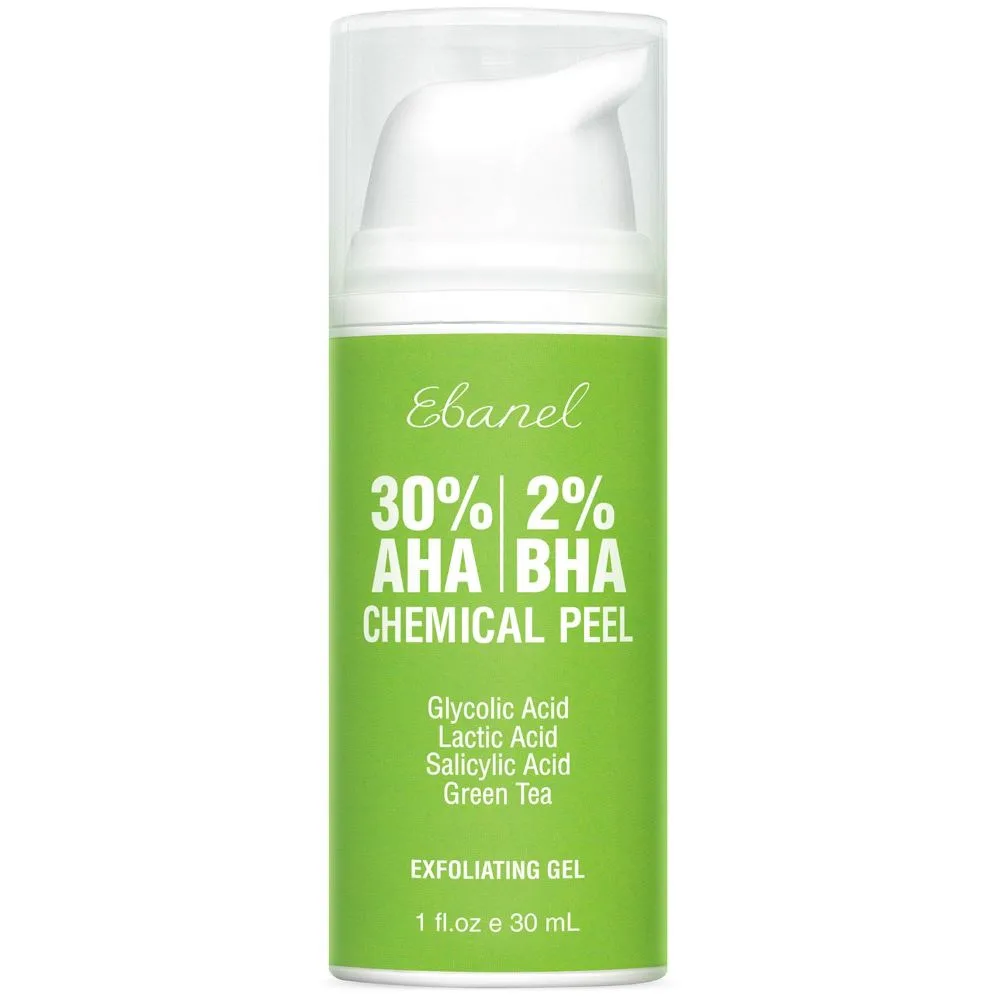
30% AHA + 2% BHA Chemical Peeling Gel
Pre-peel prep also helps you achieve more consistent results. By removing dead skin cells, excess oil, and impurities beforehand, you allow the acid to work uniformly across your face. This means fewer missed spots and a more even glow afterward. For those with sensitive or acne-prone skin, a thoughtful pre-peel routine can make the difference between a breakout-free recovery and a frustrating post-peel purge.
- Always perform a patch test 24–48 hours before your peel to check for sensitivity.
- Avoid using retinol, benzoyl peroxide, or other exfoliating acids for at least 3–5 days prior to your peel.
Step 1: Cleanse Gently but Thoroughly
The first and most critical step in your pre-peel routine is a thorough cleanse. You want to remove all traces of makeup, sunscreen, dirt, and oil from your skin so that nothing blocks the peel from contacting your skin directly. Use a gentle, non-foaming cleanser that won't strip your natural moisture barrier. Avoid harsh scrubs or exfoliating cleansers at this stage—your goal is to clean, not to irritate.
If you wear heavy makeup or water-resistant sunscreen, consider a double cleanse: start with an oil-based cleanser to break down lipids, then follow with a water-based cleanser. Pat your skin dry with a soft towel—do not rub. Your skin should feel clean but not tight or dry. This simple step sets the foundation for an even and effective peel application.
- Use lukewarm water; hot water can increase sensitivity.
- Skip any active ingredients in your cleanser—stick to a basic, hydrating formula.
Step 2: Balance Your Skin's pH
Chemical peels work optimally within a specific pH range—usually between 2 and 4. If your skin's pH is too high (alkaline), the acid may not penetrate effectively. If it's too low, the peel could be overly aggressive. To create the ideal environment, use a pH-balancing toner after cleansing. Look for toners that are alcohol-free and contain soothing ingredients like witch hazel, green tea, or niacinamide.
Applying a toner also helps remove any lingering residue from your cleanser and ensures that your skin is perfectly prepped for the peel. Simply saturate a cotton pad and sweep it across your face and neck. Wait 30 seconds for the toner to absorb before moving on to the next step. This small but mighty step can significantly improve your peel's efficacy and reduce the risk of irritation.
- Avoid toners with high alcohol content—they can disrupt your barrier.
- If you don't have a dedicated pH toner, a quick rinse with distilled water can help.
Step 3: Prime with a Gentle Hydrating Serum
You might be surprised to learn that hydrating your skin before a peel is actually beneficial—as long as you use the right ingredients. A lightweight, water-based serum containing hyaluronic acid, glycerin, or panthenol can help plump the skin and create a more even surface for acid application. This doesn't dilute the peel; instead, it ensures that the acid glides smoothly and doesn't get trapped in dry patches.
Apply 2–3 drops of your chosen serum to damp skin and gently press it in. Wait at least 2 minutes for the serum to fully absorb. Avoid serums with oils, silicones, or heavy emollients, as these can create a barrier that prevents the peel from working. For an extra layer of protection around sensitive areas like the eyes and lips, you can apply a thin layer of a rich moisturizer or petroleum jelly to those spots before the peel.
- Pat the serum into your skin rather than rubbing to avoid irritation.
- If you have very dry skin, consider using a hydrating sheet mask 24 hours before your peel.
Step 4: Strengthen Your Skin Barrier in the Days Before
Your pre-peel routine shouldn't start on the same day as your peel. Ideally, you should begin prepping your skin 5–7 days in advance. During this window, focus on barrier-strengthening ingredients like ceramides, niacinamide, and peptides. These ingredients help fortify your skin's natural defenses, making it more resilient to the exfoliating action of the peel. Products like Bio Collagen Revive Mask with 7 Peptides and Ultra-Low-Molecular-Weight Collagen can be used as a weekly treatment to boost collagen and hydration without overloading your skin.
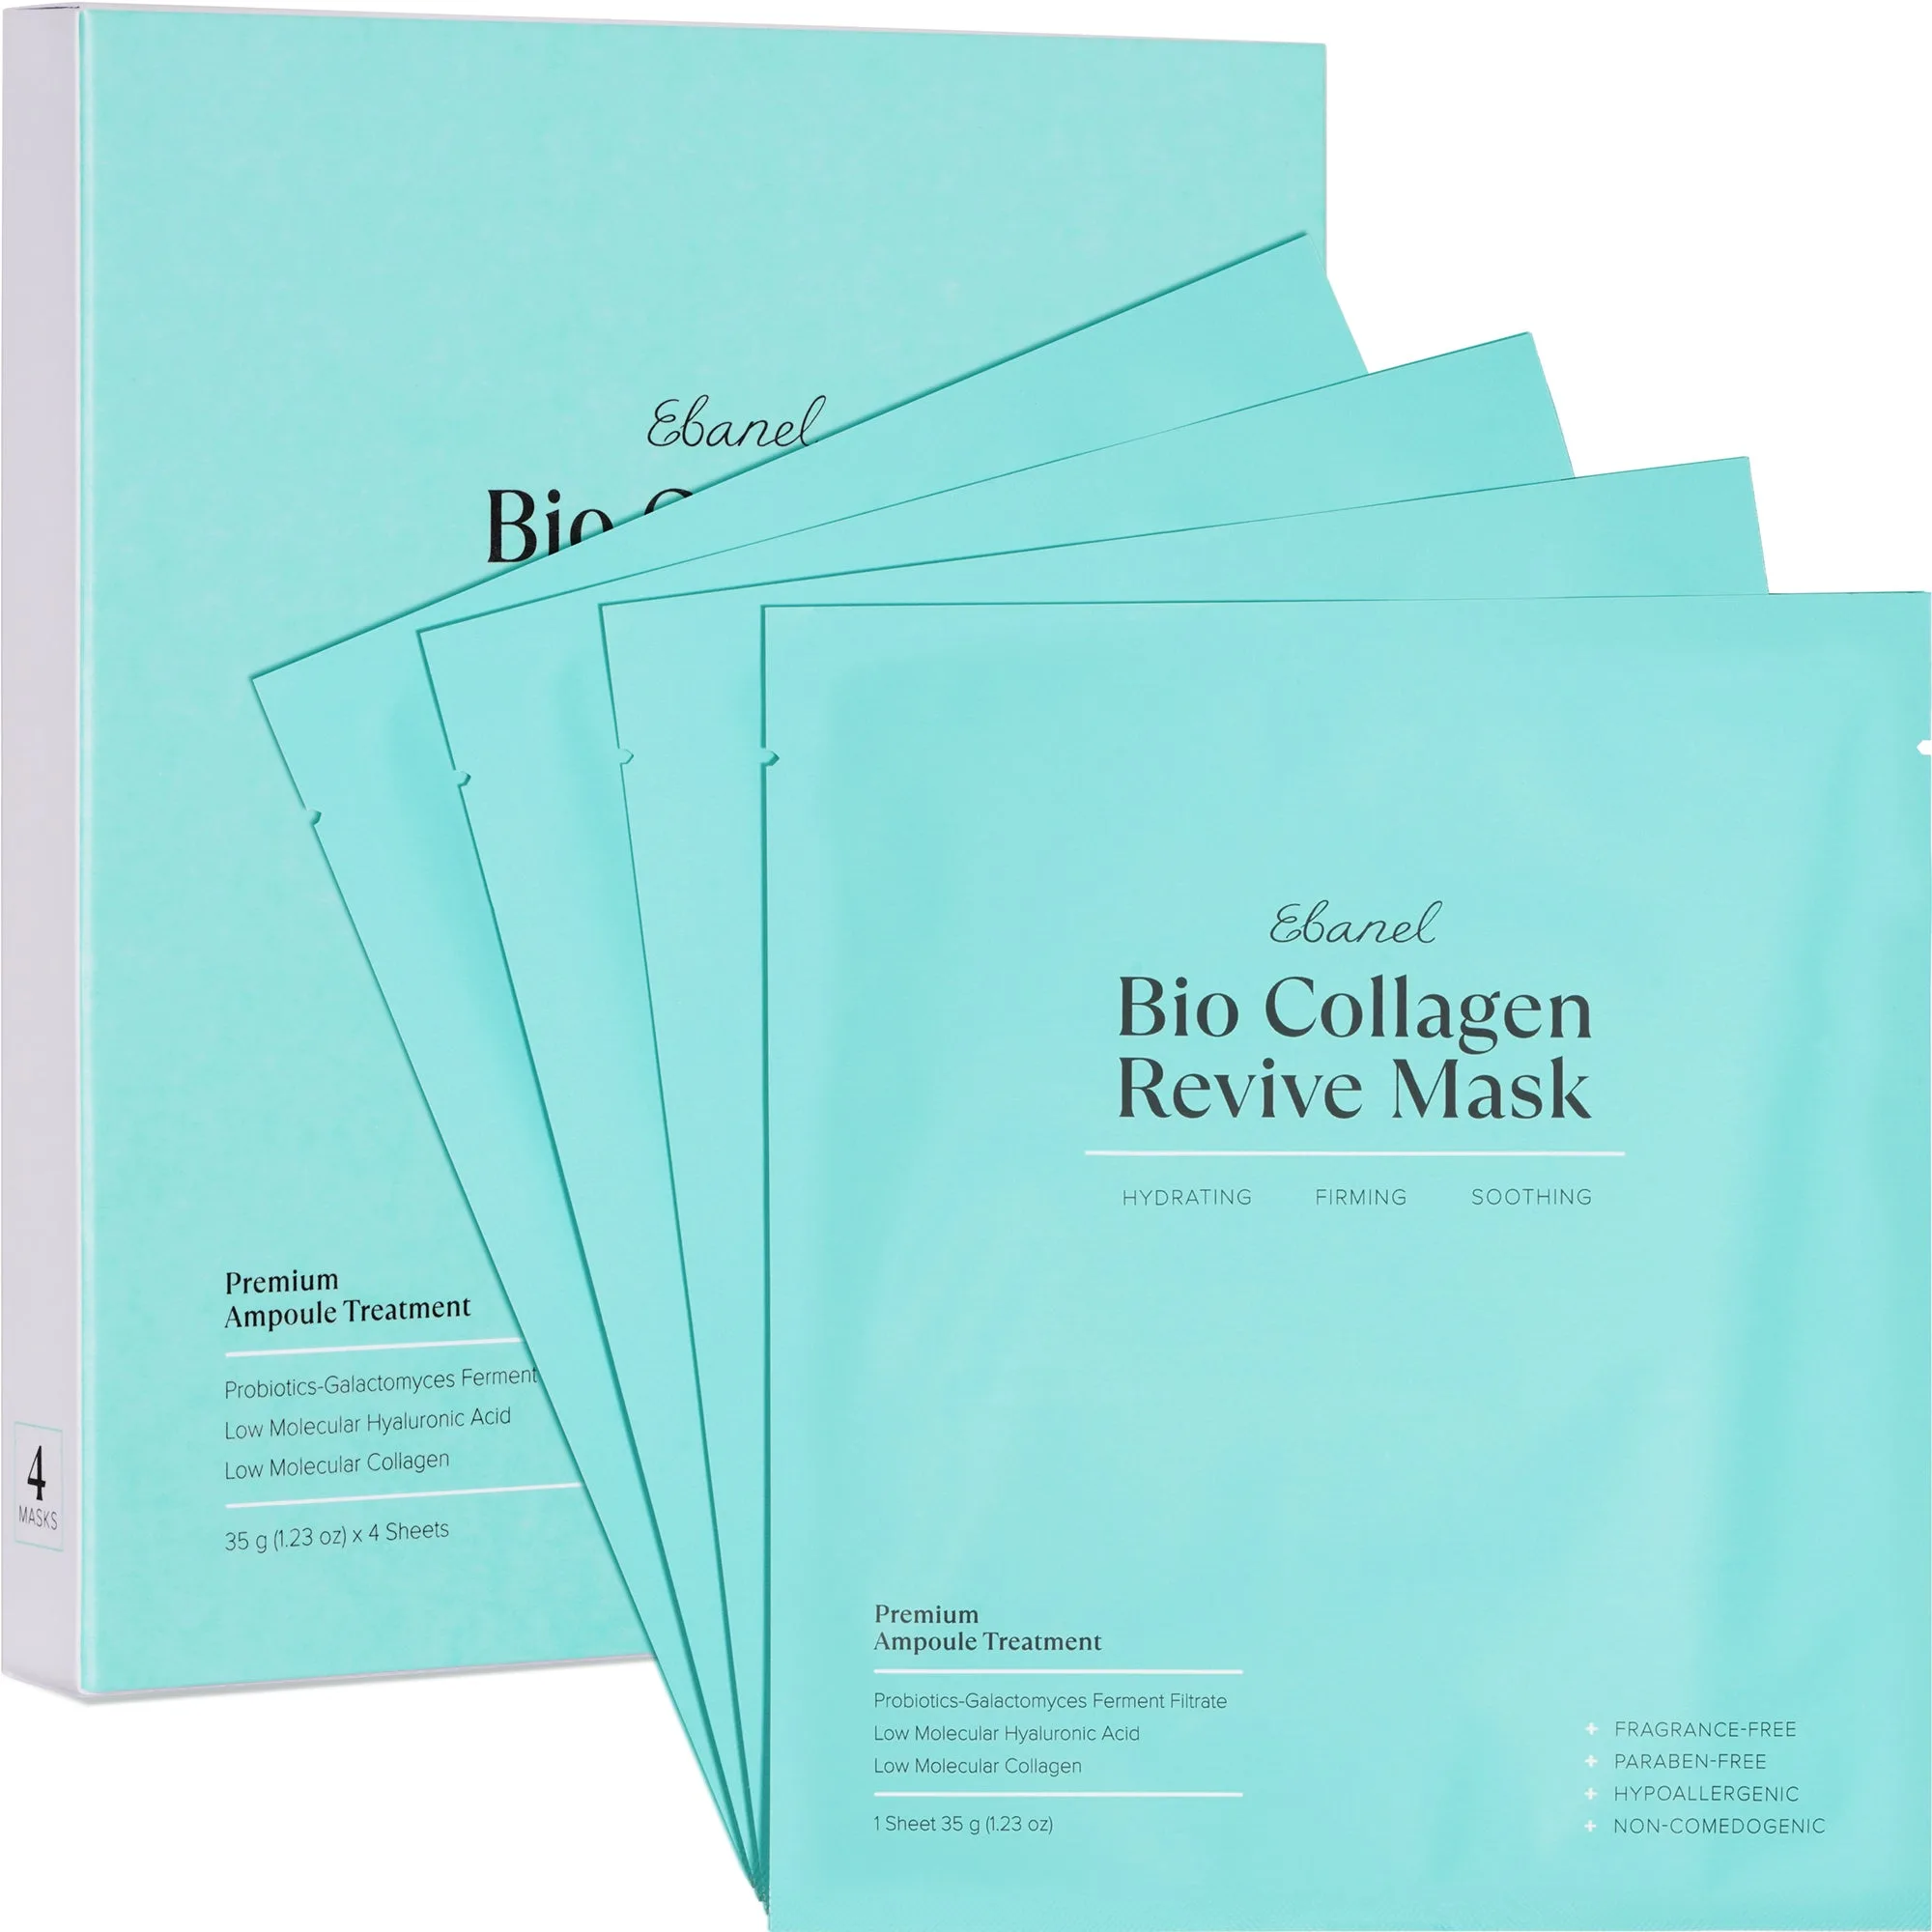
Bio Collagen Revive Mask with 7 Peptides and Ultra-Low-Molecular-Weight Collagen
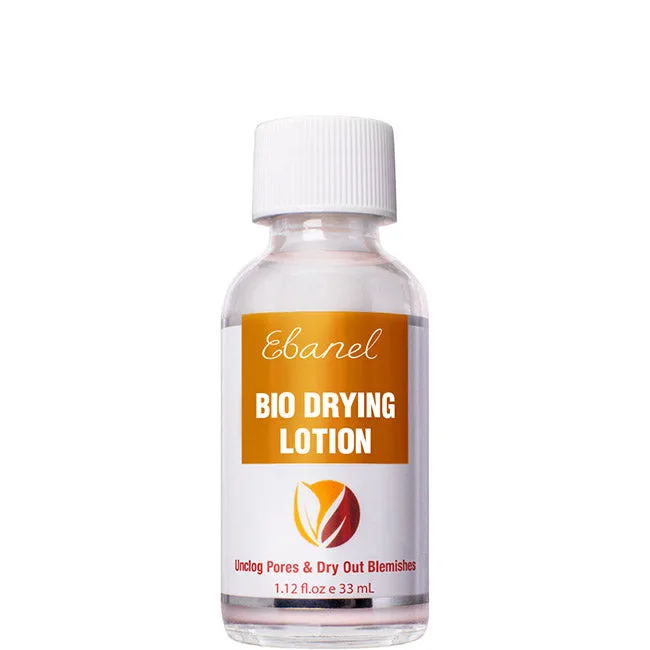
On the day of your peel, skip any heavy creams or occlusives on the areas you plan to treat. If you're using a targeted product like the Bio Drying Lotion for spot treatments, pause its use for at least 48 hours before your peel to avoid over-exfoliation. Remember: the goal is to arrive at your peel with a calm, hydrated, and balanced complexion.
- Increase your water intake in the days leading up to your peel.
- Avoid saunas, steam rooms, and intense workouts on peel day to minimize sweating.
Step 5: Know Your Peel and Read the Instructions
Not all chemical peels are created equal. Some are designed for deep resurfacing, while others offer a gentle weekly exfoliation. Before you start, read the product's instructions carefully. Pay attention to the recommended exposure time, the number of layers you can apply, and any specific warnings. For example, a 30% AHA + 2% BHA Chemical Peeling Gel typically requires a shorter contact time than a milder lactic acid peel.
Also, check the pH level of your peel. Products with a pH below 3 are considered professional-grade and require extra caution. If you're new to at-home peels, start with a lower concentration and gradually work your way up. Always have a neutralizing solution or cool water nearby in case you need to stop the peel prematurely. Knowledge is your best defense against mishaps.
- Set a timer for the exact recommended duration—do not guess.
- If you feel intense burning or stinging, neutralize immediately.
Post-Peel Prep: What to Have Ready
Once you've completed your peel, the real work begins. Your skin will be more sensitive and vulnerable for the next few days, so it's essential to have a post-peel plan in place. Stock up on gentle, fragrance-free moisturizers, a broad-spectrum SPF 50 sunscreen, and soothing ingredients like aloe vera or centella asiatica. Avoid any active ingredients—retinoids, AHAs, BHAs, vitamin C—for at least 48–72 hours after your peel.
If you experience redness or flaking, don't panic. This is a normal part of the healing process. Apply a rich, barrier-repairing moisturizer multiple times a day to keep your skin comfortable. For an extra boost of hydration, consider using a hydrating sheet mask from The Marvelous Mask Collection, which can help calm and replenish your skin without clogging pores. Remember: the better you care for your skin post-peel, the faster and more beautiful your results will be.
- Avoid picking or peeling off any loose skin—let it shed naturally.
- Stay out of direct sunlight for at least one week after your peel.
Preparing your skin for an at-home chemical peel doesn't have to be complicated, but it does require intention and consistency. By following this pre-peel routine—cleansing, balancing pH, hydrating, and strengthening your barrier—you set yourself up for a safer, more effective treatment with glowing results. If you're ready to take the next step, explore our 30% AHA + 2% BHA Chemical Peeling Gel to start your journey to smoother, more radiant skin.