Quick answer
Most small snags in lace and mesh can be eased back flat from the wrong side with a blunt needle or your fingertip, then secured with a tiny dot of clear flexible fabric glue if the thread keeps lifting. Stop and leave it alone if the snag has cut a load-bearing elastic, opened a seam, or sits on a strap or O ring anchor point. In those cases, a repair can distort the fit, so it is better to treat it as wear and plan a replacement.
A snag is rarely the end of a garment. In lace and mesh it usually means one filament has been pulled out of the pattern rather than torn through, which is why so many pulls can be worked back into place at home.
The tricky part is knowing when to intervene. Pull too hard and you stretch the surrounding mesh; glue too much and you create a stiff patch that catches on everything. This guide separates the symptom from the cause, gives you a corrective action for each, and tells you the point where you should stop.
What a snag actually is, and why lace and mesh behave differently
Lace is a patterned fabric built from interlaced threads, so a snag usually lifts one loop out of the design. Mesh is a uniform knit or weave with open holes, so a pull tends to drag a single filament across several holes at once. Both look worse than they are because the lifted thread catches the light.
That difference matters for repair. Lace often hides a fixed pull inside its own pattern, so you can ease the loop back and barely see it. Mesh shows every distortion, so the goal is to redistribute the pulled filament rather than hide it. Neither fabric responds well to heat or sharp tools.
- Never cut a pulled thread on lace or mesh; you lose the length you need to work it back.
- Work from the wrong side whenever you can, so any slight distortion sits against your skin.
Fix a small pull in lace without making it worse
Turn the garment inside out and lay it flat on a pale towel so you can see the lifted loop clearly. Use a blunt tapestry needle or a rounded toothpick and gently push the loop back through to the wrong side, working along the direction of the thread rather than against it. Small, repeated nudges do more than one firm tug.
Once the loop sits flat, smooth the area with your thumb and let it rest. If the thread stays down, you are done. If it lifts again when you move the fabric, place a pinhead-sized dot of clear flexible fabric glue on the wrong side only, press flat, and let it cure fully before wearing.
- Test any glue on an inside hem first; some dry stiff and will show through open mesh.
- Do not iron lace or mesh directly, even on a low setting, as many fibres will glaze or melt.
Handle mesh pulls by redistributing, not hiding
A mesh pull usually leaves a thin, stretched line. Instead of pushing it back, gently massage the fabric around the pull with your fingertips, working outward in small circles. This encourages the surrounding filaments to even out and shortens the visible line.
If the pull has created a small hole, a matching thread and a few loose overcast stitches on the wrong side will close it without adding bulk. Keep the stitches relaxed. Tight stitches pucker the mesh and create a new weak point right where you repaired the old one.
- Match thread to the mesh colour, not the trim, so the repair disappears.
- Recheck the repair after one wear; if it has opened again, the fabric is thinning and further stitching will not hold.
Prevent the next snag before it happens
Most snags come from three places: jewellery and watches, hook-and-eye closures on other garments, and rough storage. Remove rings and bracelets before dressing, and fasten every hook and eye on bras and belts before they go in a drawer so they cannot catch neighbouring pieces.
Storage does more than repair ever will. Hang or fold lace and mesh so nothing rests on a hard edge, and keep hardware-heavy pieces away from open-weave fabrics. If you own pieces with large metal rings, store them in a separate pouch so the rings cannot drag across delicate mesh.
- Wash lace and mesh in a mesh laundry bag with hooks fastened.
- Check your nails and any rough skin on your hands before handling fine mesh.
When to stop repairing and replace instead
Stop as soon as a snag involves elastic, a seam, or a hardware anchor point. Elastic that has been nicked will continue to fail no matter how neatly you cover it, and a repair near a strap join changes how the garment distributes tension. That is a fit problem, not a cosmetic one.
Also stop if the same area snags repeatedly. Repeated snags in one spot usually mean the fabric there is worn thin, and each repair removes a little more strength. At that point the honest answer is that the piece has reached the end of its wearable life, and a replacement will serve you better than a third patch.
- Do not repair anything you plan to return or exchange.
- If a repair would sit under tension during wear, skip it.
Snag diagnosis: symptom, cause, action, stop point
- A single loop lifted out of the lace pattern: Usually caused by a fingernail, ring or a hook-and-eye closure catching one thread. Turn the piece inside out and ease the loop back with a blunt needle, working with the thread direction. If it lies flat and stays flat, you are finished. Do not glue it as well.
- A thin stretched line across mesh: Caused by a filament being dragged across several holes, often by a watch strap or a rough seam. Massage the surrounding mesh outward in small circles to redistribute the filaments. If the line shortens but does not disappear, that is a good result. Stop there.
- A small hole with clean edges in mesh: Caused by a pull that has broken the filament. Close it with a few relaxed overcast stitches in matching thread on the wrong side. If it reopens after one wear, the fabric is thinning. Replace rather than re-stitch.
- A snag on or beside elastic, a seam or a hardware anchor: Caused by tension rather than a single catch. Any repair here changes how the garment distributes load across the strap or ring. Stop. Do not repair. This is a fit and safety issue, not a cosmetic one.
- The same spot snags again and again: Caused by localised thinning, often where a strap rubs or a ring rests. Each repair removes a little more material from an already weak area. Stop repairing and plan a replacement piece.
How our own pieces are built to reduce snag risk
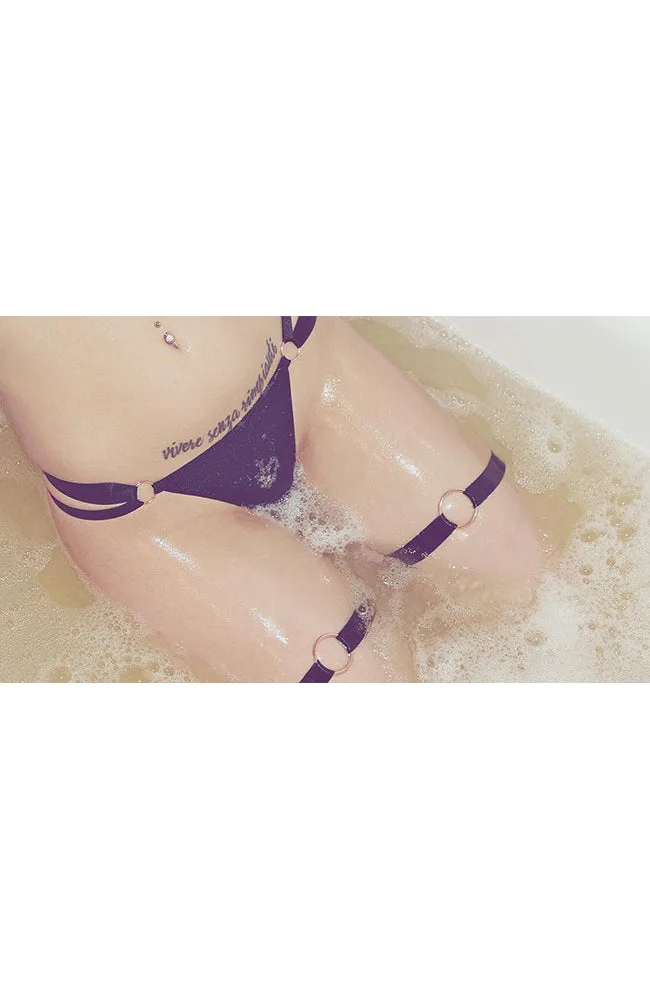
- https://malicelingeriemyr.com/products/o-garters-7b405e9b813d4158e4a328f2-1320037O Garters: These garters use large metal O rings with fully adjustable straps, and the listing notes sizing overlaps with a recommendation to size up if you are between sizes. Smooth metal rings glide over mesh instead of catching it, and a correct size means the straps are not over-stretched, which is when elastic and mesh snag most often.
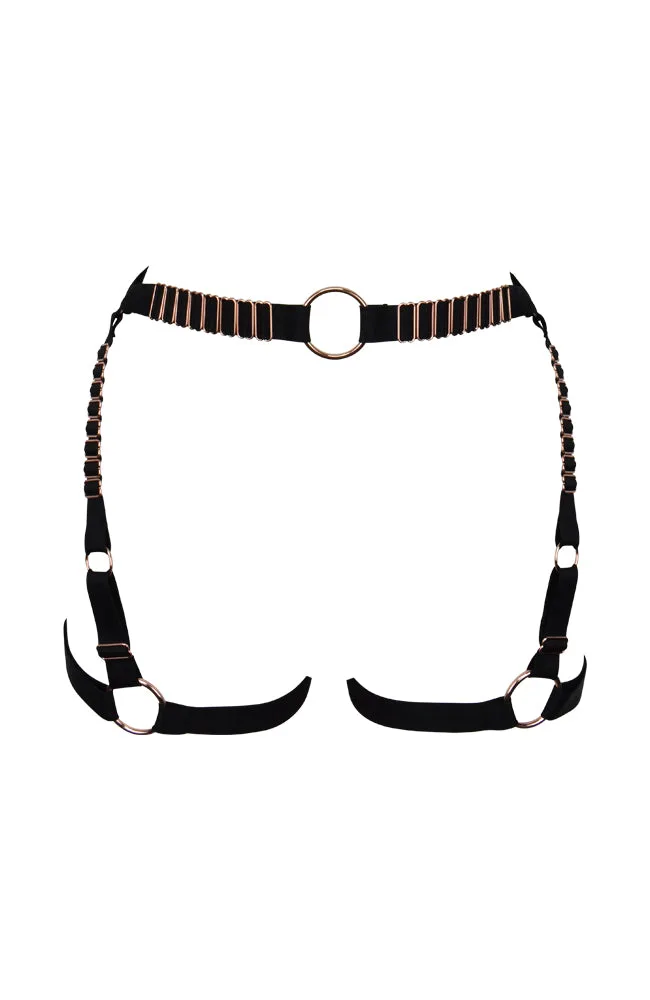
- Vexed Garter Belt: This garter belt is fully adjustable and uses extra large O rings with rose gold hardware, and it is handmade to order with up to seven days for dispatch. Adjustability lets you set tension where it suits your body rather than forcing a fixed length, which reduces the strain that turns a small pull into a tear.
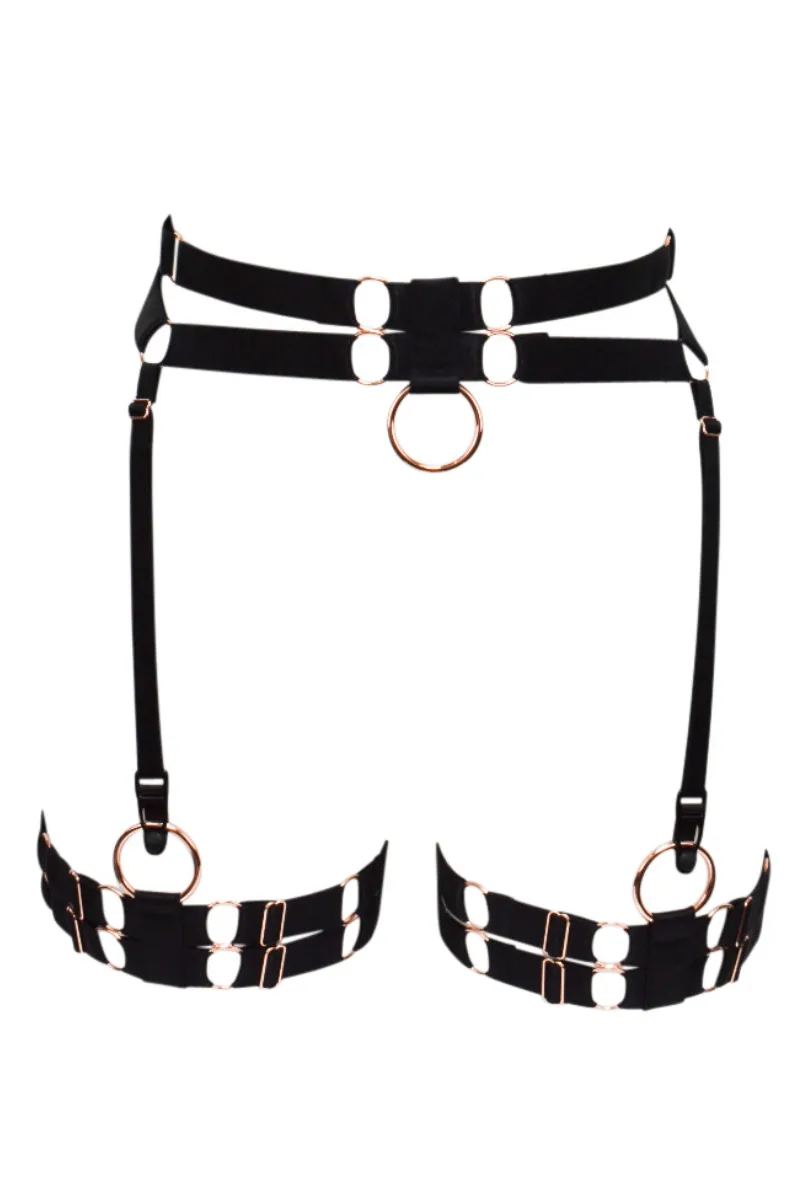
- Venom Garter Belt: It has double waistband straps, O ring detailing and detachable double garters, with a choice of gold (rose gold tone) or silver hardware including gunmetal tone O rings and black adjusters. Detachable garters mean you can separate the hardware from the delicate parts for storage, which is one of the simplest ways to prevent snags between wears.
Most lace and mesh snags are a five-minute fix if you work gently from the wrong side and know when to leave well alone. The moment elastic, seams or hardware anchors are involved, put the needle down and treat it as wear. Preventing the next snag with careful storage and fastened hooks will always beat repairing the last one.