Quick answer
Most fabric fraying during cutting comes from handling cut edges too much, cutting with a dull blade, or letting long strips hang off the table. Stabilize the fabric first, cut with a sharp blade and a clean mat, and move pieces flat instead of letting them dangle. If a fabric still sheds heavily after those steps, change how you cut it rather than fighting the fray.
Fabric fraying at the cutting stage is frustrating because it feels like the fabric is fighting back. In most cases it is not a bad bolt of cloth. It is an edge that has been handled, pulled, or cut in a way that lets threads slip out of the weave.
The fix depends on what you are seeing. A little lint along a fresh cut is normal. Long threads pulling away from a strip, or a cut edge that keeps growing fuzzy as you work, points to a specific cause you can correct before you cut the next piece.
Symptom: what fraying actually looks like at the cutting table
Fraying shows up in a few recognizable ways. You may see loose threads along the cut edge of a strip, a fuzzy halo that grows as you handle the piece, or threads that pull away in long strands when you lift fabric off the mat. Sometimes the edge looks fine until you pick it up, then it starts to shed.
It helps to separate normal lint from real fraying. A few fibers on the mat after a cut is expected with cotton. Threads that trail off the edge, or a strip that loses width as you handle it, means the weave is unraveling and you need to change something.
- Normal: light lint, a slightly fuzzy cut edge, no width loss.
- Needs action: long trailing threads, edges that grow fuzzy with handling, strips that measure narrower after handling.
Likely cause: why cut edges unravel
Woven fabric is made of warp and weft threads that hold each other in place. When you cut across them, the threads at the very edge are no longer locked in, so they can slide out. Loosely woven fabrics, fabrics with a lot of sizing or finish, and fabrics cut into narrow strips all fray more easily because there is less structure holding the edge.
Handling is the other big factor. Every time you pick up a cut piece, drag it across the mat, or let a long strip hang off the table, you pull on those loose edge threads. A dull rotary blade makes it worse because it pushes and tears fibers instead of slicing them cleanly, and that rough edge frays faster.
- Loosely woven or loosely twisted fabrics fray more than tight weaves.
- Narrow strips and bias-cut pieces have more exposed edge per unit of fabric.
- Dull blades, dragging pieces, and dangling strips all accelerate fraying.
Corrective action: stabilize, cut clean, and handle less
Start by stabilizing the fabric before it reaches the blade. If you are cutting strips from a large piece, press the fabric first so it lies flat, then cut with a sharp blade and a mat that lets the cutter glide. Cut with smooth, firm strokes instead of sawing back and forth, because sawing roughs up the edge and loosens threads.
After cutting, move pieces flat. Stack strips on a tray or a ruler instead of carrying them in your hand, and do not let long strips hang over the table edge while you cut the next one. If you are working with a fabric that sheds heavily, a light starch or sizing applied before cutting can firm the edge and reduce how much it unravels.
- Replace the blade at the first sign of skipping or pulling.
- Cut on a clean mat so the blade does not catch on debris.
- Move cut pieces flat and keep long strips supported.
- Test starch or sizing on a scrap before applying it to the whole piece.
When to stop and choose another approach
If you have sharpened your technique, changed the blade, and stabilized the fabric, and the edges still shed badly, stop cutting that fabric into narrow pieces. Some fabrics simply do not hold a clean edge at 2-1/2 inches or narrower. In that case, choose a different fabric for the project, or change the pattern so it uses wider pieces where the edge is less exposed.
You can also switch to a method that handles the edge differently. Patterns that use precut strips or quilt-as-you-go construction often enclose or cover the raw edge sooner, which reduces how much handling the cut edge sees. If a fabric is important to the design, use it in larger shapes and save the narrow cuts for a tighter weave.
- Stop if strips lose width after normal handling.
- Choose a different fabric for narrow cuts if fraying continues.
- Consider wider pieces or quilt-as-you-go if you want to keep the fabric.
Diagnosis: match the symptom to the fix
- Light lint only: A small amount of fiber on the mat after a cut is normal for cotton and similar wovens. No change needed. Continue cutting and sweep the mat as you go.
- Edge grows fuzzy with handling: The cut edge sheds more each time you pick up or drag the piece, which points to handling and blade condition. Replace the blade, cut with firm strokes, and move pieces flat instead of carrying or dragging them.
- Long threads pull away from strips: Threads trail off the edge and strips lose width, which usually means a loose weave or a fabric that will not hold a narrow cut. Stabilize with starch and test a scrap. If it still sheds, switch to wider pieces or a different fabric for narrow cuts.
- Fabric sheds even after stabilizing and sharpening: You have corrected blade, handling, and stabilization, and the fabric still will not hold a clean edge. Stop cutting this fabric into narrow strips. Choose another fabric or change the pattern to use wider shapes.
Fabric and tool facts that affect fraying
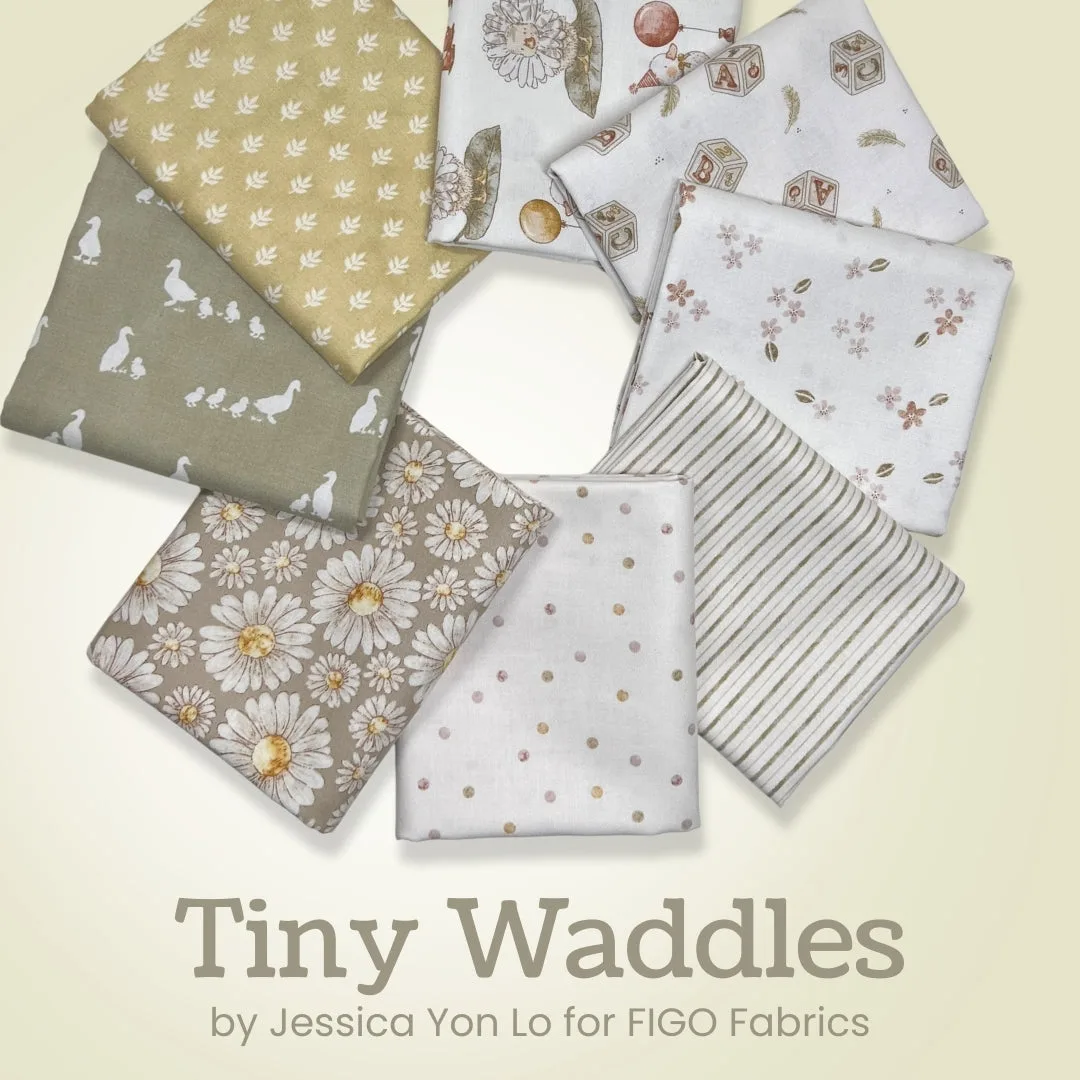
- Tiny Waddles Half Yard Bundle: This 8 piece half yard bundle is 100% cotton with a palette of warm creams, soft taupes, sage greens, and blush accents, featuring motifs like waddling ducks, florals, dots, and stripes. A half yard bundle gives you enough length to cut strips with room to trim a frayed edge, and the cotton weave is a good candidate for standard stabilizing and sharp-blade cutting.
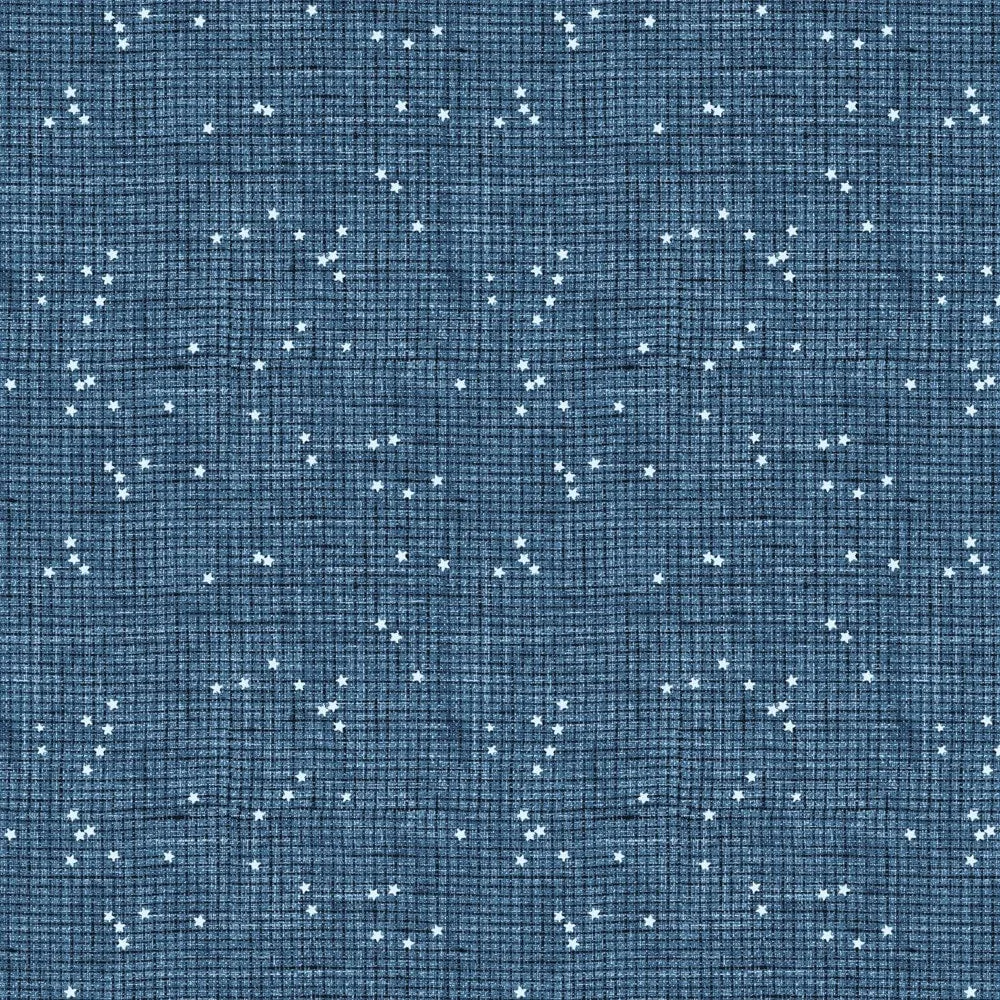
- Stash Check Blue 92023-42: Stash Check Blue is from the Stash Check line by Ghazal Razavi for FIGO Fabrics and is sold as a 1 yard cut. A single yard cut is enough for testing how a fabric behaves before you commit it to a full project, so you can check fraying on a scrap first.
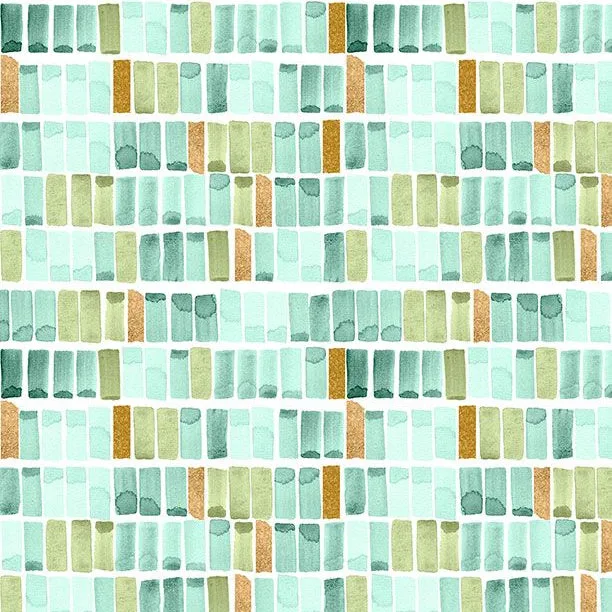
- Peony Blossoms Swatches White/Teal - 34717-177 - 3 YARD CUT: This is one continuous 3 yard cut of 100% cotton from the Peony Blossoms collection by Lakeside Art Studio for Wilmington Prints. A continuous 3 yard cut means fewer cut edges to manage than several smaller pieces, which reduces the number of exposed edges that can fray during a project.
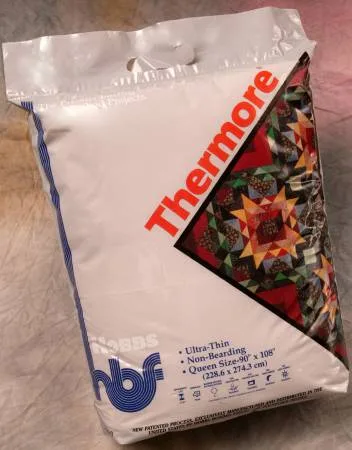
- Batting Thermore Ultra Thin 90in x 108in TM90: Thermore is 100% polyester batting with a surface treatment that is guaranteed not to beard or migrate, and it works for hand or machine quilting with light and dark fabrics. Batting that resists bearding and migration keeps fibers from working through the quilt surface, which is a separate but related fiber-shedding problem from edge fraying.
Fraying at the cutting table is usually solvable with a sharp blade, flat handling, and a quick stabilization step. When a fabric still will not cooperate, treat that as useful information and switch to a fabric or pattern shape that suits it better.