Quick Answer
Glitter sheds because it sits on top of the adhesive instead of being pressed into it, or because the adhesive never fully dried. Fix it by pressing glitter into a tacky (not wet) adhesive, tapping off the excess, then sealing the surface with a compatible medium or a burnishing tool. If the glitter still flakes after sealing, the adhesive or sealant is mismatched to your surface, and switching products is faster than adding more glitter.
You finish a card, set it down, and ten minutes later your desk is wearing half the glitter. Shedding is the most common complaint in glitter crafting, and it almost always comes down to one of three things: the adhesive was wrong, the glitter was applied at the wrong moment, or nothing sealed the surface afterward.
This guide walks through each symptom, the likely cause, and the corrective action, so you can stop glitter shedding on cards and crafts without redoing the whole project. It also covers the point where you should stop troubleshooting and switch products instead.
Why Glitter Sheds: The Three Real Causes
Glitter is a physical particle, not a dye, so it only stays put if something holds each flake. That something is either an adhesive that grabs the flake while still tacky, or a sealant that locks the flakes in after application. When glitter falls off, one of those two mechanisms has failed, or the glitter was applied to a surface that never had enough grip in the first place.
The three usual culprits are: applying glitter to wet glue (which lets flakes sink and then flake off as the glue shrinks), applying to fully dry glue (which gives the flakes nothing to cling to), and skipping a sealant on high-touch items like cards that go in envelopes or gift boxes that get handled. Diagnosing which one you have is faster than trying every fix at once.
- Wet glue: glitter sinks, glue dries unevenly, flakes lift as it cures.
- Dry glue: flakes sit on the surface and brush off with the lightest touch.
- No sealant: even a good bond fails once the item is handled or flexed.
Fix 1: Apply Glitter at the Right Moment
The single biggest fix is timing. Apply glitter when your adhesive is tacky, meaning it has started to set but still feels slightly sticky to a clean finger. For most liquid glues this is a window of a minute or two; for double-sided tape it is immediate. Press the glitter into the adhesive with your fingers or a soft brush rather than sprinkling and walking away, then tap off the excess over a sheet of paper so you can funnel it back into the jar.
If you are working with a large area, work in sections so the adhesive does not dry before you reach it. A fine, even layer of glitter pressed in beats a thick dump every time, because thick piles trap loose flakes underneath that will shed later. This is also where glitter application tips matter most: less glitter, more pressure.
- Test tackiness on a scrap before committing your project.
- Press, do not just sprinkle; pressure embeds each flake.
- Tap off excess over a folded sheet to reuse the glitter.
Fix 2: Seal the Surface After Application
Once the adhesive is fully dry, seal the glittered area. A thin coat of a compatible sealant, applied with a soft brush, locks the top layer of flakes without dulling the sparkle too much. The key word is thin: a heavy coat can cloud the glitter or react with the adhesive underneath. Let the first coat dry completely before deciding whether a second is needed.
For cards that will go into envelopes, a light seal is usually enough. For items that get handled constantly, such as gift tags or bookmarks, use a sealant rated for flexibility so the coating does not crack when the paper bends. If you are unsure whether your sealant is compatible, test on a scrap of the same cardstock first.
- Apply sealant in thin coats, not one thick layer.
- Let each coat dry fully before adding another.
- Test on scrap cardstock before sealing the finished piece.
Fix 3: Match the Adhesive to the Surface
Glitter not sticking is often an adhesive problem, not a glitter problem. Smooth, coated, or glossy cardstock gives liquid glue very little to grip, so the whole glitter layer can peel away in one sheet. On those surfaces, a double-sided tape or a dedicated glitter adhesive designed for low-porosity surfaces holds far better than white glue.
Textured or linen-finish cardstock behaves the opposite way: it grips well but can wick moisture out of the glue quickly, shrinking your tacky window. If you are working on a textured surface, use a slightly thicker adhesive layer and apply glitter faster. Matching adhesive to surface is the step most crafters skip, and it is the one that decides whether the fix holds.
- Glossy or coated card: use tape or a low-porosity adhesive.
- Textured or linen card: work faster and use a thicker glue layer.
- Fabric: use a flexible adhesive so the glitter moves with the material.
When to Stop Fixing and Switch Products
If you have corrected the timing, sealed the surface, and matched the adhesive, and glitter still sheds, stop adding more product. At that point the glitter itself may be too coarse for the detail you want, or the sealant may be incompatible with your adhesive. Adding more glitter on top of a failing bond just creates a thicker layer that sheds in bigger pieces.
The practical move is to test a small sample with a different adhesive or a different glitter grade. If the sample holds after handling, rebuild the project with those materials. If it does not, the surface itself may be unsuitable for glitter, and a different embellishment will save you time and frustration.
- Two failed fixes means the materials are mismatched, not the technique.
- Run a small sample test before rebuilding the whole project.
- If the surface will not hold glitter, choose a different embellishment.
Glitter Shedding Diagnosis
- Symptom: glitter brushes off immediately after drying: Likely cause is that glitter was applied to fully dry adhesive, so the flakes never bonded. Remove the loose glitter, reapply a tacky adhesive layer, press fresh glitter in, and seal once dry.
- Symptom: glitter peels off in a sheet with the glue: Likely cause is an adhesive that cannot grip the surface, common on glossy or coated cardstock. Switch to double-sided tape or a low-porosity adhesive and test on scrap before rebuilding.
- Symptom: glitter sheds only after handling or flexing: Likely cause is a missing or inflexible sealant on an item that gets touched. Add a thin, flexible sealant coat; if it still sheds after two coats, switch products rather than adding more glitter.
Products That Help With Glitter Control
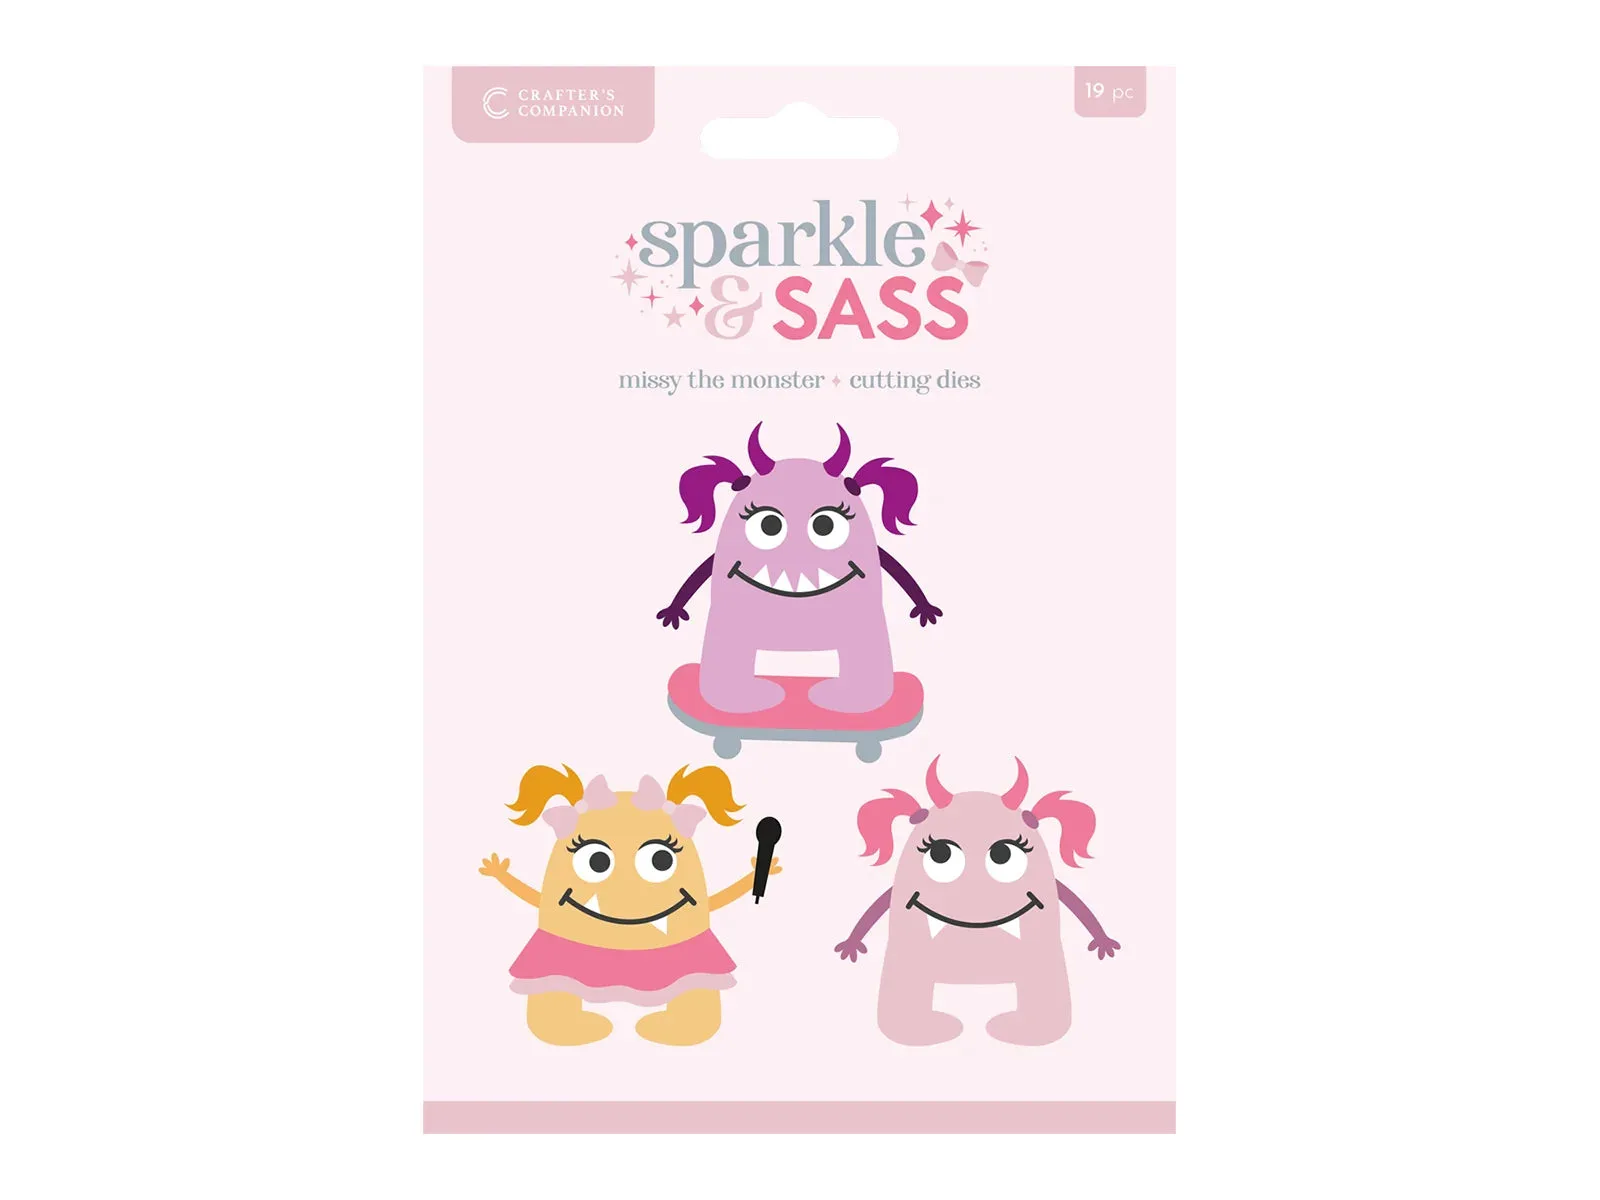
- Crafters Companion Metal Die Set - Missy the Monster: This metal die set cuts an adorable alien on a skateboard with pigtails, and die cutting gives a level of delicacy to cut-out designs that simply could not be created with scissors or a craft knife. Clean die-cut shapes give glitter a defined area to sit in, so you can glitter just the cut-out rather than the whole card and reduce the amount of loose glitter on the surface.
- Arden Creative Studio Premium Cardstock Cement Grey 12" x 12" - 20 Pack: Each sheet features a smooth finish on one side and a linen-textured finish on the other, giving you added versatility for papercraft projects. The smooth side is better for detailed die-cutting and stamping, while the textured side grips adhesive differently, so you can choose the face that suits your glitter method.
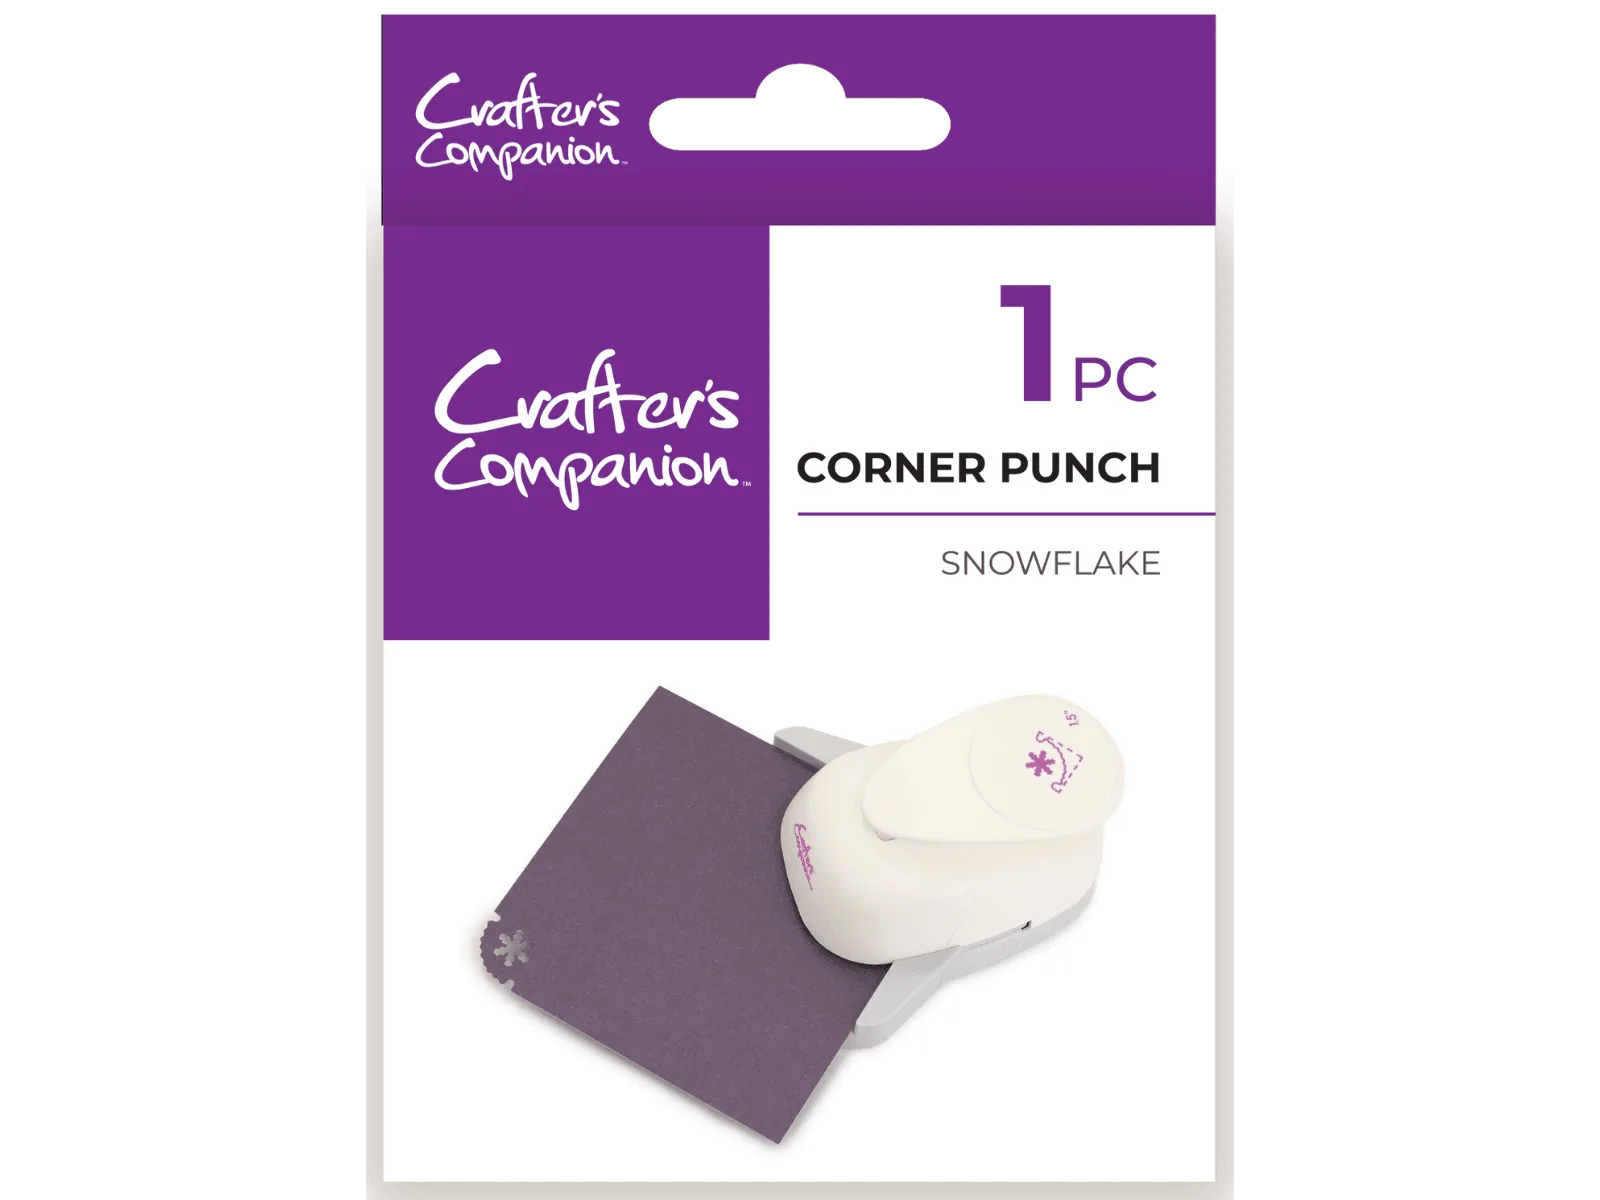
- Crafters Companion – Corner Punch – Snowflake: Simply slide in your paper or card and press the lever to reveal detailed cut-out designs in an instant. Decorative corners add detail without glitter, which is a useful fallback when a surface will not hold glitter reliably.
Glitter shedding is a materials and timing problem, not a mystery. Press glitter into tacky adhesive, seal the dry surface in thin coats, and match your adhesive to the cardstock. If two fixes fail, test a small sample with different products instead of layering on more glitter.