Quick Answer
Treat every canvas edge before your first stitch. Painter's tape or masking tape is the fastest fix for most stitchers, while a zigzag machine stitch or a thin bead of fabric glue suits canvases you plan to handle for months. If fraying has already reached the painted design area, stop stitching and replace the canvas rather than risk stitches that pull loose later.
Fraying is the one needlepoint problem that gets worse the longer you ignore it. Loose threads along a raw edge catch on your thread, your needle, and your project bag, and each snag pulls the weave a little further apart.
The good news is that edge treatment takes about two minutes and almost no skill. This guide separates what you are seeing from what actually caused it, then gives you a fix and a clear point to stop.
Why Needlepoint Canvas Frays at All
Needlepoint canvas is a woven grid, and every cut edge exposes threads that no longer have a crossing thread holding them in place. Handling, thread tension, and abrasion from a project bag all work those exposed threads loose. Mesh count matters too: a 13 mesh canvas has thicker threads and a looser weave than an 18 mesh canvas, so it can unravel faster once an edge starts to go.
That is why the fix is always about the edge, not the middle of the canvas. If your canvas is fraying along a cut line, you have a preparation problem. If it is fraying inside the painted area, you have a damage problem, and those need different responses.
- Cut canvas with sharp shears in one clean motion; ragged cuts fray faster.
- Treat edges before you thread a needle, not after the first loose thread appears.
Edge Treatments Compared: Tape, Glue, and Zigzag
Painter's tape or masking tape folded over the raw edge is the quickest canvas edge treatment. It is removable, cheap, and fine for a project you will finish in a few weeks. The tradeoff is residue: leave tape on for months in a warm room and it can gum up the edge and leave sticky fibers that catch your thread.
A zigzag or overcast machine stitch is the most durable option if you have a sewing machine. Run it just outside the design area so it never crosses your stitching field. Fabric glue or fray-check liquid is the middle path: apply a thin line, let it cure fully, and keep it outside the painted design. Thick glue stiffens the edge and can make framing or finishing awkward.
- Tape: fastest, removable, best for short projects.
- Zigzag stitch: most durable, needs a machine and a steady margin.
- Glue: no machine needed, but apply thin and let it cure completely.
How to Fix a Canvas That Is Already Fraying
If only the outer margin is fuzzy and the painted design is untouched, you can still save the project. Trim the loose fibers back to a clean line, then seal the new edge with tape or a thin glue line before you stitch another row. Do this over a tray so stray fibers do not migrate into your thread.
If the fraying has crossed into the design area, count how many canvas threads are affected. One or two loose threads at the very outer border of the painted area can sometimes be secured with a dab of glue and stitched over carefully. Once the weave is open enough that your stitches slide, the canvas will not hold tension evenly and the finished piece will show it.
- Trim, then seal. Never seal over loose fibers you have not trimmed.
- Photograph the damage before you start so you can judge whether it is spreading.
Prevention Habits That Keep Edges Intact
Most fraying happens in storage, not in your hands. A reusable PVC protective project baggy keeps canvas edges away from zippers, keys, and other projects in your tote. If you rotate between several WIPs, bag each one separately rather than stacking bare canvases.
Thread tension is the other quiet culprit. Pulling hard on wool or silk drags against the canvas grid and works the edges loose over time. Consistent, moderate tension protects both your stitches and your margins.
- Store each project in its own baggy or sleeve.
- Keep scissors and needleminders in a separate pouch from bare canvas.
Fraying Diagnosis: Match the Symptom to the Fix
- Fuzzy edge, design untouched: Loose fibers sit only in the outer margin and the painted area is clean. Trim the fibers flush, then seal the edge with tape, a thin glue line, or a zigzag stitch. Fixable. Treat the edge now and keep stitching.
- Fraying has reached the painted design: Canvas threads inside the design area are separating and stitches no longer hold even tension. A dab of glue may secure one or two outer threads, but an open weave will not stitch up flat. Stop stitching and replace the canvas. A finished piece built on a compromised grid will not block or frame cleanly.
- Edge is sticky or gummy: Old tape or thick glue has left residue that catches thread. Remove the tape, clean what you can, and switch to a thin glue line or a zigzag stitch for the remainder of the project. Switch methods rather than adding more tape over residue.
- Canvas frays again after treatment: The treatment was applied over untrimmed fibers, or the edge is being abraded in storage. Re-trim, re-seal, and store the project in its own reusable PVC protective project baggy. If it frays a third time, retire the canvas rather than fight it.
Canvas Facts Worth Knowing Before You Cut
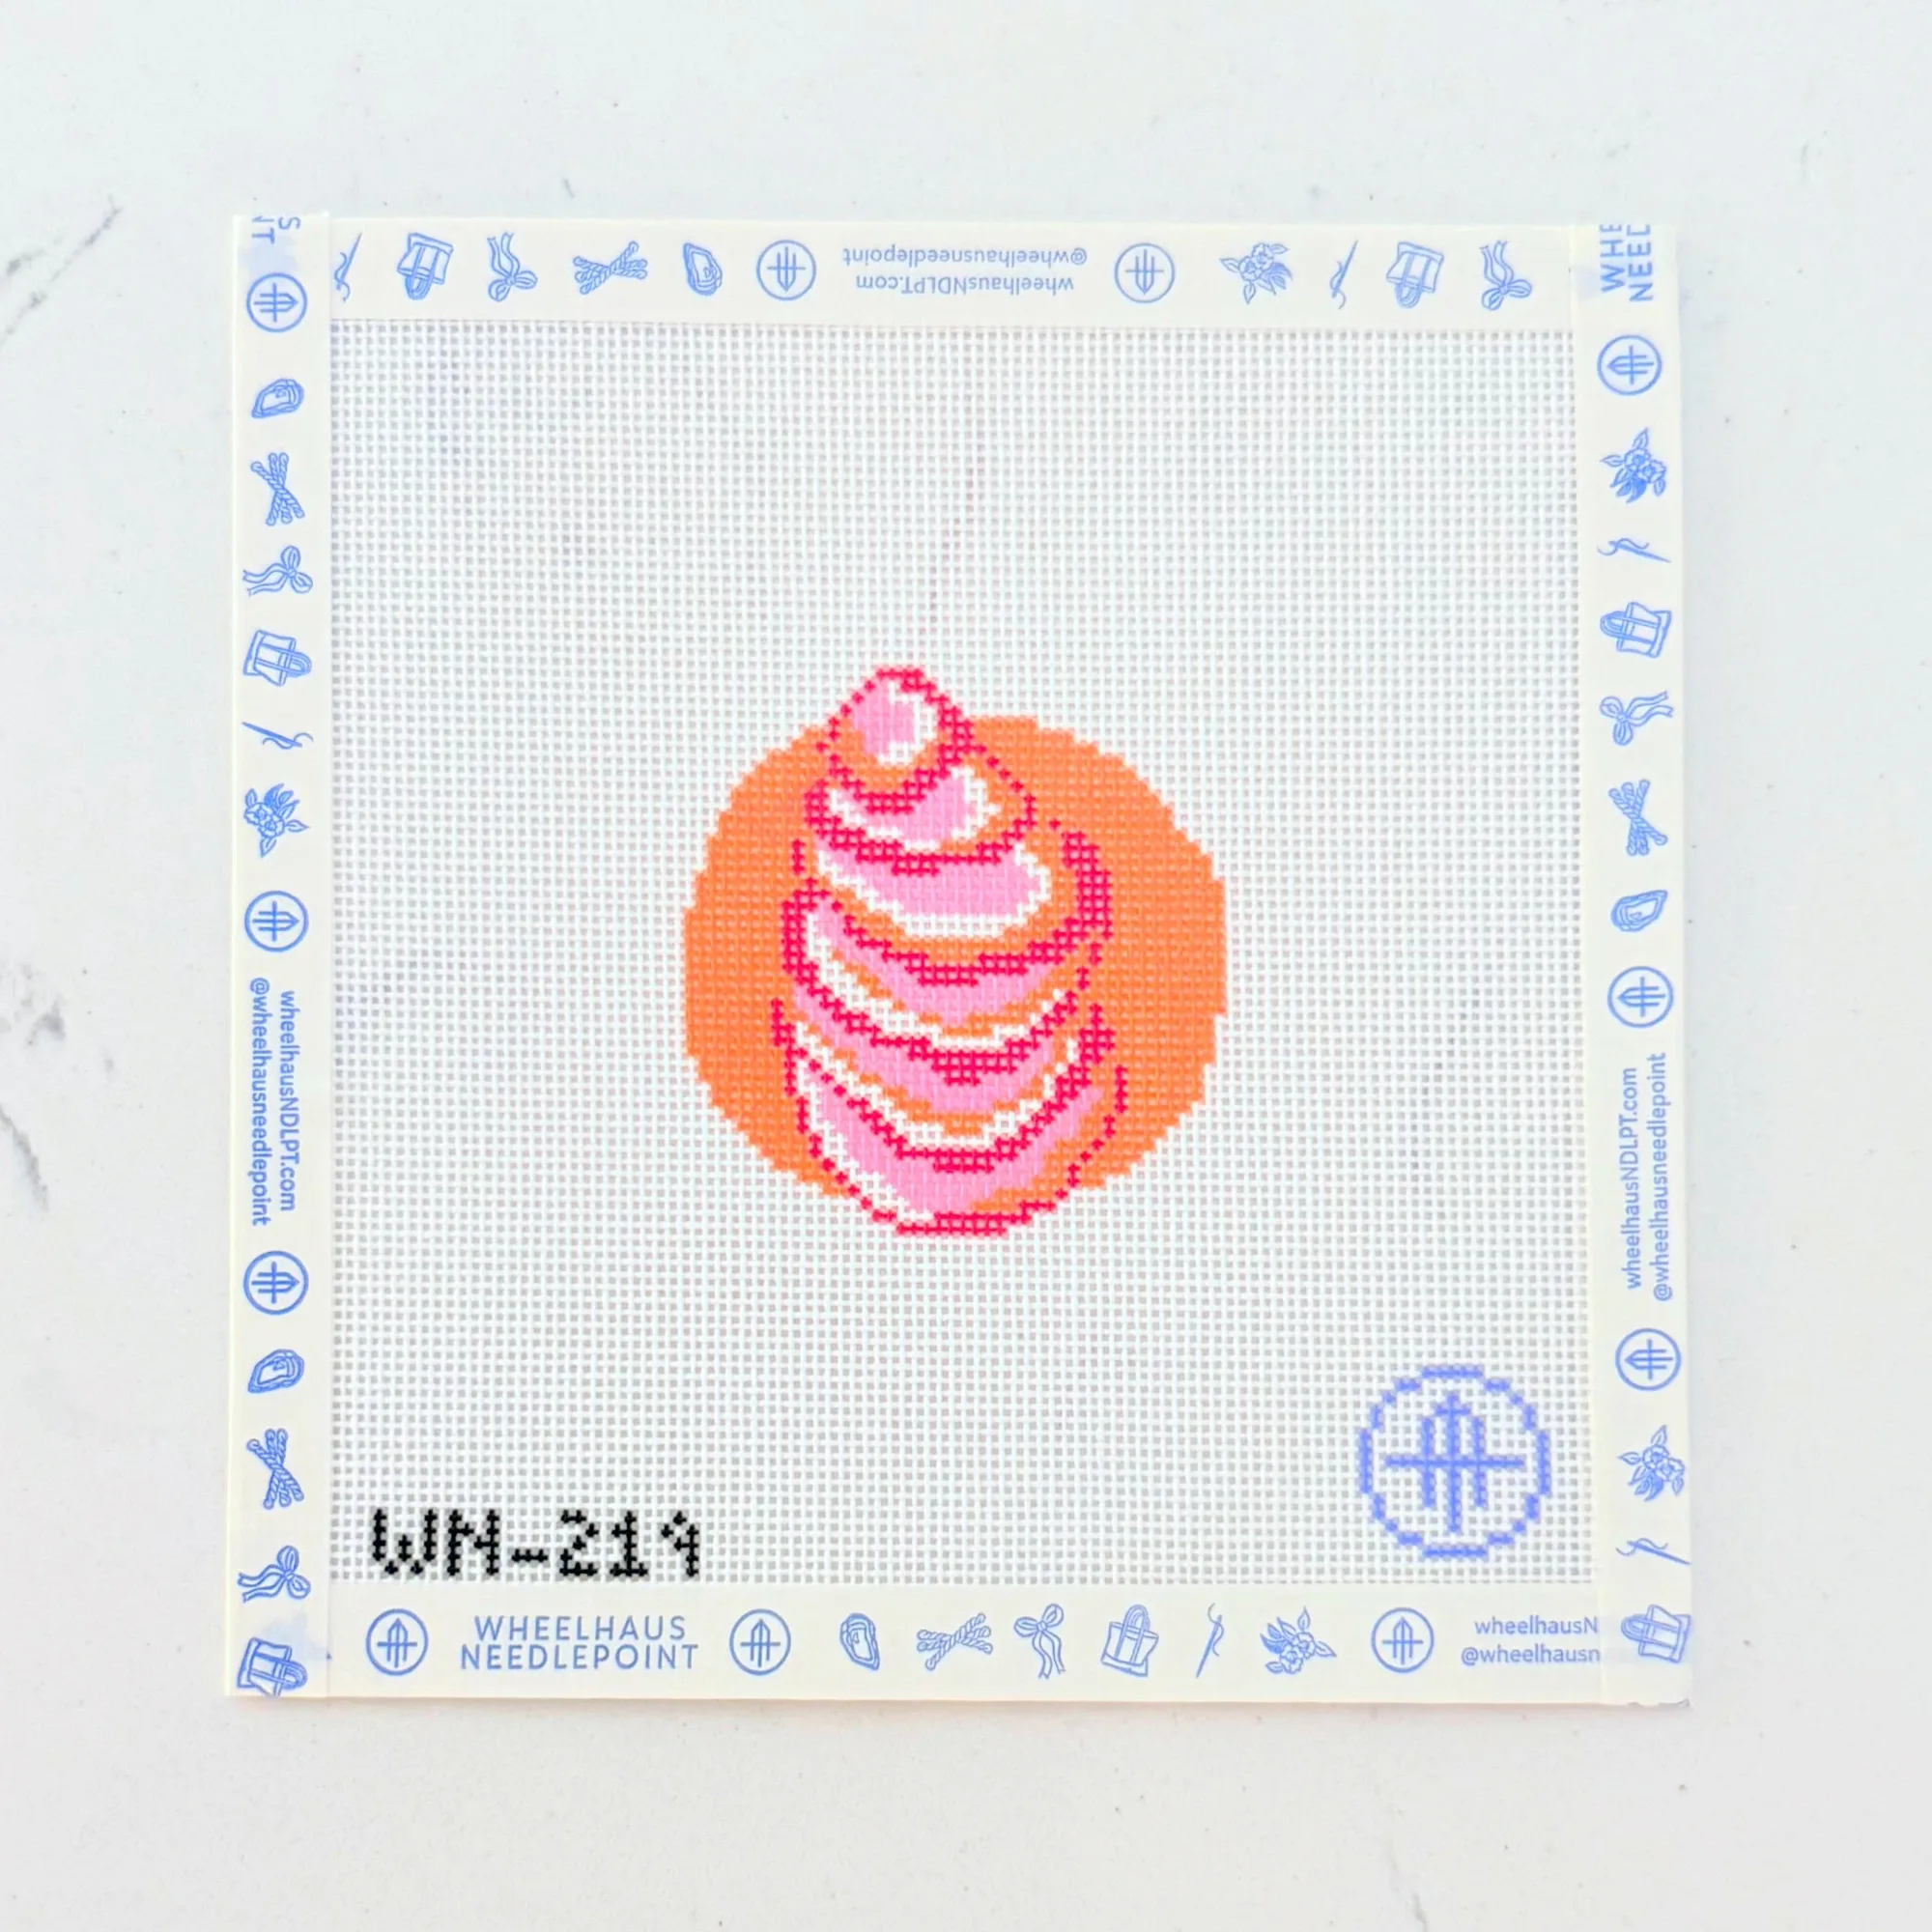
- Euro Summer Mini - Sunset Oyster: 18 mesh canvas, 2.5 x 2.5 design, StitchPerfect painted, and it ships as canvas only unless you buy the kit. A small 18 mesh canvas has a fine weave, so a clean edge treatment matters more than on a chunky mesh. Because threads are not included unless you buy the kit, plan your edge treatment before your first stitching session.
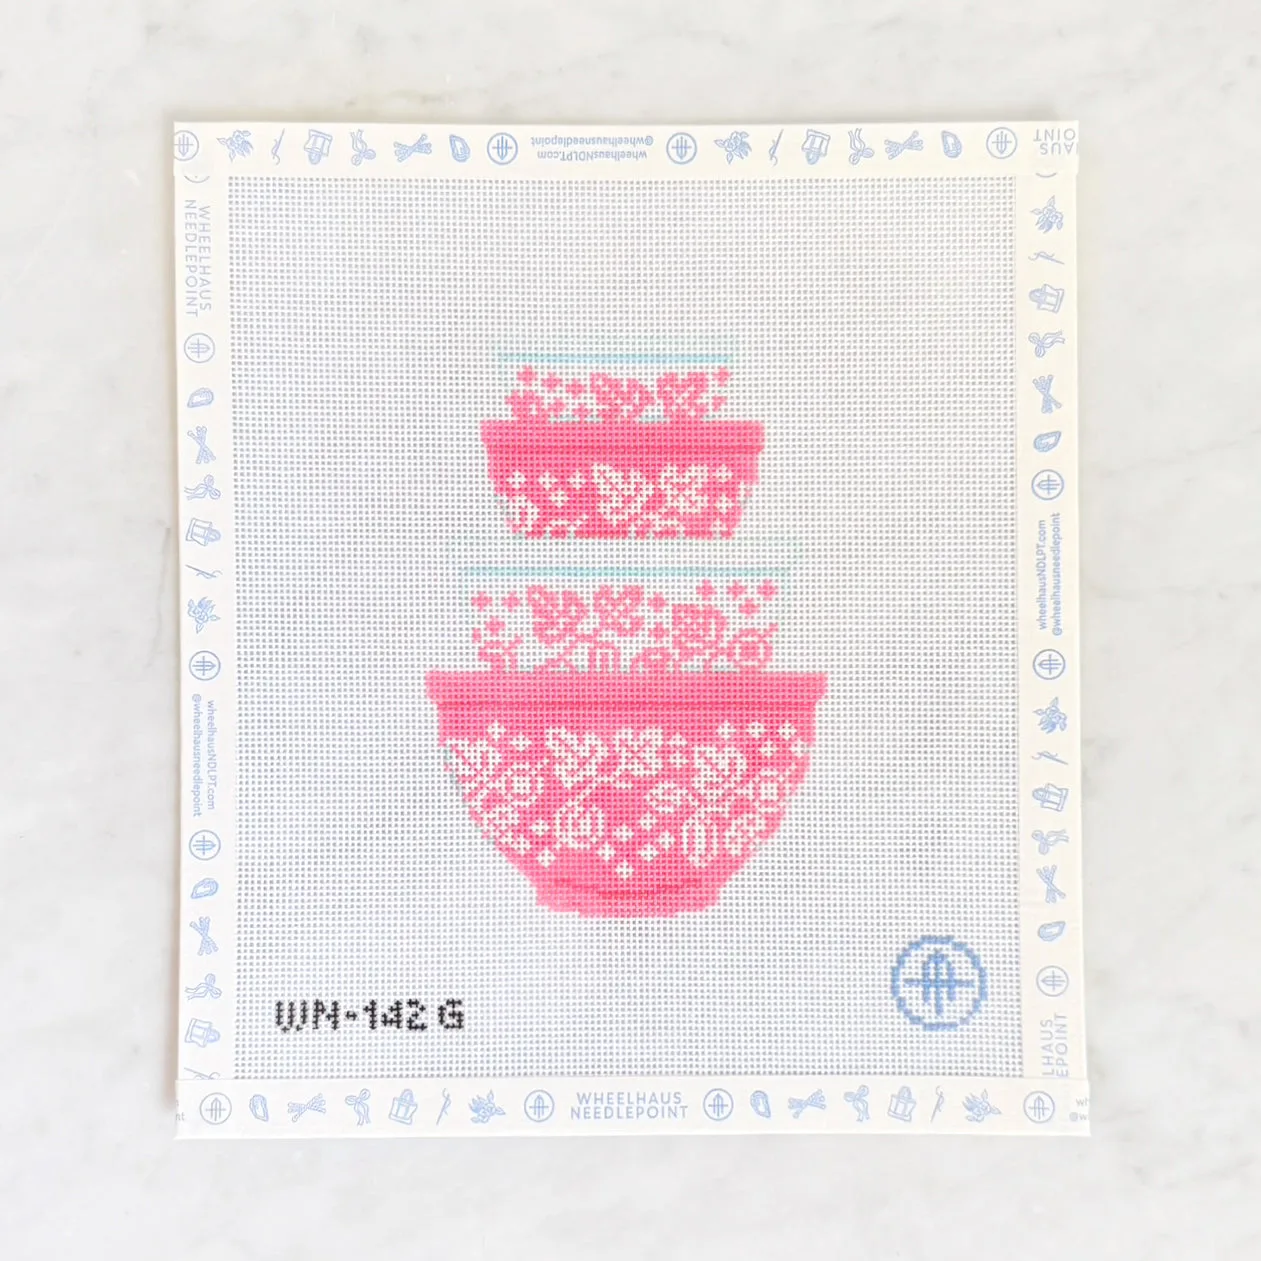
- Vintage Mixing Bowls - Gooseberry Print: 18 mesh canvas, 4 x 5.5 design, with a recommended stretcher bar size of 8 x 9. Mounting on stretcher bars holds the canvas taut and keeps tension off the raw edges, which is one of the simplest ways to prevent canvas fray while you stitch.
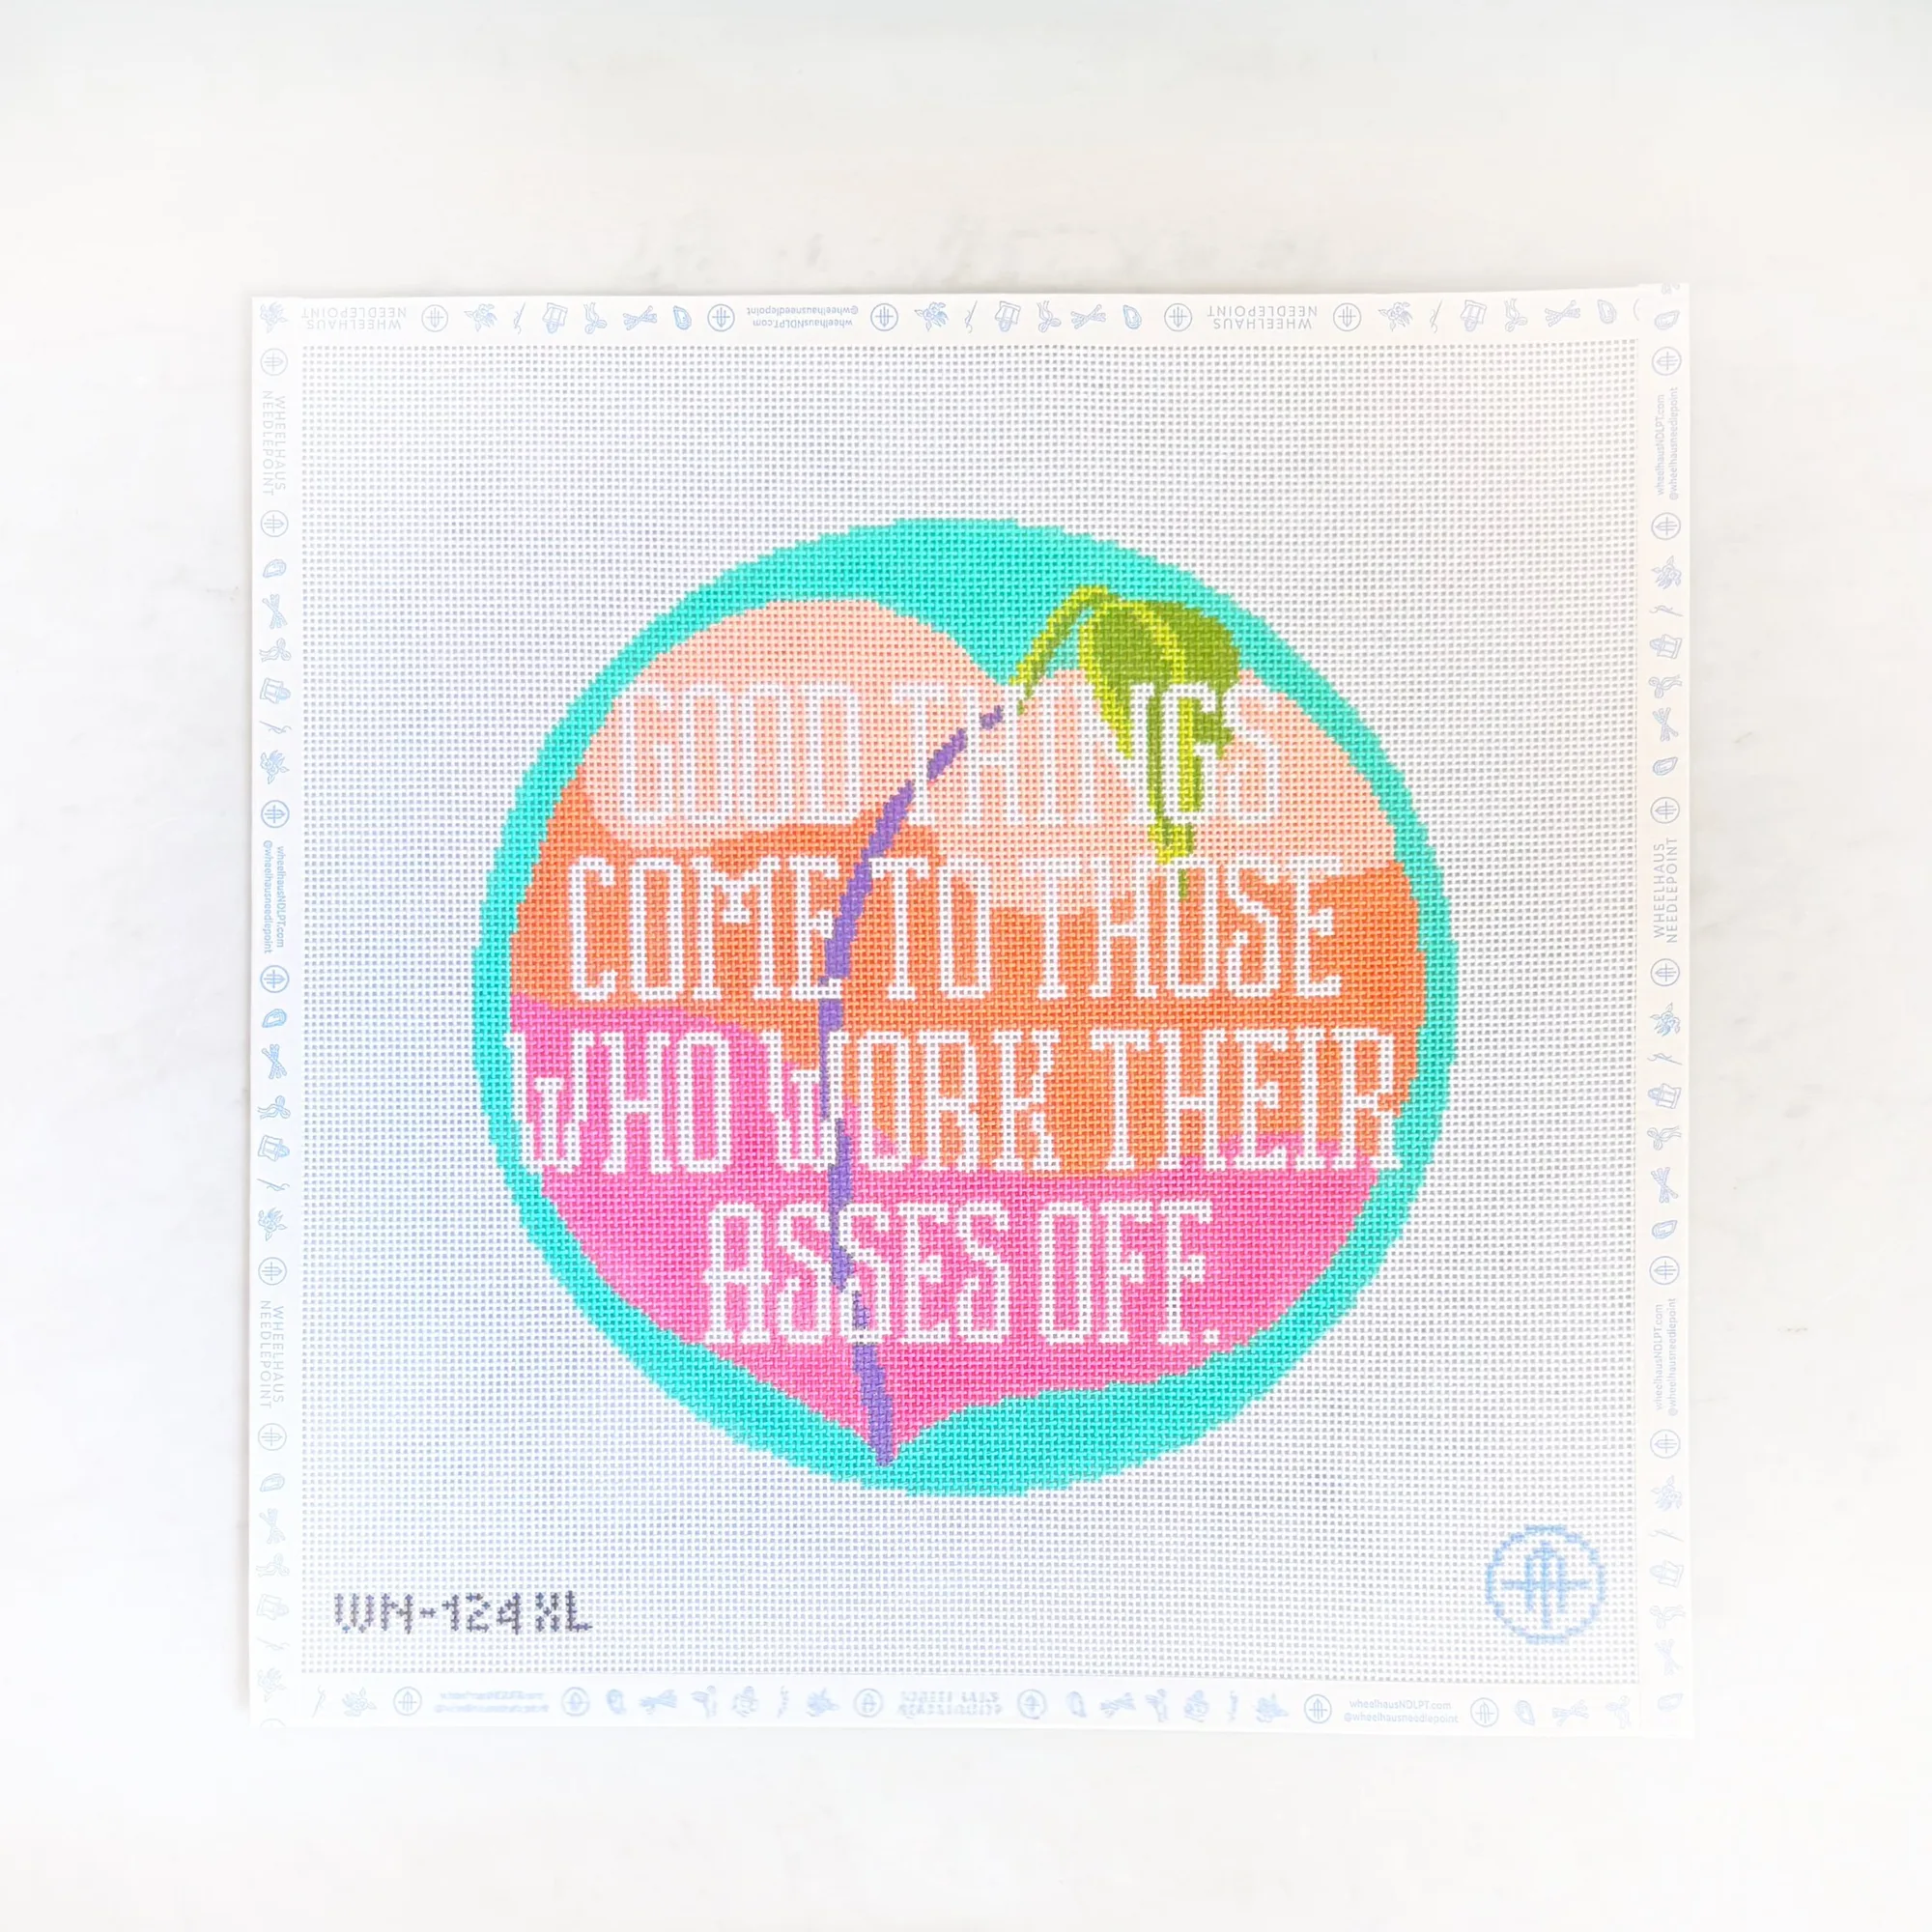
- Preorder - Good Things: 13 mesh canvas with a 10 W x 10 H design. A larger 13 mesh canvas has thicker threads and a looser weave, so it frays faster at cut edges. Treat the edges before the first stitch and store it flat rather than folded.
Two minutes with tape, a zigzag stitch, or a thin glue line protects hours of stitching. Treat the edge before the first stitch, store each project on its own, and stop the moment fraying reaches the painted design.