Quick Answer
To put on a shaping bra correctly, lean forward slightly, slide the cups into place, and fasten the band on the loosest hook. Then use the scoop and swoop method: reach into each cup, scoop breast tissue from the sides and underarms, and swoop it forward and up. Finish by smoothing the band and adjusting the straps so they stay put without digging.
A shaping bra only works as well as the way you put it on. If the band rides up, the cups gap, or the straps dig in, the bra cannot do its job—no matter how well it is made. The good news is that a few consistent habits can turn a frustrating fit into all-day comfort.
This guide walks you through the correct order for putting on a shaping bra, from fastening the band to the final strap check. Along the way, you'll find common mistakes to avoid and simple shaping bra fit tips that make a real difference. The steps work for any shaping style, including wireless and firm-control designs.
Why the Order You Put On a Bra Matters
Most people fasten a bra, pull it up, and tug the straps—often in a rush. That sequence usually leaves the band too high and breast tissue pushed to the sides. A shaping bra relies on a stable band and cups that fully contain you, so the order of operations matters. Starting with the band on the loosest hook gives you room to adjust as you go.
Think of it as building a foundation. The band provides most of the support; the cups shape; the straps fine-tune. If you tighten the straps before the band is level, you shift the load to your shoulders and lose the shaping effect. Following a consistent routine each time helps the bra settle correctly and stay comfortable for hours.
- Always start with the band on the loosest hook—you can tighten it later as the bra relaxes.
- Resist the urge to pull the bra down from the back; that pushes the band up in front.
Step-by-Step: How to Wear a Shaping Bra
Begin by leaning forward slightly and sliding your arms through the straps. Let your breasts fall into the cups naturally rather than pressing them in. Bring the band around your back and fasten it on the loosest hook. Stand up and check that the band sits level all the way around—not hiking up in the back.
Next, perform the scoop and swoop method on each side. Use your opposite hand to reach into the cup, gently scooping tissue from under your arm and the side of your ribcage toward the center. Then swoop it upward so the cup holds everything smoothly. Repeat on the other side. Finally, adjust the straps: tighten or loosen until they lie flat without digging or slipping.
- If the band rides up in back, it is too loose—try a tighter hook or a smaller band size.
- Straps should not carry the weight; if they dig in, loosen them and re-check the band.
Common Mistakes and How to Fix Them
One frequent mistake is fastening the bra before leaning forward, which can leave the cups half-empty at the bottom. Another is skipping the scoop and swoop, so tissue stays under the arms and the bra looks lumpy. A third is overtightening the straps to compensate for a loose band—this causes shoulder pain and still doesn't fix the fit.
If you notice red marks or constant readjusting, revisit the band first. A band that stays level and snug does most of the work. Only then adjust the straps. Also check the center gore: it should sit flat against your sternum. If it floats, the cups may be too small or the band too large. Small corrections here solve most comfort issues.
- Never tug the cups down after swooping—that undoes the lift.
- If the center gore floats, try a larger cup or smaller band before tightening straps.
Adjusting Your Shaping Bra Throughout the Day
Even a perfect fit can shift after hours of wear. If you feel pressure, step into a restroom and re-scoop gently. Check that the band hasn't crept up and that the straps haven't loosened. For firm-control styles, a quick adjustment mid-day is normal and keeps the shaping line smooth. If you need to tighten the band, move to a tighter hook only after the bra has stretched with wear.
At the end of the day, unfasten the bra before removing it to avoid stretching the band. Rotate your bras so elastic recovers between wears. With a little attention, your shaping bra will feel as comfortable at hour eight as it did at hour one.
- Keep a spare hook setting in mind; start loose and tighten as the band relaxes.
- Give bras a day of rest between wears to maintain elasticity.
Your 5-Step Shaping Bra Routine
- Lean forward and slide into cups: Hold the bra by the band, lean forward slightly, and let your breasts settle into the cups without pressing them in. Checkpoint: cups should feel full at the bottom, not empty.
- Fasten the band on the loosest hook: Bring the band around your back and fasten it on the loosest hook. Stand up and ensure the band is level all the way around. Mistake: fastening too tight at first leaves no room to adjust later.
- Scoop and swoop each side: Use your opposite hand to reach into the cup, scoop tissue from the underarm and side, and swoop it up and toward the center. Repeat on the other side. Checkpoint: no tissue should bulge under the armpits or along the band.
- Adjust straps to lie flat: Tighten or loosen the straps until they lie smooth without digging into your shoulders or slipping off. Straps should not carry the weight. Mistake: overtightening straps to fix a loose band causes shoulder pain.
- Smooth the band and center gore: Run your fingers along the band to ensure it hasn't rolled, and check that the center gore sits flat against your sternum. If the gore floats, try a larger cup or smaller band before tightening straps.
Shaping Bras That Work With These Steps
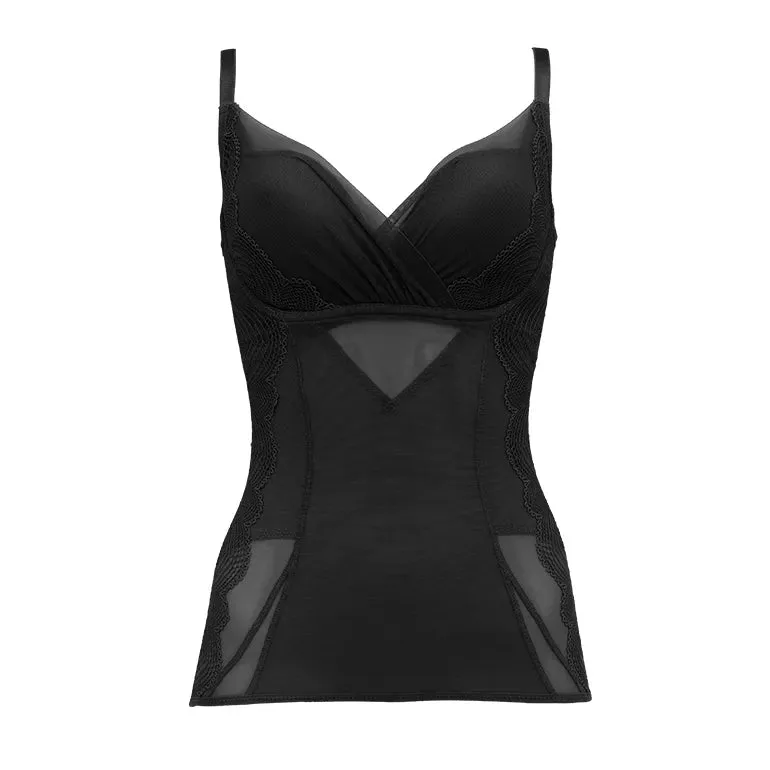
- Shaping Bra Camisole 26A1: Firm-Control Shaping Bra Camisole for a Beautifully Defined Silhouette. Features Bradelis' original pattern combining firm shaping support with lasting comfort, and stretch Raschel lace with a geometric motif from beneath the bust through the sides. The firm control and camisole design mean the band must sit level to avoid rolling; following the scoop and swoop steps helps the shaping panel lie smooth.
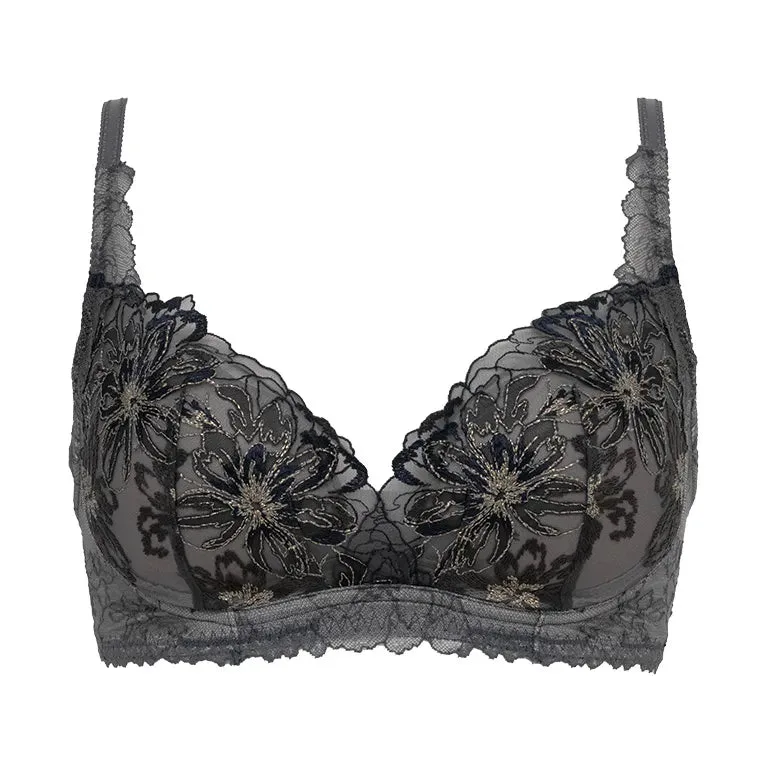
- Wireless Shaping Bra 26A2: Designed for comfortable, non-restrictive wear while providing reliable shaping support, with embroidered lace over molded cups and stretch Raschel lace at the cup base and back. Without underwires, the band and cups rely on correct placement; the scoop and swoop method ensures the molded cups fully contain you for a smooth line.
Putting on a shaping bra correctly takes less than a minute once you build the habit. Lean forward, fasten loose, scoop and swoop, then adjust straps and band. These small steps keep your bra comfortable and your silhouette smooth all day. For more personalized help, Bradelis New York offers fit guidance to find your best size.