Quick Answer
Quilting with vintage cloth requires gentle handling and thoughtful preparation. For the Park Place Quilt Kit, start by sorting and pressing fabrics, then use a consistent seam allowance and test your ruler for accuracy.
Vintage cloth brings a unique charm to quilting, but it also demands special care. Whether you're using treasured heirloom fabrics or reproductions, knowing how to handle them makes all the difference. The Park Place Quilt Kit offers a beautiful design that works well with vintage-inspired fabrics, and with the right techniques, you can achieve stunning results.
In this guide, we'll walk through practical steps for quilting with vintage cloth, from preparation to final piecing. You'll learn how to avoid common pitfalls and make the most of your materials, ensuring your quilt is both beautiful and durable.
Understanding Vintage Cloth
Vintage cloth can include fabrics from past decades, often with unique prints and softer textures. These fabrics may be more delicate than modern quilting cottons, so handle them with care. Before cutting, gently wash and press them to remove any dirt or wrinkles, but be aware that some vintage fabrics may not be colorfast. Test a small swatch first.
When working with a quilt kit like the Park Place Quilt Kit, you'll have pre-selected fabrics that coordinate beautifully. If you're substituting your own vintage cloth, ensure the weights are similar to avoid distortion in piecing.
- Always test fabric for colorfastness before washing.
- Press with a dry iron on low heat to avoid stretching.
Preparing Your Workspace
A clean, flat workspace is essential for accurate cutting and piecing. Use a self-healing mat and a sharp rotary cutter to ensure clean edges. Keep your iron and pressing surface nearby, as pressing between steps is crucial for crisp seams.
Organize your fabrics by color and value. This helps you visualize the quilt layout and ensures you don't accidentally mix up similar prints. Label each pile if needed.
Cutting Vintage Cloth Accurately
Vintage cloth can sometimes be slightly off-grain, so take time to square up your fabric before cutting. Use a large ruler to find the straight grain and trim the edges. This prevents distortion in your pieces.
For the Park Place Quilt Kit, you'll likely need to cut strips and squares. Use a rotary cutter with a new blade to avoid fraying. If your fabric is delicate, consider using a finer blade and cutting fewer layers at once.
- Always square up fabric before cutting.
- Use a sharp blade to prevent fraying.
Piecing with Precision
A consistent seam allowance is key to a flat quilt top. Use a quarter-inch foot on your sewing machine and test on scrap fabric first. For vintage cloth, which may be thinner, consider using a slightly shorter stitch length to prevent seam slippage.
Press seams as you go, usually to one side or open, depending on the pattern. This helps reduce bulk and makes intersecting seams align better. Always press, not iron, to avoid stretching the fabric.
Step-by-Step Guide to Quilting with Vintage Cloth
- Prepare Your Fabric: Gently wash and press your vintage cloth. Test for colorfastness and square up the fabric to ensure straight grain. Check that your fabric is clean and wrinkle-free to avoid distortion later.
- Cut Accurately: Use a sharp rotary cutter and a clear ruler to cut pieces according to your pattern. Cut fewer layers if the fabric is delicate. Measure twice, cut once – accuracy here prevents fitting issues.
- Test Your Seam Allowance: Sew a test block with scrap fabric to confirm your quarter-inch seam allowance. Adjust if necessary. A consistent seam allowance is crucial for matching points.
- Piece with Care: Sew slowly, especially when handling delicate fabrics. Use pins to hold layers together and avoid stretching. Pinning prevents shifting and ensures precise seams.
- Press, Don't Iron: Press seams with a dry iron on low heat, lifting and lowering rather than sliding. This sets seams without distorting fabric. Proper pressing makes your quilt top lie flat.
- Assemble the Quilt Top: Lay out your blocks and arrange them as desired. Sew rows together, pressing seams in opposite directions for nesting. Take time to arrange for color balance before sewing.
Products That Help
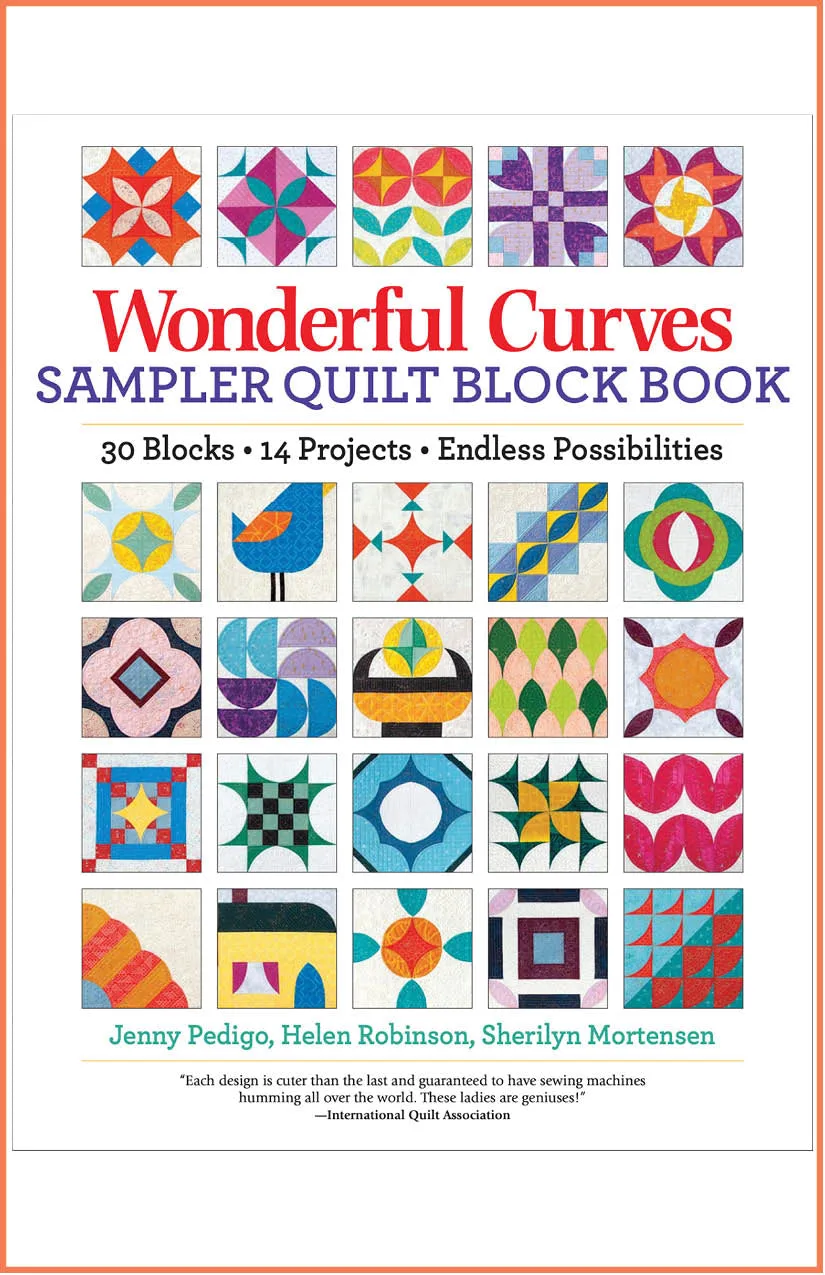
- Wonderful Curves Sampler Quilt Block Book: This book uses the Wonder Curve Ruler to make 30 sampler blocks with curved and straight piecing, featuring 14 quilting projects. If you're new to curved piecing, this book provides clear instructions and projects that can help you master the technique, which is often used in vintage-style quilts.
- Field Cloth - Cotton Lawn: Cotton Lawn is lightweight, tightly woven cotton that works well for quilt backs, with a soft hand and beautiful drape. Using a soft cotton lawn for your quilt back can make your finished vintage quilt more comfortable and drape nicely, enhancing the overall feel.
Quilting with vintage cloth is a rewarding experience that connects you to the past. By following these steps and using quality tools, you can create a beautiful quilt that honors the fabric's history. Enjoy the process and let your creativity shine.