Quick answer
To read a quilt pattern, start with the cover for finished size and fabric requirements, then move to the cutting diagrams and step-by-step instructions. Keep the abbreviations key nearby and check the layout diagram before you cut. This order prevents misreading symbols and wasting fabric.
Start With the Cover and Fabric Requirements
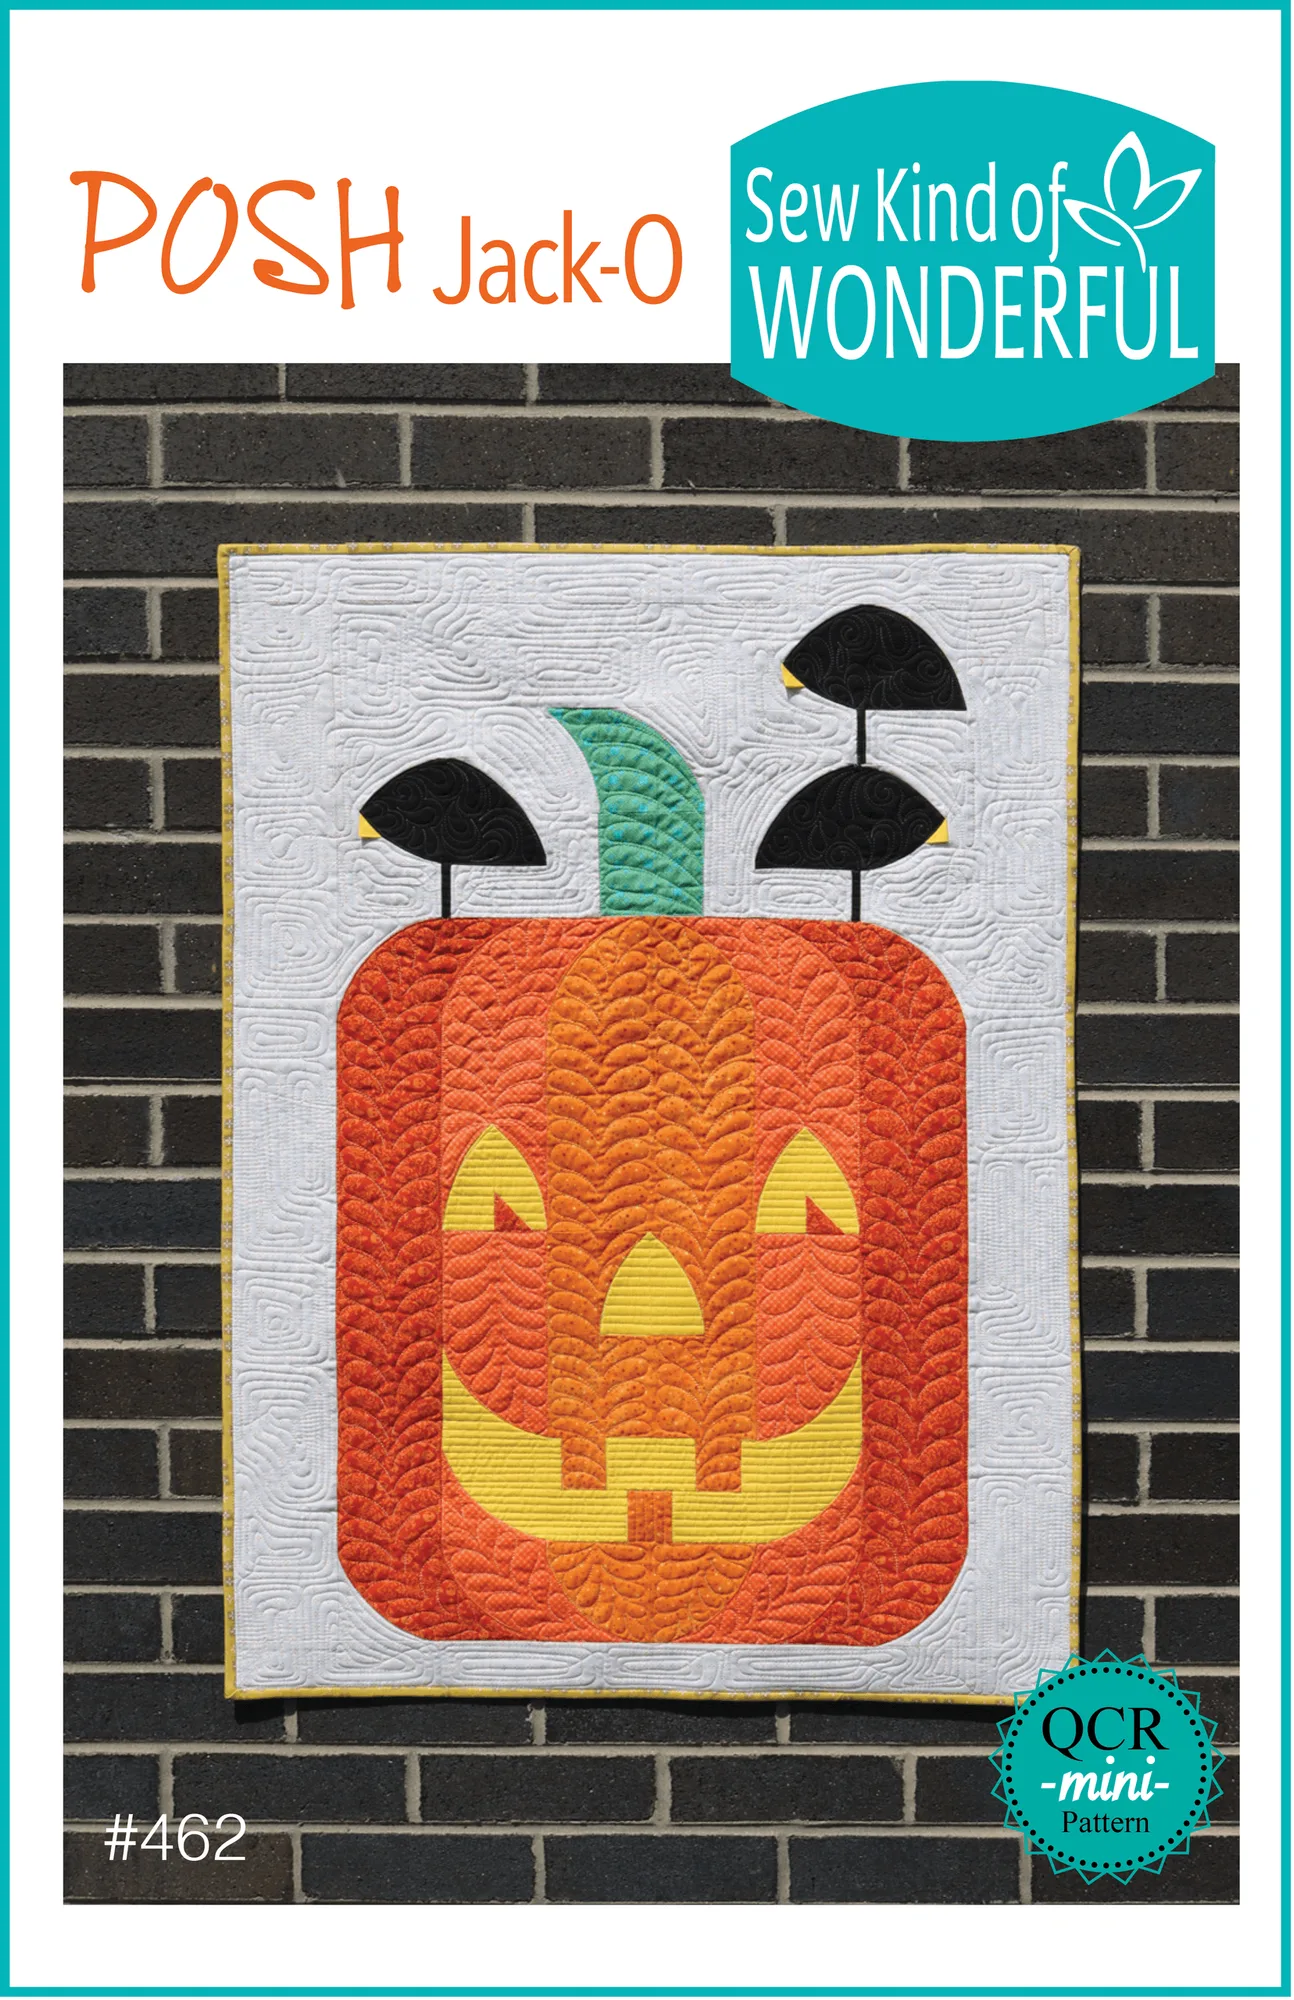
The cover of a paper quilt pattern gives you the finished quilt size and the exact fabric cuts you need. For example, Posh Jack-O finishes at 28" x 38" and lists (3) fat quarters for the pumpkin, (1) fat quarter for eyes/nose/mouth, (1) fat quarter for crows, (1) fat quarter for the stem, plus 1 yard background, 1 yard backing, and 1/3 yard binding. Use this list to shop your stash or buy fabric before you cut anything.
Decode Abbreviations and Symbols
Quilt patterns use standard abbreviations like WOF (width of fabric), RST (right sides together), and HST (half-square triangle). Symbols in cutting diagrams often show grainline direction or fold lines. Check the pattern's key or glossary first; if a symbol is not explained, look for a note in the cutting instructions.
Read the Cutting Diagrams Carefully
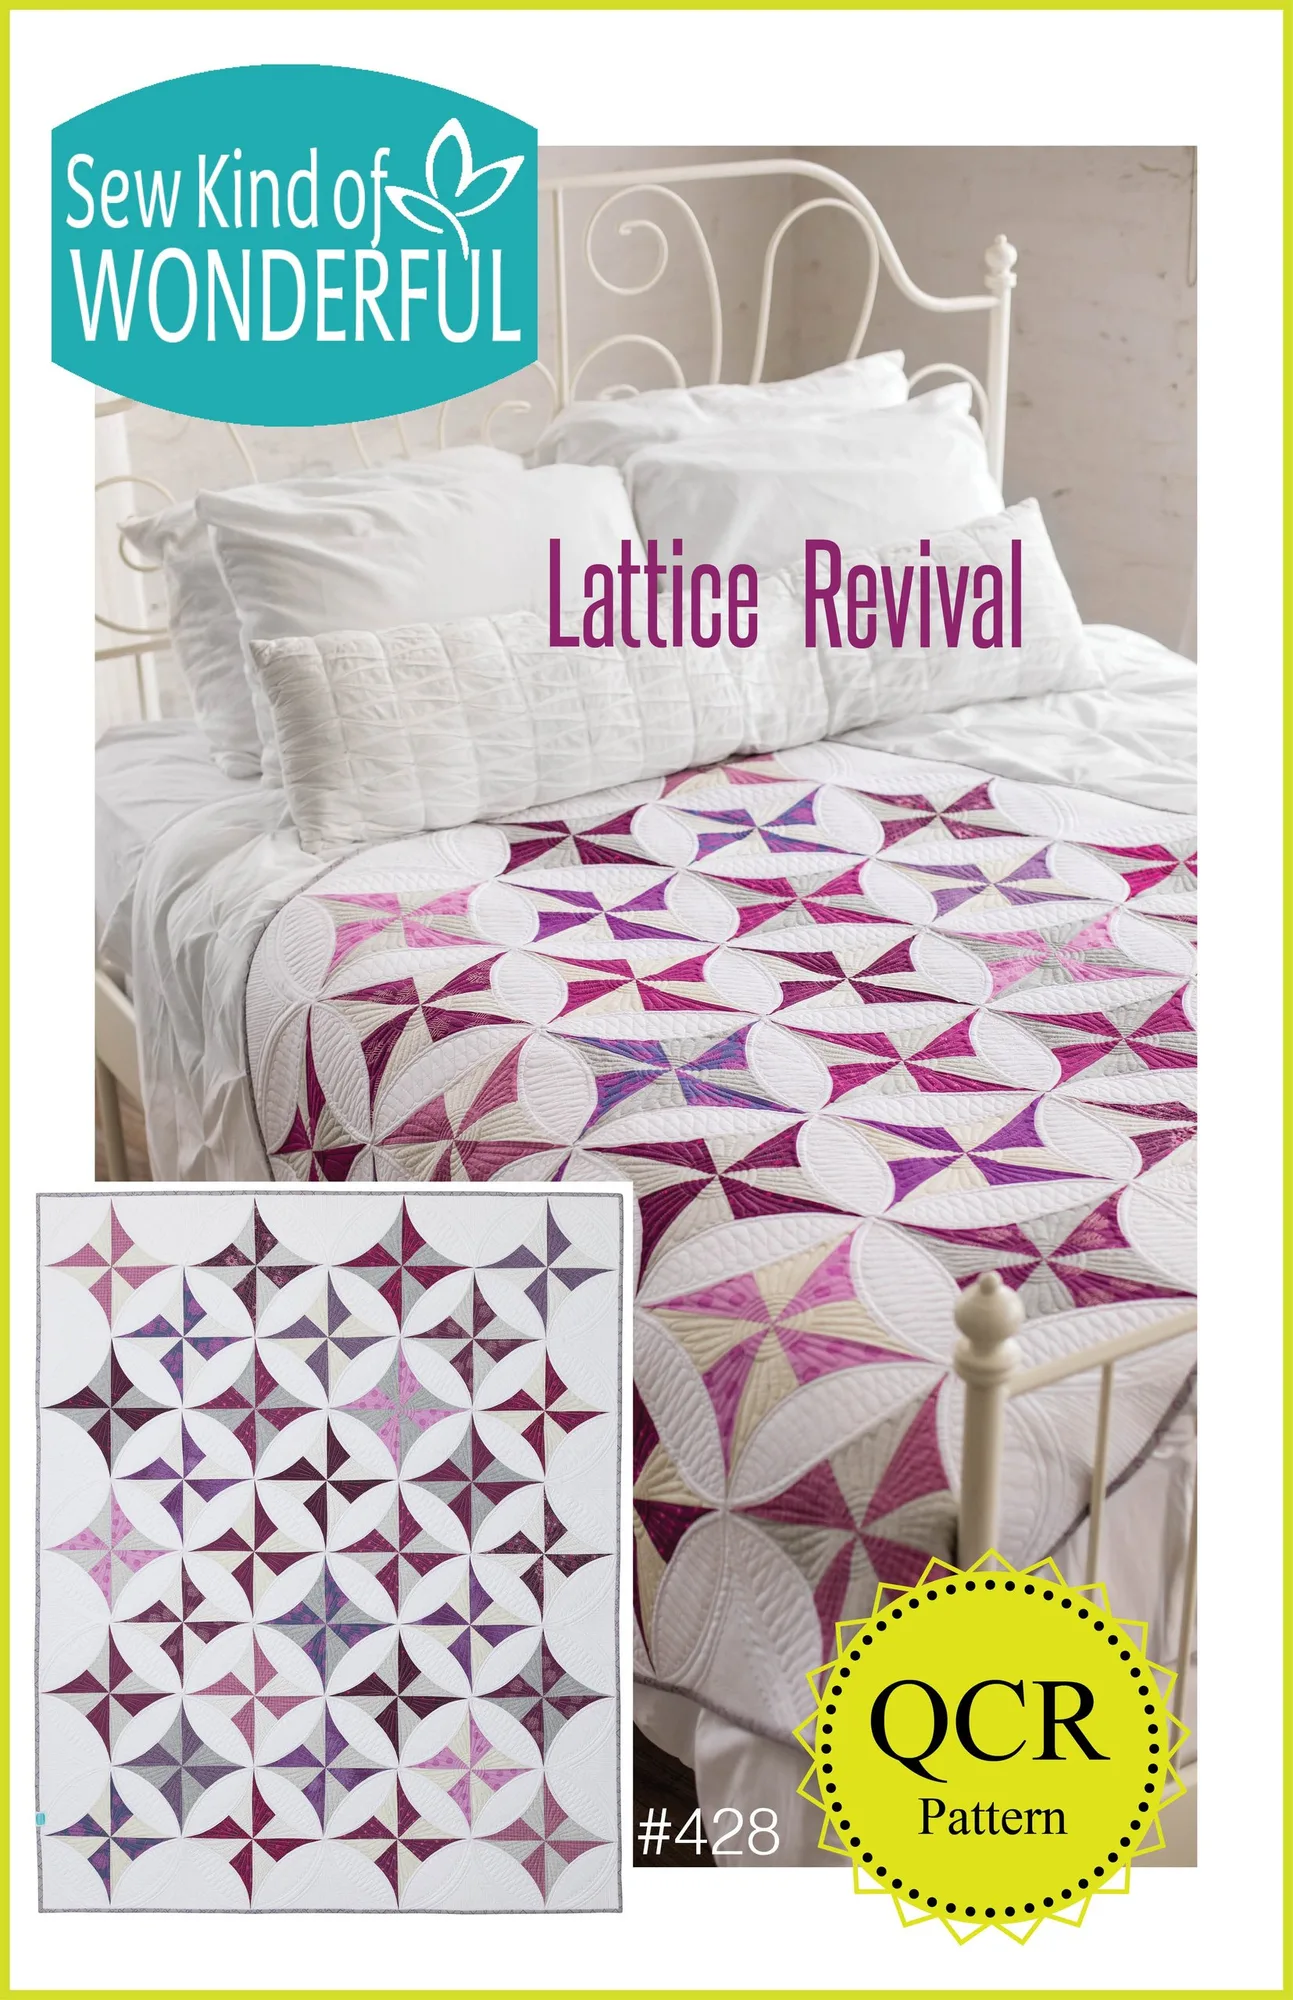
Cutting diagrams show how to place templates or rulers on fabric to get the required pieces. Pay attention to whether strips are cut across the width or length of fabric. For patterns like Lattice Revival, which requires (8) fat quarters (purple), (4) 1/2 yard cuts each of four accent fabrics (gray), 3-3/4 yards background (white), 4 yards backing, and 2/3 yard binding, the diagram will show how to subcut those pieces efficiently.
Follow the Step-by-Step Instructions in Order
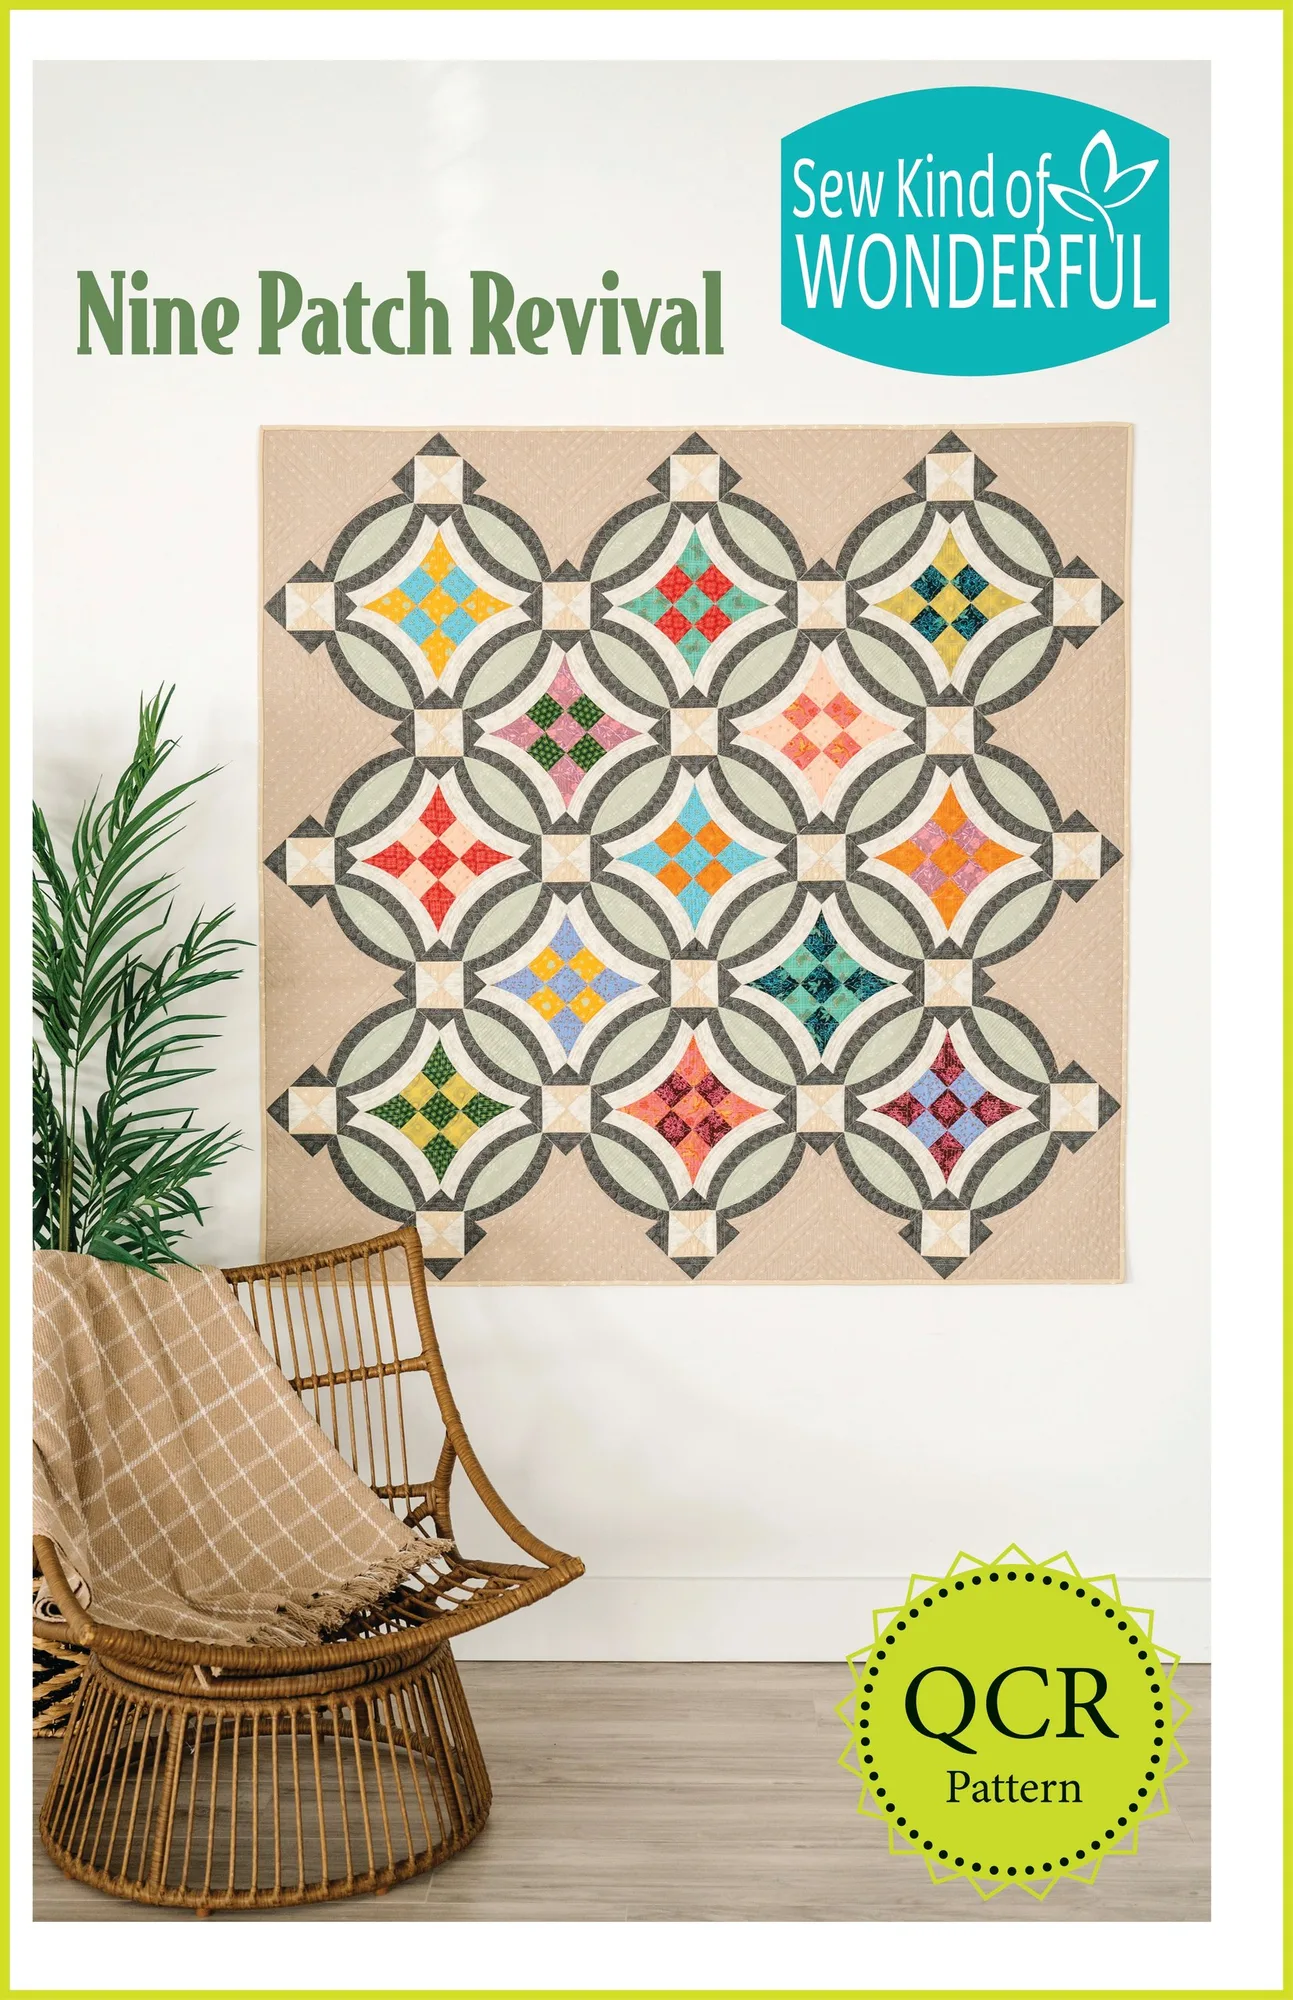
Instructions are usually numbered and build on each other. Skipping ahead can cause misaligned seams. For Nine Patch Revival, the pattern notes easy curved piecing, quarter square triangle blocks, and nine patch blocks with no pinning, no centering, no stressing. That tells you the steps are designed to be forgiving, but you still need to follow the sequence.
Check the Layout Diagram Before Assembly
The layout diagram shows how finished blocks are arranged. It often includes a key for block rotation or color placement. Before sewing blocks together, lay them out on a design wall or floor to match the diagram. This catches orientation mistakes early.
Step-by-Step Walkthrough
- Read the cover and fabric requirements: Note the finished size and list all fabrics and yardage. Check if you need fat quarters, yardage, or precuts. Common mistake: buying fabric before checking if the pattern requires specific cuts like fat quarters.
- Review the abbreviations and symbols key: Find the pattern's glossary or key. Write down any abbreviations you don't know, such as WOF, RST, or HST. Checkpoint: if a symbol isn't explained, look for a note in the cutting section.
- Study the cutting diagrams: Match the diagram to your fabric. Pay attention to grainline and fold. For patterns with many pieces, consider labeling cut pieces with sticky notes. Common mistake: cutting without checking if strips should be cut across the width or length of fabric.
- Follow the step-by-step instructions: Work through the numbered steps in order. Don't skip ahead even if a step seems simple. Checkpoint: if a step references a previous unit, make sure that unit is complete before moving on.
- Lay out blocks using the layout diagram: Arrange finished blocks according to the diagram before sewing them together. Use a design wall or floor. Common mistake: sewing blocks together without checking rotation or color placement.
Pattern Examples
- Posh Jack-O (Paper): Posh Jack-O is a 28" x 38" Halloween pattern that uses (3) fat quarters for the pumpkin, (1) fat quarter for eyes/nose/mouth, (1) fat quarter for crows, (1) fat quarter for the stem, 1 yard background, 1 yard backing, and 1/3 yard binding. This shows how a pattern's cover lists all fabric needs, so you can gather materials before cutting.
- Lattice Revival (Paper): Lattice Revival finishes at 51" x 64" and requires (8) fat quarters (purple), (4) 1/2 yard cuts each of four accent fabrics (gray), 3-3/4 yards background (white), 4 yards backing, and 2/3 yard binding. Large patterns often have more detailed cutting diagrams; reading them carefully prevents fabric waste.
- Nine Patch Revival Quilt Pattern (Paper): Nine Patch Revival uses easy curved piecing, quarter square triangle blocks, and nine patch blocks, with no pinning, no centering, no stressing. The pattern's description tells you the construction method, which helps you anticipate the steps.