Quick answer
Padded strap socks work best when you install them on the loaded shoulder strap, position the padding over the highest pressure point, and route hydration tubes, cables, or antennas through the stretch body before you tighten the carrier. If your shoulders still ache after that, the problem is usually strap width, load placement, or a cummerbund that is not carrying its share of the weight.
Why shoulder fatigue happens before the padding does
Shoulder pain on a plate carrier rarely comes from the strap material alone. It comes from load concentration: the same few square inches of shoulder strap carry the plates, pouches, and water, while the rear plate pocket and cummerbund do less work than they should. Padding spreads that pressure, but it cannot move weight that is hanging in the wrong place.
That is why the order of operations matters. Fit the carrier first, then add padding, then route your comms and hydration. If you pad a carrier that is already sitting too high, too low, or too loose, you simply make the wrong position more comfortable and harder to notice.
What to check before you add anything to the straps
Start by confirming your shoulder straps are 2 inches wide. Padding designed for a different strap width will bunch, roll, or slide, and no amount of repositioning fixes a size mismatch. Next, check that the rear plate pocket or back panel is sitting at the right height, because a back panel that rides too low pulls the front of the carrier down and drives the straps into your neck.
Finally, look at how much weight is on the front. If your front pouches are heavy and your rear setup is bare, the carrier will tip forward and the shoulder straps become the primary load path. Balancing the load front to back is the cheapest fatigue fix you can make, and it costs nothing.
How to route hydration and comms without crushing the padding
The point of a stretch sock is that it holds a tube, cable, or antenna against the strap instead of letting it swing. Route the item along the outside of the strap, under the sock, and leave enough slack at the shoulder to raise your arm and shoulder your rifle without pulling the line tight. A tube that is routed too short will tug at your neck every time you turn your head.
Keep the routing on the side you actually use. If your radio is on the left, run the cable down the left strap and leave the right side clean for a sling or stock. Padding that is compressed by a thick cable bundle stops doing its job, so do not stack multiple lines under one sock if you can split them.
Step-by-step padded strap socks setup
- Step 1: Fit the carrier, then remove the straps from your shoulders: Loosen the shoulder straps and cummerbund, set the plates at the correct height, and tighten the cummerbund first so it carries weight around your torso rather than hanging from your shoulders. Only then re-tighten the shoulder straps. Common mistake: adding padding to a carrier that has never been properly fitted. You will just pad the wrong position.
- Step 2: Confirm the strap width and pick the contact zone: Measure or check that your shoulder straps are 2 inches wide. Slide the sock onto the strap and position it so the padding sits over the point where the strap crosses the top of your shoulder, not down near the chest. Checkpoint: the sock should not bunch or roll at the edges. If it does, the strap width is wrong.
- Step 3: Route tubes, cables, or antennas before tightening: Feed the hydration tube, radio cable, or antenna under the stretch body along the outside of the strap. Leave slack at the shoulder so you can raise your arm and shoulder a rifle without pulling the line taut. Common mistake: routing the line too short. It will tug your neck and compress the padding.
- Step 4: Re-tighten and test under load: Put the carrier on with your normal load, tighten the shoulder straps to a firm but not crushing tension, and walk, squat, and shoulder your rifle. The padding should stay put and the routing should not shift. If the carrier still digs in, the fix is load balance or cummerbund tension, not more padding.
- Step 5: Re-check after the first long wear: After a few hours, look for red marks or hot spots that sit outside the padded area. Move the sock slightly forward or back to cover the actual pressure point, and rebalance front and rear pouch weight if the marks return. Checkpoint: padding should reduce hot spots, not relocate them.
Product facts
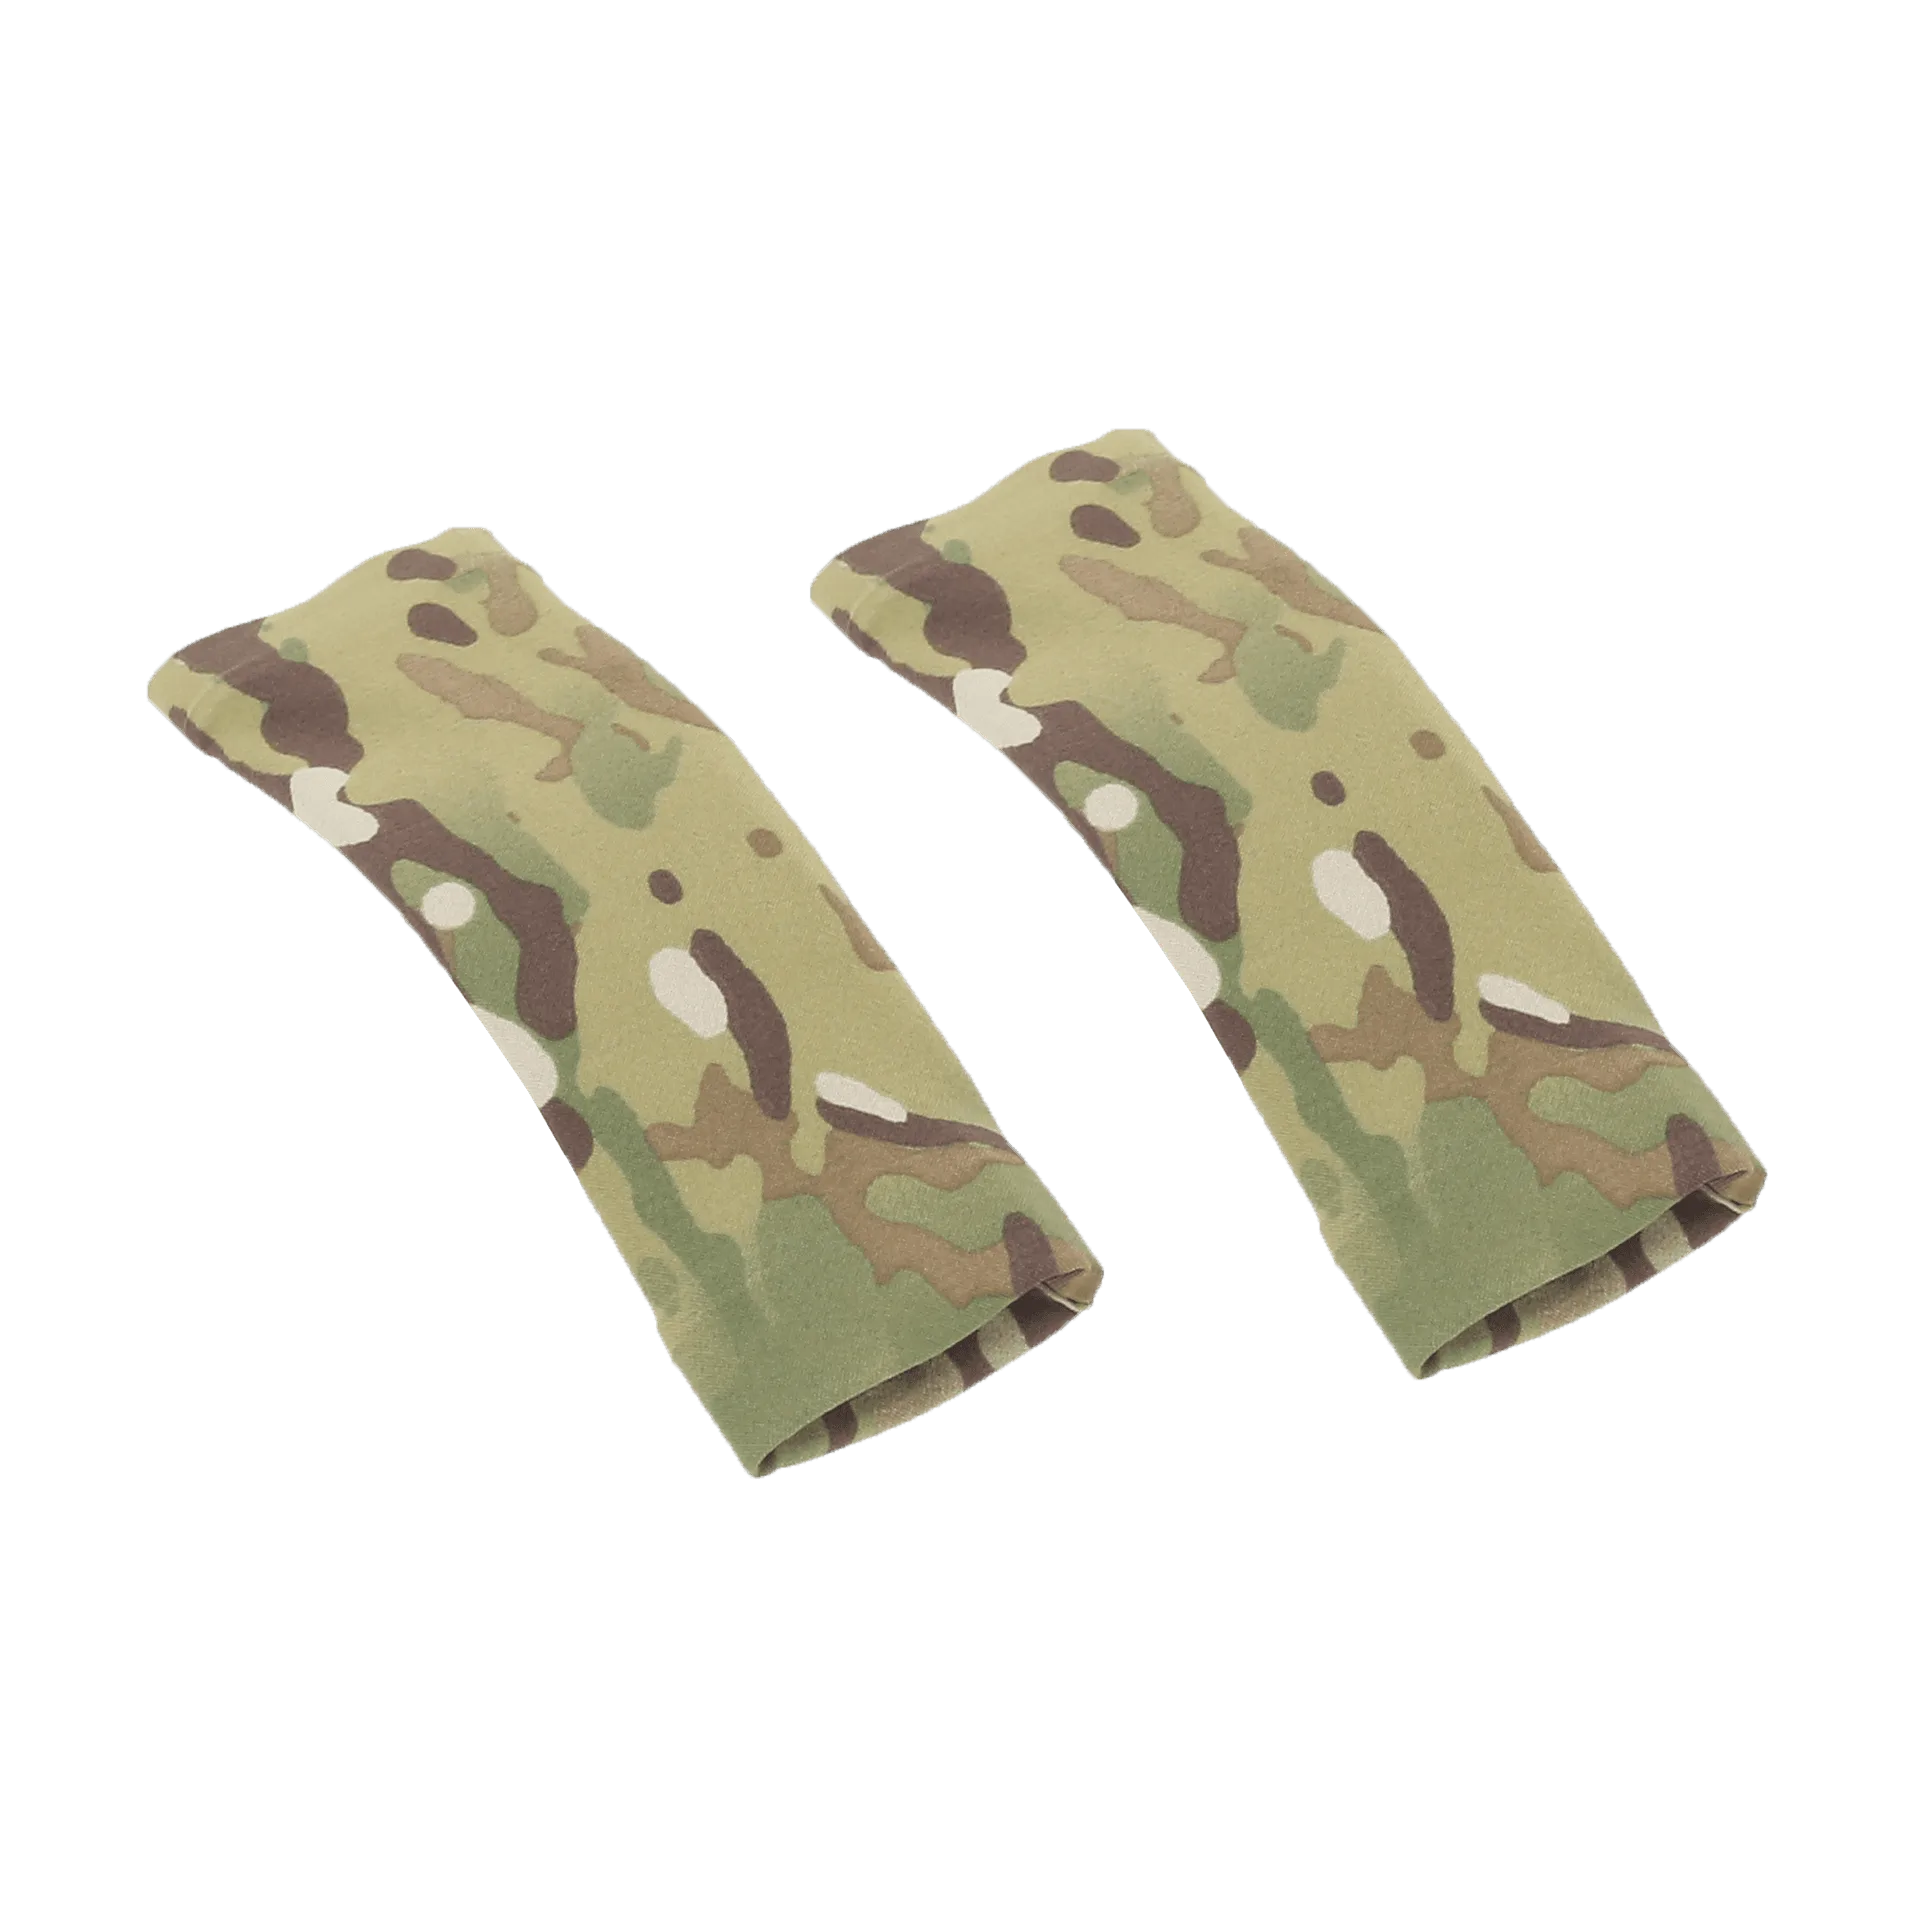
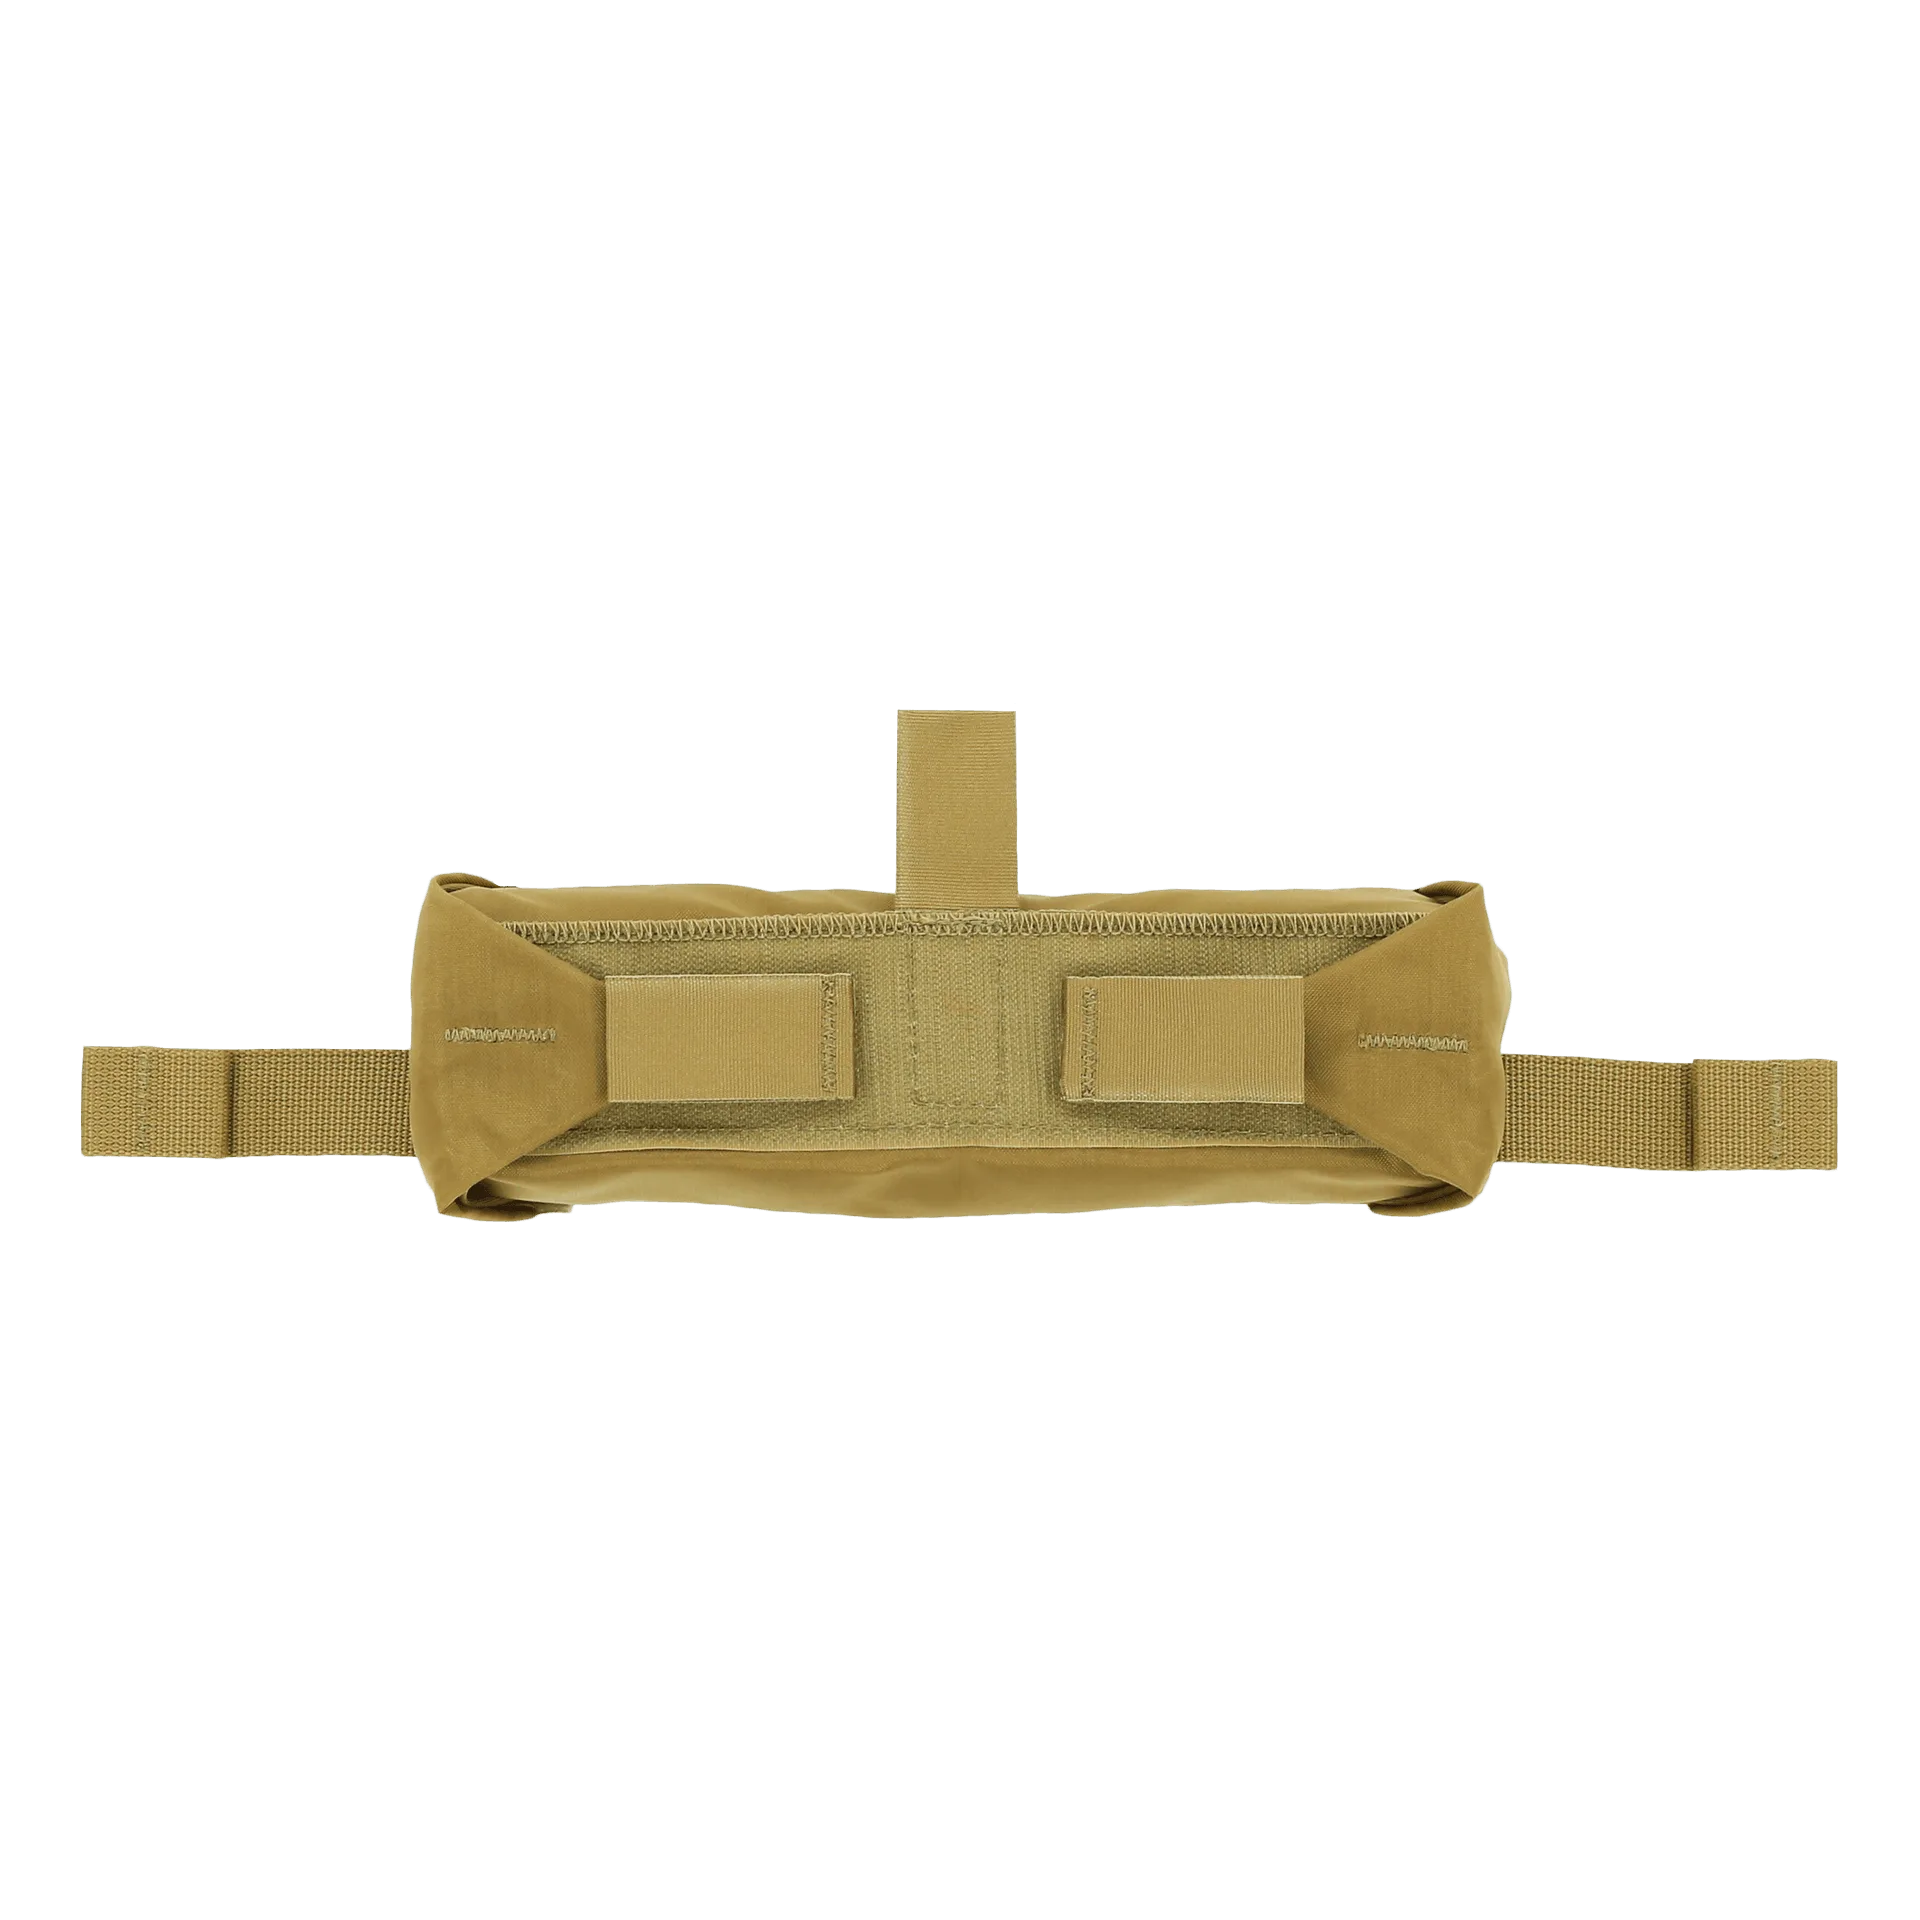
- Padded Strap Socks: Padded Strap Socks fit 2-inch shoulder straps and use a 4-way stretch woven body to accommodate hydration tubes, cables, and antennas, with 1/8 inch of padding and an 8.5-inch length; they include both sides. The stretch body gives you a routing channel instead of a separate cable management piece, and the 8.5-inch length is enough to cover the shoulder contact zone on most carriers without wrapping the whole strap.