Quick answer
Act fast: blot the stain, scrape off solids, and flush the back of the fabric with cool water before it sets. Apply a small amount of liquid detergent or a targeted pretreatment, let it sit 10 to 15 minutes, then wash in cold water and air-dry. Heat is what permanently sets stains and shrinks cotton, so skip the dryer until you are sure the mark is gone.
Cotton sweatshirts are forgiving in a lot of ways, but they hold onto stains longer than you might expect. The same looped, brushed fibers that make them soft also trap oil, dye, and protein, so a stain that looks faint after a quick rinse can reappear after a warm wash.
The fix is not a special product. It is a sequence: remove solids, flush the fiber, treat the mark, wash cold, and check before drying. This guide walks through that sequence for the most common stains, plus the mistakes that turn a removable mark into a permanent one.
Before you treat: read the label and test
Every cotton sweatshirt is a little different. A plain 100% cotton crewneck can take fairly direct treatment, while a cotton-blend hoodie with a printed graphic, embroidery, or a heat-transfer logo needs a gentler approach. Check the care label for the fiber content and any temperature limits, and keep bleach away from anything with a print or a dark color.
Test your treatment on an inside hem or the inside of the cuff first. Apply a drop of detergent or your stain remover, wait a minute, and blot with a white cloth. If color transfers to the cloth or the fabric lightens, stop and use a milder method. A white cloth also tells you honestly whether dye is moving.
- Never rub a stain in circles. Rubbing pushes it deeper into the cotton loops and can pill the surface.
- Work from the back of the stain toward the front so you push the mark out instead of through the fabric.
Match the method to the stain type
Food and drink stains such as coffee, juice, or sauce respond well to cool water and liquid detergent. Flush the stain from the back, apply a small amount of detergent, and let it sit before washing. Protein stains like milk, egg, or blood need cold water only, because warm water coagulates them and locks them into the fiber.
Oil and grease, including salad dressing and lotion, need a degreasing step. Apply a drop of dish soap or a grease-cutting pretreatment directly to the dry stain, work it in gently with your fingertips, and let it sit 10 to 15 minutes before washing. Ink and marker are the hardest category; place the stained area face down on a stack of white paper towels and dab the back with rubbing alcohol, replacing the towels as the ink transfers. Sweat and deodorant buildup along the collar and underarms usually lifts with a paste of baking soda and water left on for 20 minutes.
- Cold water for protein stains, warm water only for oily stains on sturdy plain cotton.
- For ink, always test alcohol on a hidden area first, especially on colored or printed sweatshirts.
Wash, then verify before you dry
After pretreatment, wash the sweatshirt on a cold, gentle cycle with a normal amount of detergent. Do not overload the machine; a crowded drum means less agitation against the stained area and more chance the stain survives. If the garment is heavily soiled or the stain is old, wash it alone or with similar colors so nothing else picks up the loosened dye.
The single most important checkpoint comes next. Before the sweatshirt goes anywhere near a dryer, inspect the stained area in bright light while it is still damp. If any trace remains, repeat the treatment and wash again. Once heat hits a residual stain, it sets, and a second attempt becomes much harder.
- Air-dry or lay flat until you are certain the stain is fully gone.
- If you must dry it, use the lowest heat setting and remove it while slightly damp.
Handle older and vintage cotton with care
Secondhand and vintage cotton behaves differently from a new sweatshirt. The fibers have already been washed many times, so they may be softer and more prone to thinning, and older dyes can be less stable. Treat vintage pieces with the gentlest method that works, use cooler water, and avoid aggressive scrubbing.
This is also where knowing the actual garment matters. A pre-owned piece with a known fiber content and condition gives you a realistic starting point, so you can decide whether a stain is worth treating at home or better left to a professional cleaner.
- For older cotton, pretreat and wash separately the first time to check for dye bleed.
- When in doubt on a valuable or delicate piece, stop and consult a cleaner rather than escalating the treatment.
The stain removal sequence, step by step
- Step 1: Blot and scrape, do not rub: Press a clean white cloth or paper towel onto the stain to lift liquid, then use a spoon edge to lift off solids like sauce or makeup. Work from the outside of the stain inward so you do not spread it. Checkpoint: the cloth should pick up color, not the surrounding fabric.
- Step 2: Flush from the back with cool water: Hold the stained area under cool running water with the inside of the sweatshirt facing the tap. This pushes the stain out through the fabric instead of deeper into it. Mistake to avoid: hot water on protein stains such as blood, milk, or egg. It sets them permanently.
- Step 3: Pretreat with the right agent: Use liquid detergent for food and drink, a drop of dish soap for oil and grease, rubbing alcohol for ink, and a baking soda paste for sweat and deodorant. Apply to the stain, not the whole garment, and let it sit 10 to 15 minutes. Checkpoint: test on a hidden hem first if the sweatshirt is dark, printed, or vintage.
- Step 4: Wash cold on a gentle cycle: Wash with a normal amount of detergent on cold and gentle, without overloading the drum. Wash stained items separately or with similar colors the first time. Mistake to avoid: fabric softener, which can coat fibers and make future stains harder to remove.
- Step 5: Inspect damp, then repeat if needed: Before any heat touches the sweatshirt, check the area in bright light while it is still damp. If a shadow of the stain remains, repeat steps 3 and 4 rather than hoping the dryer finishes the job. Checkpoint: no visible mark while damp means it is safe to dry.
- Step 6: Air-dry or dry low, then store clean: Air-dry flat or on a line, or use the lowest heat setting and remove while slightly damp. Store only fully dry sweatshirts, folded rather than hung, to protect the shoulders and collar. Next step: if the stain survives two full rounds, take it to a professional cleaner instead of escalating with bleach.
What real listings tell you about cotton care
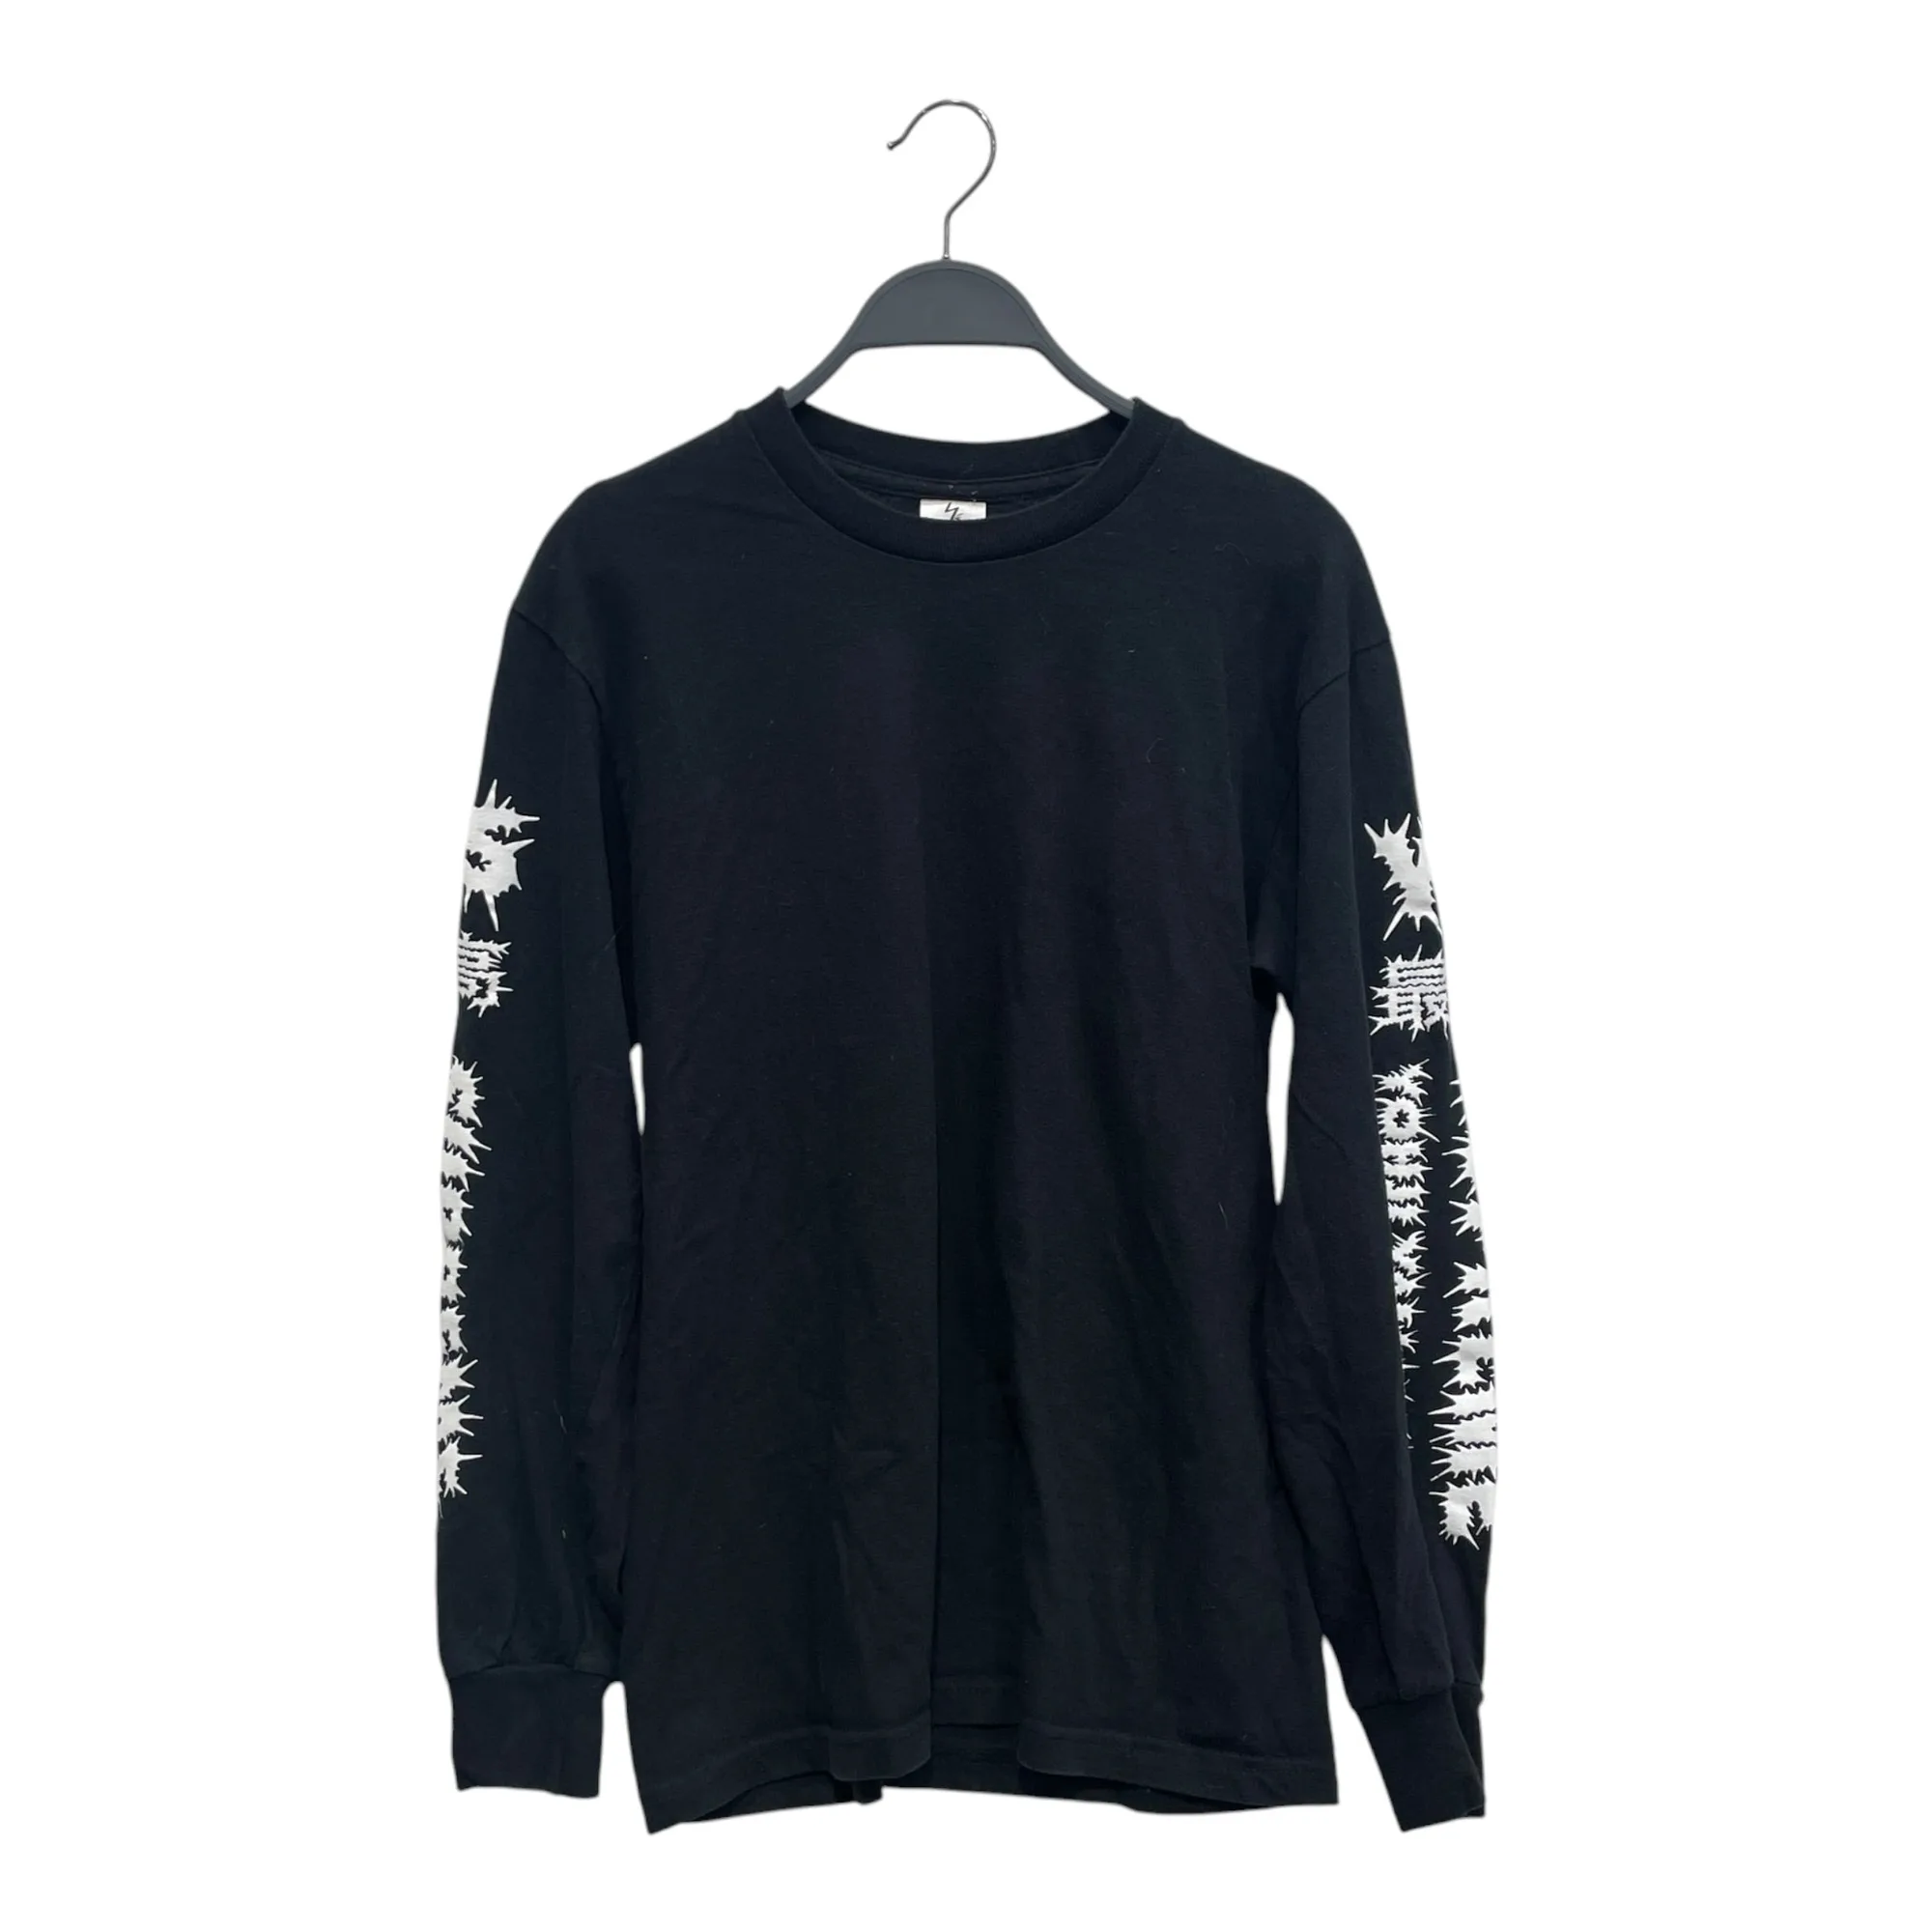
- Supreme/LS T-Shirt/S/Cotton/BLK/: 100% cotton, used very good condition, measurements Chest 38 in and Length 24 in. A plain cotton piece like this is the easiest candidate for the cold-water, detergent-first method, and the listed measurements let you confirm the fit before you commit to a care routine.
- JUNYA WATANABE COMME des GARCONS MAN/Levi's/Pants/S/Cotton/IDG/Distressed/2016 BNWT PYTHON POCKET: Cotton, indigo color, used like new, waist 33 in and inseam 30 in. Indigo cotton can bleed, so wash it separately in cold water the first few times and never let a stained indigo piece sit wet against lighter laundry.
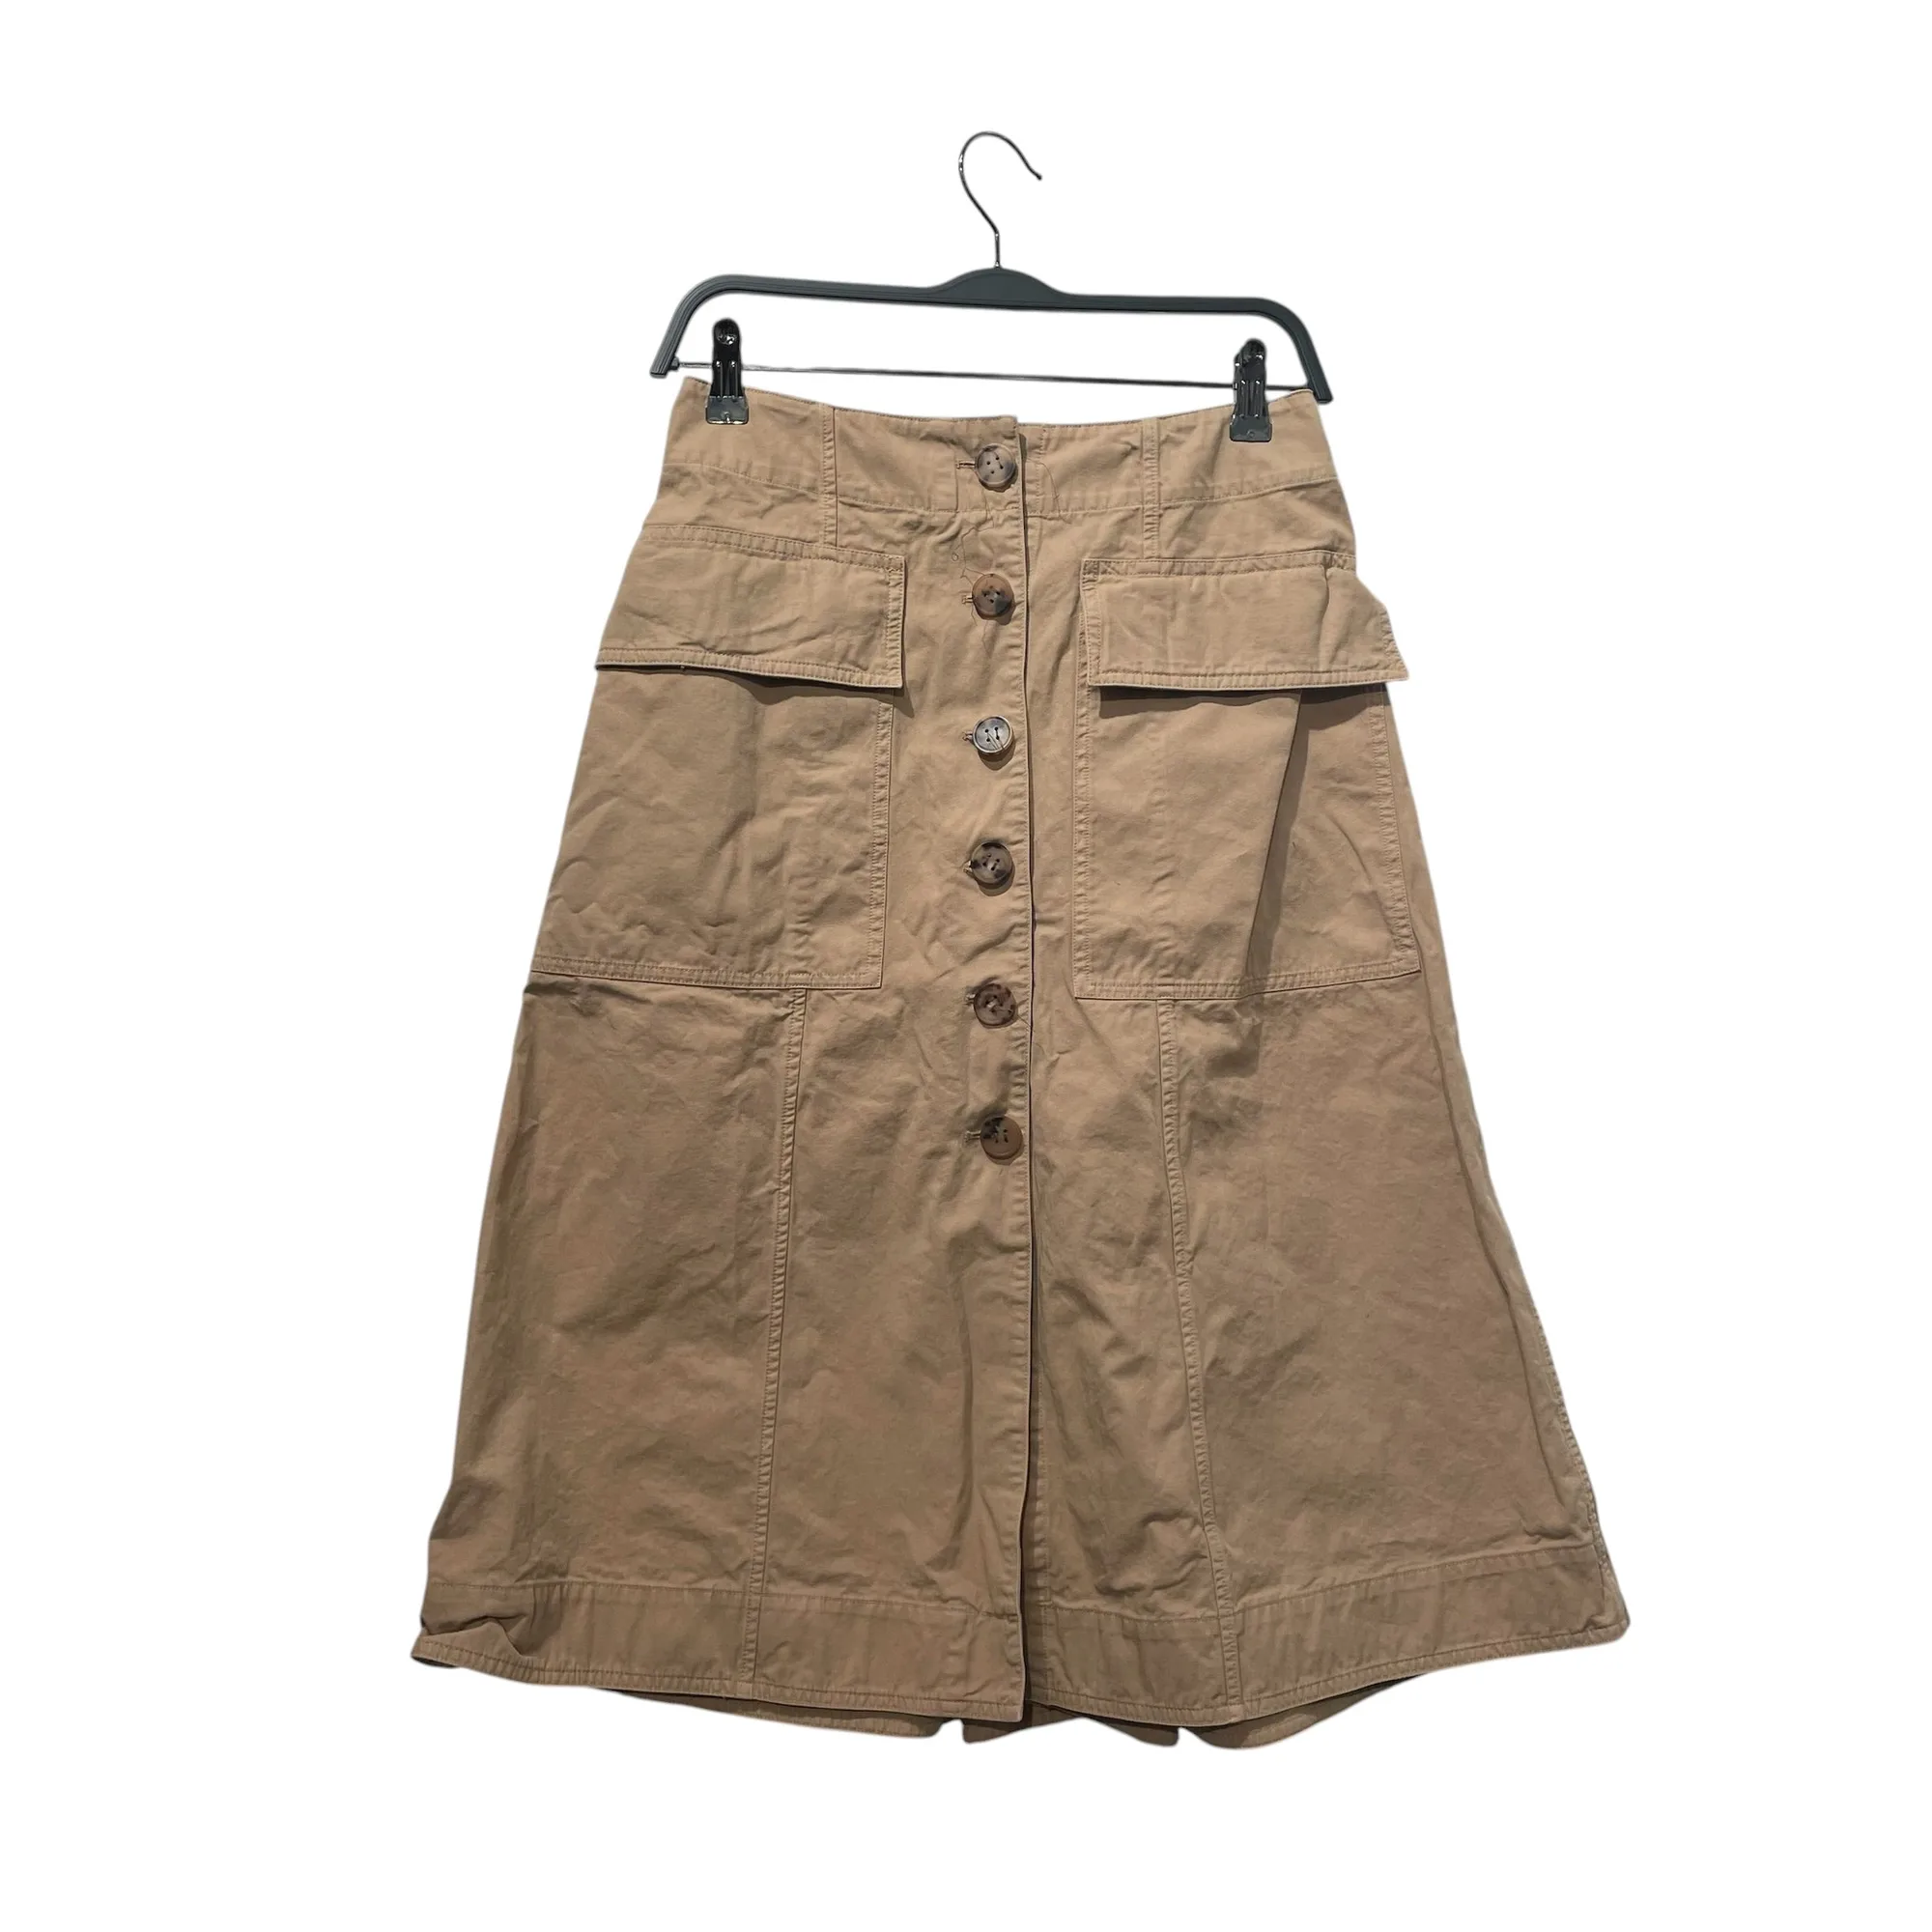
- Acne Studios/Long Skirt/36/Cotton/BEG/CARGO SKIRT: Cotton, brown color, used good condition, waist 28 in and inseam 27 in. A brown cotton garment is a good reminder to test any stain treatment on a hidden area first, since color shift is harder to spot on mid-tone fabrics until it is too late.
Most cotton sweatshirt stains come out with cool water, the right pretreatment, and patience before the dryer. Treat the mark early, match the method to the stain, and always verify while the fabric is damp. Do that, and a good sweatshirt stays wearable for years instead of becoming a cleaning experiment you regret.