Quick answer
Most loose or wobbly animal figurines can be repaired at home with mild soap, a clean cloth, a toothpick, and a small amount of suitable adhesive. Figure out whether the wobble comes from a loose base, a separated leg, or a hollow-body seam, clean and dry the area, then apply the smallest amount of glue and let it cure fully. If the part is cracked through or the paint is flaking, stop and treat it as a display piece rather than a play toy.
A wobbly figurine is rarely broken beyond use. Usually the wobble comes from one of three places: a base that has separated slightly, a leg or tail joint that has loosened, or a hollow seam that has opened just enough to flex. Because most of these figures are hand-painted, the repair has to protect the paint as much as it fixes the wobble.
This guide walks through a repair animal figurine process you can do at a kitchen table. It uses common household tools, keeps the figure stable afterward, and tells you when a fix is not worth attempting. The same approach works for fix loose toy figure jobs on wildlife, dinosaur, and bird models.
Find the real source of the wobble
Before you reach for glue, test the figure gently. Hold the body steady and press the base against a flat surface to see whether the wobble is in the base or in a leg. Then flex each limb very slightly with two fingers. A joint that moves independently of the body is the loose point; a figure that rocks as one piece usually has a warped or separated base.
This matters because gluing the wrong spot adds bulk without fixing the movement. A loose leg needs adhesive inside the joint, while a rocking base often needs the bottom surface cleaned and re-seated. If the figure is hollow and you can hear a rattle, the wobble may come from an internal support that has come free, which is much harder to reach.
- Work over a towel so small parts do not roll off the table.
- Do not force a stiff joint; if it will not move, it is not the loose point.
Clean and dry the joint before any glue
Glue bonds poorly to dust, skin oils, and old adhesive. Wipe the loose area with a cloth dampened with mild soapy water, then rinse with a barely damp cloth and let the figure air-dry completely. For a deep joint, a dry soft-bristle brush or a wooden toothpick can lift out lint without scratching the paint.
Moisture is the most common reason a figurine glue repair fails. If you glue a damp joint, the adhesive skins over but never grips the plastic, and the wobble returns within a day. Give the figure at least an hour to dry, longer in humid rooms, and avoid touching the cleaned surfaces with bare fingers.
- Skip alcohol and harsh solvents on hand-painted figures; they can dull or lift paint.
- If the joint still feels greasy after cleaning, repeat the soap wipe once.
Choose an adhesive that suits the plastic
Most animal figurines are made from PVC, the same durable material used in the MOJO Wildlife Collection. PVC responds well to a small amount of flexible adhesive, such as a clear craft glue labeled for plastic, because it moves slightly with the figure instead of cracking. Rigid cyanoacrylate, or super glue, bonds fast but can leave a white haze on painted surfaces and becomes brittle over time.
Whichever you choose, test it first on a hidden spot, such as the underside of the base. Apply glue with a toothpick rather than squeezing directly from the bottle. A dot the size of a pinhead is often enough; excess glue is harder to remove than a second thin application.
- Keep a dry cotton swab nearby to wipe a stray glue bead before it cures.
- Never use hot glue on a painted figure; the heat can soften detail and warp thin parts.
Reassemble, hold, and let it cure
Press the loose part back into its original position and hold it steady for the full working time listed on the adhesive. Then set the figure in a stable pose, ideally propped so the repaired joint carries no weight, and leave it alone for the full cure time. A joint that feels firm after ten minutes is only tacked, not cured.
Full cure can take a day or more depending on the product and room temperature. Resist the urge to test the wobble by wiggling the part; every small movement breaks the bond forming inside the joint. If the figure is a favorite play toy, put it on a shelf out of reach until the next day.
- Mark the repair on your calendar so you do not hand the figure back too early.
- If the joint still moves after curing, clean out the old glue and repeat once with slightly more adhesive.
Know when to stop and display instead
Some damage is beyond a home fix. A leg cracked through the middle, a base that has torn away from a hollow body, or paint that is flaking along the break line all mean the figure will not survive regular handling. In those cases, a display-only repair with a tiny amount of clear glue can stabilize the piece on a shelf, but it should not go back into a child's toy bin.
It also helps to match the repair to the figure's role. A small, inexpensive model such as the Blue Budgerigar is often easier to replace than to repair, while a larger dinosaur or wildlife piece with detailed paint is worth the extra patience. If the figure is part of a collection, note the repair in your own records so you remember which piece has been stabilized.
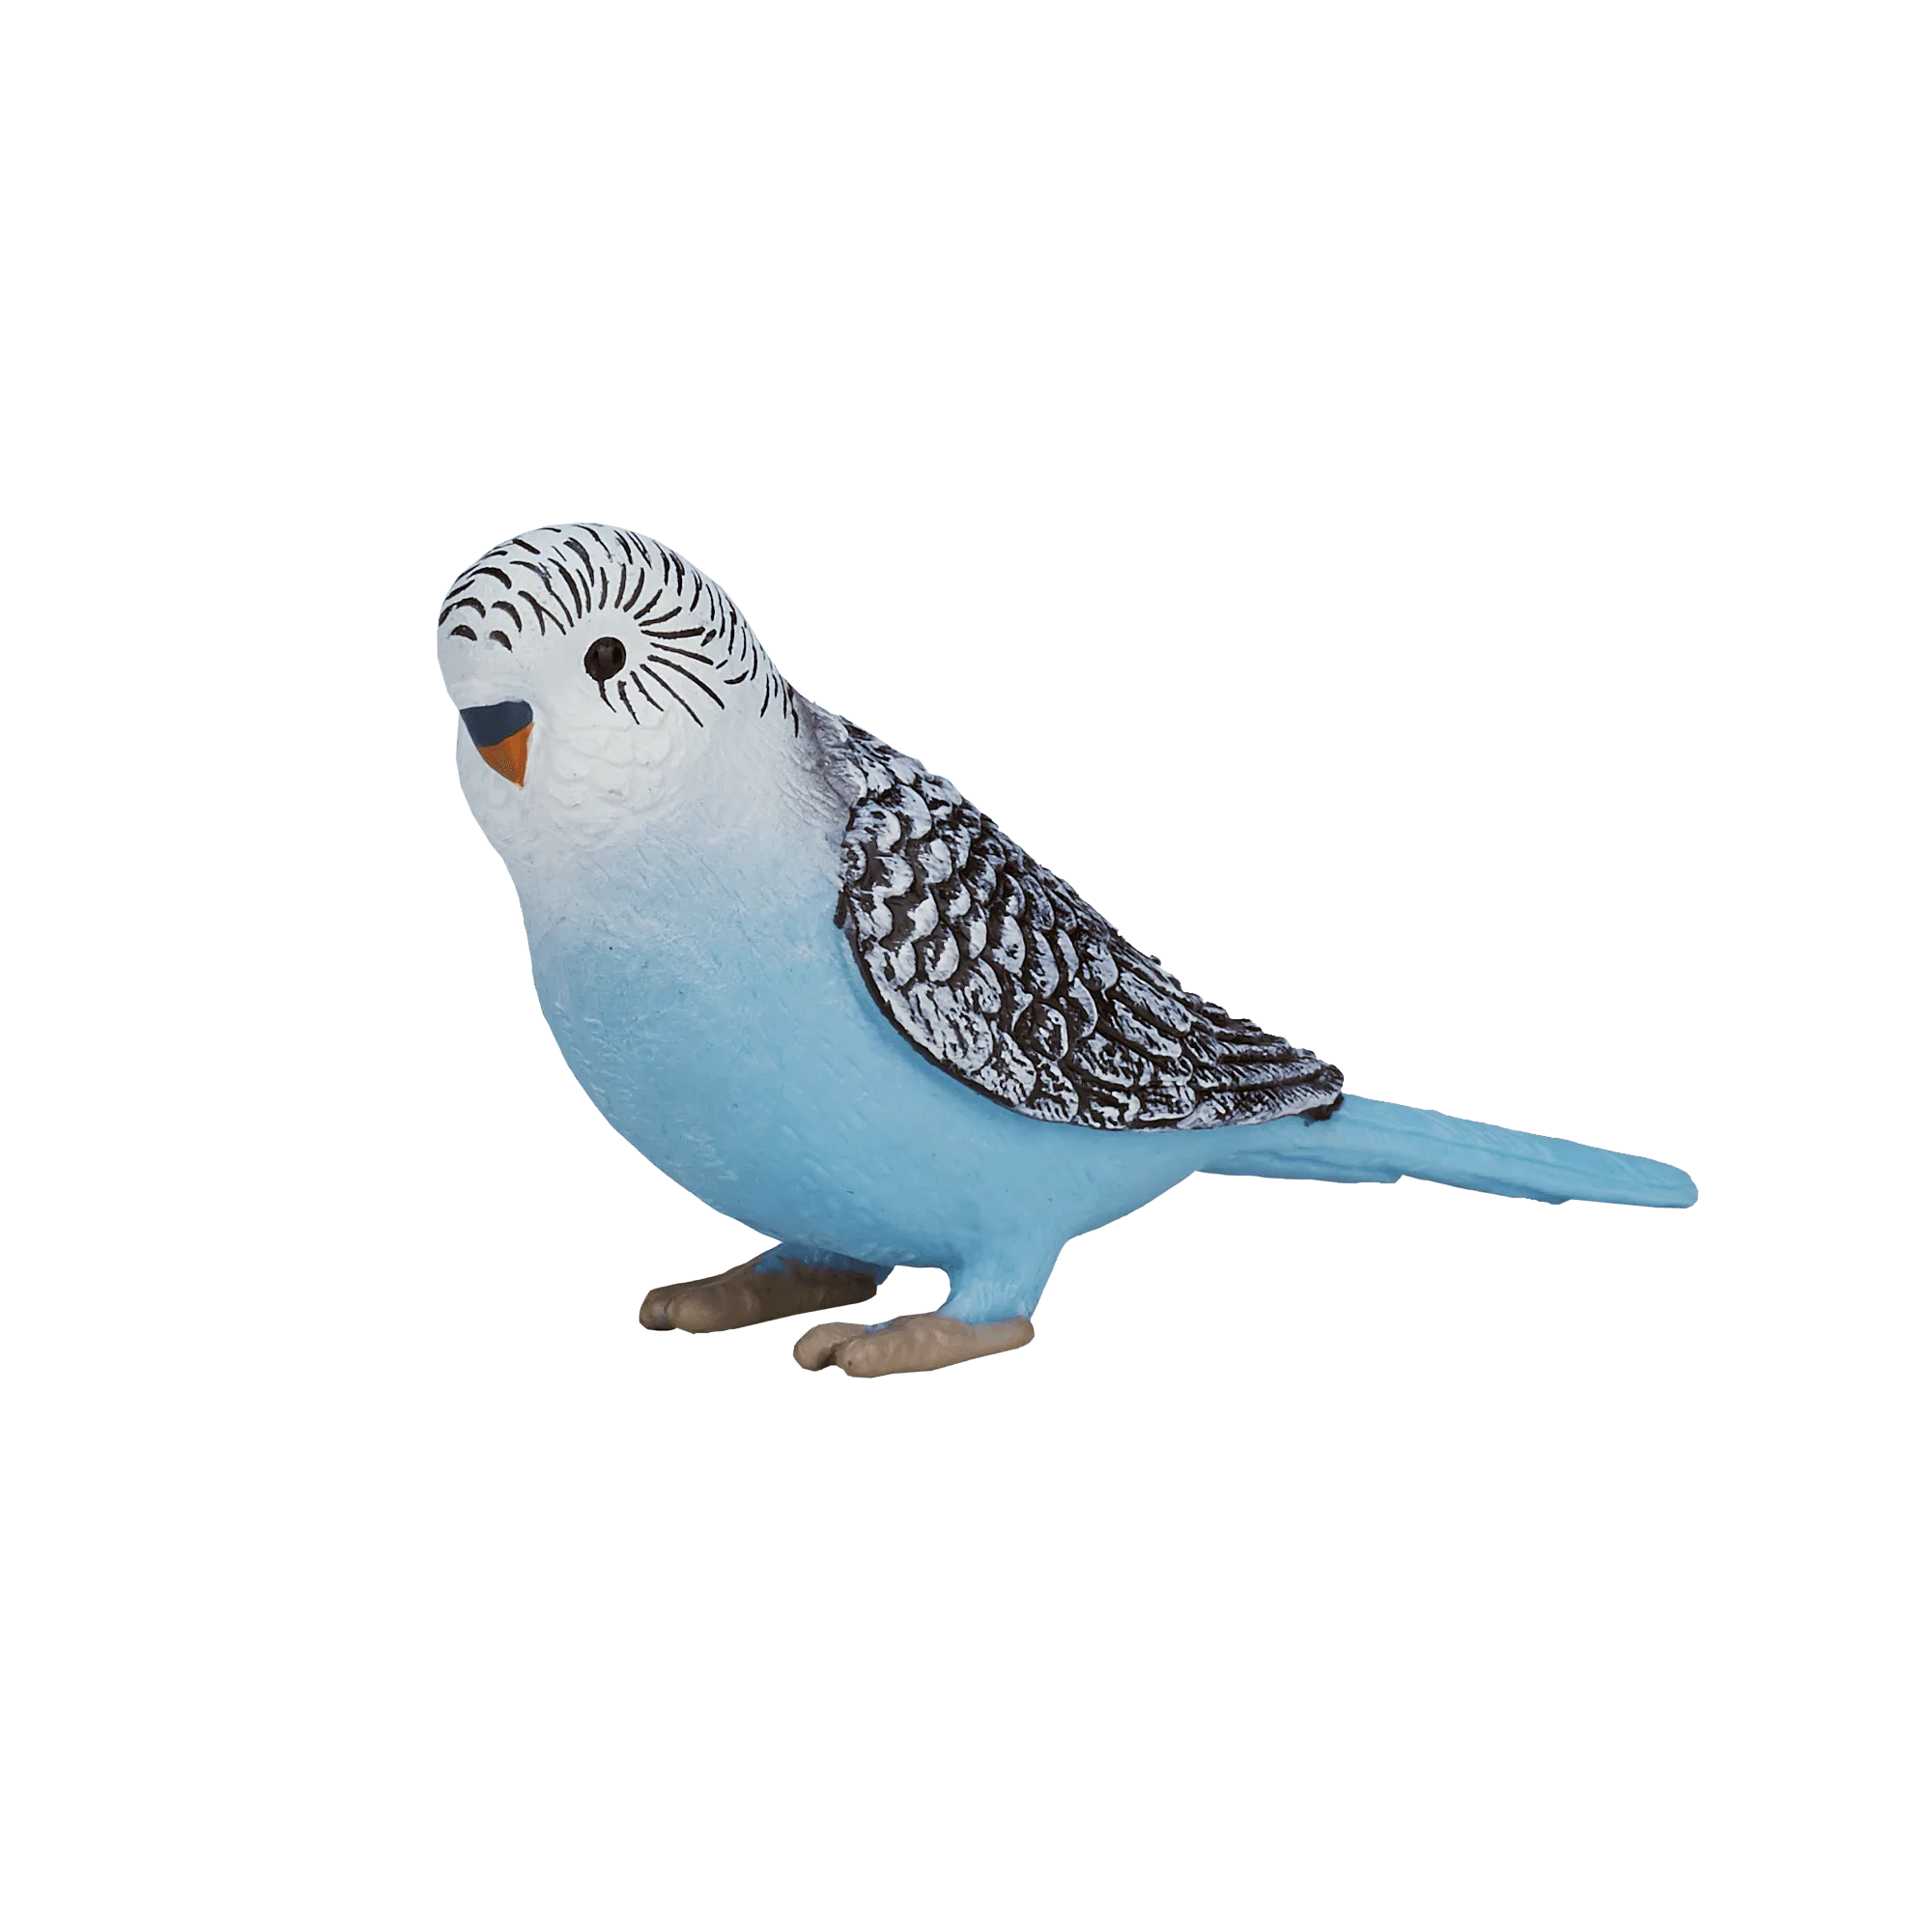
Blue Budgerigar
- Retire repaired figures from rough play and keep them for display or gentle handling.
- Store repaired figures upright so the joint is not under load.
The repair sequence, step by step
- 1. Diagnose the wobble: Press the base flat, then flex each limb gently to find the part that moves independently of the body. Checkpoint: you can name the exact loose point before you touch any glue.
- 2. Clean the joint: Wipe the area with mild soapy water, rinse with a barely damp cloth, and let the figure air-dry for at least an hour. Common mistake: gluing a damp or oily joint, which makes the bond fail within a day.
- 3. Test your adhesive: Put a tiny dot of plastic-safe glue on a hidden spot such as the underside of the base and confirm it dries clear without damaging paint. Checkpoint: no white haze or softened paint after the test dot cures.
- 4. Apply a pinhead of glue: Use a toothpick to place the smallest useful amount inside the joint rather than squeezing directly from the bottle. Common mistake: over-gluing, which creates a visible bead that is harder to remove than a second thin application.
- 5. Hold, prop, and cure: Press the part into place, hold it for the full working time, then prop the figure so the joint carries no weight for the full cure time. Checkpoint: do not wiggle the part to test it; movement during curing breaks the forming bond.
- 6. Decide repair or retire: If the joint still moves after curing, clean out the old glue and repeat once. If the part is cracked through or paint is flaking, stabilize it for display only. Next step: move repaired figures out of rough play and store them upright.
What the catalog tells you about these figures
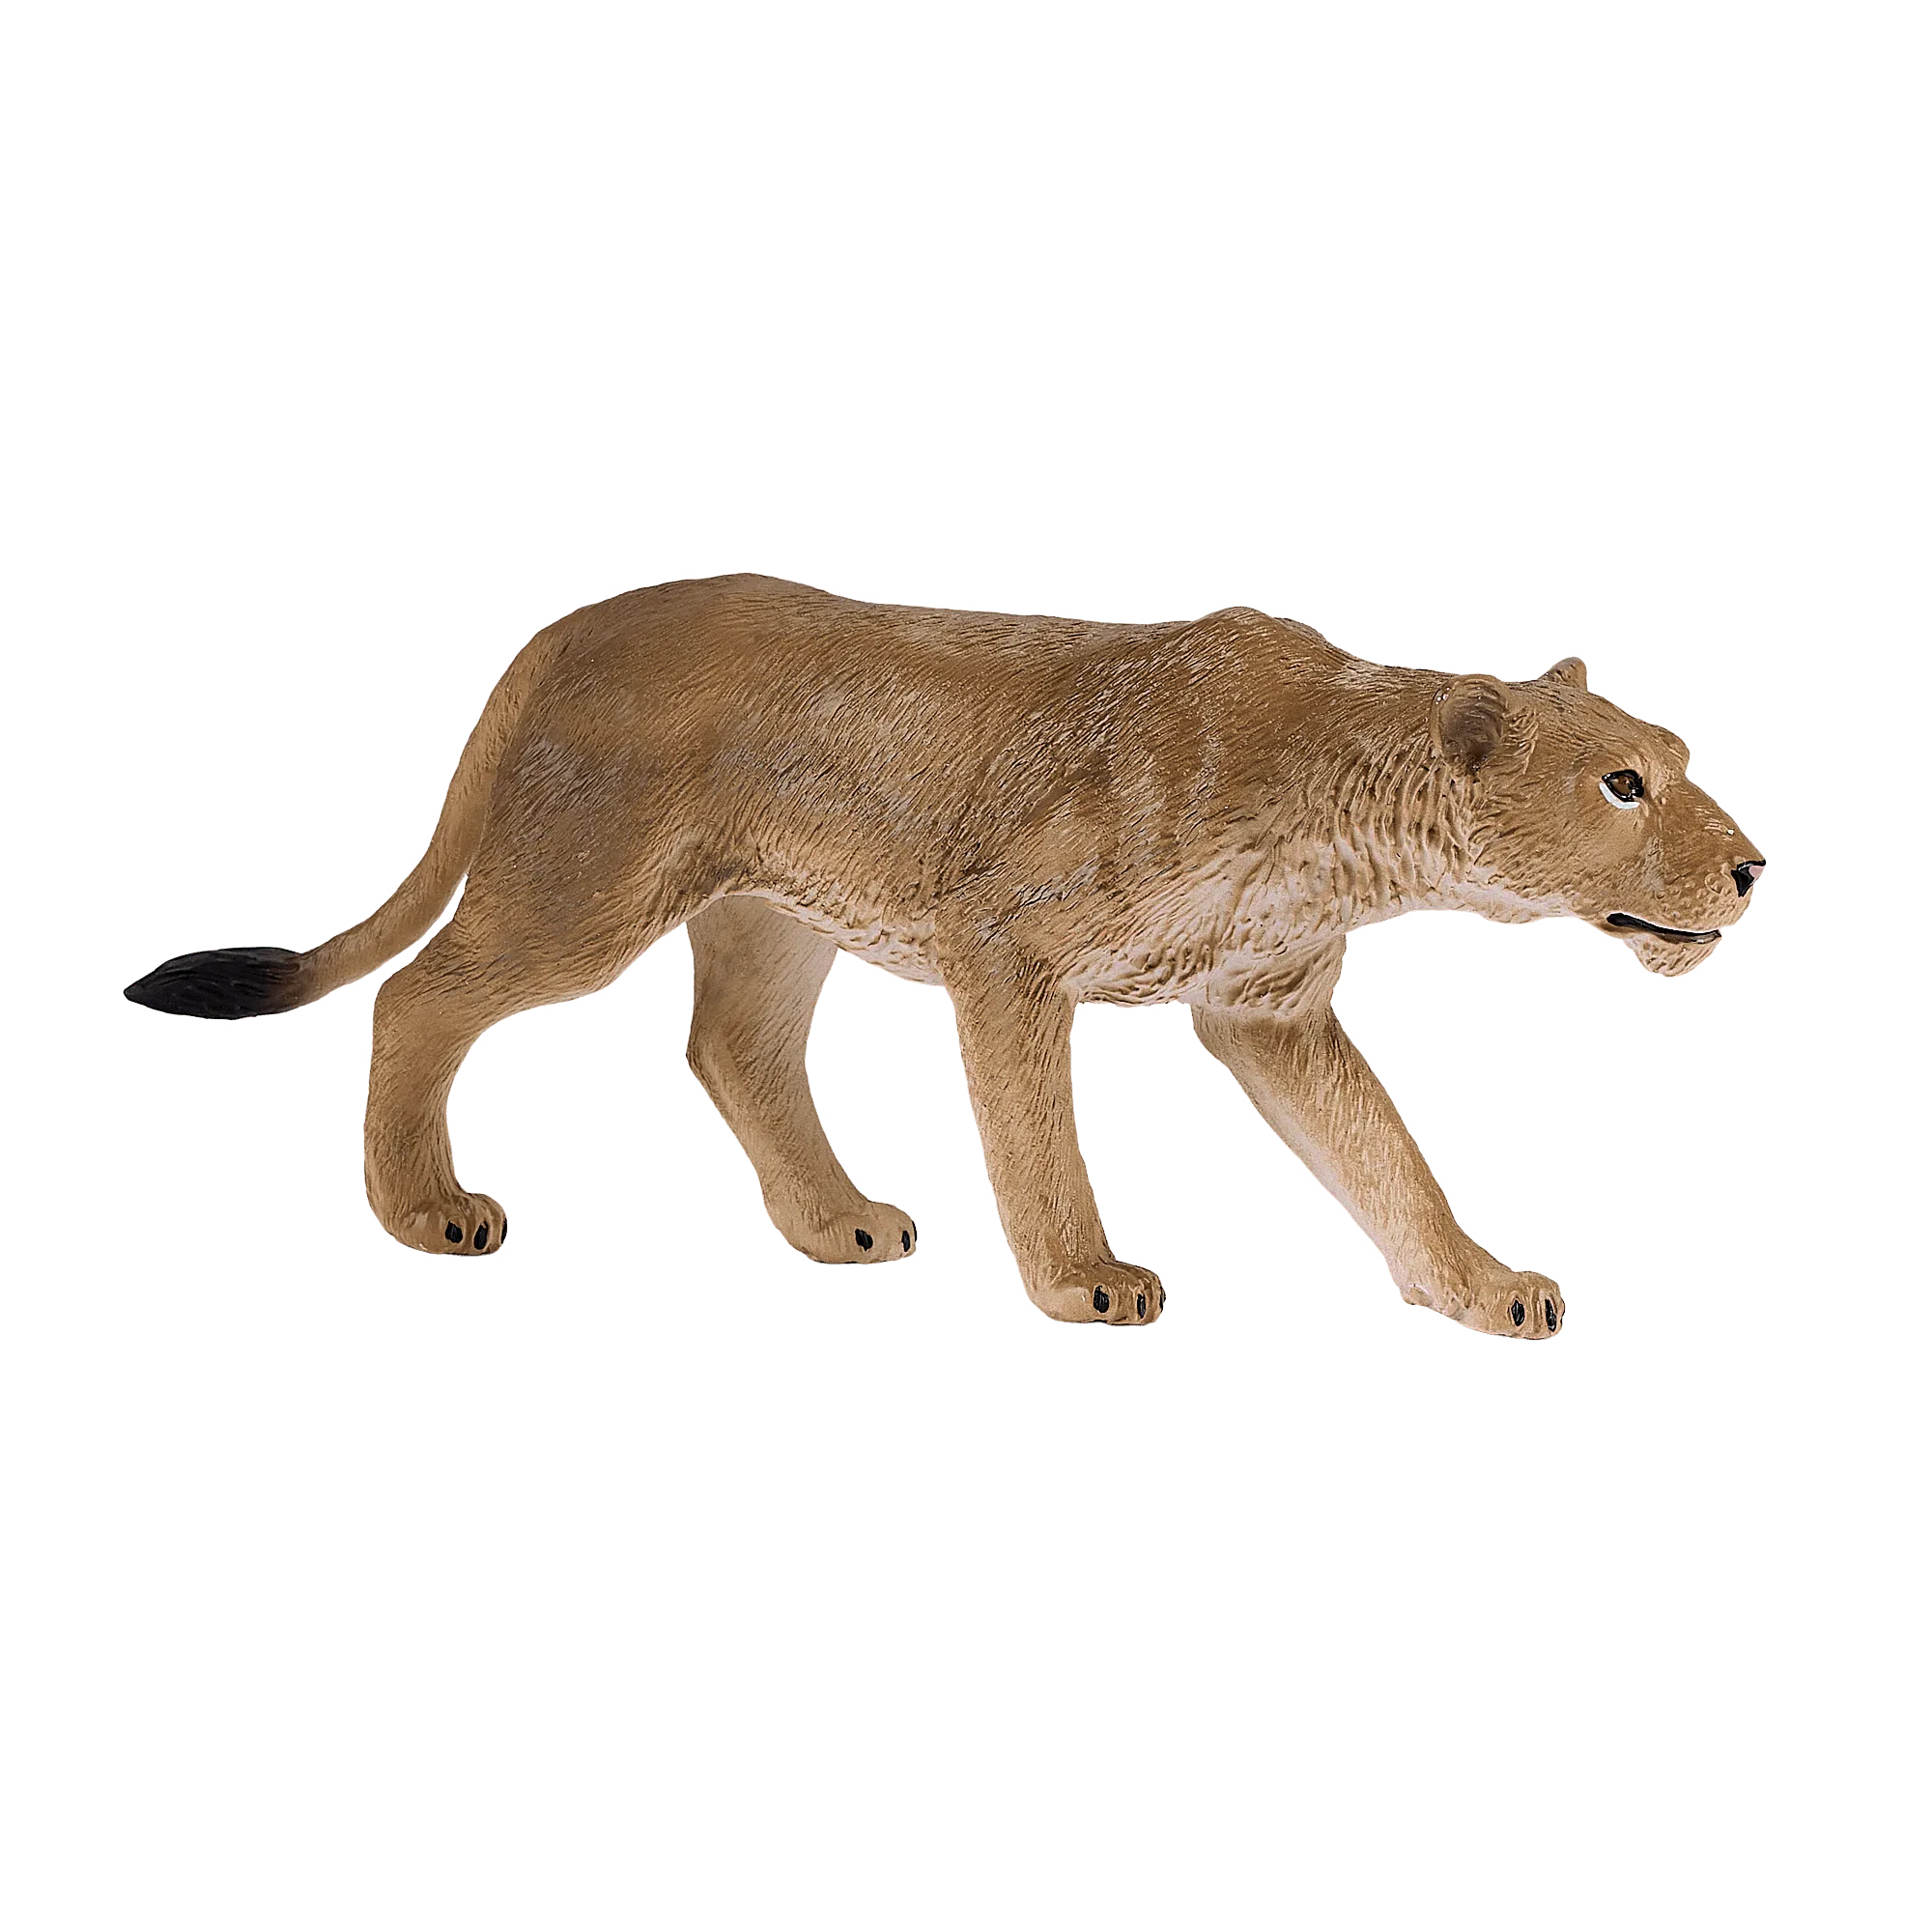
- lioness-1-4c8749dac88419efc4e451d6-1559001">White Lioness: Part of the MOJO Wildlife Collection, this hand-painted White Lioness figure is made from premium quality Polyvinyl Chloride and is described as both durable and safe for play. Because the body is PVC, a flexible plastic-safe adhesive is a better match than a brittle super glue, and the hand-painted finish means you should keep solvents away from the surface.
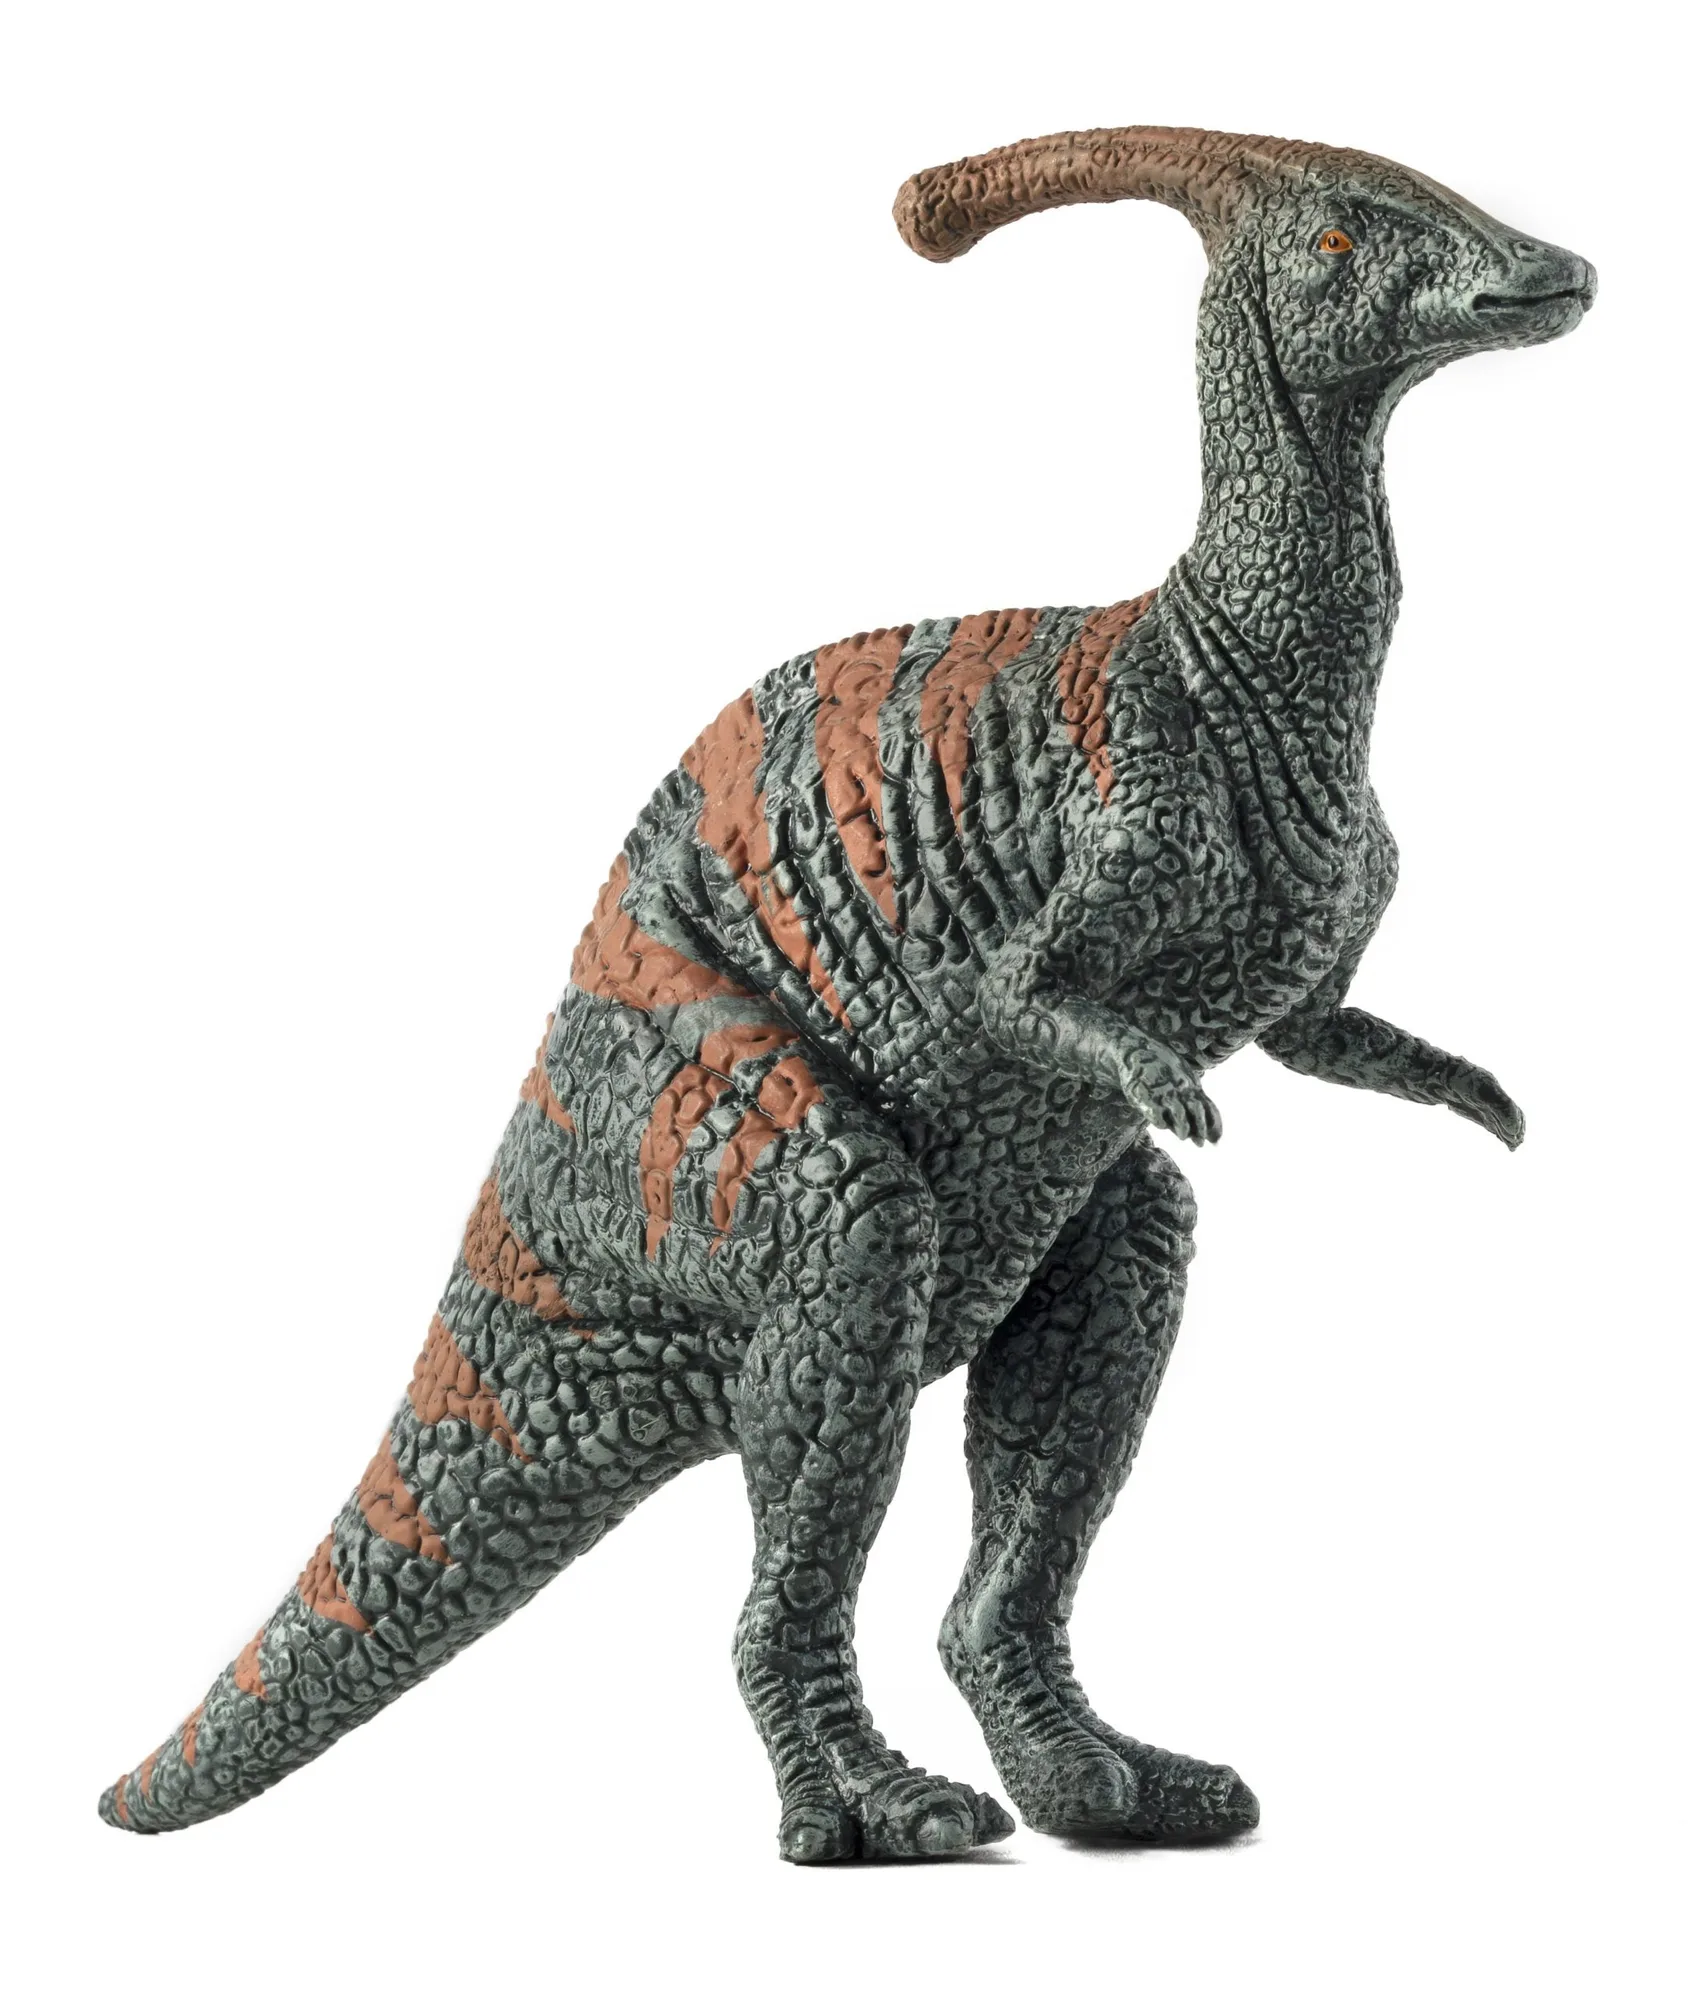
- parasaurolophus-4-a73f06616681b5a4a7f922b5-1558943">Parasaurolophus: This hand-painted Parasaurolophus figure is also made from premium quality Polyvinyl Chloride and is part of the MOJO Prehistoric Dinosaurs Collection. Long-legged dinosaur figures put more leverage on a repaired joint, so let the adhesive cure fully before the figure stands on its own again.
- Robin: This lifelike Robin figurine is hand-painted with intricate detail and is described as both educational and visually appealing. On a small, finely detailed bird figure, a pinhead of glue applied with a toothpick protects the paint better than squeezing adhesive directly onto the joint.
A loose or wobbly animal figurine is usually a small joint problem with a simple fix: find the real loose point, clean and dry it, use a pinhead of plastic-safe adhesive, and let it cure without testing. Treat the repair as maintenance rather than a rebuild, and your figures will stay steady on the shelf for years.