Quick Answer
Most surf leash issues—like a broken rail saver or a frayed cord—can be fixed at home with basic tools and a little patience. For damage to the cuff or the leash itself, replacement is often the safer choice. Inspect your leash regularly and repair small problems before they become big ones.
A surf leash is your lifeline in the water, but it takes a beating from waves, rocks, and UV rays. Over time, you might notice a frayed cord, a cracked rail saver, or a weak cuff. The good news: many common issues are fixable with simple DIY repairs, saving you money and extending the life of your gear.
In this guide, we'll walk you through diagnosing and repairing the most frequent surf leash problems. We'll cover when a quick fix works, when you need a replacement part, and when it's time to retire the leash entirely for your safety.
Diagnose the Problem First
Before you grab tools, inspect your leash thoroughly. Look for wear at the rail saver (the padded section that wraps your board's rail), the cord (the urethane line connecting the cuff to the rail saver), and the cuff itself. Check for fraying, cracks, or weak spots. If the cord is deeply nicked or the cuff is tearing, a repair might not hold.
Also, check the swivel—the rotating connector that prevents tangling. If it's gritty or won't spin freely, clean it with fresh water and a drop of lubricant. A stuck swivel can cause twisting and lead to breakage.
- Use a bright light to spot micro-frays in the cord.
- Run your fingers along the rail saver to feel for cuts or thinning.
- Test the cuff's Velcro and buckle for secure closure.
Common Issue: Broken Rail Saver
The rail saver protects your board's rail from the leash cord. If it's cracked or split, it can expose the cord to abrasion, leading to a snap. A slightly damaged rail saver can be repaired with neoprene glue or a patch kit. Clean the area, apply adhesive, and press the split closed. For more severe damage, replace the rail saver entirely—many leashes allow this.
If your leash uses a removable rail saver, you can often buy a replacement. For example, Dakine leashes often feature replaceable rail savers. Check your leash's design; if the rail saver is integrated, you might need a new leash.
- Use neoprene-safe adhesive for repairs.
- Allow 24 hours for the glue to cure before use.
Common Issue: Frayed or Damaged Cord
The cord is the leash's lifeline. If you spot fraying or nicks, the integrity is compromised. Small surface fraying might be okay, but deep cuts reduce strength significantly. You can try wrapping the damaged area with electrical tape as a temporary fix, but it's not a permanent solution. For safety, replace the leash if the cord is structurally damaged.
Prevention is key: rinse your leash with fresh water after every session and keep it out of direct sunlight when not in use. UV rays degrade the urethane over time, making it brittle.
- Never use a leash with a deeply nicked cord.
- Check the cord's entire length, not just the ends.
Common Issue: Cuff Problems
The cuff wraps your ankle. If the Velcro is worn or the stitching is pulling, the cuff might come loose in the water. Sometimes you can fix loose stitching with a needle and thread, or replace the Velcro if it's sewn on. However, if the cuff's material is tearing or the buckle is broken, replacement is the safer option.
A secure cuff is non-negotiable—if it fails, you could lose your board. When in doubt, replace the leash.
- Use heavy-duty thread for cuff repairs.
- Test the cuff's hold before heading out.
When to Stop and Replace
Some damage is beyond repair. If the cord has deep cuts, the cuff is tearing, or the rail saver is shattered, don't risk it. A broken leash in the water is dangerous—not just for you but for others. Also, if your leash is old and shows widespread wear, replacement is wise.
Consider upgrading to a leash with features like quick-release cuffs or thicker cords for durability. Investing in a quality leash, like those from Dakine, can reduce repair frequency.
- Replace any leash with visible core damage.
- If you're unsure, err on the side of safety.
Repair Diagnosis Guide
- Symptom: Rail saver cracked or split: Inspect the extent. If minor, clean and glue with neoprene adhesive. If severe or cord is exposed, replace the rail saver or leash. If cord is visible, stop and replace.
- Symptom: Cord frayed or nicked: Check depth of damage. Surface fraying can be monitored, but deep cuts weaken the leash. Temporary tape is not a fix. If cord is deeply damaged, replace the leash.
- Symptom: Cuff Velcro or stitching failing: Try sewing loose stitching or replacing Velcro if possible. If material is tearing or buckle broken, replacement is safer. If cuff doesn't secure firmly, replace.
Products That Help
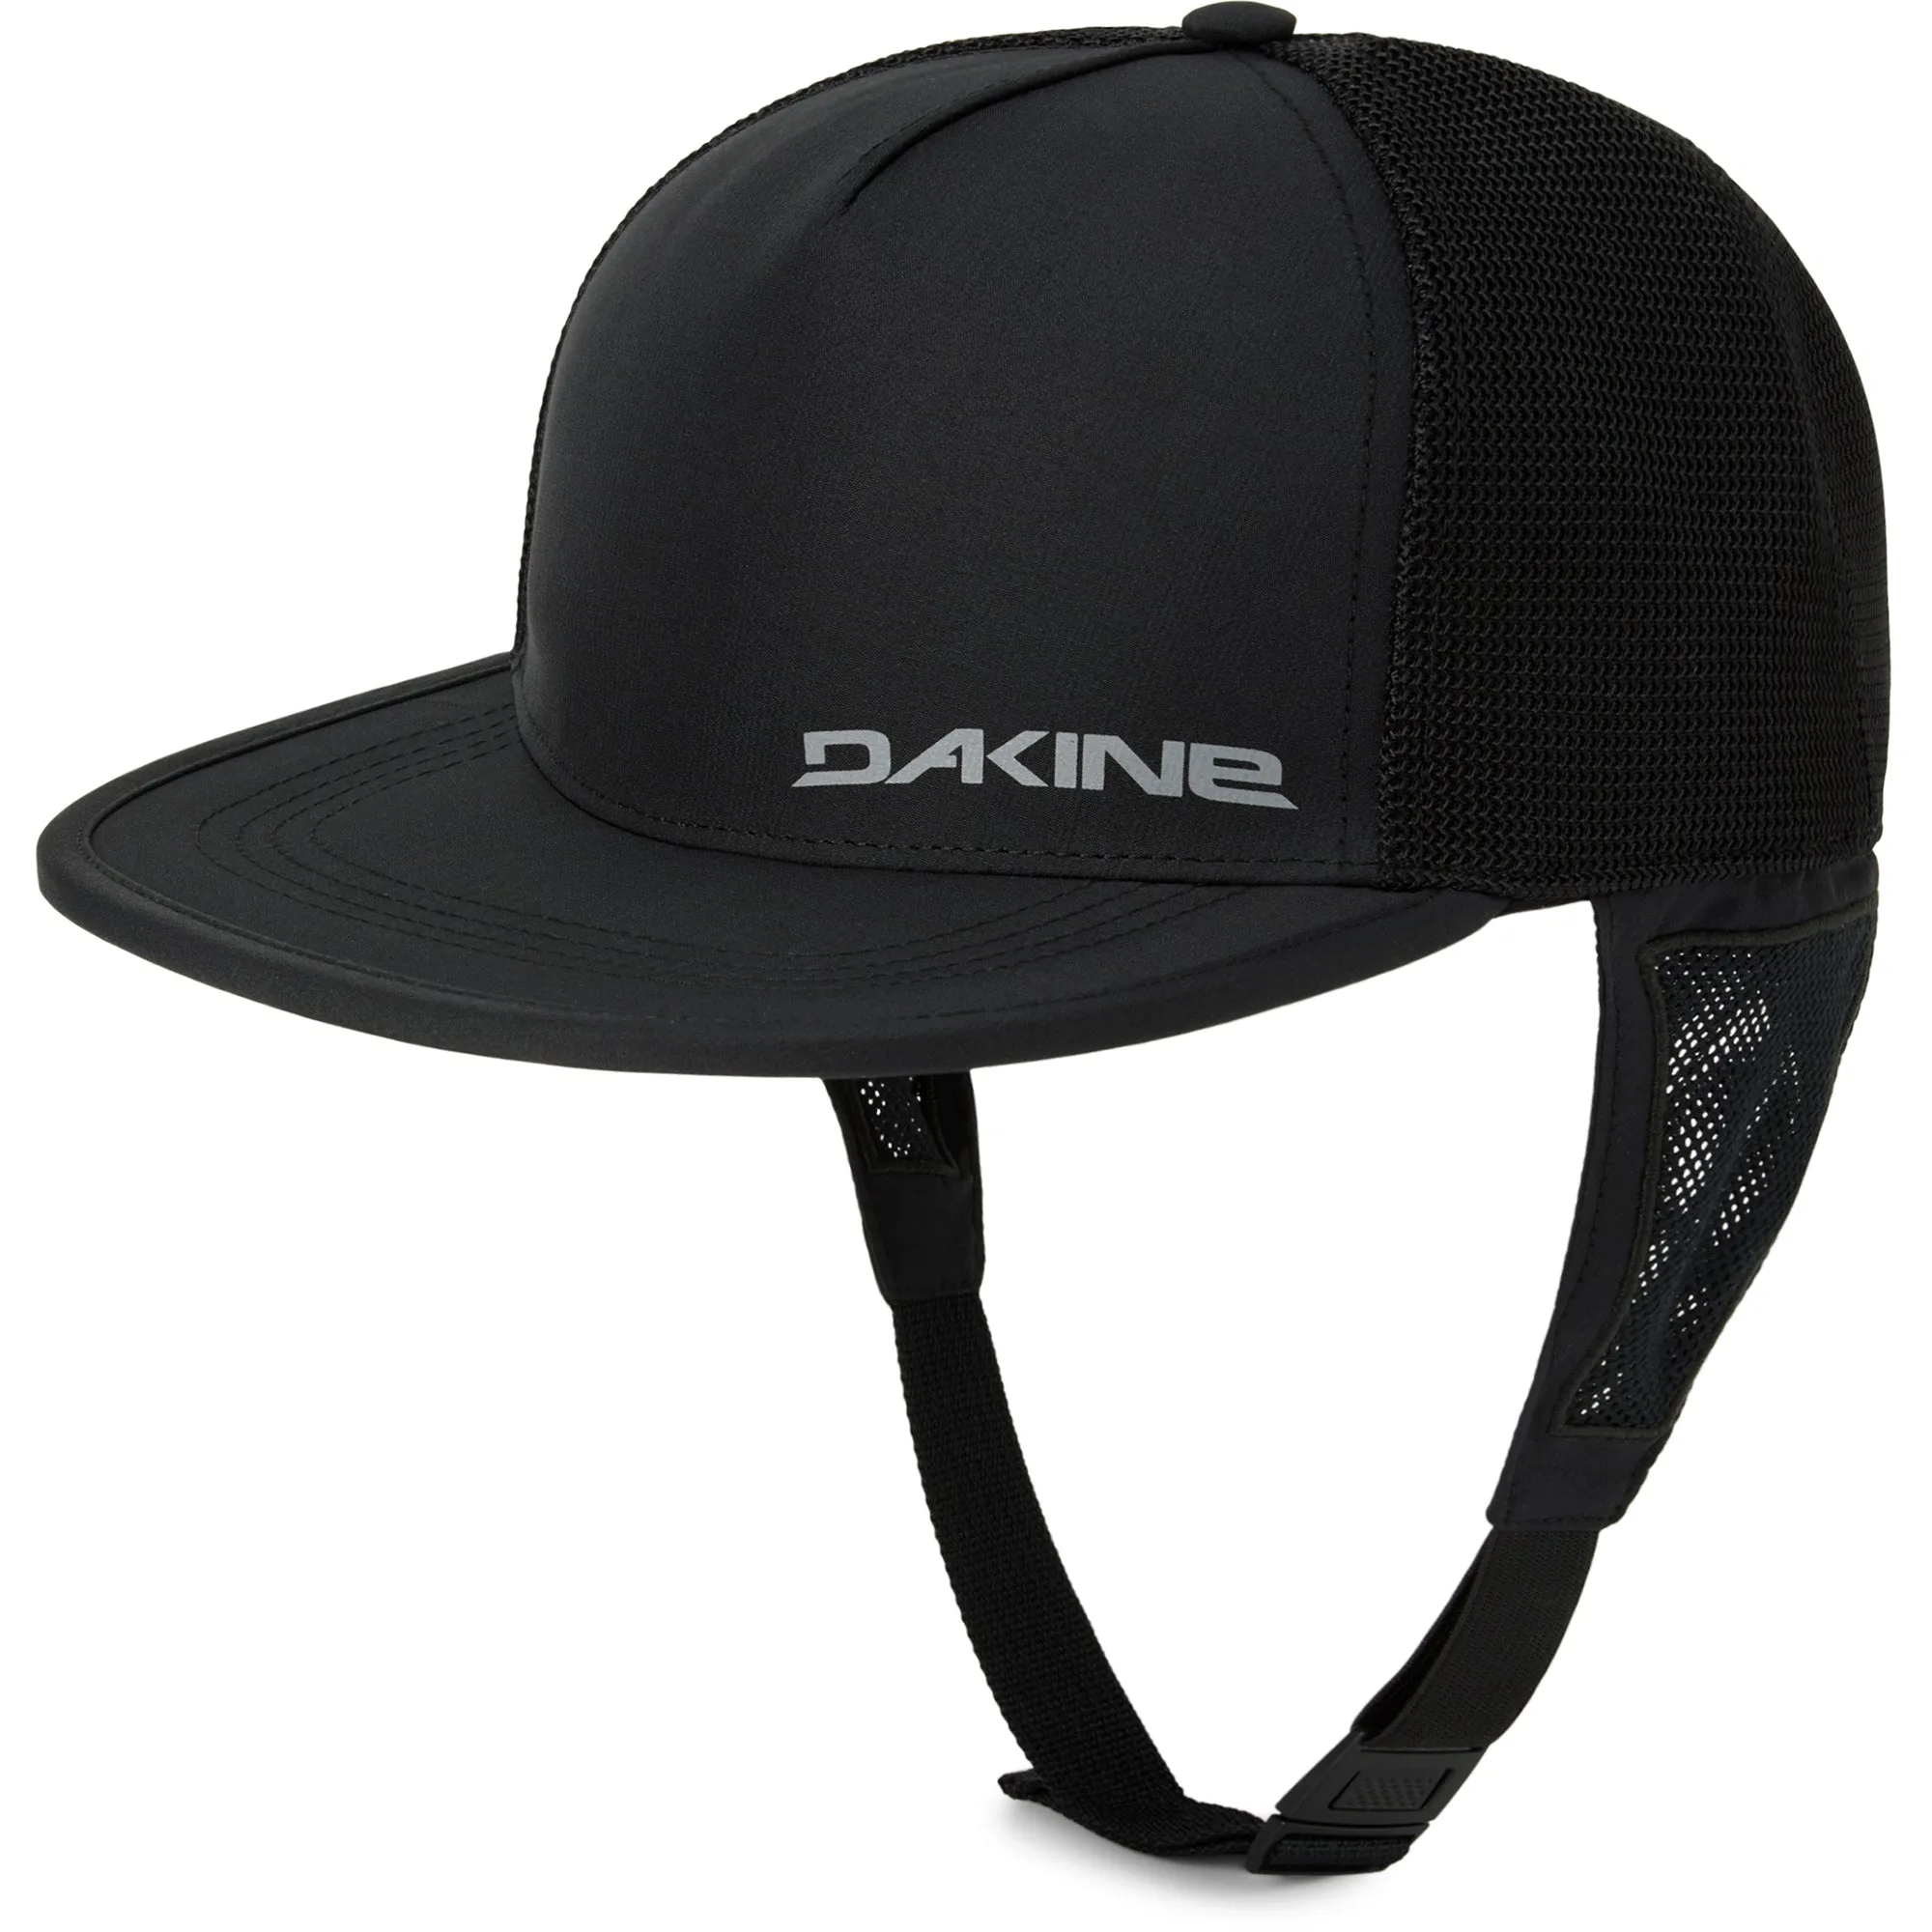
- Surf Trucker - Black: Quick-drying trucker hat with UPF 50+ and adjustable chin strap for water use. While not a repair tool, this hat protects you from sun during long repair sessions at the beach or in your yard.
- Rack Pads 18": Custom extruded foam covered with durable 600D polyester, fits roof racks to protect surfboards during transport. Prevent future leash damage by transporting your board securely with padded rack pads.
Repairing your surf leash can extend its life, but safety always comes first. Regular maintenance—rinsing, drying, and inspecting—prevents many issues. When damage compromises the leash's integrity, don't hesitate to replace it. A reliable leash keeps you and your board safe in the lineup.