Quick answer
For a clean break on a resin piece, use a gap-filling cyanoacrylate (CA) glue and hold the parts for 30–60 seconds. If the break is structural or the piece is heavy, pin it with a paperclip or brass rod and epoxy. For cracks or missing chips, fill with two-part epoxy putty, then sand and repaint. Stop and replace the piece if the break is into a hollow cavity or the resin is crumbling.
Resin terrain adds crisp detail to your table, but it can chip, crack, or snap if it gets knocked off a shelf or packed too tightly. The good news is that most breaks are repairable with a few common materials and a little patience. This guide walks you through diagnosing the damage and choosing the right fix.
You will learn which glues work on resin, when to pin a joint, and how to fill gaps so the repair disappears under paint. We will also cover the point where a repair is no longer worth the effort and you should consider a replacement piece.
Identify the type of damage
Before you reach for glue, look closely at the break. A clean snap with two matching surfaces is the easiest to fix. A jagged break with missing fragments or a crack that runs along a thin wall is more serious. If the resin is powdery or flaking, the piece may have degraded and will not hold a repair well.
Check whether the piece is solid or hollow. Solid resin breaks can be pinned and glued. Hollow castings often have thin walls that crumble when you try to drill or clamp them. In that case, a replacement is usually the better choice.
- Clean the break with isopropyl alcohol to remove dust and mold release.
- Dry-fit the pieces before gluing to confirm they align.
- Take a photo before you start so you can match the original orientation.
Choose the right adhesive
For most resin terrain repairs, a medium-viscosity cyanoacrylate (CA) glue works well. It bonds quickly and fills small gaps. Avoid thin CA glue, which runs everywhere and sets too fast to position the piece. If the joint will bear weight, use a two-part epoxy instead. Epoxy gives you more working time and fills gaps better than CA.
Do not use hot glue or craft glue on resin. They do not bond to the smooth surface and will fail under any load. For a permanent repair on a load-bearing joint, epoxy is the safer choice.
- CA glue: fast, good for small breaks and non-structural joints.
- Two-part epoxy: slower, stronger, best for heavy pieces or gaps.
- Avoid hot glue and white craft glue on resin.
Pin the joint for strength
If the broken piece is large or the break crosses a thin section, pinning will keep it from snapping again. Drill a small hole in both sides of the break with a pin vise, then insert a short length of paperclip or brass rod. Leave a little room for glue. Test-fit the pin before gluing so you know the alignment is correct.
Use a drill bit slightly wider than your pin. If the resin is brittle, start with a small bit and work up. For very small pieces, you can skip pinning and rely on a strong epoxy joint instead.
- Paperclips work for most 1–2 inch pieces; brass rod for heavier loads.
- Score the pin with sandpaper so the glue grips it.
- Dry-fit the pin and the pieces before applying glue.
Fill cracks and missing chips
For cracks that do not separate, work a little thin CA glue into the crack and clamp it. Wipe the excess immediately. If a chip is missing, use two-part epoxy putty. Knead it, press it into the gap, and shape it while it is still soft. Once cured, sand it flush and repaint to match.
If the missing area is large or highly detailed, you may need to sculpt the shape with a hobby knife before the putty fully hardens. For deep holes, build up the putty in layers rather than one thick blob.
- Use epoxy putty, not CA glue, to fill missing volume.
- Shape the putty before it cures; sand after it hardens.
- Prime and repaint the repair to blend it in.
When to stop and replace the piece
Some damage is not worth repairing. If the resin is crumbling, if the break goes into a hollow cavity with no clean edges, or if the piece has lost a large section of its structure, a repair will be fragile and visible. In those cases, replacing the piece is faster and gives you a better result.
Also consider the value of your time. A simple clean break takes five minutes to fix. A shattered, crumbling piece can take an hour and still look wrong. If the piece is a common scatter item, replacement is often the practical choice.
- Replace if the resin is powdery or flaking.
- Replace if the break is into a hollow cavity.
- Replace if the repair would be larger than the original detail.
Diagnosis: match the symptom to the fix
- Clean snap with matching edges: Two smooth surfaces that fit together with no missing material. Use gap-filling CA glue. Pin only if the piece is heavy or load-bearing.
- Crack along a thin wall: A hairline or widening crack that has not separated completely. Work thin CA glue into the crack and clamp. If it reopens, drill and pin.
- Missing chip or chunk: A gap where a piece of resin has broken off and is lost. Fill with two-part epoxy putty, shape, sand, and repaint.
- Crumbling or powdery resin: The material flakes or turns to dust when handled. Stop. This piece cannot be reliably repaired. Replace it.
- Break into a hollow cavity: The break exposes an empty space inside the casting. Stop. Pinning and gluing will not hold. Replace the piece.
Product facts that help with repairs
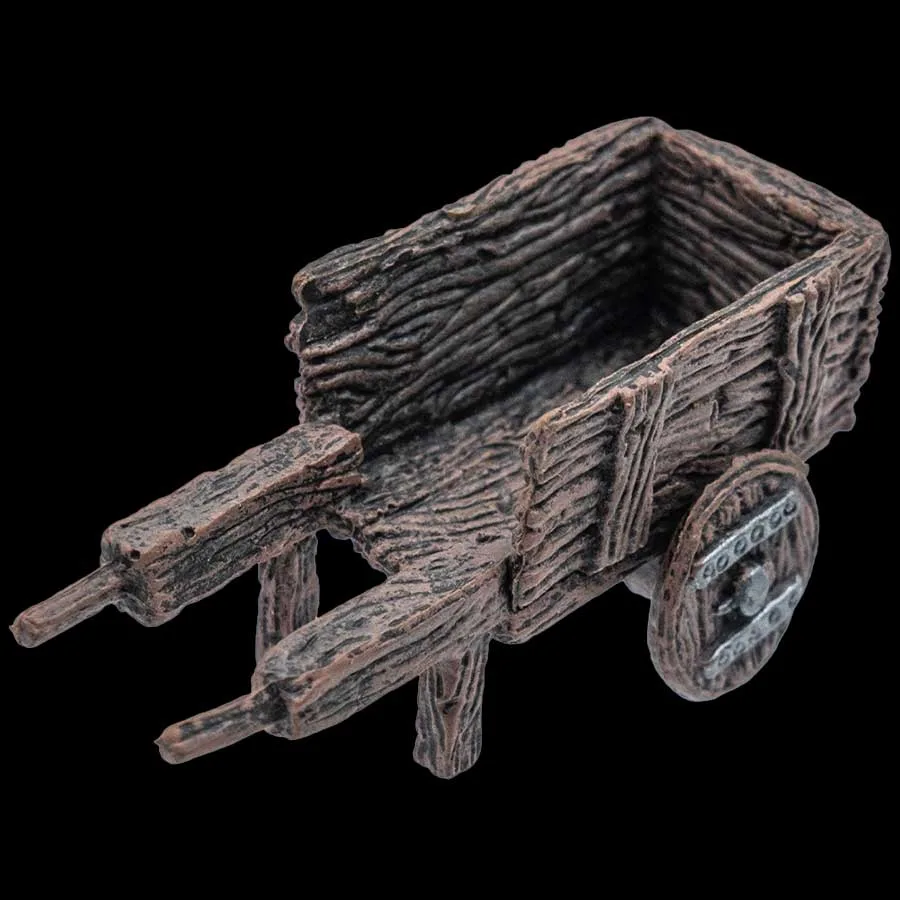
- Hand Cart (Unpainted): Individual piece, unpainted, catalog price USD 3.58 (comparison price USD 7.15). A low-cost unpainted piece is a good candidate for practicing repairs and repainting without risking a large set.
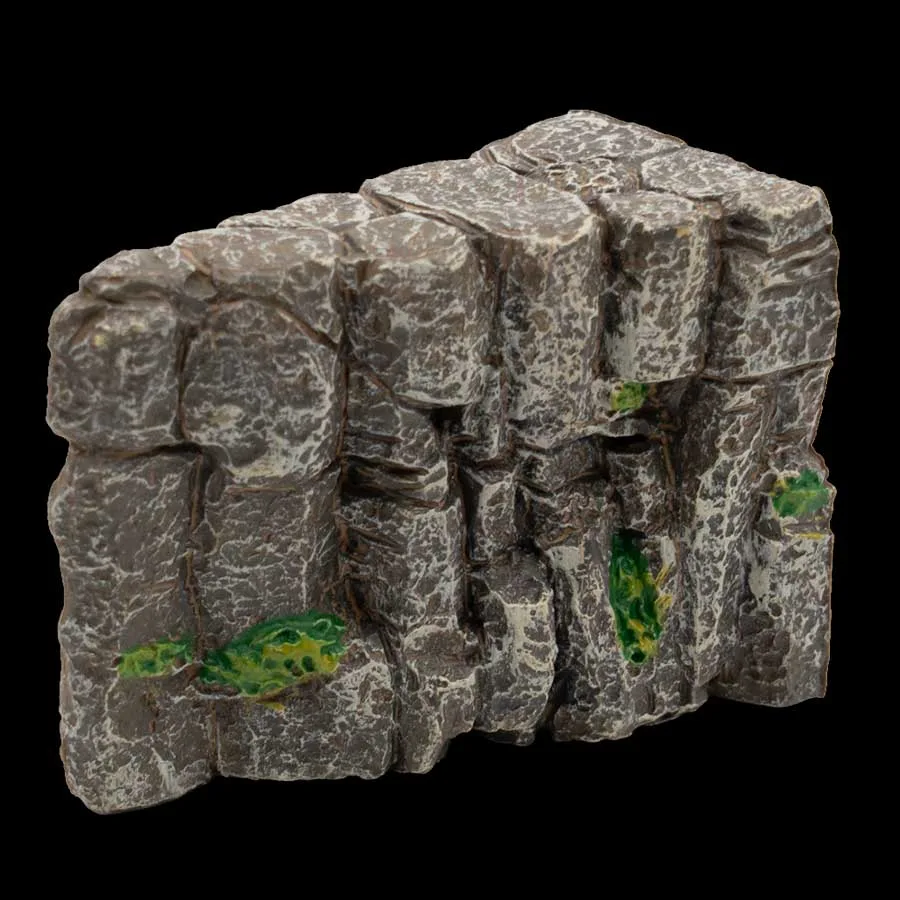
- Swell Cliff (Unpainted): Individual piece from the Wilderness and Organic Scatter line, tagged for Elevation & Bridges, part of the KS4 line. Scatter pieces like this often take the most handling, so knowing how to pin and glue them keeps your table stable.
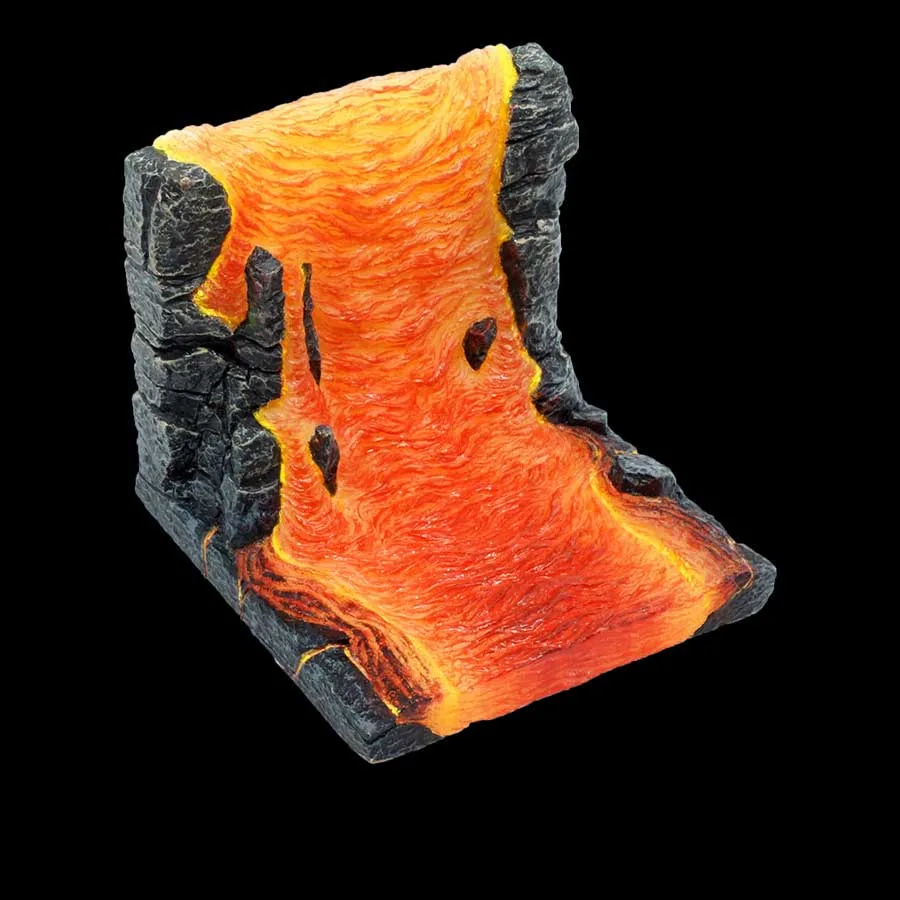
- Magma Lavafall (LED) (Unpainted): LED piece with lava and magma theming, includes anchor magnets for stable placement, part of the Hellscape (KS6.66) line. LED pieces have internal wiring; if the resin cracks near the LED, repair is limited and you should avoid drilling into the electronics.
Most resin terrain repairs come down to a clean joint, the right glue, and a little patience. Pin heavy pieces, fill missing chips with putty, and repaint to match. When the resin is crumbling or the break is structural, replace the piece and save yourself the frustration.