Quick Answer
To replace the cap on your Aarke glass water bottle, first ensure you have the correct replacement cap that matches your bottle model. Then, remove the old cap by unscrewing it counterclockwise, align the new cap with the threads, and screw it on clockwise until snug. Avoid over-tightening to prevent damage to the threads or cap.
Replacing the cap on your Aarke glass water bottle is a straightforward task that can extend the life of your bottle and maintain its sleek aesthetic. Whether your cap is cracked, lost, or simply worn out, a proper replacement ensures a leak-proof seal and keeps your hydration routine uninterrupted.
This guide walks you through each step, from identifying the right cap to installing it correctly, with checkpoints to help you avoid common mistakes like cross-threading or over-tightening.
Why a Proper Fit Matters
A correctly fitted cap is essential for preventing leaks and maintaining carbonation if you use your bottle for sparkling beverages. A loose or ill-fitting cap can lead to spills, while over-tightening can strip the threads, making the bottle unusable. Understanding the fit of your Aarke glass bottle cap ensures you get the best performance and longevity from your drinkware.
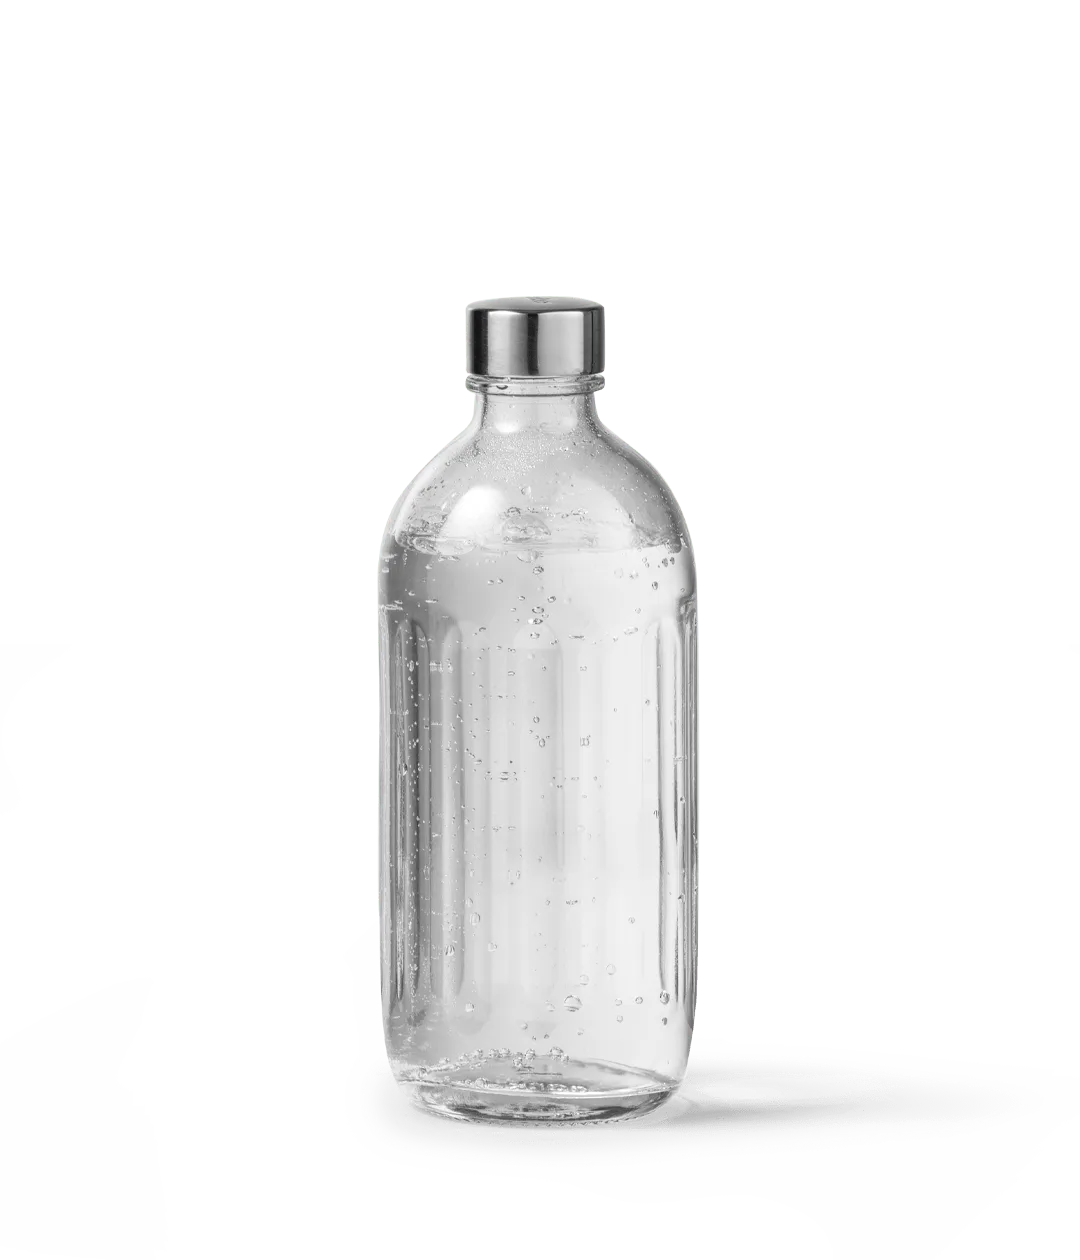
glass bottle
Aarke designs its bottles and caps with precision, so using compatible parts is key. While the caps are not always sold separately, knowing the exact model of your bottle helps you find the right replacement, whether through official channels or authorized retailers.
- Always check the model number on your bottle before ordering a replacement cap.
- If you're unsure about compatibility, contact Aarke customer support for guidance.
Tools and Preparation
Before you begin, gather the following items: a clean, dry cloth, the new cap, and your Aarke glass water bottle. Ensure the bottle is empty and clean to prevent any water from spilling during the process. Having a well-lit workspace helps you see the threads clearly.
It's also a good idea to inspect the bottle's neck for any damage, such as cracks or worn threads. If the bottle itself is damaged, a new cap won't solve the problem, and you may need to consider a replacement bottle.
- Use a soft cloth to wipe the bottle's threads and remove any debris that could affect the seal.
Step-by-Step Replacement
Follow these steps to replace the cap on your Aarke glass water bottle. Each step includes a checkpoint to help you avoid common mistakes.
Remember to handle the glass bottle with care, especially if it's full or recently used.
Step-by-Step Cap Replacement
- Step 1: Identify Your Bottle Model: Check the bottom of your Aarke glass bottle for a model number or name. This ensures you purchase the correct replacement cap. If the model is not visible, measure the diameter of the bottle opening to compare with available caps. Checkpoint: Confirm the cap you have matches your bottle model to avoid poor fit.
- Step 2: Remove the Old Cap: Hold the bottle securely and twist the cap counterclockwise to unscrew it. If the cap is stuck, run it under warm water for a few seconds to loosen it. Avoid using tools that could scratch the cap or bottle. Checkpoint: Inspect the old cap for damage and note the thread pattern for comparison.
- Step 3: Clean the Threads: Wipe the bottle's neck and threads with a clean, dry cloth to remove any residue or moisture. This ensures a clean surface for the new cap to seal properly. Checkpoint: The threads should be dry and free of debris before installing the new cap.
- Step 4: Align and Install the New Cap: Place the new cap over the bottle opening, aligning the threads. Turn the cap clockwise slowly, ensuring it catches the threads correctly. Tighten until snug, but do not over-tighten. Checkpoint: If the cap resists, unscrew and realign. Over-tightening can strip threads.
- Step 5: Test the Seal: Fill the bottle with water, close the cap, and turn it upside down for 30 seconds to check for leaks. If no leaks occur, the cap is properly installed. Checkpoint: If leaks appear, remove the cap and repeat steps 3 and 4.
Compatible Aarke Products
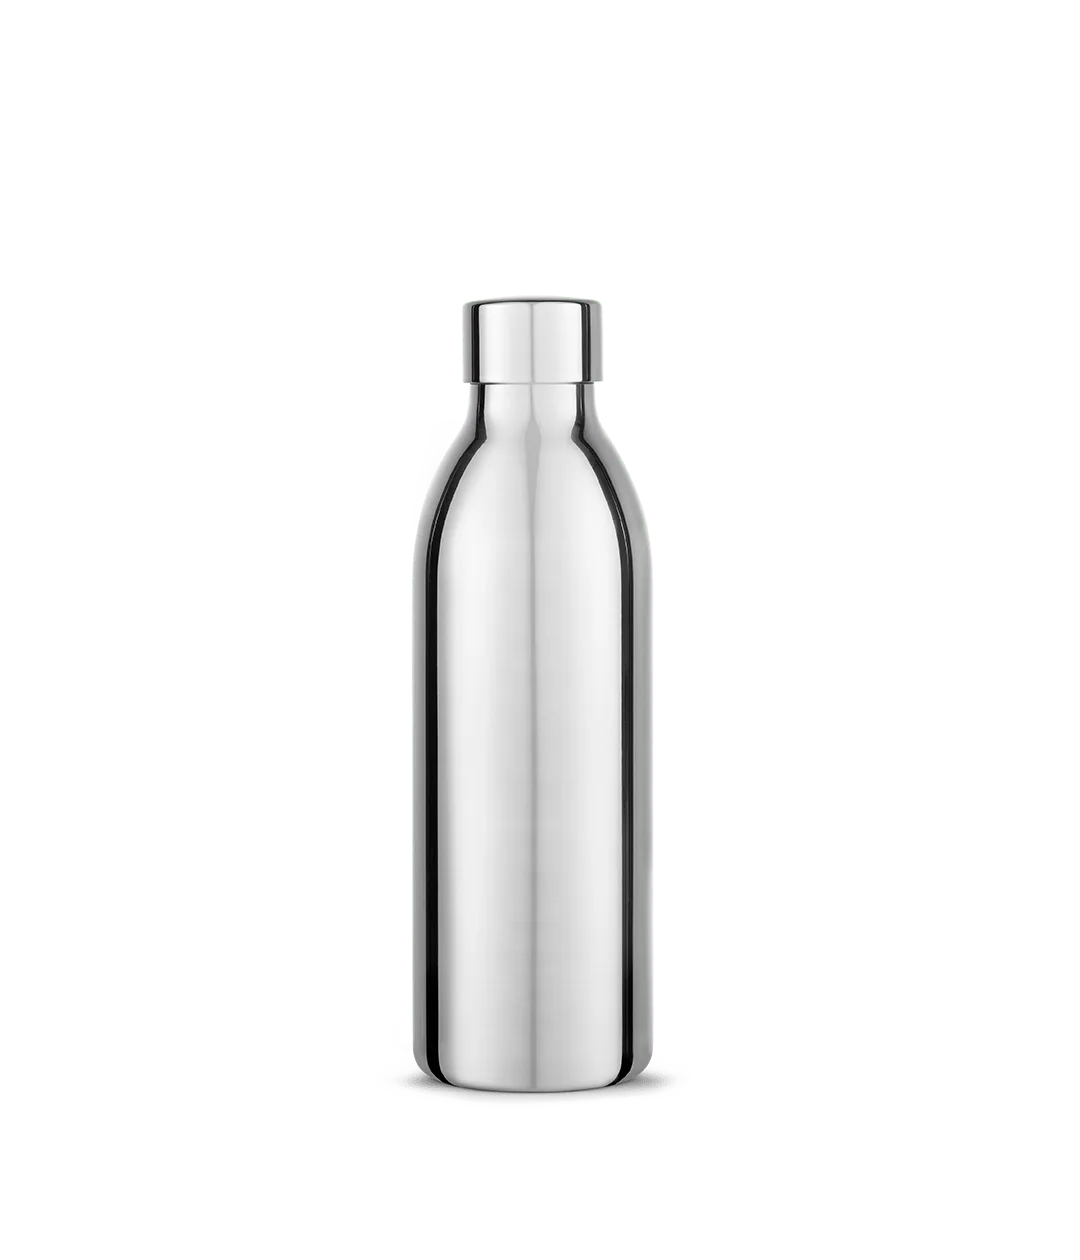
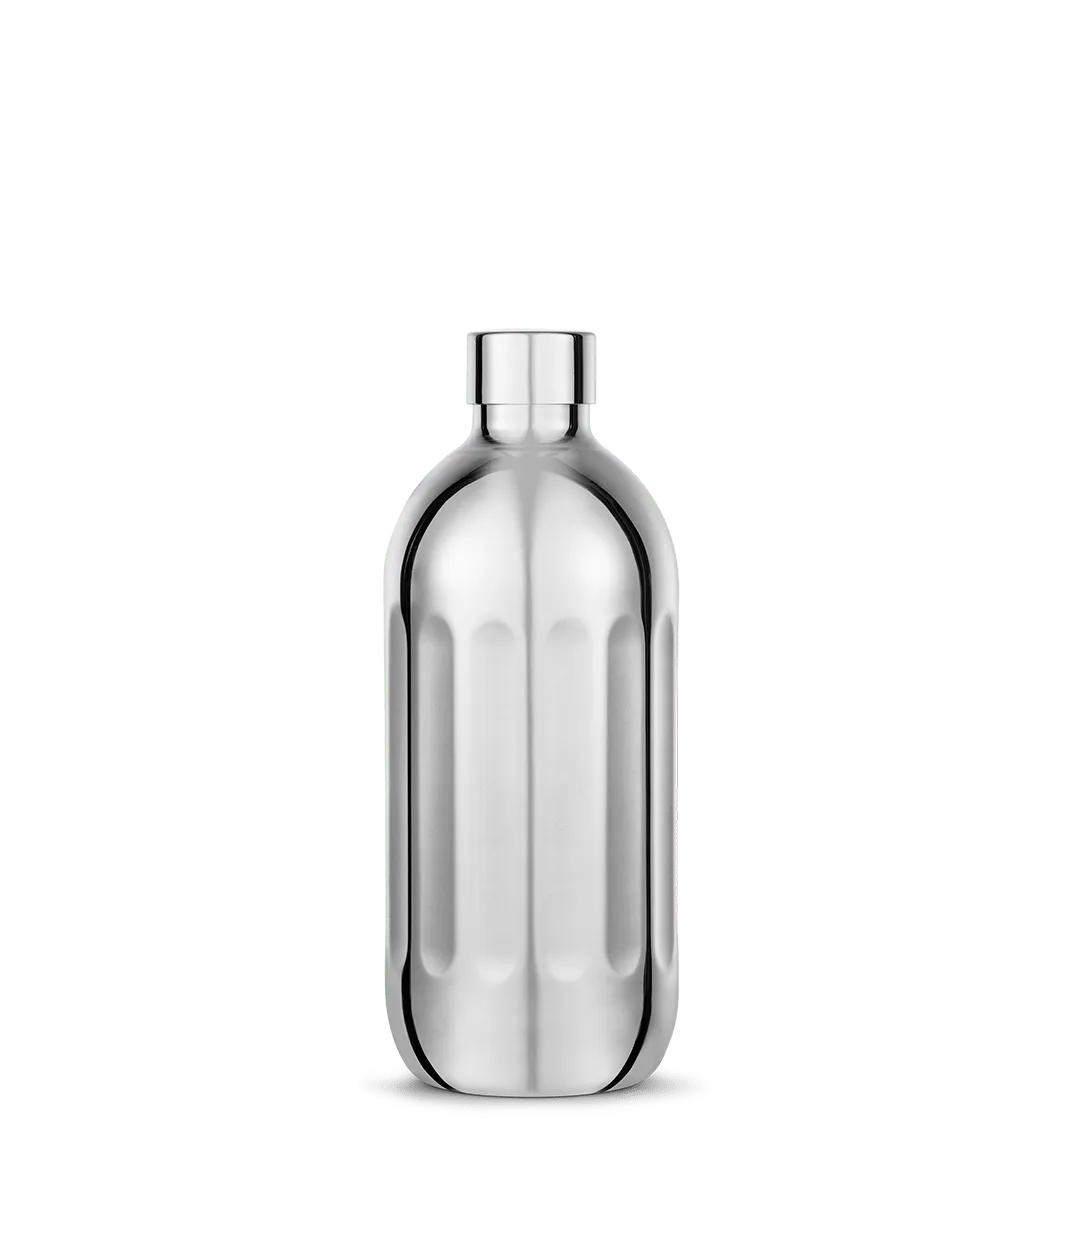
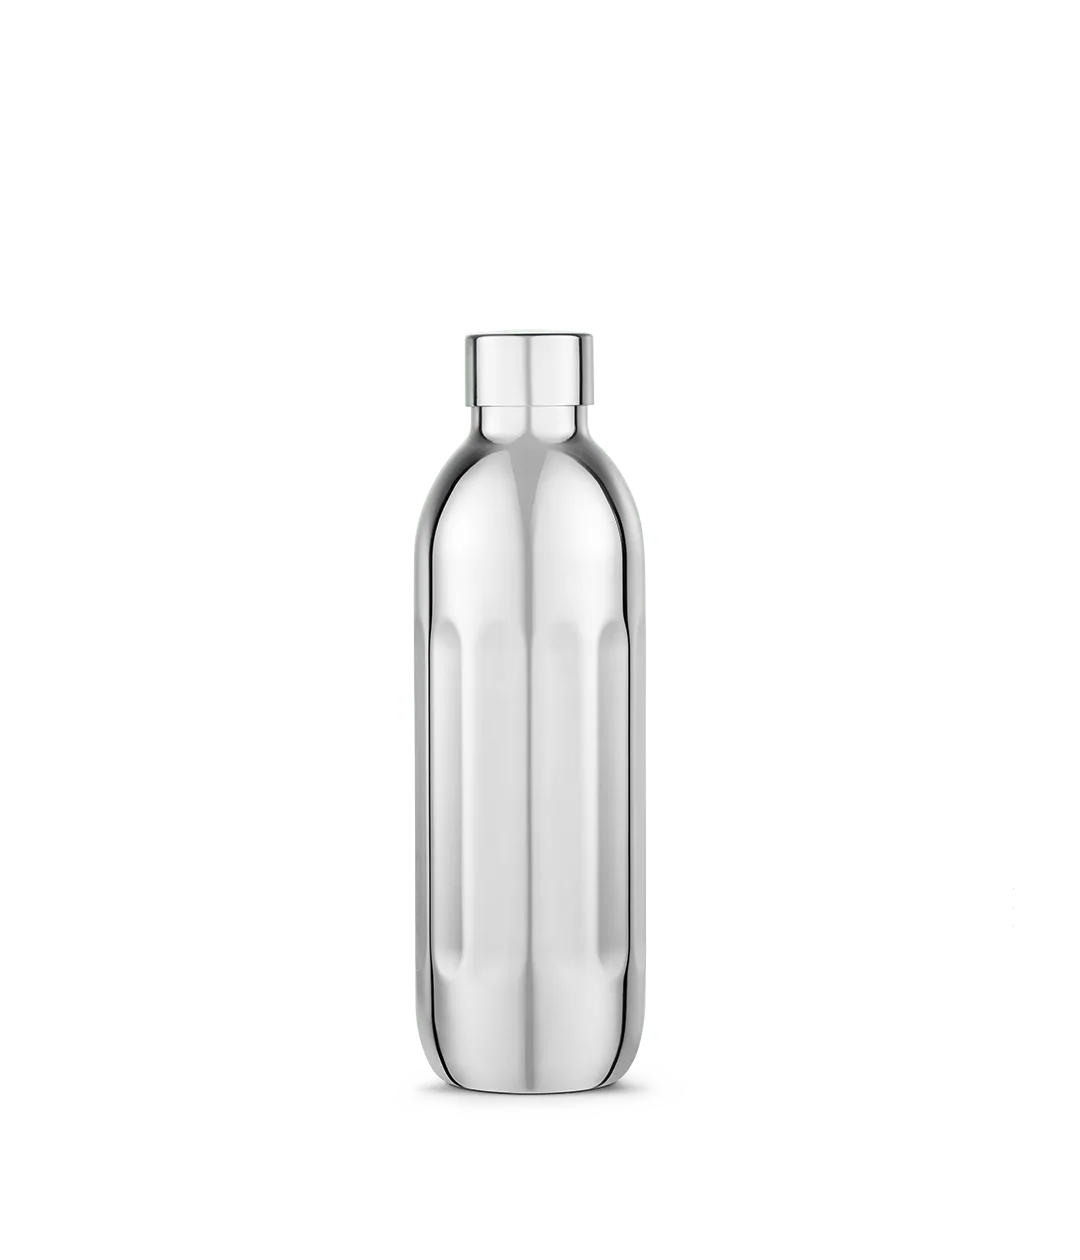
- https://aarkeopl.com/products/to-go-bottle-small-332210https://aarkeopl.com/products/to-go-bottle-small-332214https://aarkeopl.com/products/to-go-bottle-332211To-Go Bottle Small: Crafted from stainless steel with over 90% recycled content. Hygienic, dishwasher-safe, and built to carbonate directly in your Aarke – Designed to work with – or without – Aarke Carbonator Pro, the construction is safe even for sparkling beverages. While this guide focuses on glass bottles, the To-Go Bottle Small offers a durable alternative if you prefer stainless steel. Its cap is designed for a secure fit, ensuring no leaks during travel.
- Glass Carafe Purifier Large: The Glass Carafe Purifier Large is a replacement carafe designed specifically for the Aarke Purifier Large water filter pitcher. Made from clear glass, allowing you to see water levels at a... If you use a glass carafe for filtered water, understanding proper care and replacement parts, including caps, is essential for maintaining its minimalist design and functionality.
Replacing the cap on your Aarke glass water bottle is a simple DIY task that keeps your drinkware functional and stylish. By following these steps and checking for proper fit, you can avoid leaks and extend the life of your bottle. If you encounter issues, consult Aarke's customer support for further assistance.