Quick Answer
To replace the group head gasket on your espresso machine, first ensure the machine is off and cool, then remove the shower screen and old gasket, clean the group head, install the new gasket, and reassemble. Always check the gasket size and condition regularly to keep your espresso machine in good condition.
A worn group head gasket is a common cause of leaking espresso machines and under-extracted shots. This small rubber ring creates a watertight seal between the portafilter and the group head, and over time it hardens, cracks, or becomes compressed. Replacing it is a straightforward DIY task that can save you a service call and keep your espresso machine in good condition.
In this guide, we'll walk you through the replacement process step by step, including how to identify when the gasket needs changing, what tools you'll need, and common mistakes to avoid. Whether you're a home barista or a small café owner, this maintenance task is essential for consistent espresso extraction.
Signs Your Group Head Gasket Needs Replacing
The most obvious sign is water leaking around the portafilter during extraction. If you see drips or spray escaping from the sides, the gasket is likely worn. Another indicator is that the portafilter feels loose or requires excessive force to lock in. You may also notice coffee grounds sticking to the gasket or a change in shot quality, such as faster flow or channeling.
Inspect the gasket visually every few months. Look for cracks, hardening, or a shiny, compressed surface. If it feels hard or has lost its flexibility, it's time to replace it. Most home espresso machines need a new gasket every 6-12 months, but this varies with usage. If you pull multiple shots daily, check more frequently.
- A common mistake is ignoring small leaks until they become major. Catching a worn gasket early prevents damage to the group head and portafilter.
Tools and Materials You'll Need
Before you start, gather a few simple tools. You'll need a flathead screwdriver or a gasket removal tool, a new group head gasket of the correct size, and a clean cloth. Some machines also require a hex key to remove the shower screen, but many newer models have a screwless design that allows the screen to pop off easily.
Make sure the machine is turned off and completely cool before you begin. Working with a hot group head can cause burns and make the gasket more difficult to handle. Also, have a small bowl or container to hold screws and parts so nothing gets lost.
- Using the correct group head gasket size is crucial. Consult your machine's manual or measure the old gasket's outer diameter and thickness to ensure a proper fit.
Removing the Old Gasket
Start by removing the shower screen. If it's held by a screw, use the appropriate screwdriver to remove it. If it's a screwless design, gently pry it off with a flathead screwdriver. Set the screen aside. You may also need to remove a dispersion block or other internal parts, depending on your machine's design.
With the shower screen removed, you'll see the old gasket seated in a groove. Use a flathead screwdriver or a gasket removal tool to carefully pry it out. Be gentle to avoid scratching the group head. Once the gasket is out, inspect the groove for any debris or old gasket residue and clean it thoroughly with a damp cloth.
- A common mistake is using excessive force when prying out the gasket, which can damage the group head. Take your time and work around the gasket to loosen it evenly.
Installing the New Gasket
Before installing the new gasket, ensure it's the correct size and orientation. Most gaskets are symmetrical, but some have a beveled edge that should face the portafilter. Check your machine's manual for specific instructions. Press the new gasket firmly into the groove, making sure it sits evenly and is fully seated.
Reinstall the shower screen and any other parts you removed. Tighten any screws securely but avoid over-tightening, which can strip threads. Once reassembled, run a test shot without coffee to check for leaks. Lock the portafilter into place; it should require a moderate amount of force, around 90 degrees of rotation. If it's too loose or too tight, you may need a different gasket thickness.
- A common mistake is installing the gasket upside down or not seating it fully, which can cause immediate leaks. Double-check the orientation and press it in evenly.
Step-by-Step Replacement Process
- Prepare the machine: Turn off and unplug the espresso machine. Allow it to cool completely. Remove the water tank and drip tray to access the group head easily. Checkpoint: Ensure the machine is cool to avoid burns and make handling easier.
- Remove the shower screen: Use a screwdriver or hex key to remove the screw holding the shower screen. If screwless, gently pry it off. Set aside with any screws in a safe place. Common mistake: Forgetting which screw goes where. Keep parts organized.
- Pry out the old gasket: Use a flathead screwdriver or gasket removal tool to carefully pry the old gasket out of its groove. Work around the gasket to loosen it evenly. Checkpoint: Inspect the groove for debris and clean it thoroughly before installing the new gasket.
- Install the new gasket: Press the new gasket into the groove, ensuring it's oriented correctly and fully seated. Reinstall the shower screen and tighten screws securely. Common mistake: Over-tightening screws can strip threads. Tighten just until snug.
- Test for leaks: Run a test shot without coffee. Lock the portafilter in place and check for any water escaping around the edges. Adjust the gasket if necessary. Checkpoint: If leaks persist, the gasket may be the wrong size or not seated properly.
Recommended Replacement Parts
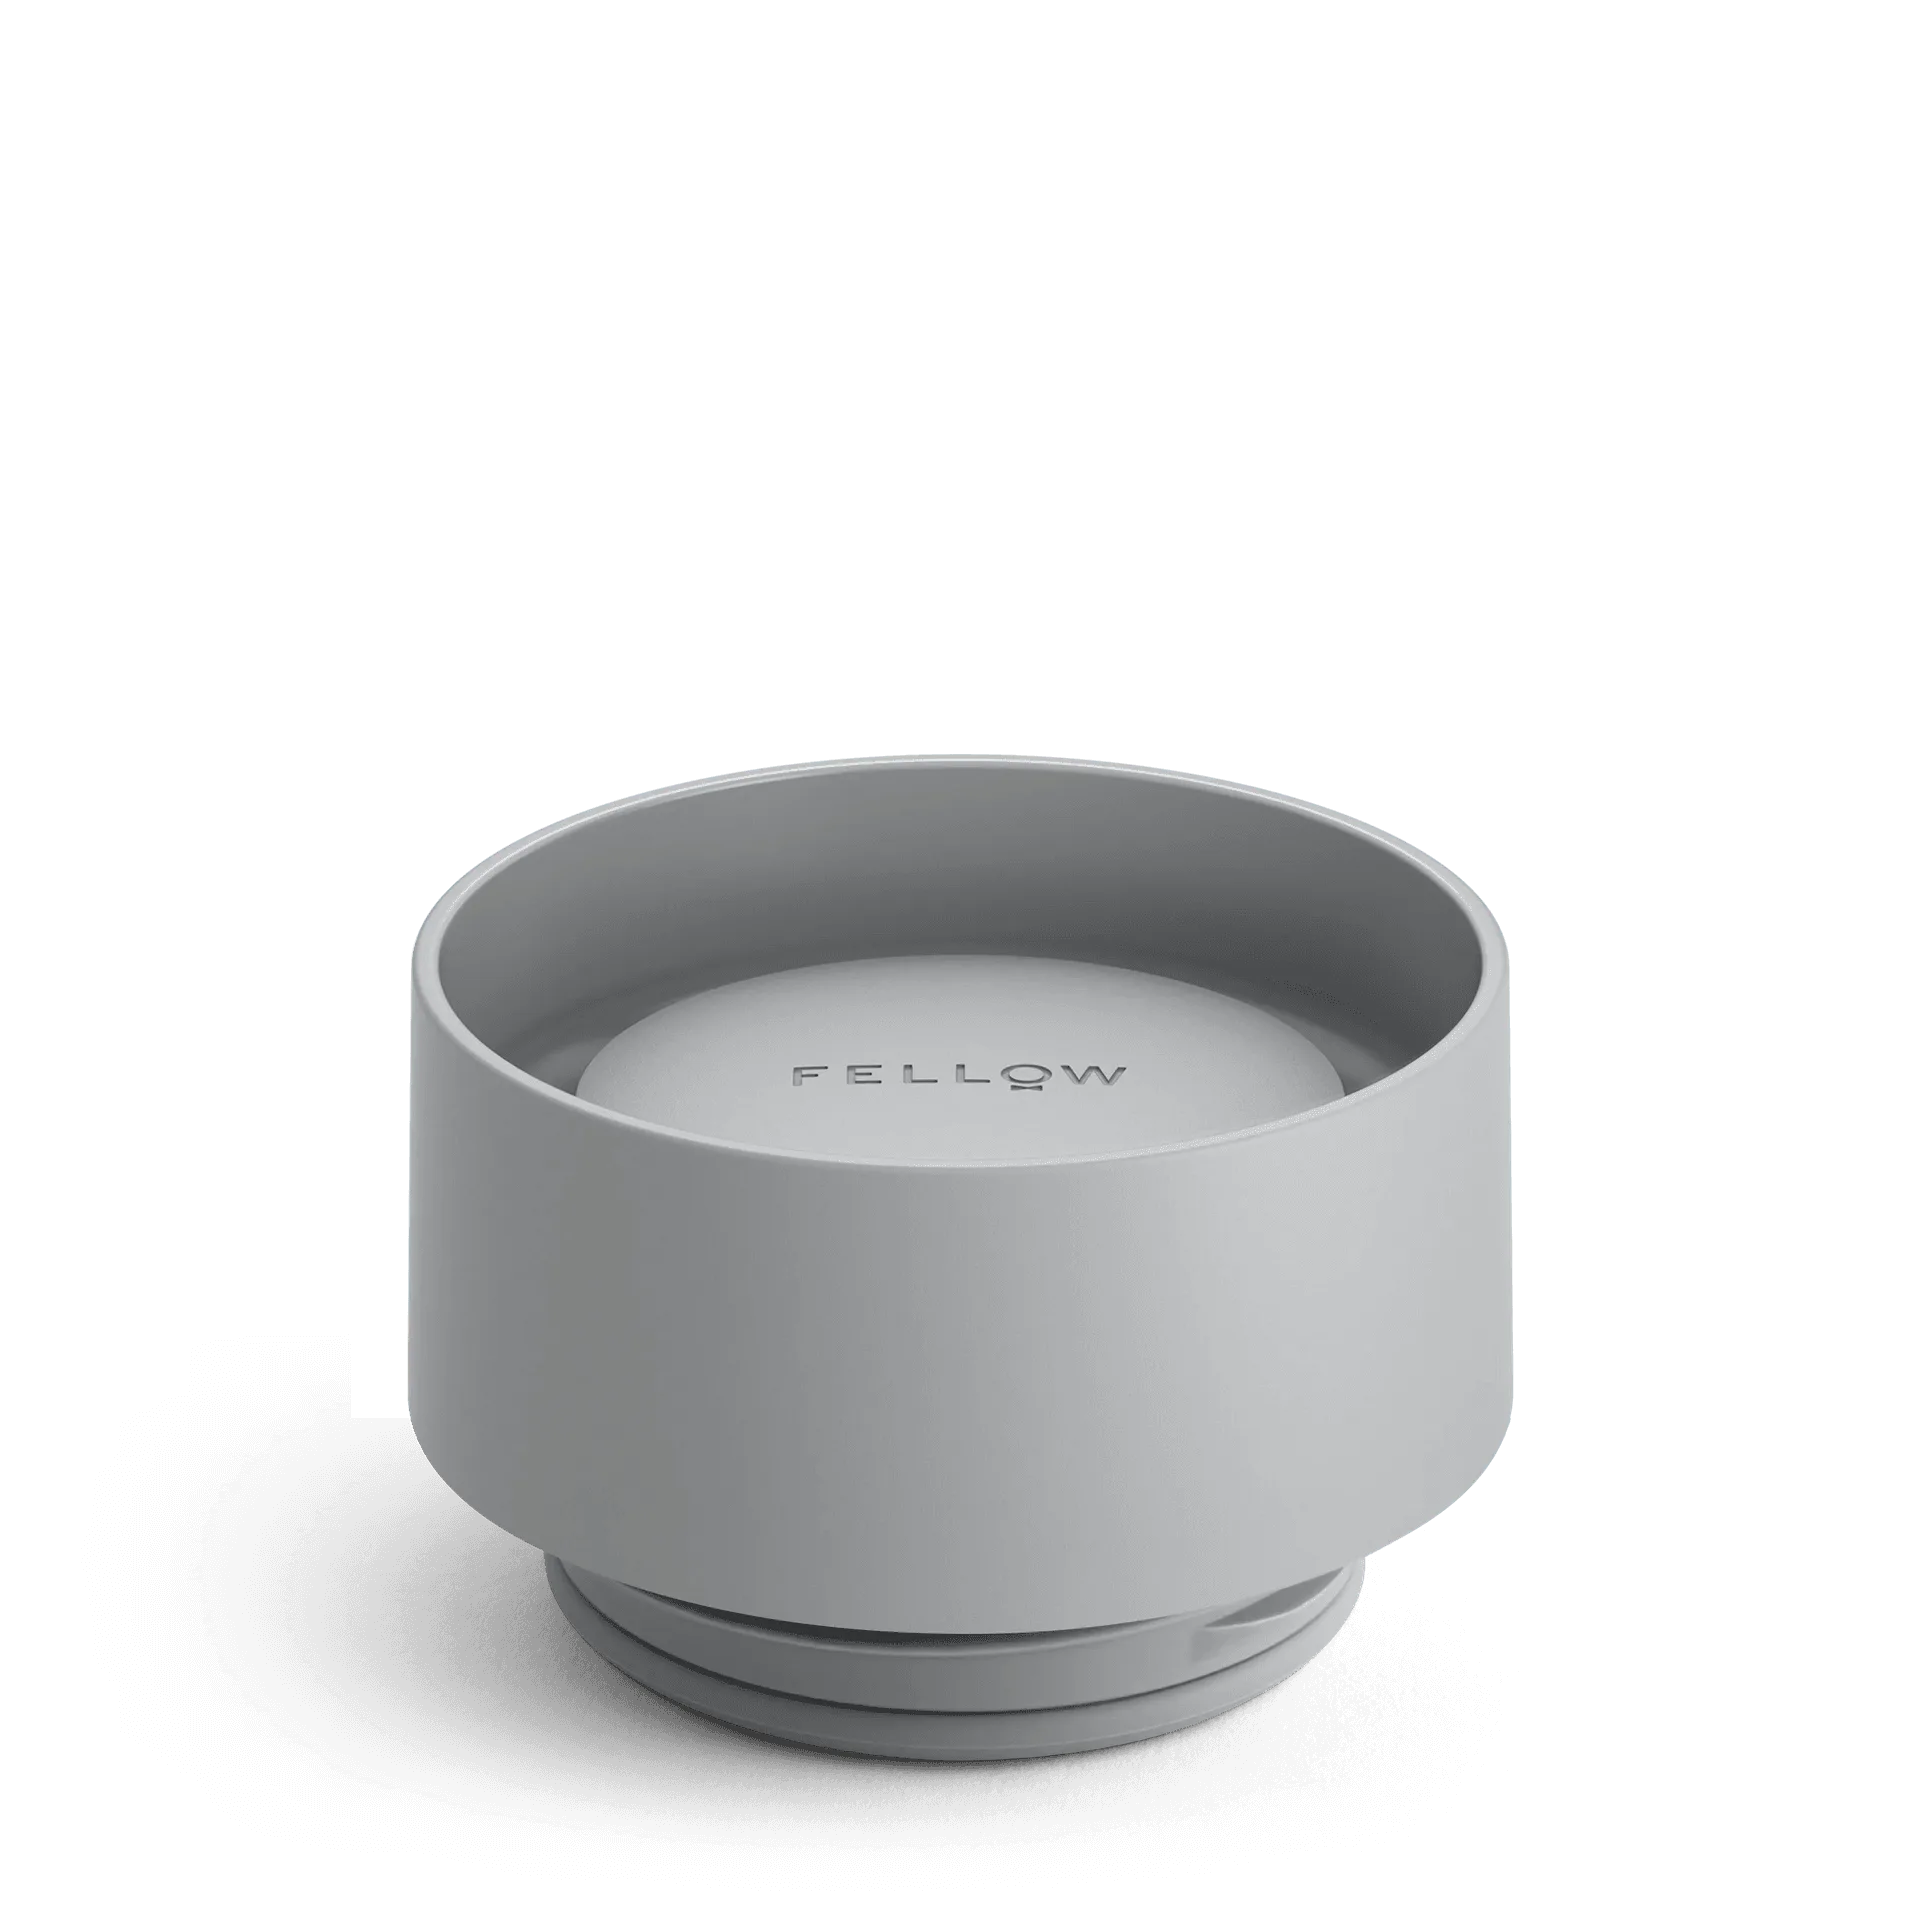
- Dispersion Block Seal: The Dispersion Block Seal is a replacement part designed to maintain the performance of your Fellow brewing equipment. This component helps ensure a proper seal during the brewing process. While not a group head gasket, this seal is a similar maintenance item that ensures a proper seal in your brewing equipment. Replacing it when worn helps maintain consistent water dispersion and overall performance.
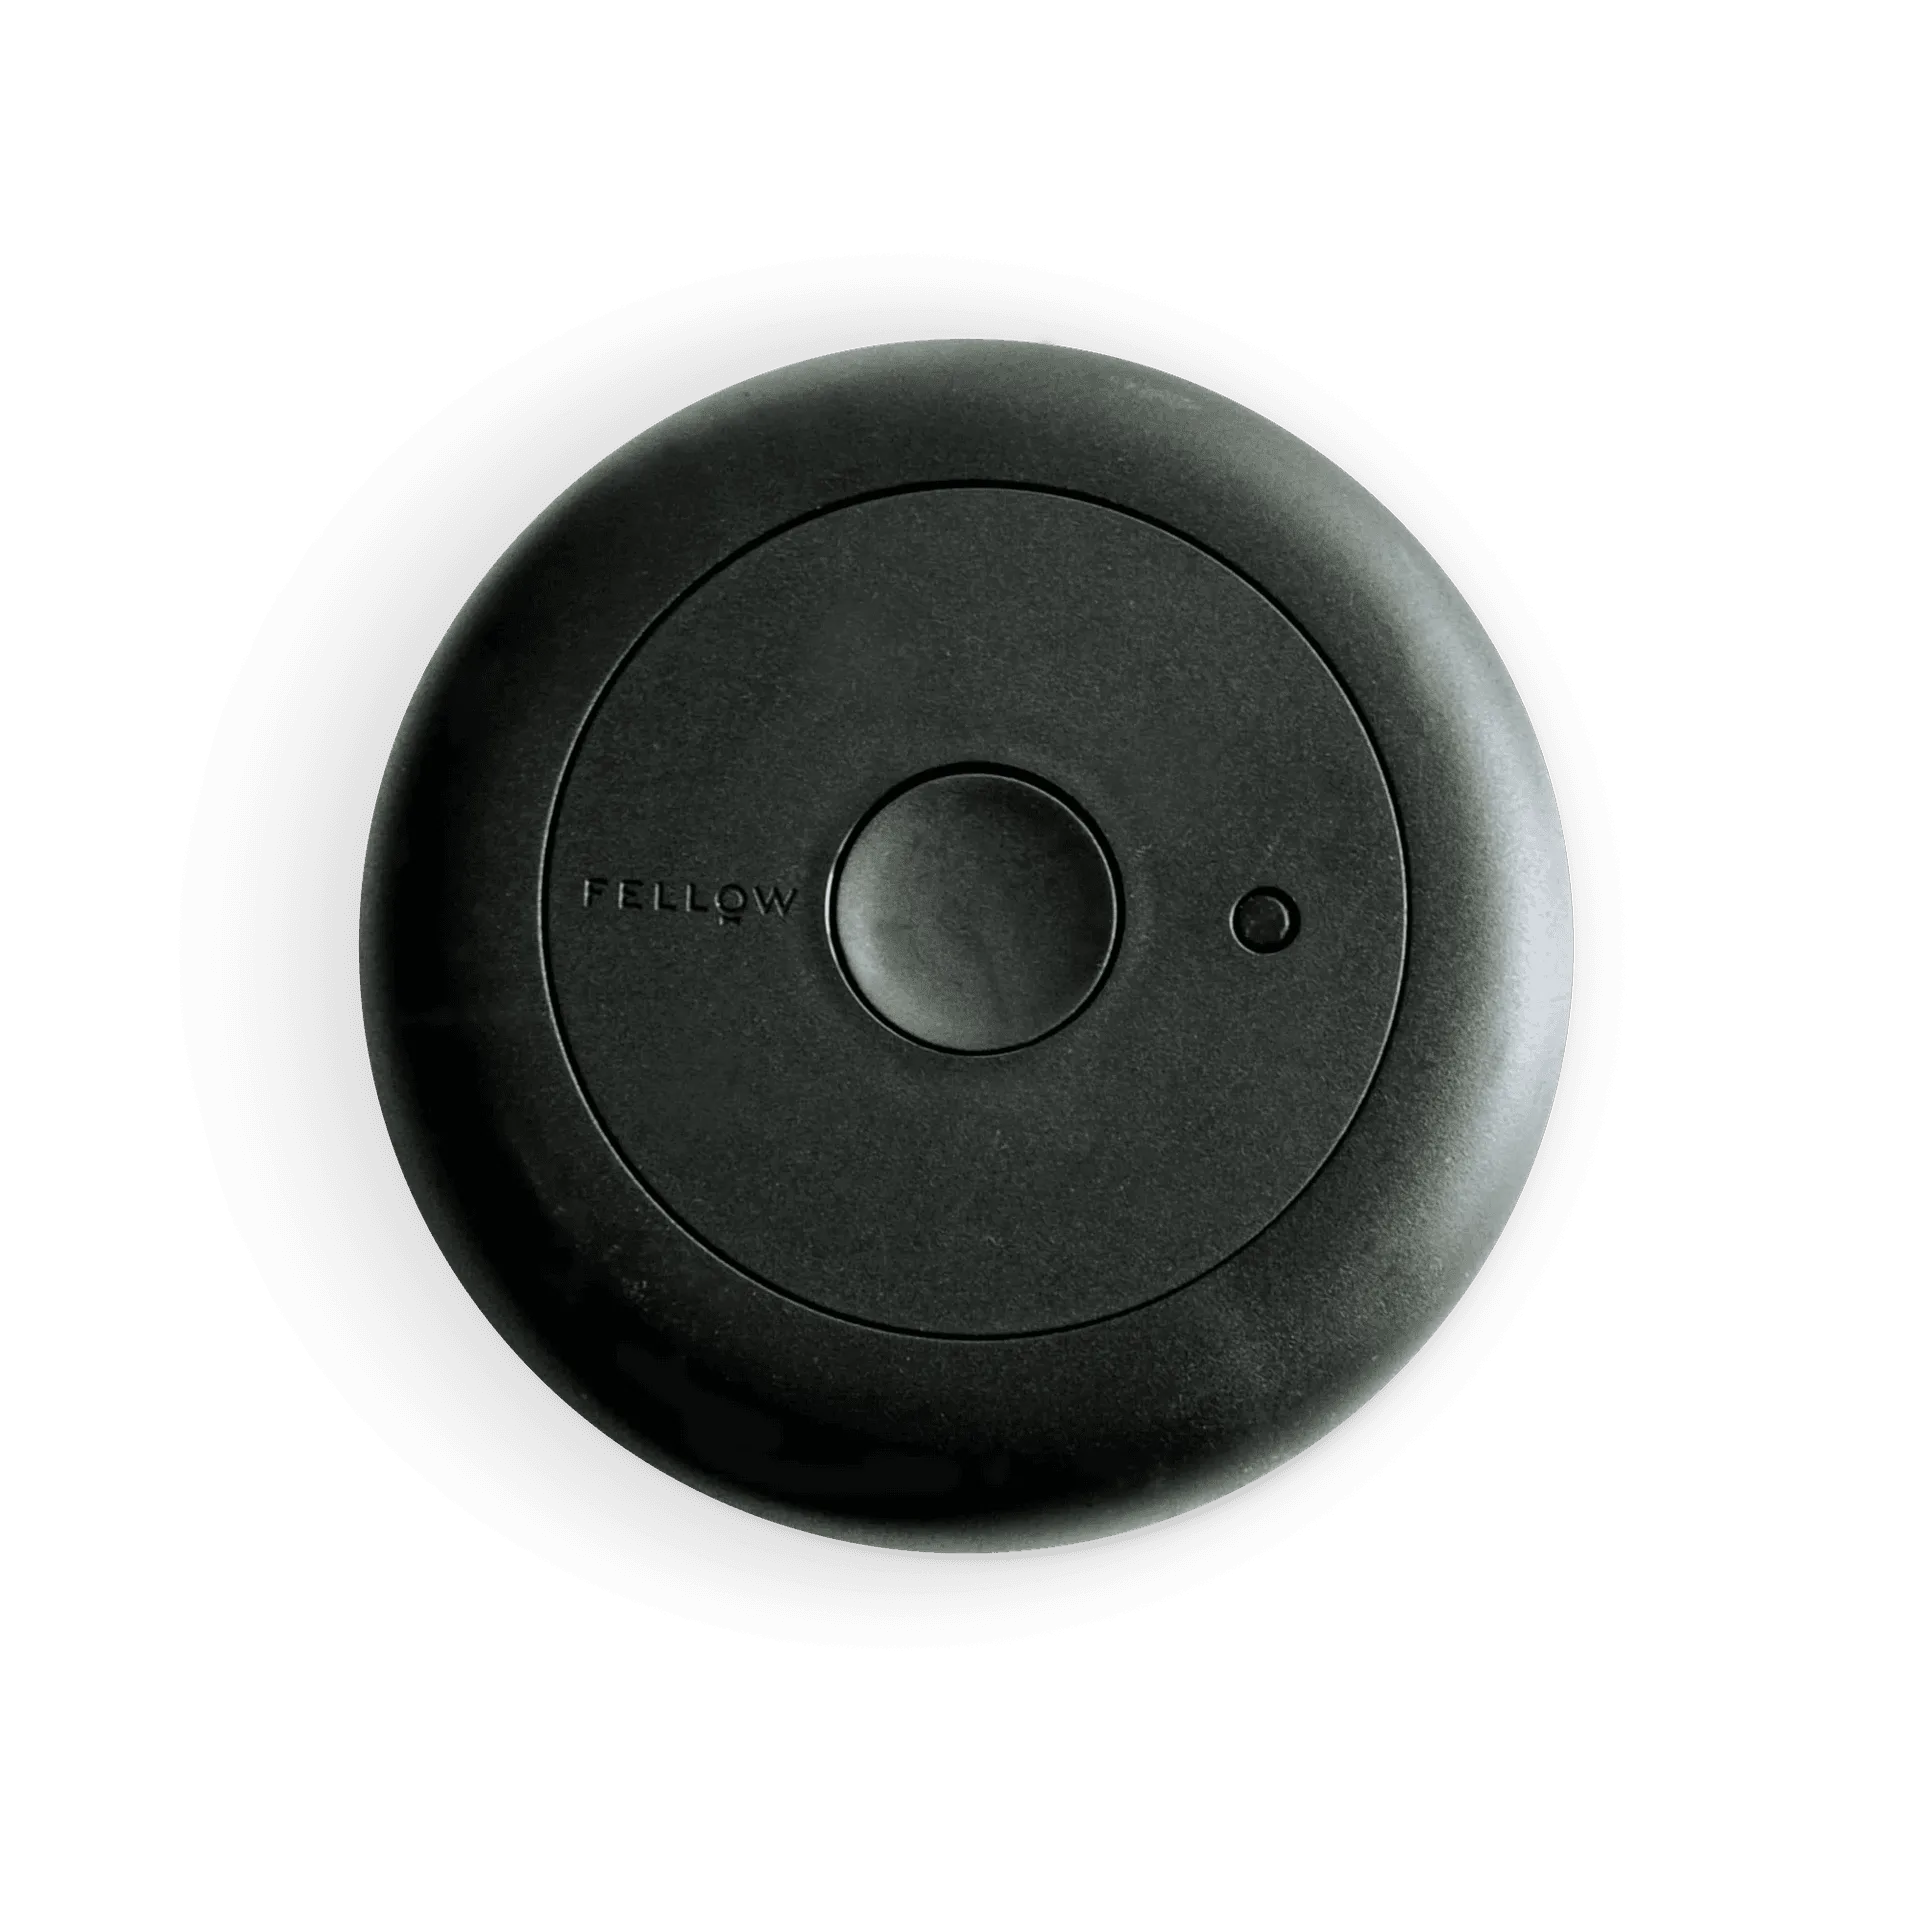
- Atmos Lid: The Atmos Lid is a replacement part designed for use with the Atmos Vacuum Canister, available in both Electric and Manual versions to suit your preference. Proper storage of your coffee beans is part of espresso machine maintenance. A good vacuum seal keeps beans fresh, which affects extraction quality and the longevity of your machine's internal components.
Replacing the group head gasket is a simple maintenance task that can significantly improve your espresso machine's performance and extend its lifespan. By regularly inspecting and replacing this small part, you'll avoid leaks, ensure consistent extraction, and keep your espresso machine in good condition for years to come.