Quick answer
Remove the old cover and pad, lay the new pad flat on the board, then pull the cover over the top and cinch it tight with the drawstring or clips. Replace both layers at the same time, because a worn pad will let the metal mesh telegraph through a brand-new cover.
A sagging cover or a pad that has flattened into a thin sheet is usually the reason an iron starts snagging or leaving mesh marks on fabric. Replacing both layers takes about ten minutes and needs no special tools.
This guide walks through the order of operations, how to get a wrinkle-free fit, and where people typically go wrong. If you are also refreshing your pressing setup, the same session is a good time to check your pins and hand needles.
Before you start: check the board and gather supplies
Flip the board over and look at the underside. If the metal mesh or the frame is bent, a new cover will not sit flat, and you should address the frame first. Wipe down the bare board with a damp cloth and let it dry completely, because trapped moisture can cause rust spots that stain fabric later.
You need the new pad, the new cover, and a few pins to hold the layers while you work. Dritz 3/4" Petite Pearlized Pins, Assorted, 100 pc are stainless steel and rustproof, so they will not leave marks if you leave one in by accident. A reusable storage box with a curved side makes them easy to pull out one at a time.
- Checkpoint: the board should be dry and free of rust before the pad goes on.
Remove the old pad and cover
Cut or untie the drawstring, then peel the cover off starting at one end. If the cover is stapled or clipped, remove those fasteners rather than yanking, which can tear the pad underneath and leave debris on the board.
Old foam pads often crumble as you pull them off. Work over a trash bag and wipe the board again afterward, because leftover foam crumbs will create bumps under the new pad. This is also the moment to check whether the old pad had a heat-reflective layer, since that changes how the new one should be oriented.
- Common mistake: reusing the old pad under a new cover. It is already compressed where you iron most, so the new cover will look uneven within a few uses.
Install the new pad
Center the pad on the board with equal overhang on all sides. Smooth it from the middle outward with the flat of your hand so no air pockets remain. If your pad has a reflective side, face it toward the board, not toward the fabric you will iron.
Some pads are a single layer, others are a two-piece set with a thicker felt layer and a thinner top layer. Follow the order in the packaging; if the pad came without instructions, put the denser layer against the board and the softer layer on top. Do not stretch the pad to make it reach the edges.
- Checkpoint: run your hand across the surface. You should feel no ridges or lumps before the cover goes on.
Fit and secure the cover
Pull the cover over the pad, starting at the wide end and working toward the narrow end. Seat the nose of the board first, since that is the hardest part to adjust later. Then work the sides down evenly rather than pulling one side all the way.
Tighten the drawstring or attach the clips underneath. The cover should be taut enough that it does not shift when you press a hand into it, but not so tight that it pulls the pad out of shape. If you are using pins to hold the layers temporarily, place them at the underside edge where they will not contact the iron.
- Common mistake: pulling the cover tight before the pad is smooth. You will lock in wrinkles that show up as marks on fabric.
Test the surface and finish the edges
Run a warm, dry iron over the whole surface with no fabric to check for high spots and to let the cover settle. If you see mesh marks in the cover, the pad is too thin or has shifted, and you should lift the cover and reposition it before you iron anything valuable.
Tuck any excess cover fabric under the board and secure it so it does not catch on the iron cord. If the cover has a drawstring, tie it off with a double knot and trim the loose ends to about two inches so they do not dangle.
- Checkpoint: iron a scrap of cotton first. If the surface feels uneven, fix it now rather than after a pressing project.
Step-by-step replacement checklist
- 1. Inspect and clean the bare board: Check the frame and mesh for bends, then wipe the board dry. Any rust or debris left here will show through the new pad. If the frame is bent, fix or replace the board before buying a new cover.
- 2. Remove the old cover and pad: Cut the drawstring or release the clips, peel the cover off, and discard the old pad. Vacuum or wipe away foam crumbs. Do not reuse the old pad; it is compressed exactly where you iron most.
- 3. Center the new pad and smooth it flat: Place the pad with even overhang, smooth from the center outward, and orient any reflective layer toward the board. No stretching and no lumps before the cover goes on.
- 4. Pull the cover on from the wide end: Seat the nose first, then work the sides down evenly. Tighten the drawstring or clips underneath. The cover should be taut but not pulling the pad out of shape.
- 5. Test with a warm dry iron: Press over the whole surface with no fabric to reveal high spots or mesh marks, then tuck and secure any excess fabric. Fix uneven spots now, before you press a real garment.
Products that help with this job
- 3/4" Petite Pearlized Pins, Assorted, 100 pc: Stainless-steel pins with a 4mm pearlized ball head, rustproof, in a reusable plastic storage box with a curved side for easy pin removal. Handy for pinning the pad and cover layers in place while you tighten the drawstring, and the rustproof finish means a forgotten pin will not stain fabric.
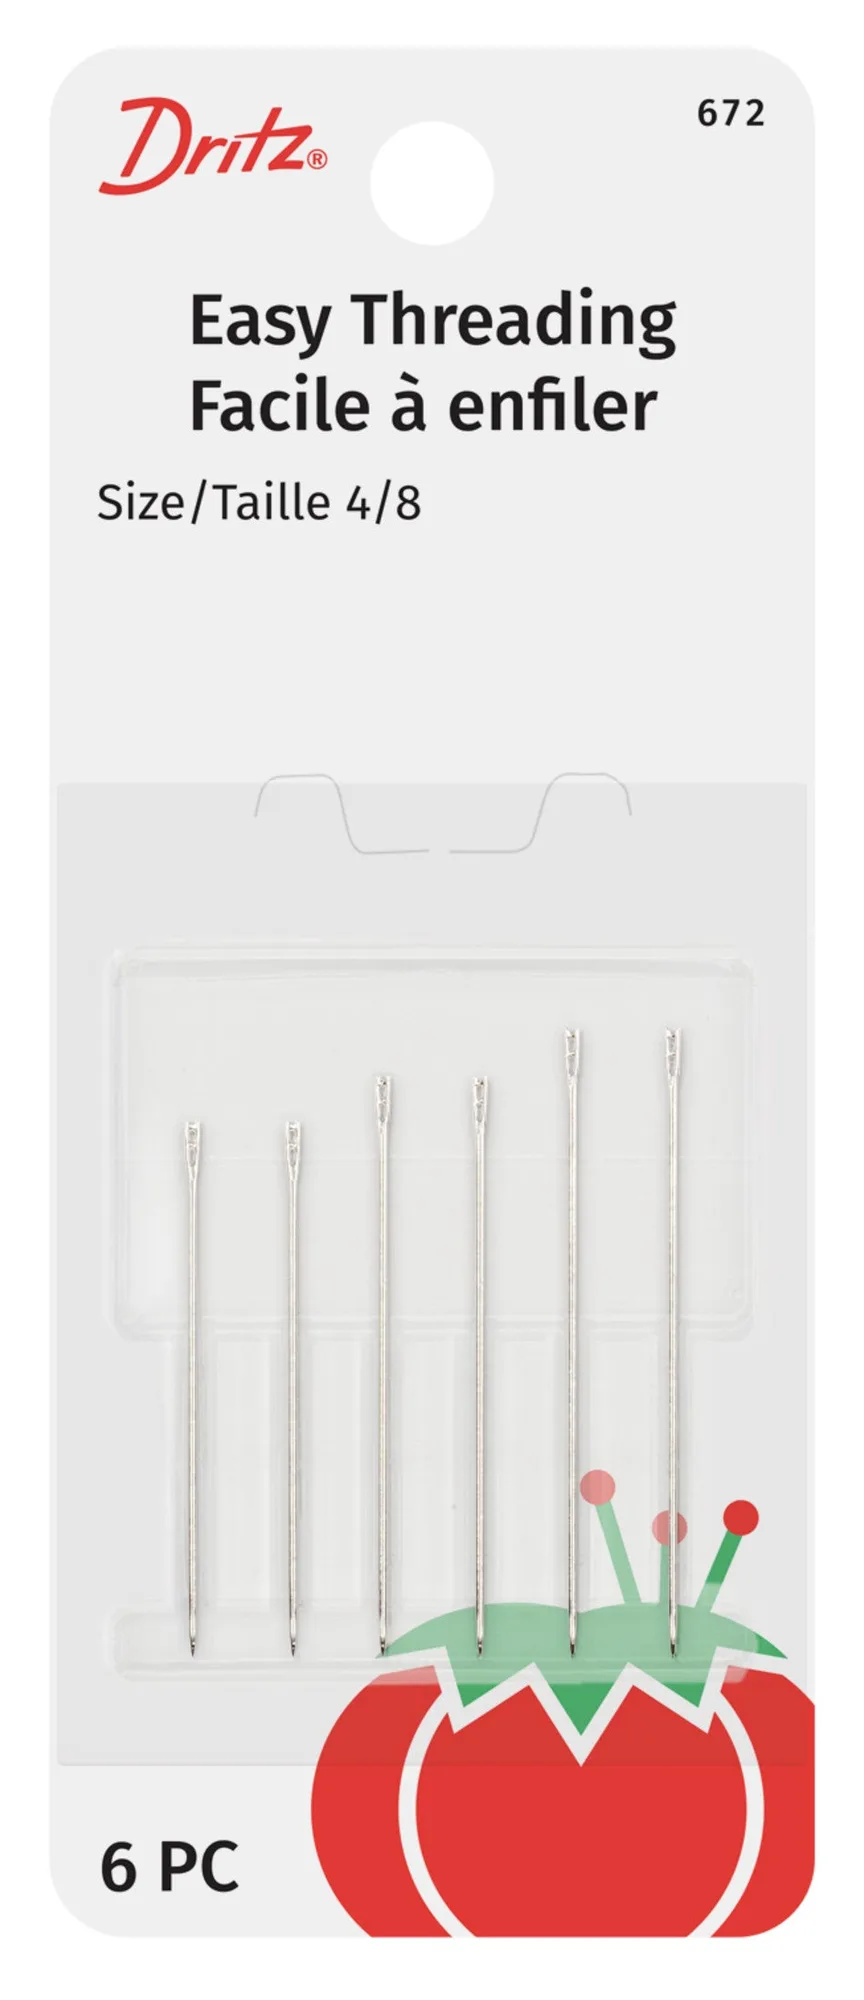
- https://prymamerica.com/products/672-80115476898092e375a99585-1315957Easy Threading Hand Needles, Size 4/8, 6 pc: Six self-threading needles, also known as calyx-eyes, with a slotted top and sharp tip that thread by pulling the thread down from the top. Useful if you decide to tack a loose cover edge or repair a seam on the pad rather than replacing the whole set.
Replacing the pad and cover together is the difference between a surface that marks your fabric and one that presses cleanly. Work from the bare board outward, keep the layers smooth, and test with a scrap before your next project.