Quick Answer
To replace the LifeStraw Go Series mouthpiece, remove the old mouthpiece by pulling it off the straw, align the new mouthpiece with the straw opening, and push it firmly until it clicks into place. Ensure a snug fit to prevent leaks, and replace the mouthpiece every few months or when you notice wear, cracks, or a loose fit.
The mouthpiece on your LifeStraw Go Series bottle is the part you touch with your lips every time you take a sip. Over time, it can wear out, crack, or become loose, affecting both comfort and hygiene. Replacing it is a simple task that takes less than a minute and keeps your bottle working like new.
Whether you use your LifeStraw Go for daily commutes, hiking trips, or emergency preparedness, knowing how to swap out the mouthpiece is essential maintenance. This guide walks you through each step, highlights common mistakes to avoid, and explains why using genuine replacement parts matters.
When to Replace the Mouthpiece
LifeStraw Go Series mouthpieces are made from durable silicone, but they don't last forever. Regular use, exposure to sunlight, and repeated cleaning can cause the material to degrade. Look for signs like cracks, tears, stiffness, or a loose fit that allows air to enter when you drink. If you notice any of these, it's time for a replacement.
Even without visible damage, consider replacing the mouthpiece every 6 to 12 months, depending on how often you use the bottle. If you share your bottle or use it in dusty or sandy environments, more frequent replacements may be wise. Keeping a spare pack on hand ensures you're never stuck with a worn-out mouthpiece.
- Check the mouthpiece for cracks or tears before each use, especially after cleaning or long trips.
Tools and Preparation
Replacing the LifeStraw Go Series mouthpiece requires no special tools. You'll only need the new mouthpiece and your bottle. Before you start, wash your hands thoroughly to avoid transferring dirt or bacteria to the clean mouthpiece. You may also want to rinse the new mouthpiece with clean water before installation.
If the old mouthpiece is stuck, try gently twisting it while pulling. Avoid using sharp objects or excessive force, as these could damage the straw or the bottle's cap. If you have a pack of replacement mouthpieces, you'll have extras on hand, which is convenient for long-term maintenance.
- Keep a pack of replacement mouthpieces in your gear bag so you're always prepared.
Step-by-Step Replacement Process
Follow these steps to replace the mouthpiece on your LifeStraw Go Series bottle. The process is quick and straightforward, but attention to detail ensures a proper fit and leak-free performance.
Start by removing the cap from the bottle. The mouthpiece is located on the straw that extends from the cap. Grip the mouthpiece firmly and pull it straight off the straw. If it's tight, wiggle it gently from side to side while pulling. Once removed, inspect the straw for any debris or damage.
Take the new mouthpiece and align its opening with the end of the straw. Push it onto the straw until it seats fully. You should feel it snap or fit snugly into place. Give it a gentle tug to confirm it's secure. Reattach the cap to the bottle, and you're ready to drink.
- After installation, test the bottle by taking a few sips of water to ensure there are no leaks or air gaps.
Common Mistakes to Avoid
One common mistake is using force or tools to remove the old mouthpiece, which can scratch or damage the straw. Another is not aligning the new mouthpiece properly, leading to a loose fit and leaks. Always push the mouthpiece straight on, not at an angle.
Some users forget to clean the new mouthpiece before installing it. While the mouthpiece is new, it may have dust or residue from packaging. Rinse it with clean water first. Also, avoid using the bottle with a damaged mouthpiece, as this can allow unfiltered water to bypass the straw and reduce the effectiveness of the filter.
- Never use the bottle if the mouthpiece is cracked or missing—replace it before drinking.
Caring for Your New Mouthpiece
To extend the life of your new mouthpiece, clean it regularly. Remove it from the straw and wash it with warm soapy water, then rinse thoroughly. Avoid using harsh chemicals or abrasive scrubbers, which can degrade the silicone. Let it air dry completely before reattaching.
Store your bottle with the cap on to protect the mouthpiece from dust and sunlight. When not in use for extended periods, consider removing the mouthpiece and storing it separately. This reduces stress on the silicone and helps it retain its shape.
- Replace the mouthpiece at the first sign of wear to maintain optimal hygiene and performance.
Step-by-Step Replacement Checklist
- Step 1: Remove the cap: Take the cap off your LifeStraw Go Series bottle to access the mouthpiece. Checkpoint: Ensure the bottle is empty to avoid spills.
- Step 2: Pull off the old mouthpiece: Grip the mouthpiece and pull it straight off the straw. If stuck, twist gently. Checkpoint: Inspect the straw for damage or debris before installing the new one.
- Step 3: Align and push the new mouthpiece: Align the opening of the new mouthpiece with the straw end and push firmly until it clicks into place. Checkpoint: Give it a gentle tug to ensure it's secure.
- Step 4: Reattach the cap and test: Put the cap back on and take a few sips to confirm there are no leaks or air gaps. Verdict: If it feels loose or leaks, remove and reinstall, ensuring a snug fit.
Product Facts
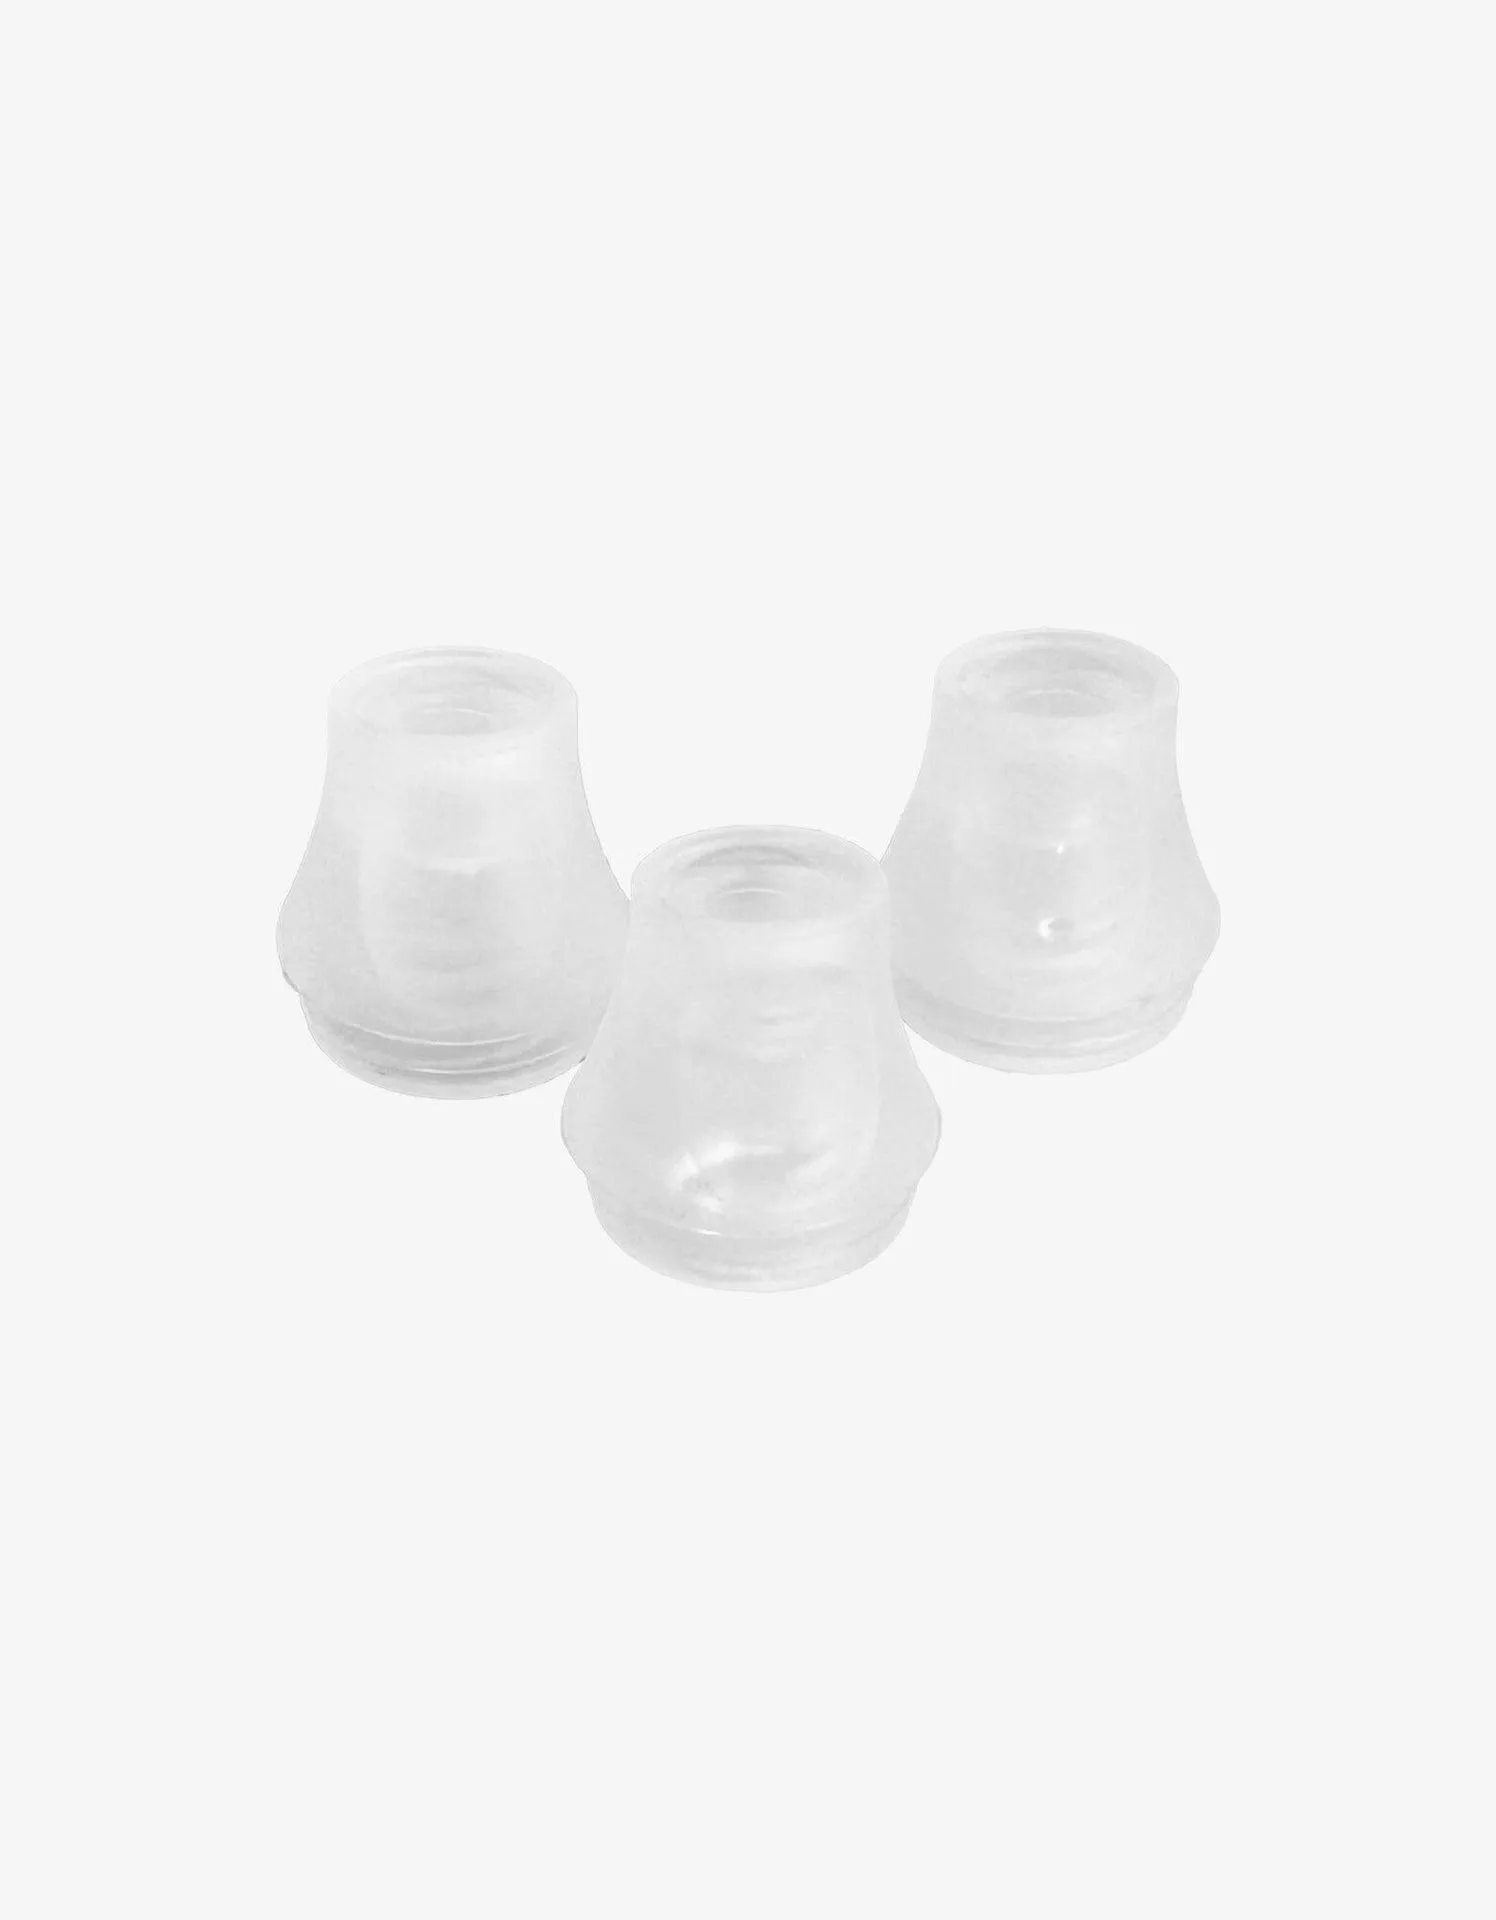
- LifeStraw Go Series Replacement Mouthpiece (pack of 3): Compatible with all sizes of LifeStraw Go Series. Pack of 3 with transparent mouthpieces. Your purchase has impact: one purchase, one child, one year of safe water. LifeStraw is proud to be a B Corp and Climate Neutral Certified brand. Having a pack of three ensures you always have a spare mouthpiece ready for quick replacement, and each purchase supports LifeStraw's mission to provide safe water to children in need.
Replacing the LifeStraw Go Series mouthpiece is a quick and easy maintenance task that keeps your bottle comfortable and hygienic. By following these steps and caring for the new mouthpiece, you'll extend the life of your bottle and enjoy clean, safe hydration on every adventure. Keep a spare pack on hand so you're always ready for a quick swap.