Quick answer
To replace your Oral-B iO brush head, simply pull the old head straight off the handle and push the new one on until it clicks. It takes less than a second and requires no tools. For best results, replace your brush head every 3 months or sooner if bristles are frayed.
Your Oral-B iO toothbrush is a high-tech tool designed to give you a superior clean, but its performance depends on a fresh brush head. Over time, bristles wear down and become less effective at removing plaque. Knowing how to replace your Oral-B iO brush head is essential for maintaining optimal oral hygiene and getting the most out of your investment.
In this guide, we'll walk you through the simple process of removing the old head, attaching a new one, and ensuring it's secure. We'll also share tips on when to replace your brush head and how to choose the right replacement for your needs.
Why Replacing Your Brush Head Matters
Your toothbrush head works hard to remove plaque and food particles, but it doesn't last forever. The American Dental Association recommends replacing your brush head every three months, or sooner if you notice frayed bristles. Over time, bristles lose their shape and effectiveness, making it harder to clean those hard-to-reach areas.
Using a worn brush head can also harbor bacteria, which isn't great for your oral health. By regularly swapping in a fresh head, you ensure your brushing routine stays effective and hygienic.
- Check your brush head monthly for signs of wear, such as bent or discolored bristles.
- If you've been sick, consider replacing your brush head to avoid reintroducing germs.
What You'll Need
Replacing your Oral-B iO brush head is a straightforward task that requires no special tools. You'll just need a compatible replacement head. Most Oral-B iO handles are compatible with a range of Oral-B brush heads, including the CrossAction and Precision Clean lines.
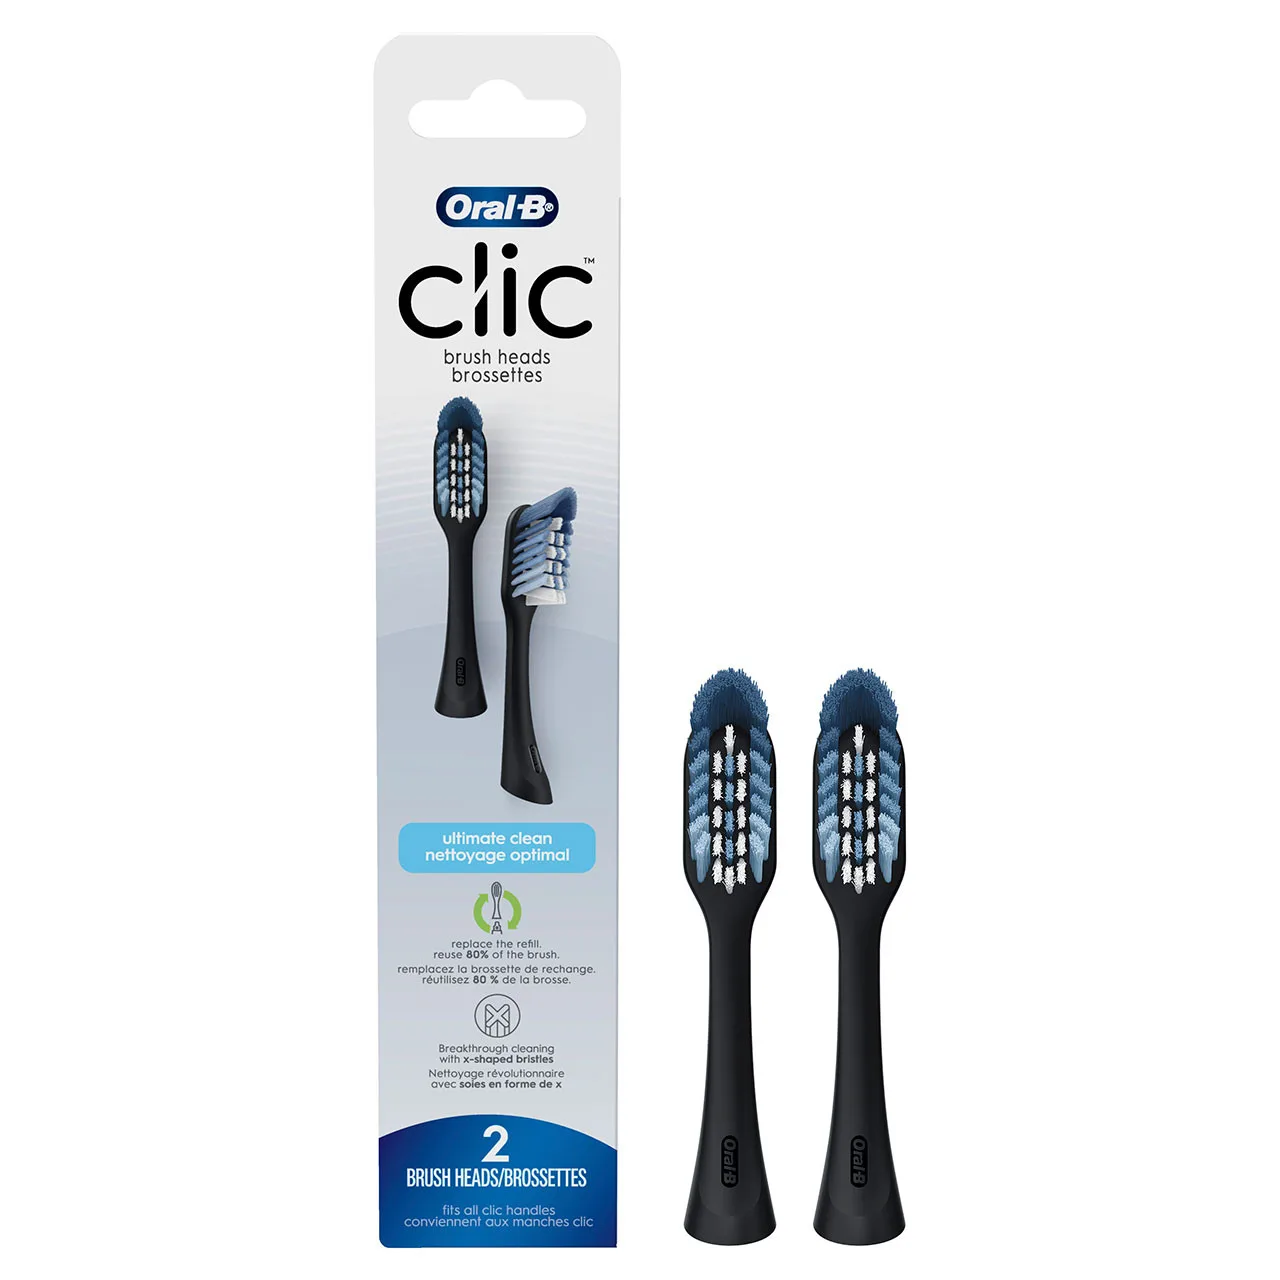
When choosing a replacement, consider your specific oral care needs. For example, the Oral-B CrossAction Replacement Brush Heads, Black 6-Count features angled bristles that remove up to 100% more plaque than a manual toothbrush*. If whitening is your goal, the Clic Toothbrush Whitening Replacement Brush Heads, Black, 2 Count offers Micro Stain Eraser bristles for a brighter smile.
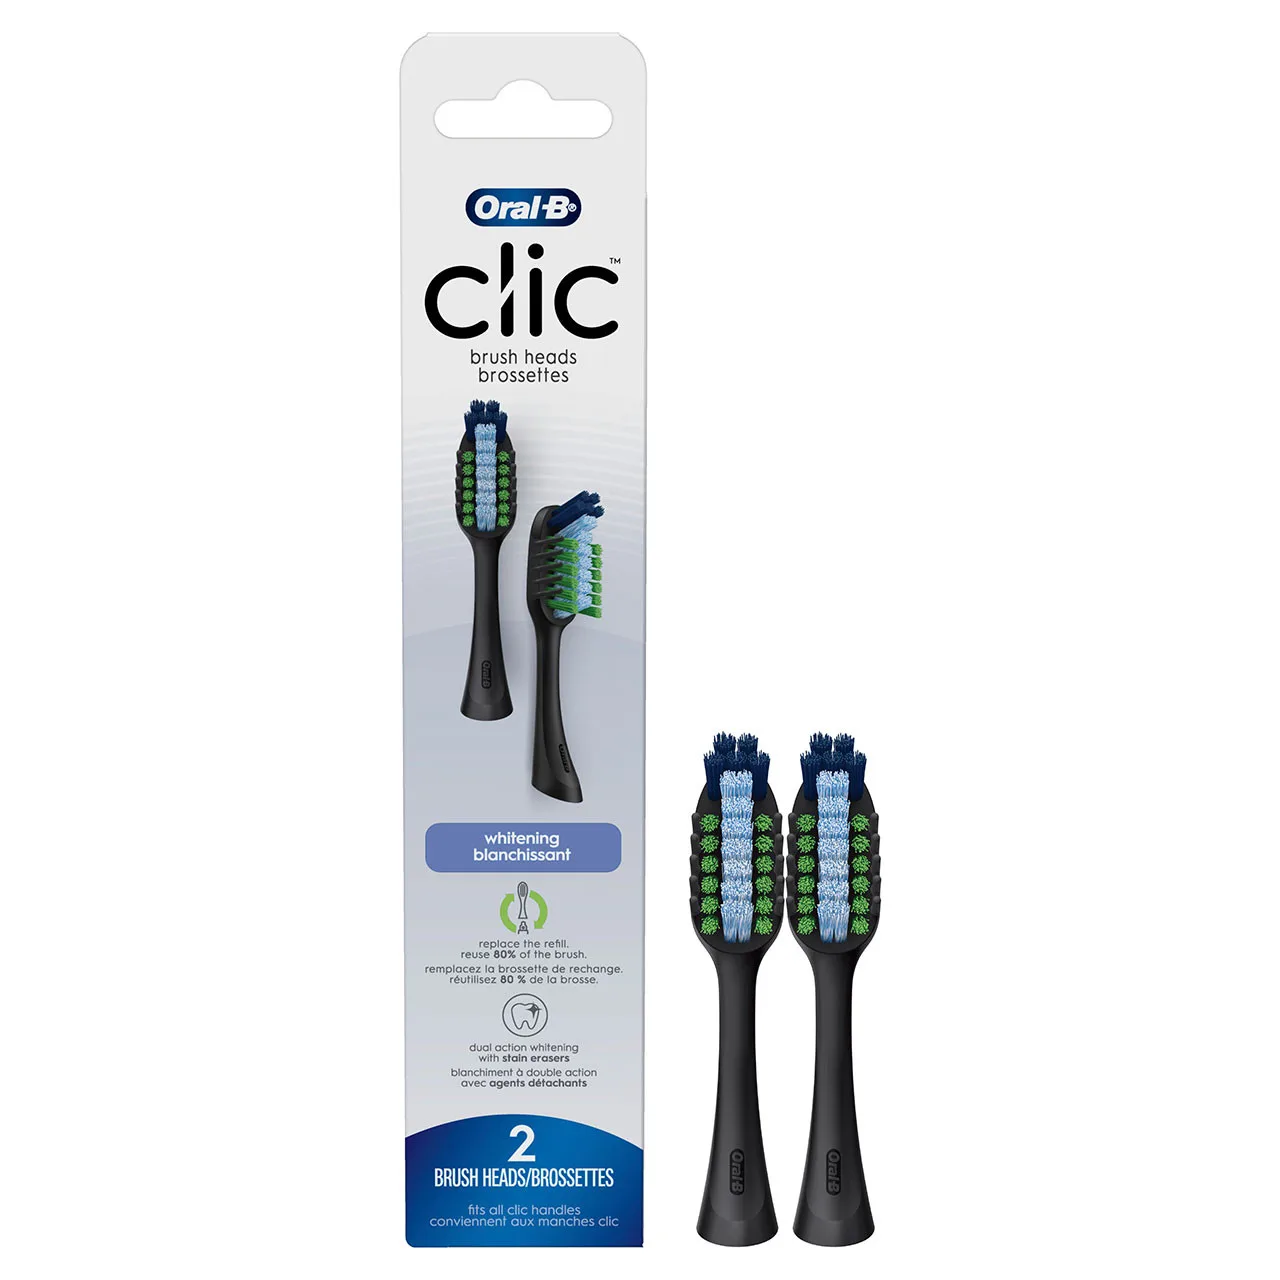
Clic Toothbrush Whitening Replacement Brush Heads, Black, 2 Count
Step-by-Step Replacement Process
Follow these simple steps to replace your Oral-B iO brush head quickly and safely.
- Step 1: Remove the old brush head by gripping it firmly and pulling it straight off the handle. If it feels stuck, wiggle it gently side to side while pulling.
- Step 2: Align the new brush head with the metal shaft on the handle. Push it down until it clicks into place. Ensure there is no gap between the head and the handle.
- Step 3: Give the new head a gentle tug to confirm it's secure. If it comes off easily, push it down again until you hear a click.
- Step 4: Rinse the brush head under water before first use. You're ready to brush!
Common Mistakes to Avoid
One common mistake is forcing the brush head on at an angle, which can damage the internal components. Always push straight down. Another is reusing an old brush head that's worn out—this defeats the purpose of replacing it.
Also, don't forget to replace the brush head after about three months. Set a reminder on your phone or use the brush head replacement indicator on your iO handle if available.
Choosing the Right Replacement Brush Head
Oral-B offers a variety of replacement brush heads designed for different needs. The Oral-B CrossAction X-Filaments Replacement Brush Heads Refill, Black 3 Count features X-shaped bristles that lift and trap plaque along the gumline for an advanced clean. For a precise deep clean, consider the Oral-B Precision Clean X-Filament Brush Heads, 3 Count.
If you prefer a bulk option, the Oral-B Precision Clean X-Filament Brush Heads, 6 Count offers up to 400% more plaque removal along the gum line*. Whatever you choose, ensure it's compatible with your iO handle.
Step-by-Step Replacement Guide
- Step 1: Remove the old head: Grip the brush head firmly and pull it straight off the handle. If it resists, wiggle gently. Checkpoint: Ensure the metal shaft is clean and free of debris.
- Step 2: Align and attach the new head: Position the new head over the shaft and push down firmly until it clicks. It should sit flush with the handle. Checkpoint: Listen for the click; this indicates a secure fit.
- Step 3: Test the connection: Give the head a gentle tug. If it comes off, push it down again until you feel it lock. Checkpoint: The head should not wiggle or rotate.
- Step 4: Rinse and use: Rinse the new head under water before first use to remove any manufacturing residue. Checkpoint: You're ready to brush with a fresh, effective head.
Product Facts
- Oral-B CrossAction Replacement Brush Heads, Black 6-Count: Features perfectly angled bristles to remove 100% more plaque for a superior clean. This head is ideal for those who want maximum plaque removal and a professional-grade clean.
- Clic Toothbrush Whitening Replacement Brush Heads, Black, 2 Count: Delivers Next Gen cleaning performance with 1000 Micro Stain Eraser Bristles and Rubber Twist technology for dual cleaning and polishing. If your goal is a whiter smile, this head helps remove surface stains while you brush.
Replacing your Oral-B iO brush head is a quick and simple task that ensures your toothbrush performs at its best. By following these steps, you'll maintain excellent oral hygiene and extend the life of your device. When you're ready for a fresh head, explore the Oral-B CrossAction Replacement Brush Heads, Black 6-Count for a reliable, high-performance option.