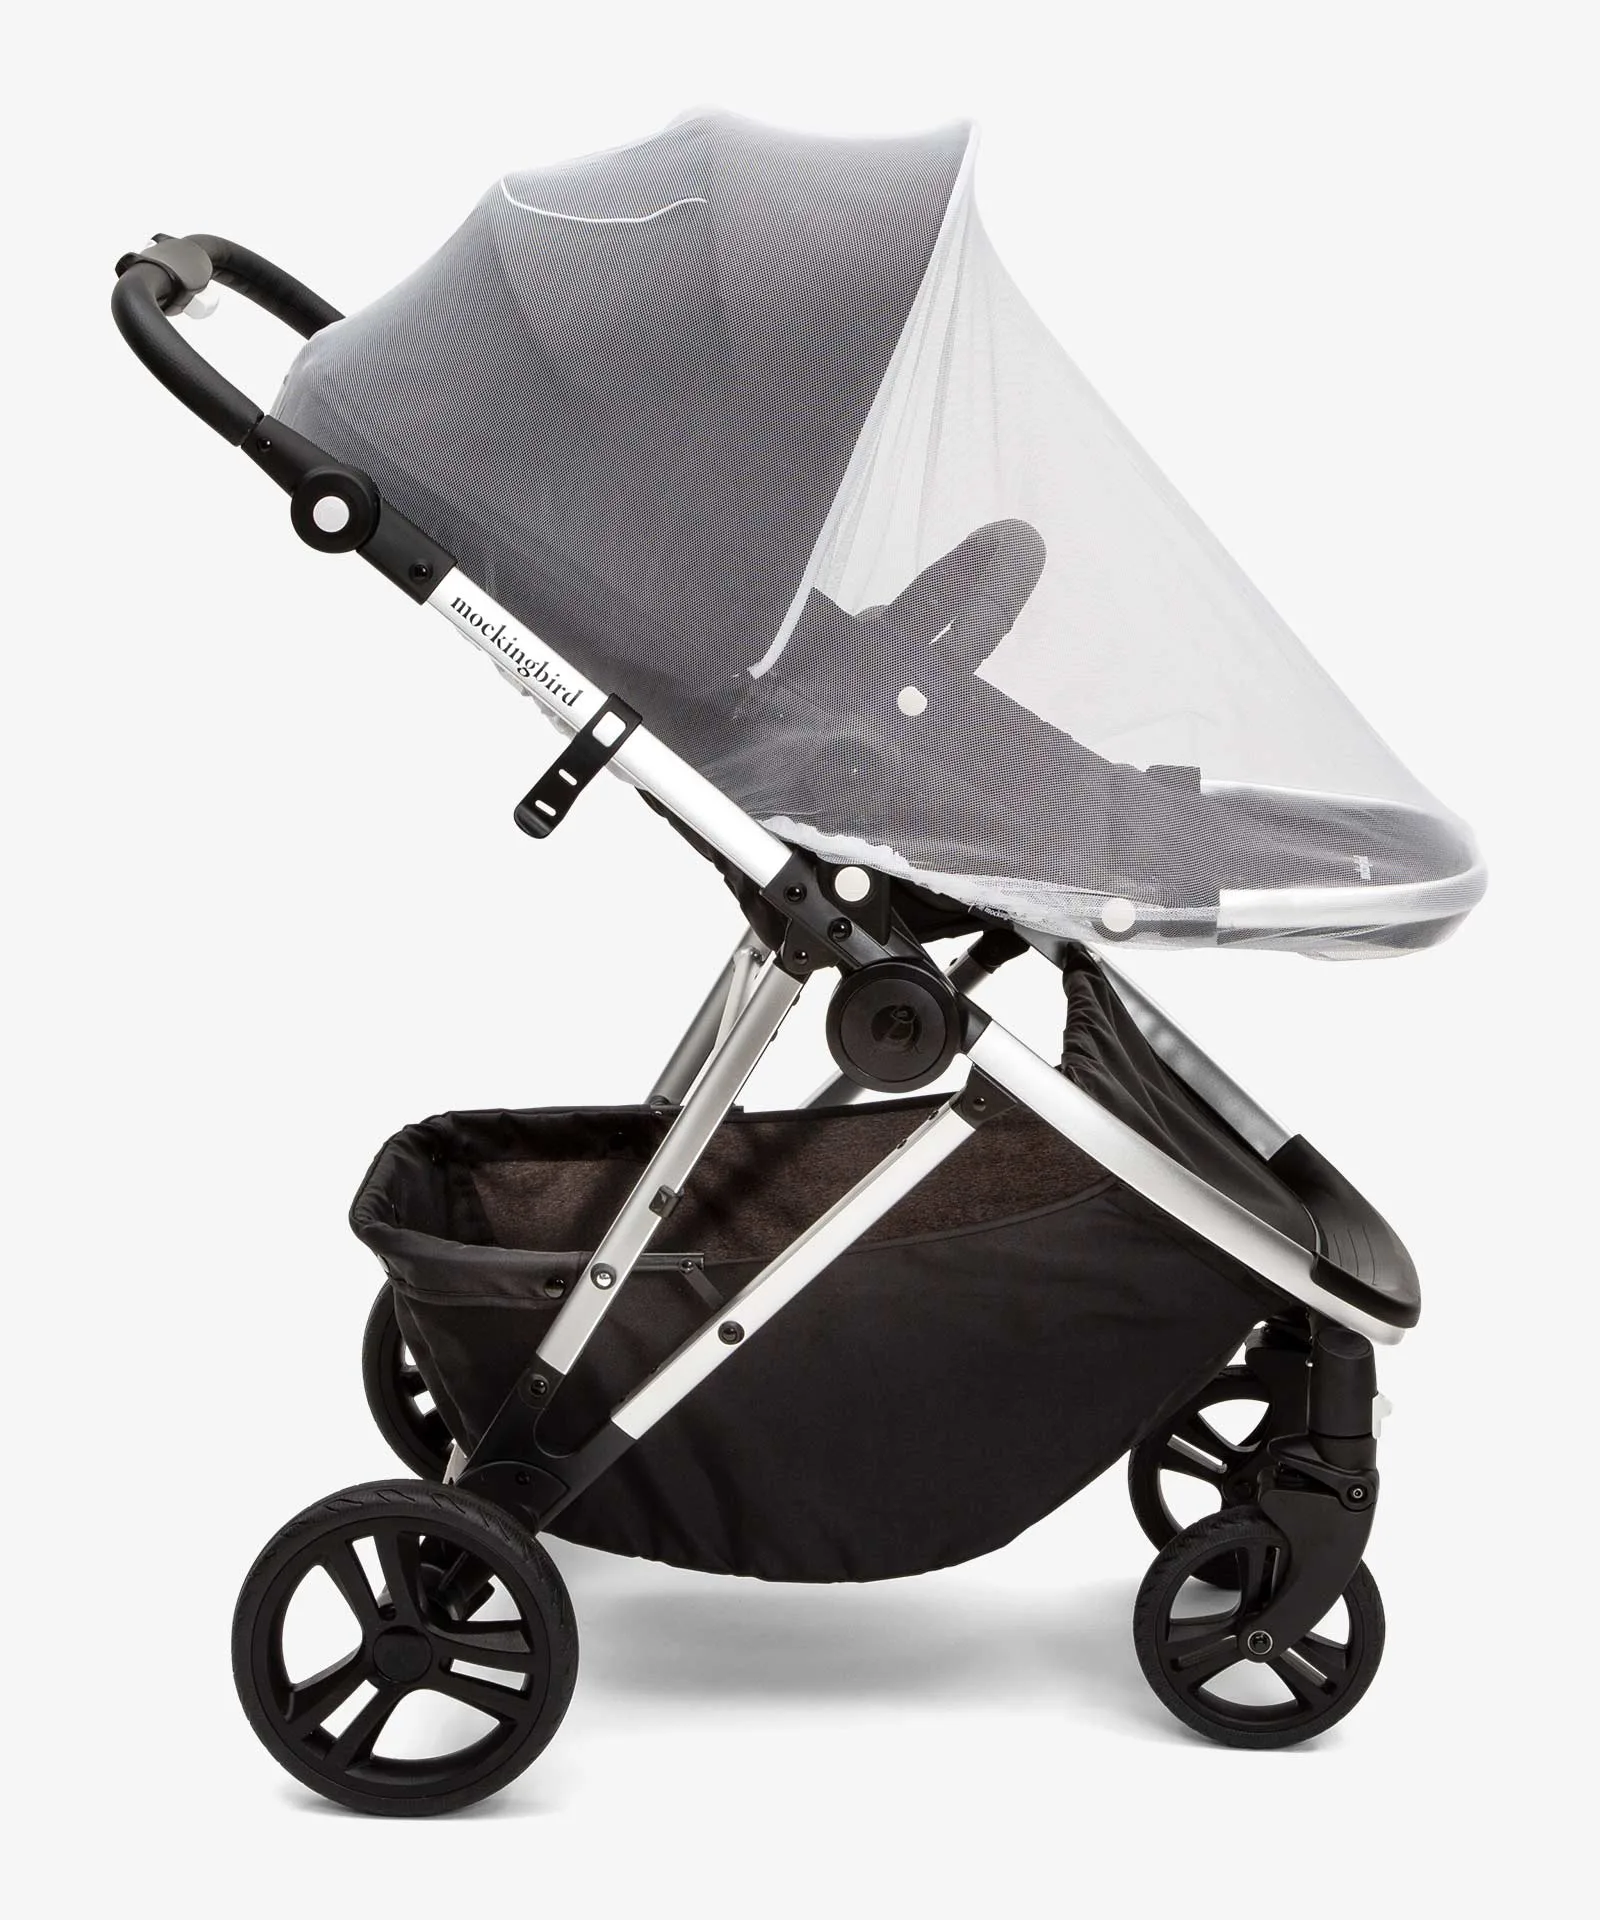
Rainy days don’t have to put a damper on your strolls. With a properly fitted rain cover, your little one stays dry and comfortable while you enjoy the fresh air. But over time, rain covers can wear out, tear, or lose their snug fit. When that happens, knowing how to replace the rain cover on your Mockingbird stroller is a valuable skill for any parent.
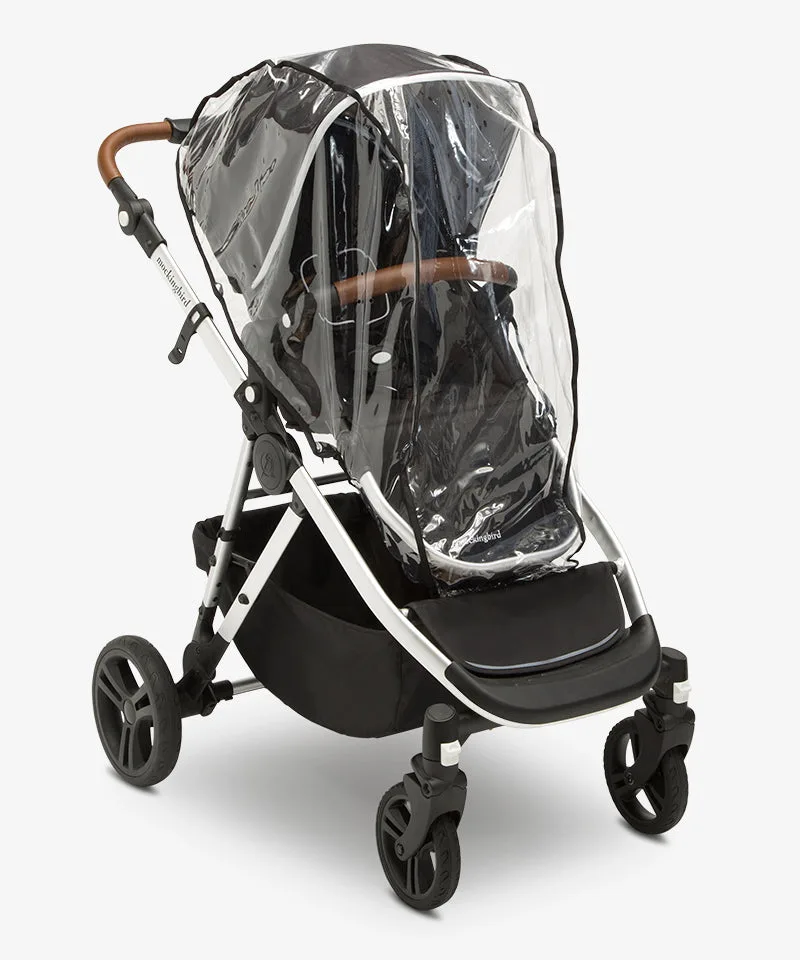
rain cover
In this guide, we’ll walk you through the entire process—from removing the old cover to installing the new one—and share tips to ensure a secure fit and long-lasting performance. Whether you’re dealing with a damaged cover or just want to upgrade, you’ll find everything you need right here.
Why Replace Your Stroller Rain Cover?
A rain cover is more than just a piece of plastic—it’s your child’s first line of defense against the elements. Over time, constant exposure to sun, wind, and rain can cause the material to become brittle, cloudy, or even tear. A compromised rain cover not only looks bad but can also let water seep through, leaving your child damp and uncomfortable.
Additionally, a poorly fitting rain cover can be a safety hazard. If it flaps in the wind or blocks your view, it can make maneuvering the stroller difficult. Replacing your rain cover ensures that your child stays dry, visible, and safe during every outing.
- Check for cracks, tears, or cloudiness in the plastic—these are signs it’s time for a replacement.
- If the cover no longer snaps or zips securely, it may not provide adequate protection.
What You’ll Need Before You Start
Before you begin, gather the necessary tools and materials. For most Mockingbird strollers, you won’t need any special tools—just a clean, dry workspace and a few minutes of your time. Here’s a quick checklist:
Having the right replacement cover is crucial. While Mockingbird offers a range of accessories, the rain cover is designed to fit their stroller models perfectly. If you’re unsure about compatibility, refer to your stroller’s manual or contact customer support.
- A new rain cover (compatible with your Mockingbird stroller model)
- A soft cloth for cleaning the canopy and frame
- Optional: mild soap and water for a deeper clean
Step-by-Step: How to Replace the Rain Cover
Replacing the rain cover is a straightforward process that takes just a few minutes. Follow these steps carefully to ensure a secure fit and optimal protection.
First, remove the old rain cover. If it’s attached with straps or buckles, unfasten them. If it’s a one-piece cover that stretches over the canopy, gently pull it off, being careful not to snag it on any protruding parts. Once removed, dispose of the old cover responsibly or save it for spare parts if it’s still partially functional.
Next, clean the stroller canopy and frame to remove any dirt or debris that could interfere with the new cover’s fit. Use a soft cloth and mild soap if needed. Dry thoroughly before proceeding.
Now, position the new rain cover over the canopy. Start at the front and work your way back, ensuring that the cover aligns with the stroller’s contours. If your cover has a clear window, make sure it’s positioned correctly so you can see your child. Secure any straps, buckles, or zippers according to the manufacturer’s instructions.
Finally, adjust the fit. The cover should be snug but not overly tight, allowing for proper airflow. Check that all openings are sealed and that the cover doesn’t obstruct the stroller’s folding mechanism. Give it a gentle tug to ensure it’s securely attached.
- Always read the instructions that come with your new rain cover—they may have specific fitting tips.
- If the cover has a ventilation flap, ensure it’s not blocked by the canopy.
Tips for a Secure and Long-Lasting Fit
To get the most out of your new rain cover, follow these practical tips. First, avoid folding the stroller with the rain cover attached when it’s wet—this can cause creases and weaken the material over time. Instead, let it dry completely before storing.
Second, regularly inspect the cover for signs of wear. Even the best covers will eventually need replacement, so keep an eye out for cracks or tears. If you notice any damage, it’s time to start shopping for a new one.
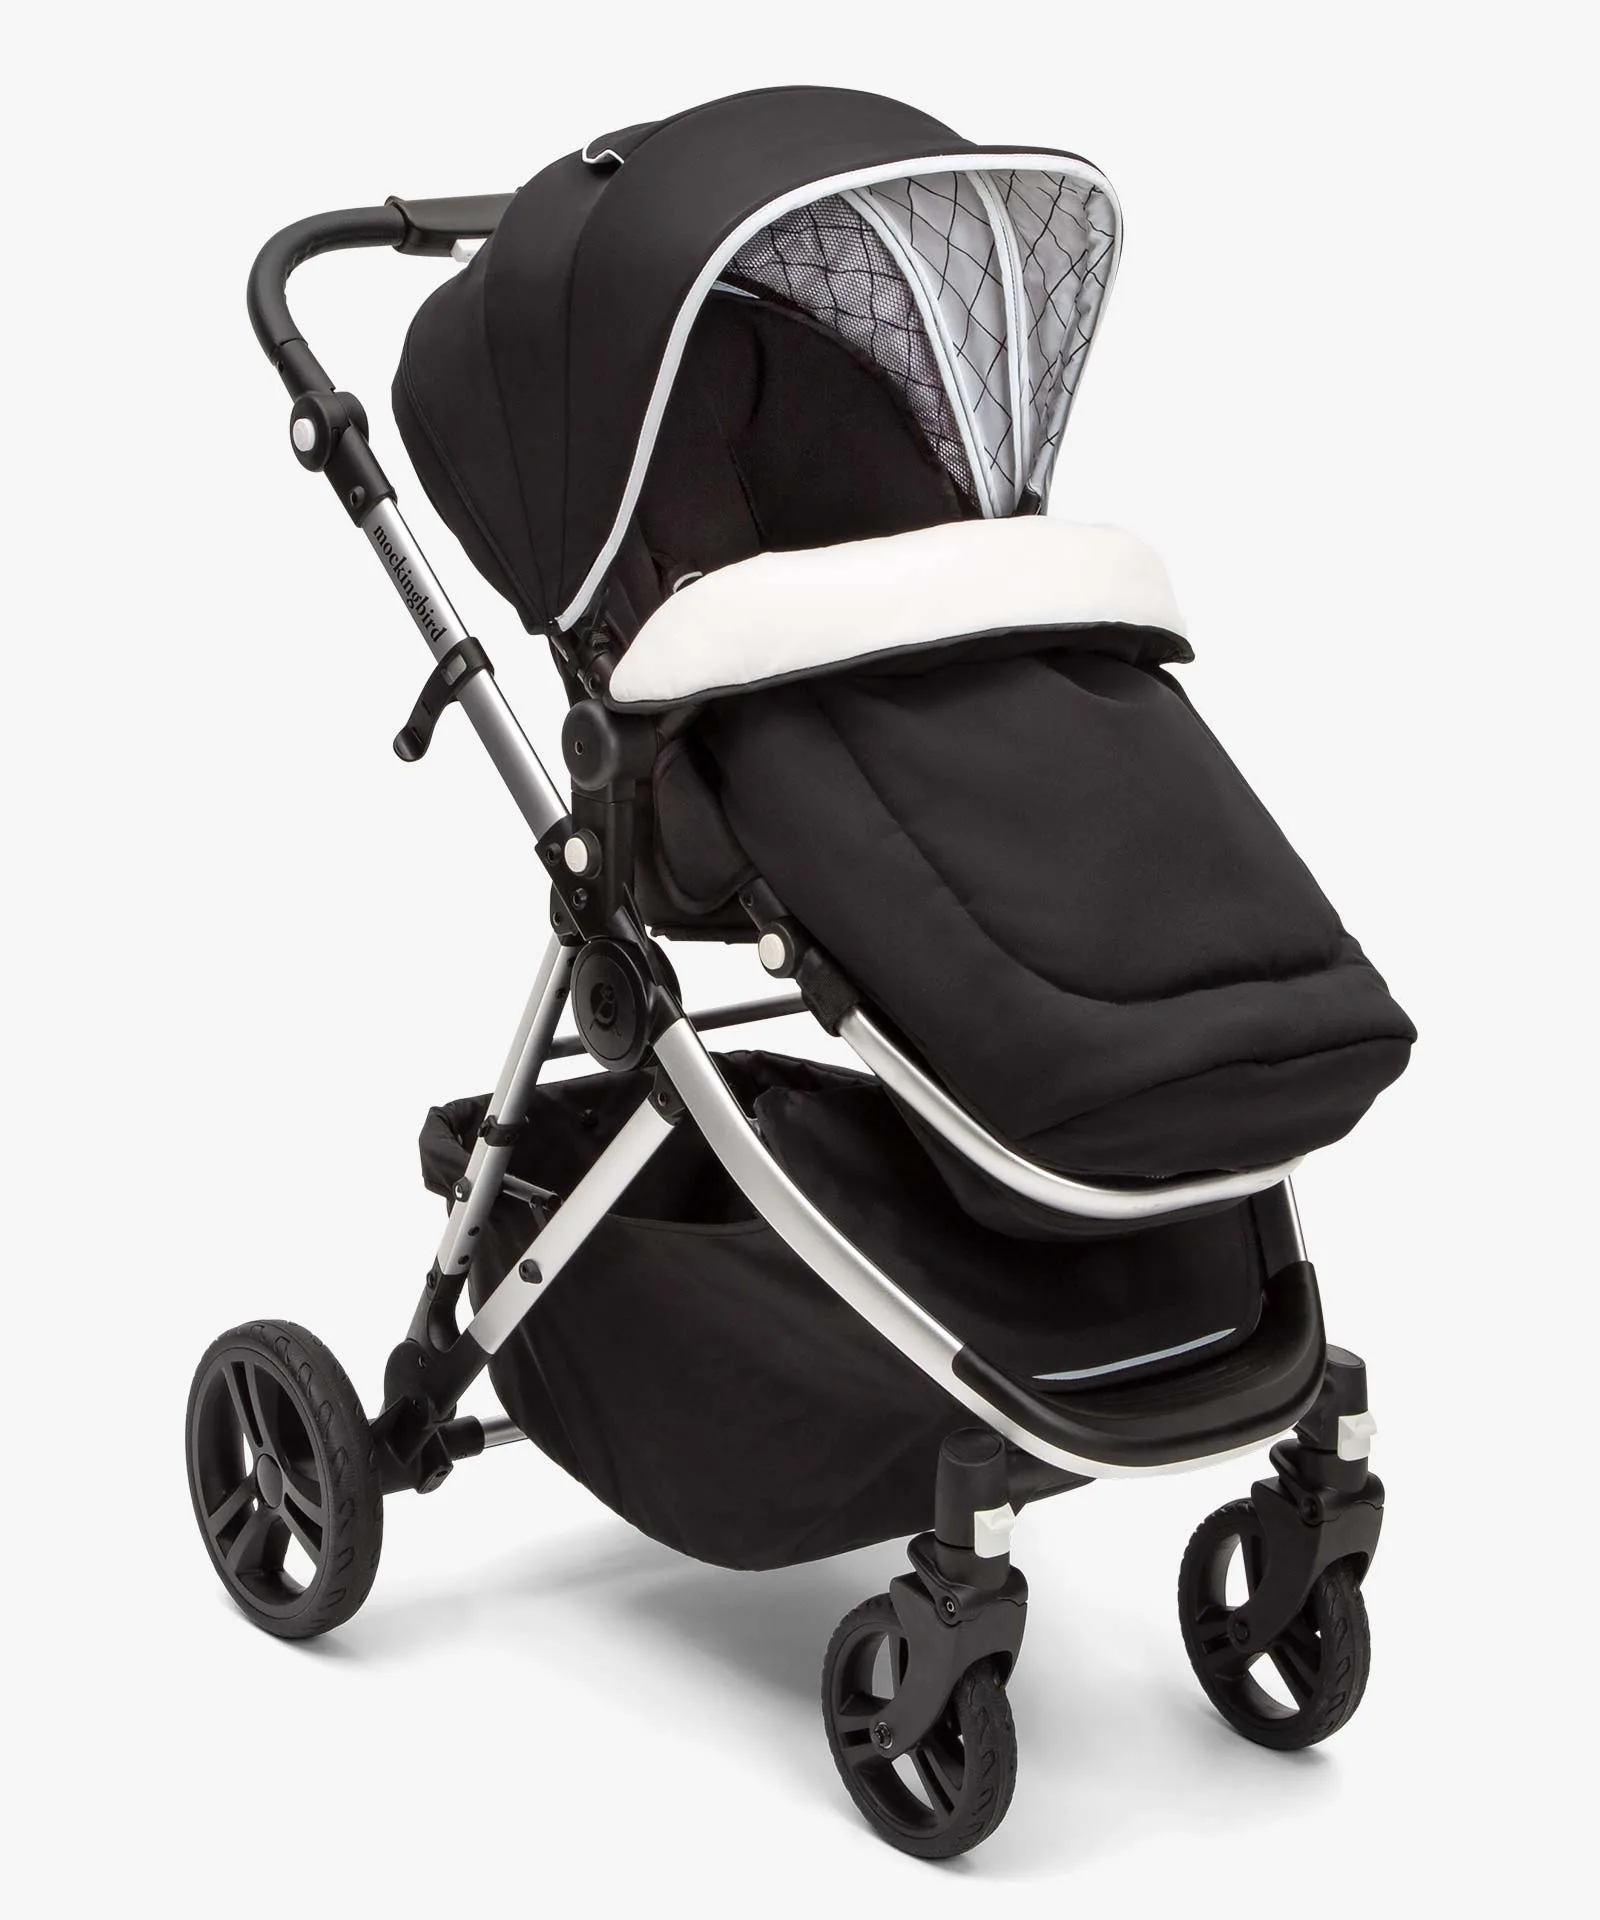
Finally, consider investing in complementary accessories to enhance your stroller’s weather protection. For example, a Footmuff adds warmth on chilly days, while a Seat Liner 2.0 keeps the seat dry if any moisture sneaks in. These additions work together with your rain cover to keep your child comfortable in any weather.
- Store the rain cover in a cool, dry place when not in use to prevent UV damage.
- Use a gentle, non-abrasive cleaner to wipe down the cover—avoid harsh chemicals.
When to Consider a Full Accessory Upgrade
If you’re replacing your rain cover because of general wear and tear, it might be a good time to evaluate your other stroller accessories. Over time, items like seat pads, shoulder pads, and even wheels can show signs of aging. Upgrading these not only refreshes your stroller’s look but also improves comfort and safety.
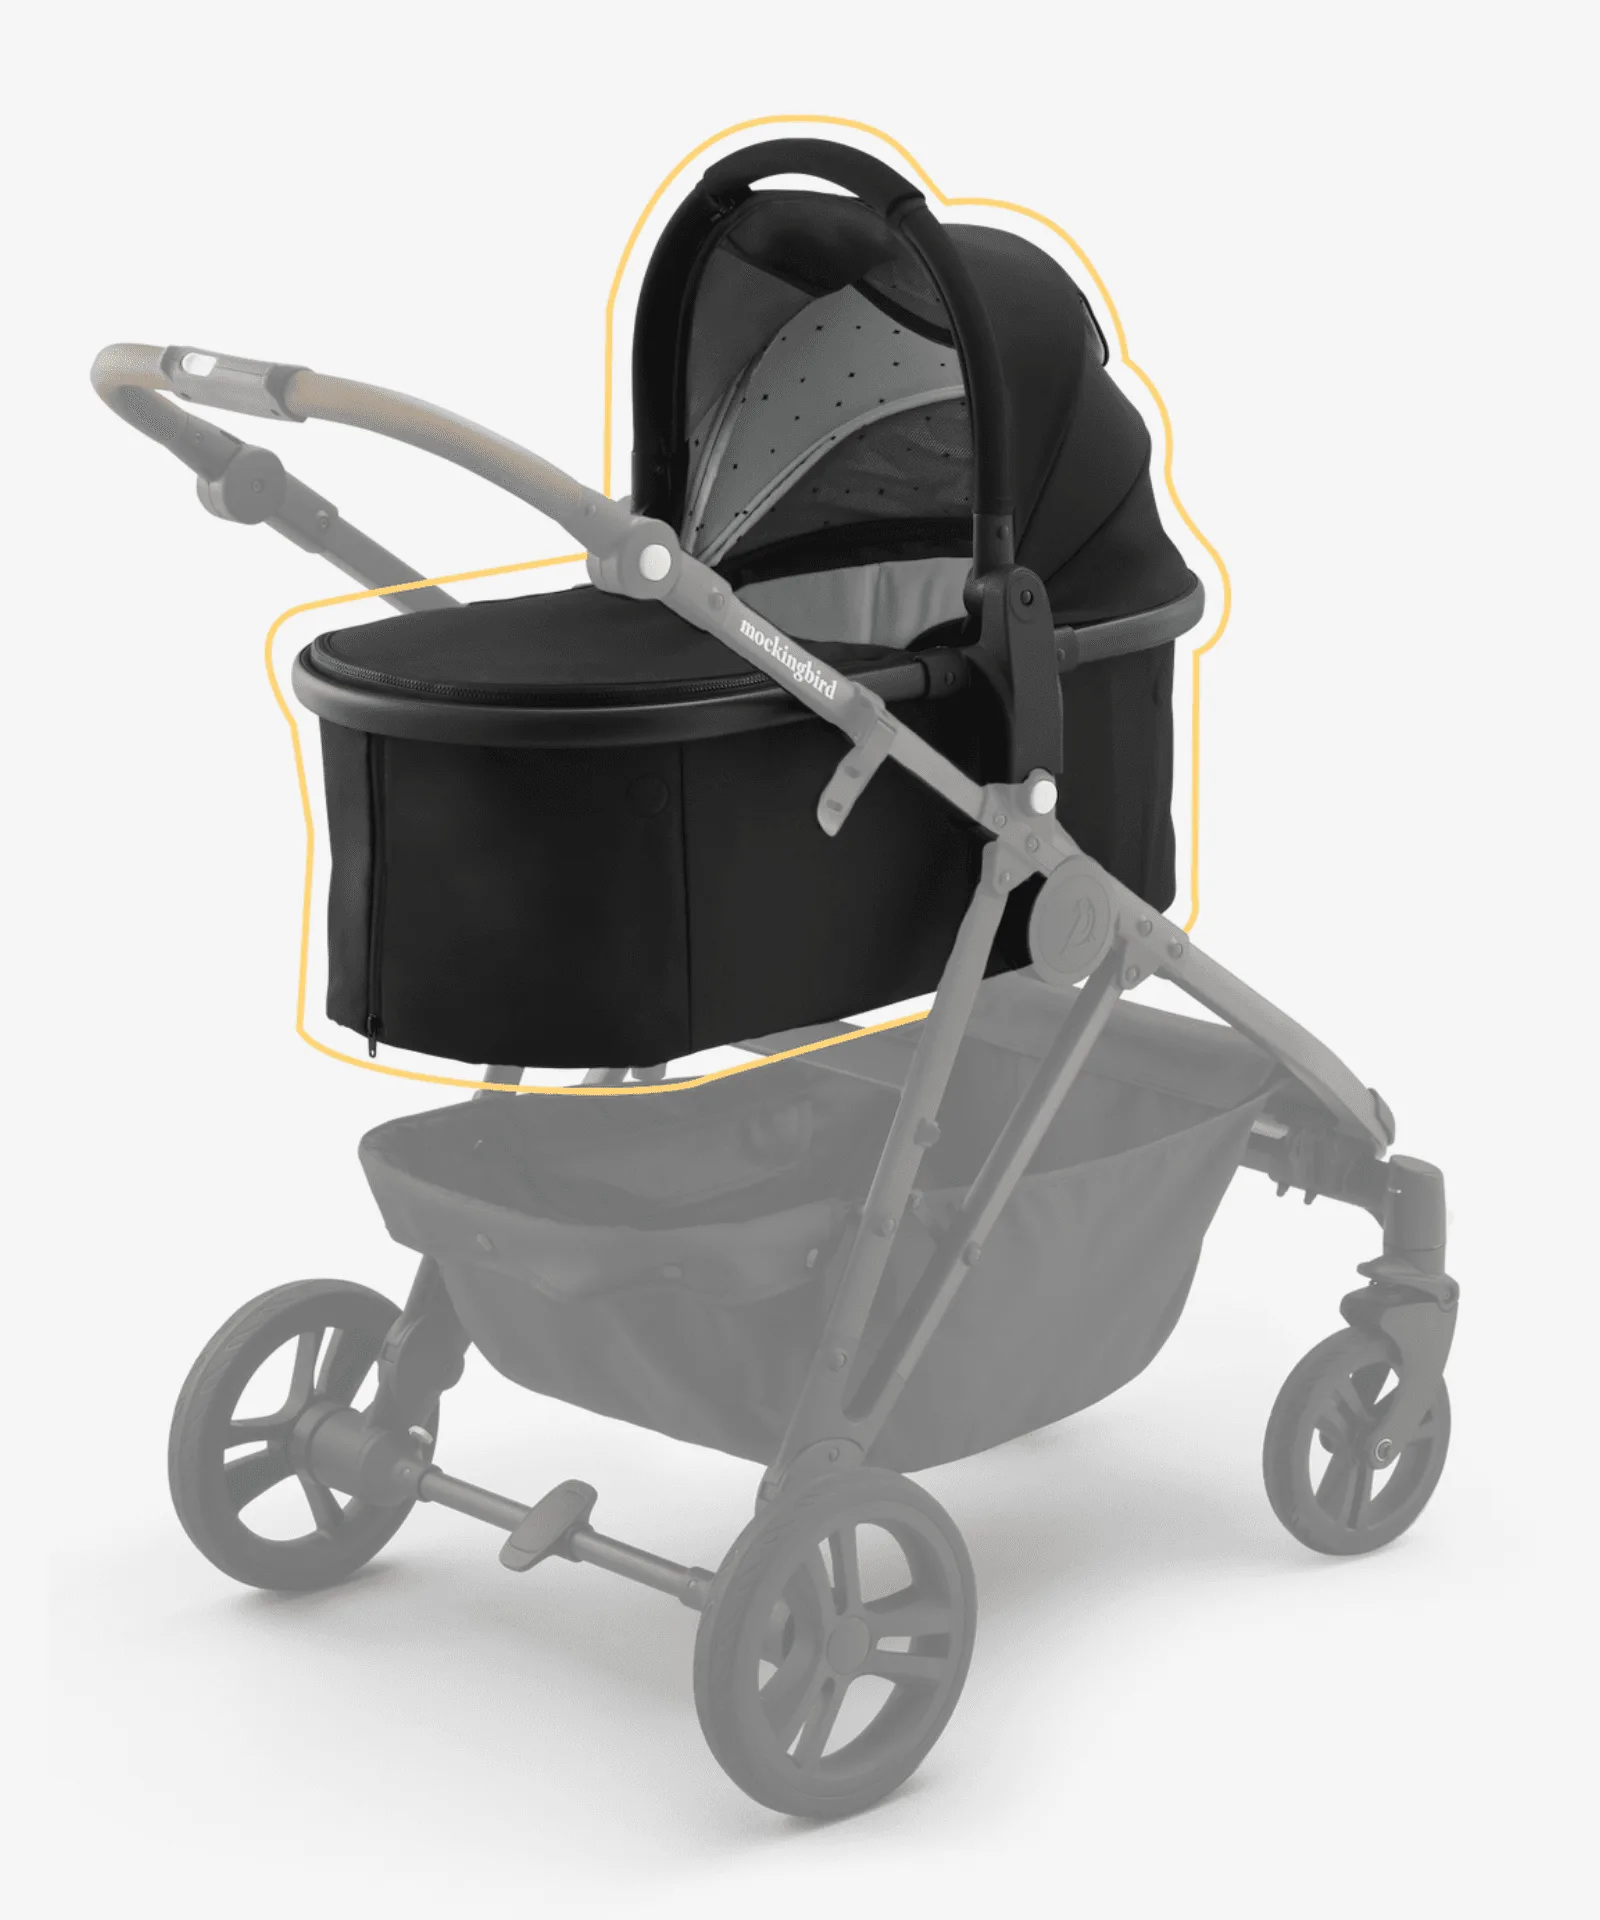
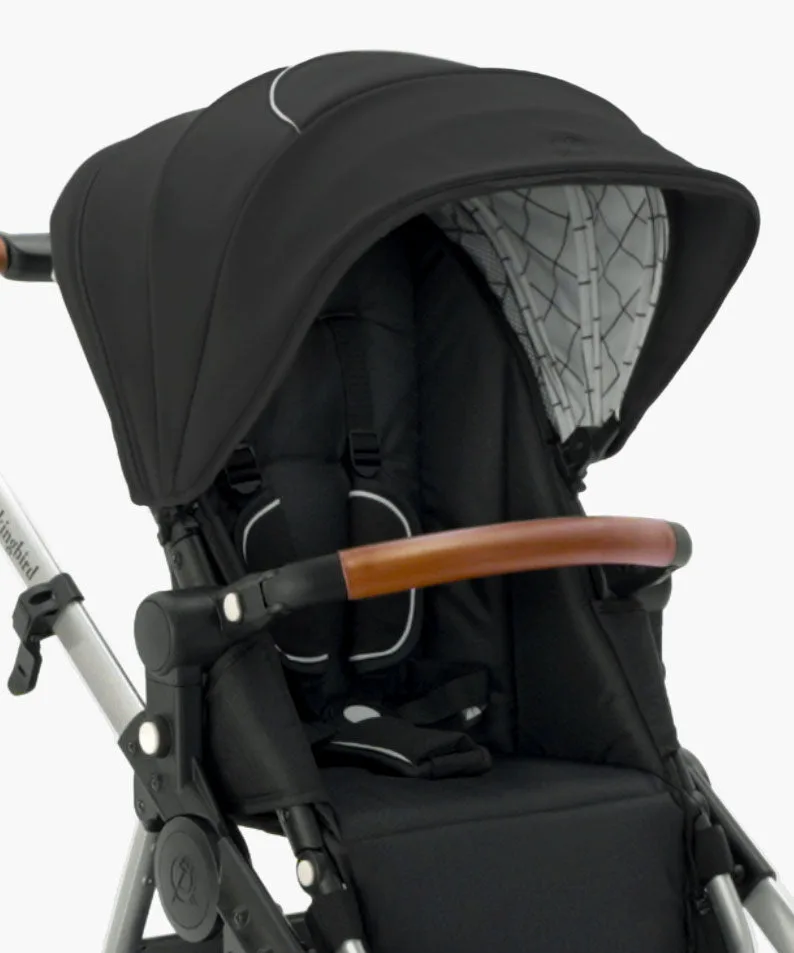
For instance, the Shoulder Pads Set 2.0 provides extra cushioning for your child’s shoulders, and the Bassinet Stand offers a convenient spot for your baby to rest when you’re at home. These small upgrades can make a big difference in your daily routine.
When shopping for replacements, always choose genuine Mockingbird parts to ensure compatibility and safety. Aftermarket parts may not fit properly or meet the same quality standards.
- Check your stroller’s warranty—some parts may be covered if they fail prematurely.
- Keep a list of your stroller’s model and serial number handy for quick reference when ordering parts.
Replacing the rain cover on your Mockingbird stroller is a simple yet important maintenance task that ensures your child stays dry and comfortable in any weather. By following the steps outlined above, you can achieve a secure fit and extend the life of your stroller. If you need a new rain cover or any other replacement parts, explore our selection of genuine Mockingbird accessories to keep your stroller in top shape.