Quick answer
Replacing the rainfly on your Tentsile tree tent is a straightforward process: unclip the old fly, slide it off the suspension lines, then attach the new one in reverse order. Make sure the rainfly is centered and tensioned evenly to prevent water pooling.
When to replace your rainfly
Over time, rainfly fabric can degrade from UV exposure, abrasion, or repeated folding. If you notice leaks, torn webbing, or broken clips, it's time for a replacement. Tentsile offers spare rainflies in different colors so you can also refresh the look of your tent.
Choosing the right spare rainfly
Make sure you order the correct rainfly for your specific Tentsile model. The Spare Rainfly for the Connect 2-Person Tree Tent fits both Gen 2.0 and 3.0 Connect models, while the Safari Connect rainfly uses heavier 190D PU-coated polyester with higher waterproofing and UV protection ratings. The Flite rainfly is lighter and comes in fewer color options.
Step-by-step replacement guide
- 1. Remove the old rainfly: Unclip all the rainfly attachment points from the tent body and suspension lines. Slide the rainfly off the webbing straps that run over the top of the tent. Work carefully to avoid snagging the fabric on buckles or clips. Common mistake: Forgetting to unclip all points before pulling can tear the fabric or damage clips.
- 2. Inspect the tent and suspension: Check the tent body, webbing, and clips for wear or damage while the rainfly is off. Clean any dirt or debris from the attachment points so the new rainfly sits flush. This is a good time to replace any worn webbing or clips before installing the new rainfly.
- 3. Position the new rainfly: Lay the new rainfly over the tent, aligning the center seam with the ridge of the tent. Feed the suspension webbing through the designated slots or loops on the rainfly. Make sure the rainfly is oriented correctly—the front and back are often marked. Common mistake: Installing the rainfly backwards can leave the door or entry point exposed.
- 4. Attach the rainfly clips: Starting at one corner, clip the rainfly to the tent body and suspension lines. Work your way around, attaching each clip in sequence. Do not tighten any clip fully until all are attached. Attaching clips out of order can cause the rainfly to sit crooked and create gaps.
- 5. Tension and adjust: Once all clips are attached, go around and tighten each one evenly. Pull the rainfly taut so it is smooth and wrinkle-free, but not so tight that it stresses the seams. Ensure the rainfly extends past the tent edges to keep rain from running inside. Common mistake: Over-tightening can deform the tent shape or damage the rainfly fabric. Aim for a drum-tight but not strained fit.
- 6. Test for coverage: After setup, check that all openings (doors, windows, vents) are clear and that the rainfly does not rub against the tent body. If you see contact points, adjust the tension or reposition the rainfly slightly. Rubbing can cause premature wear. A small gap between rainfly and tent improves airflow and reduces condensation.
Product facts
-
Spare Rainfly for Connect 2-Person Tree Tent: Fits both Gen 2.0 and 3.0 Connect models. Available in Forest Green, Dark Grey, and Predator Camouflage. If you own a Connect model, this rainfly is a direct replacement that works across generations, so you don't need to worry about compatibility.
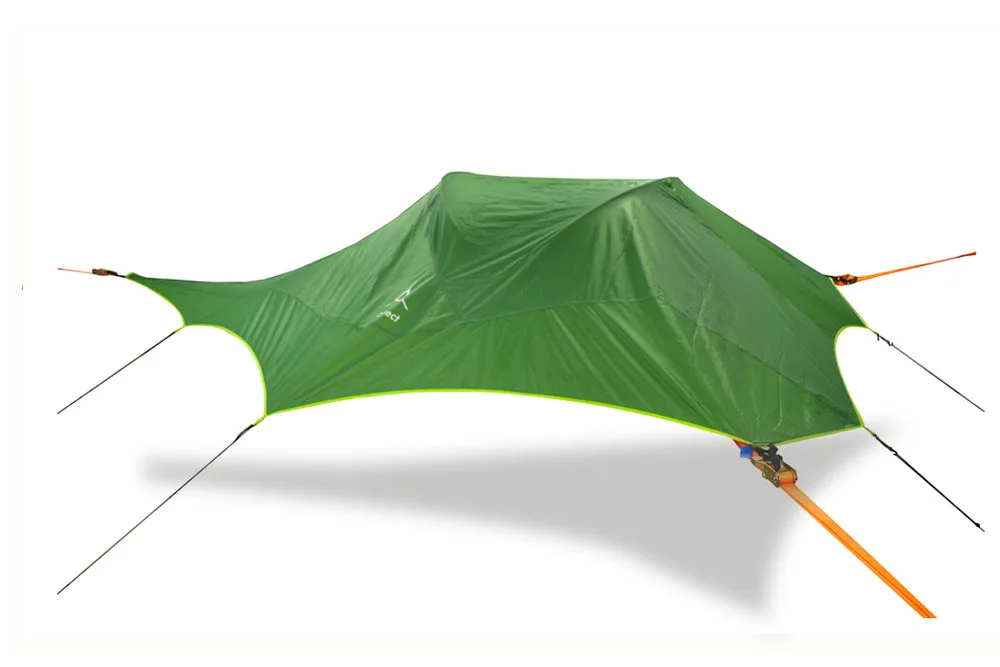
Spare Rainfly for Connect 2-Person Tree Tent
-
Spare Rainfly for Safari Connect 2-Person Tree Tent: Made from 190D PU-coated polyester with 8,000mm hydrostatic head waterproofing and 3,500 hours UV protection. The heavier fabric and higher waterproof rating make this rainfly ideal for prolonged exposure to heavy rain and strong sun.
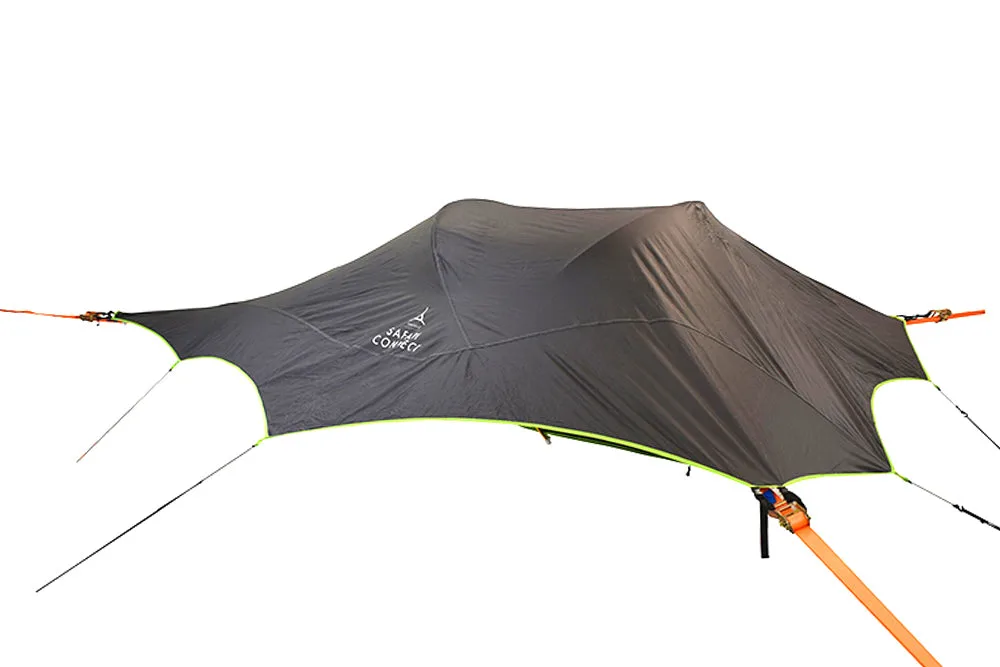
Spare Rainfly for Safari Connect 2-Person Tree Tent