Quick answer
To improve airflow in your dog house, replace a cracked or blocked shelter vent with a new one designed for your Indigo Dog House size. Follow the steps below for a safe and proper fit.
Why vent condition matters
A shelter vent is more than a plastic piece—it regulates airflow, reduces moisture buildup, and keeps your dog comfortable. Over time, vents can crack, warp, or become clogged with debris, which can restrict airflow and make the house stuffy.
Replacing a damaged vent restores ventilation and prevents small problems from turning into bigger ones, like mold or overheating. It's a simple DIY task that most pet owners can handle in minutes.
Matching the right vent to your shelter
Not all vents are universal. The Replacement Vent for Indigo Dog Houses is specifically designed for the Indigo series, available in Medium (37.5" x 30.5" x 22.8"), Large (43.75" x 34" x 25.8"), and Extra Large (51.5" x 39.3" x 30").
Using the wrong vent can lead to poor fit, gaps, or even injury. Always match the vent to your shelter's size and model. If you're unsure, measure your dog house and check the product specifications before ordering.
Step-by-step replacement process
- Gather tools and safety gear: You'll need a screwdriver (usually Phillips), a new replacement vent, and optionally gloves. Ensure the dog house is empty and the dog is safely away from the work area. Check that you have the correct vent size for your shelter model before starting.
- Remove the old vent: Inspect the current vent for screws or clips. Use the screwdriver to remove them, then gently pull the vent away from the wall. If it's stuck, use a putty knife to pry it loose without damaging the shelter. Take note of how the old vent was oriented—this helps when installing the new one.
- Clean the opening: Remove any dirt, debris, or old sealant from the vent opening. Wipe the area with a damp cloth and let it dry completely. This ensures a clean surface for the new vent to sit flush. A clean opening prevents gaps that could let in drafts or moisture.
- Install the new vent: Position the new vent over the opening, aligning the screw holes. Insert the screws and tighten them evenly—don't overtighten, as that can crack the plastic. Ensure the vent sits flush against the wall. Test the vent by gently pressing around the edges to confirm it's secure and doesn't wobble.
- Test airflow and finish: After installation, check that the vent opens and closes properly (if it's adjustable). Feel for airflow by placing your hand near the vent. If airflow seems weak, check for blockages inside or outside the shelter. Regularly inspect the vent every few months to ensure it remains clear and functional.
Product spotlight
-
Replacement Vent For Indigo Shelter: This Replacement Vent is designed specifically for Indigo Dog House sizes MED, LG, and XL. Choosing the correct size ensures a snug fit, which keeps airflow efficient and prevents debris from entering.
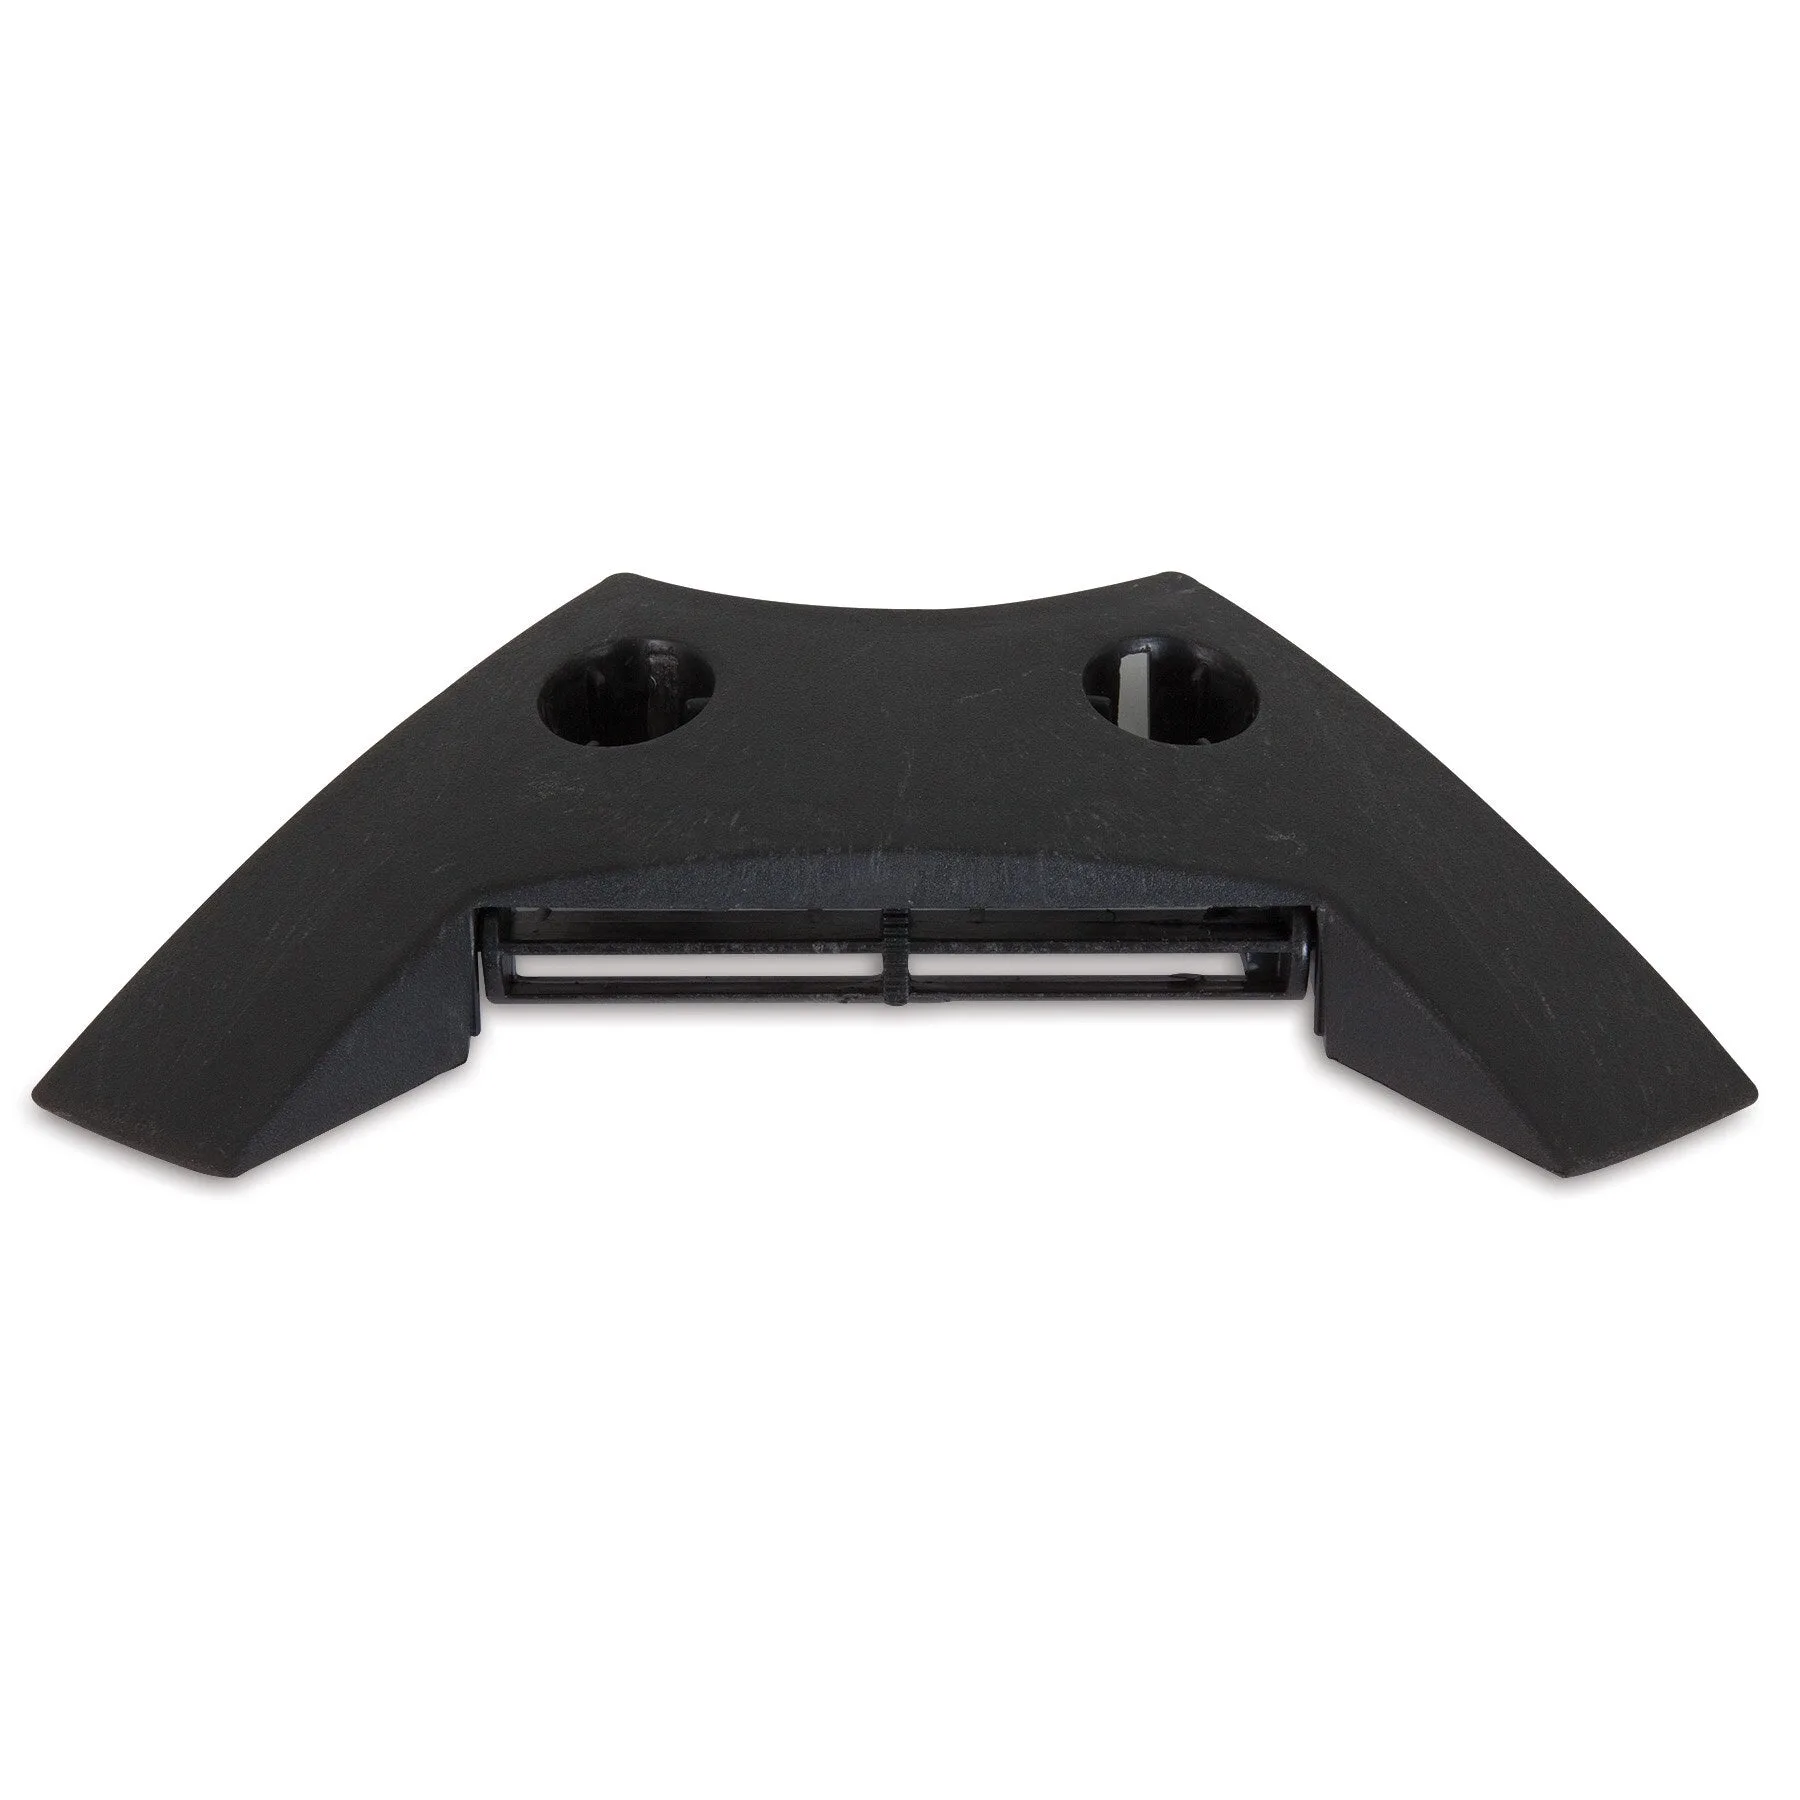
Replacement Vent For Indigo Shelter