Quick Answer
To replace a shoulder buckle on your Ergobaby carrier, first identify your carrier model, then order the correct replacement buckle, remove the old buckle by cutting or unthreading the webbing, and attach the new one by threading it through the strap and securing it. Always double-check that the buckle clicks firmly and the strap is not twisted.
A broken shoulder buckle can make your favorite carrier unusable, but replacing it is a straightforward DIY fix that saves you from buying a new carrier. Whether you own an Ergobaby Deluxe, Breeze, or Dream, this guide walks you through the process step by step.
Before you start, gather a small flathead screwdriver or a seam ripper, and ensure you have the correct replacement buckle. Ergobaby offers a Shoulder Buckle Replacement specifically designed for these models, so you can get your carrier back in action quickly.
Identify Your Carrier Model and Buckle Type
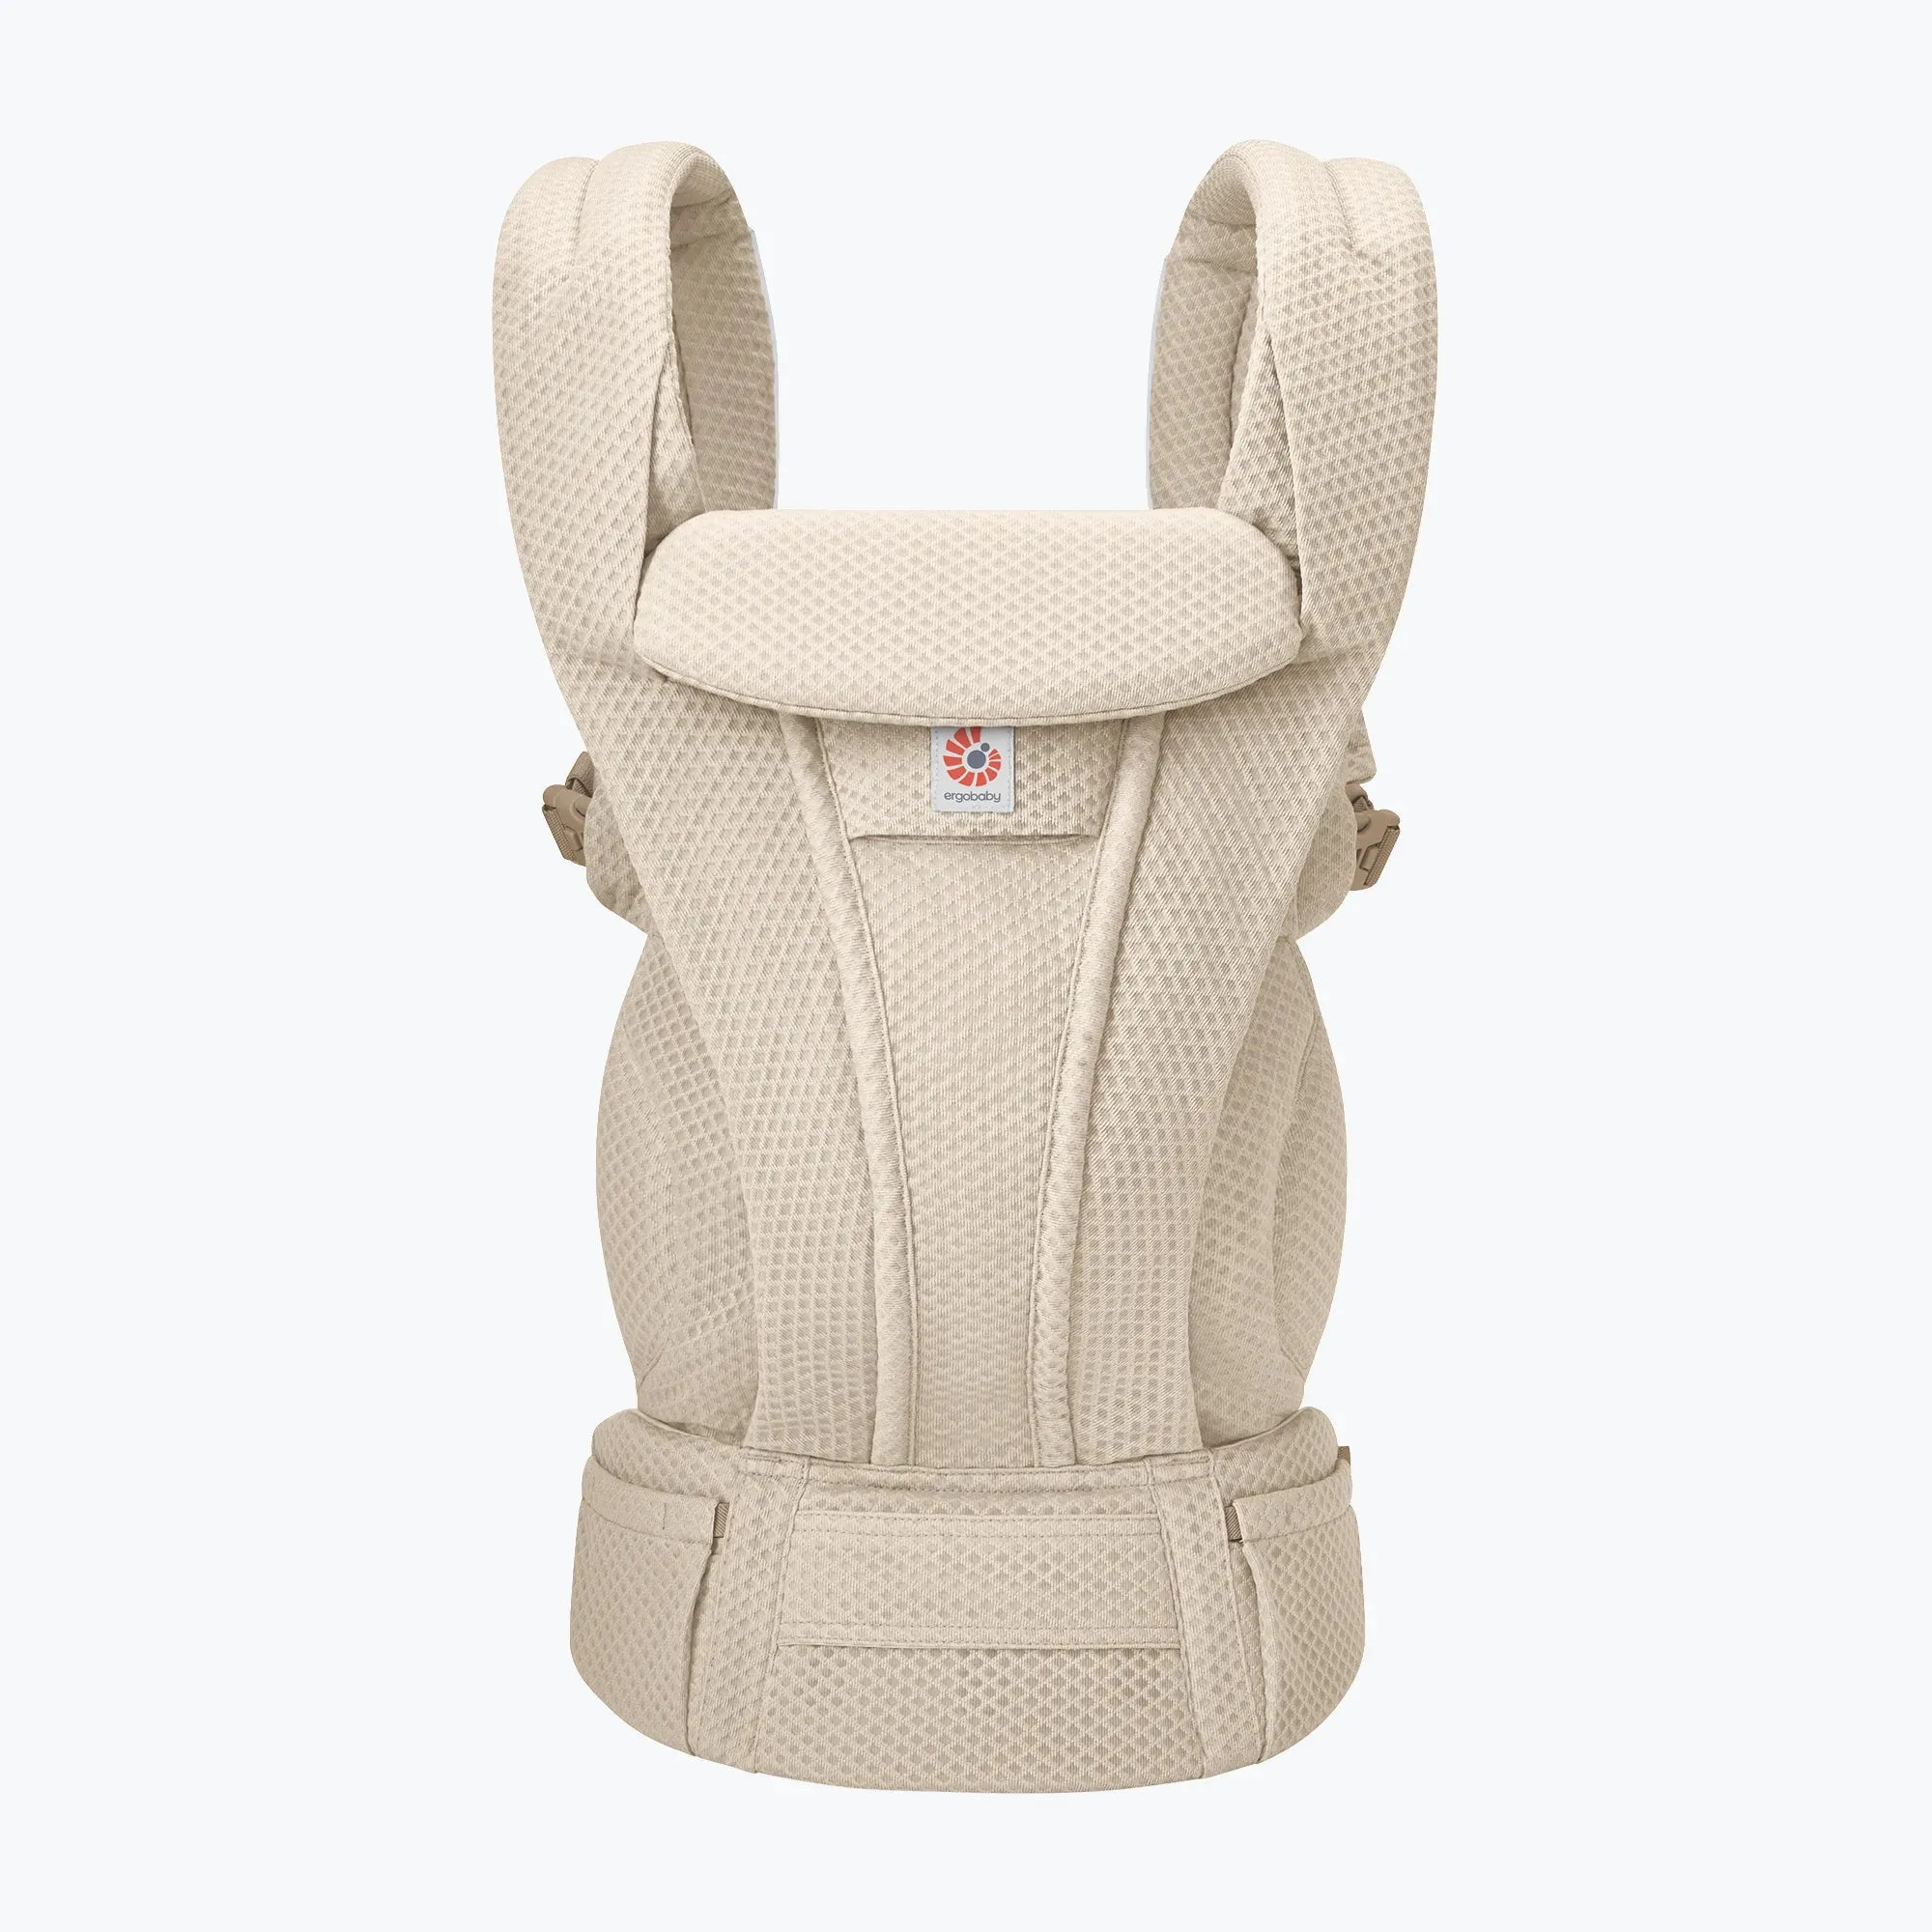
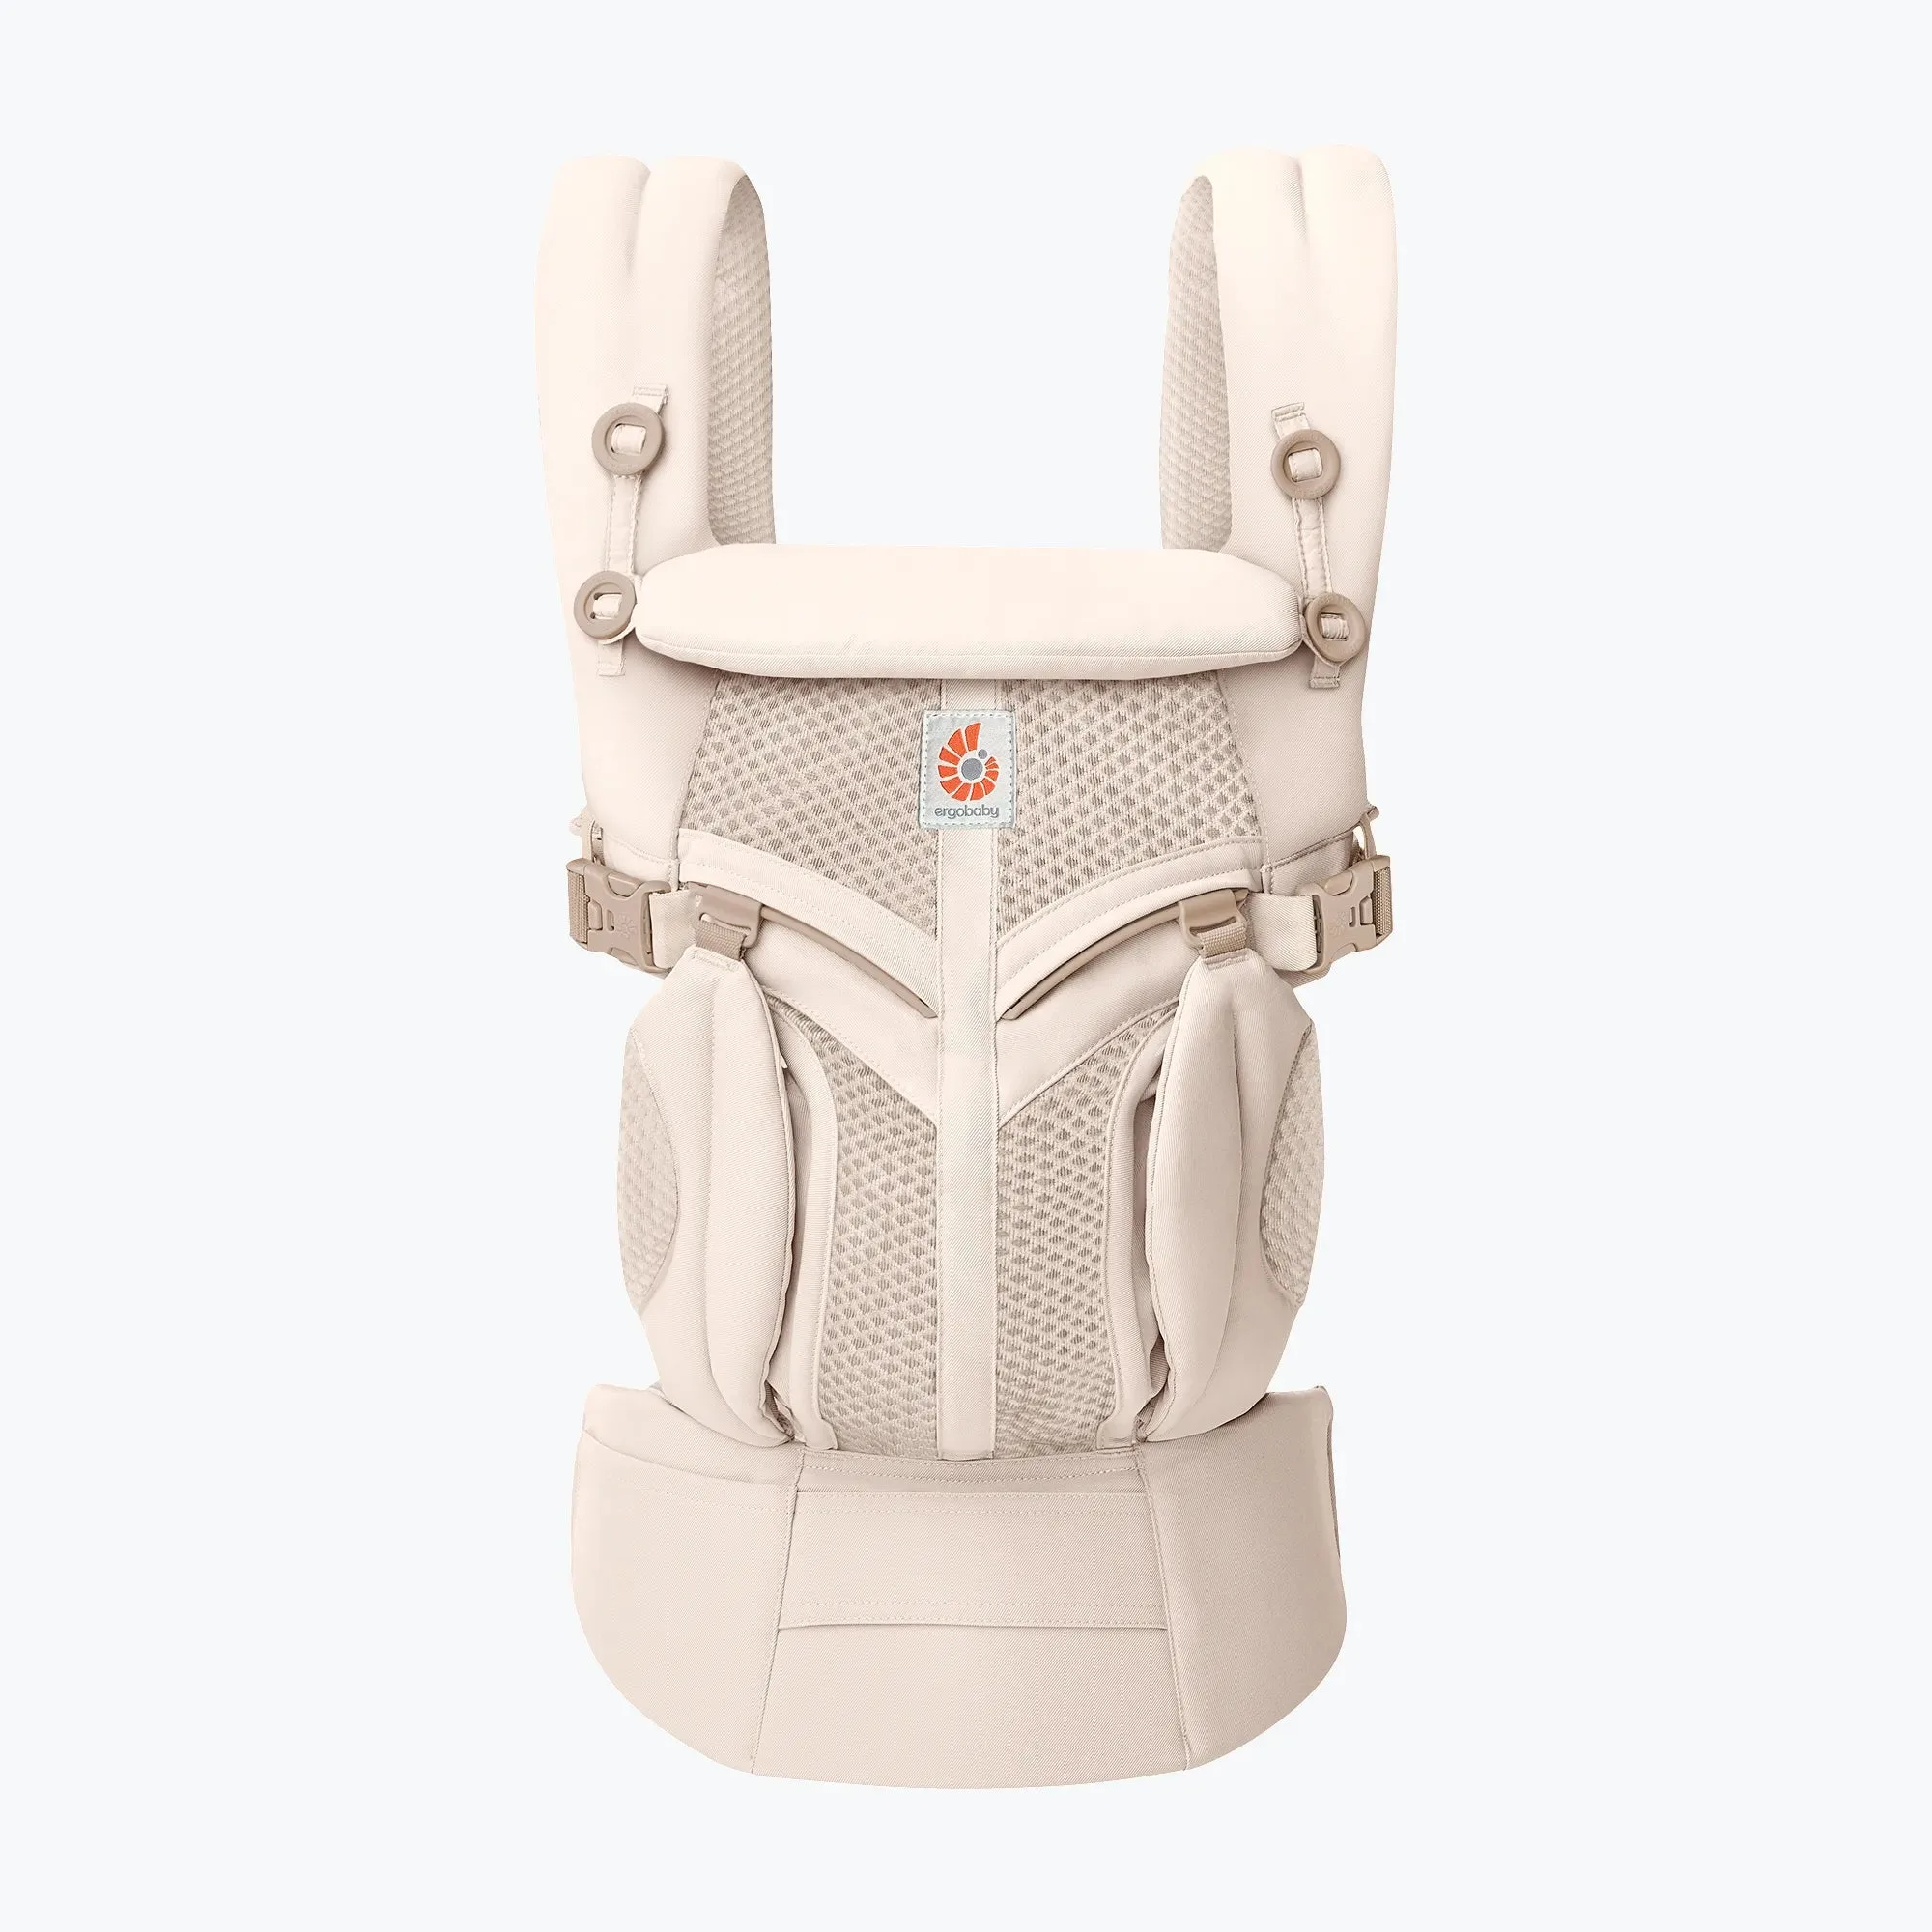
Ergobaby carriers like the Deluxe, Breeze, and Dream have similar shoulder buckle designs, but it's essential to confirm your model before ordering. Look for the model name on the label inside the carrier or check your original packaging. The replacement buckle you need is the Shoulder Buckle Replacement (Deluxe, Breeze, Dream), which fits these models.
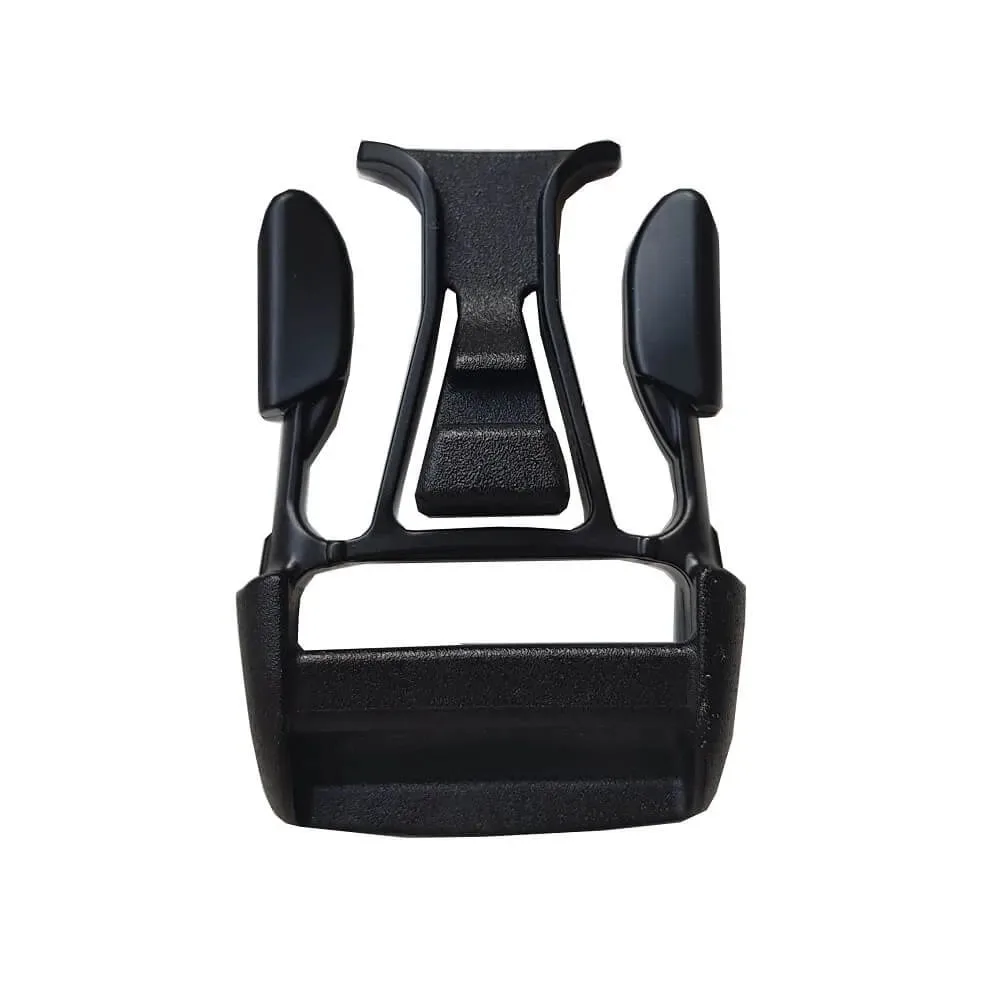
Shoulder Buckle Replacement (Deluxe, Breeze, Dream)
If you're unsure whether this buckle fits your carrier, contact Ergobaby customer support with your carrier's model number. Using the wrong buckle can compromise safety, so always verify compatibility before purchasing.
- Check the care label inside the carrier for the model name.
- If you have an older or different model, contact support to avoid ordering the wrong part.
Order the Correct Replacement Part
Once you've identified your model, order the official Shoulder Buckle Replacement from Ergobaby. This part is designed to match the original buckle's size and strength, ensuring your carrier remains safe and comfortable. At just $2.50 (compared to a $5.00 list price), it's an affordable fix.
Avoid generic buckles from craft stores—they may not fit properly or meet safety standards. Always use manufacturer-approved parts for baby gear.
- Order directly from Ergobaby or an authorized retailer to guarantee authenticity.
- Consider ordering two buckles if both shoulders are worn, to save on shipping later.
Remove the Old Buckle
Lay the carrier flat and locate the shoulder strap where the buckle is attached. The buckle usually slides onto the webbing and is held in place by a fabric loop or stitching. Use a small flathead screwdriver or seam ripper to gently pry open the fabric loop or cut the stitching that secures the buckle.
Be careful not to cut the webbing itself. Once the loop is opened, slide the old buckle off the strap. If the buckle is broken, you may need to cut it off, but avoid damaging the strap.
- Work slowly to avoid cutting the strap fibers.
- Take a photo of the old buckle orientation before removal to help with reinstallation.
Attach the New Buckle
Thread the new buckle onto the webbing in the correct orientation. The buckle should sit so that the release tab faces outward and the strap feeds through smoothly. Slide it to the desired position, then secure it by re-stitching the fabric loop or using a strong needle and thread to create a new loop.
If the original loop was cut, you can sew a new one using heavy-duty thread. Ensure the buckle is snug but can still slide slightly for adjustment.
- Use a thimble to push the needle through thick webbing.
- Double-check that the buckle is not twisted before sewing.
Test the Buckle and Carrier Safety
After attaching the new buckle, test it by clicking it closed and pulling firmly. The buckle should hold securely without slipping. Also, check that the strap moves freely through the buckle for adjustments.
Inspect the entire strap and other buckles for wear. If any other parts look damaged, consider replacing them proactively. Once satisfied, your carrier is ready for use.
- Do a tug test with the carrier empty before putting your baby in it.
- Periodically check the buckle and stitching for signs of wear.
Step-by-Step Replacement Checklist
- Confirm your carrier model: Check the label inside the carrier to verify it's a Deluxe, Breeze, or Dream model. Ordering the wrong buckle wastes time and money.
- Order the official replacement buckle: Purchase the Shoulder Buckle Replacement from Ergobaby to ensure compatibility and safety. Generic buckles may not fit or hold securely.
- Remove the old buckle carefully: Use a screwdriver or seam ripper to open the fabric loop, avoiding damage to the webbing. Take a photo first to remember the orientation.
- Attach the new buckle: Thread the buckle onto the strap, position it correctly, and sew a new fabric loop if needed. Ensure the buckle is not twisted and sits flat.
- Test the buckle and carrier: Click the buckle closed and pull firmly to ensure it holds. Check strap movement and other components. Never use the carrier until you've confirmed the buckle is secure.
Product Facts
- Shoulder Buckle Replacement (Deluxe, Breeze, Dream): Replacement Shoulder Buckle for Deluxe, Breeze, and Dream carriers. Priced at $2.50 (original $5.00). This official replacement ensures a perfect fit and maintains safety standards for your specific carrier model.
Replacing a shoulder buckle on your Ergobaby carrier is a simple task that extends the life of your gear. With the correct replacement part and a little patience, you can have your carrier back in safe working order. Always prioritize safety by using official parts and testing thoroughly before each use.