Quick answer
Replace a hobby blade by loosening the chuck, pulling the old blade straight out, and seating the new blade fully before tightening. Store spare blades in a dry, covered case or their original sleeve, away from moisture and loose metal. Wipe blades after use, keep them dry, and never toss them loose in a drawer.
A dull or rusted blade does more than slow you down. It tears material, slips, and forces you to push harder, which is when accidents happen. The good news is that most blade damage comes from two avoidable habits: sloppy replacement and careless storage.
This guide walks through the full routine, from removing an old blade to putting spares away so they stay sharp. It applies to hobby knives, chisel blades, and strip cutters alike, and it takes only a few minutes once you build the habit.
Step 1: Prepare your workspace and hands
Clear a small area and lay down a light-colored cloth or tray. A light surface makes a dropped blade easy to spot, and a tray keeps small parts from rolling away. Work away from children and pets, and never hold the knife body in one hand while pulling a blade with the other.
Wash and dry your hands. Oil and moisture transfer to the blade and handle, which is the first step toward rust. If you wear gloves, choose a snug fit so you keep feeling in your fingertips. A secure grip matters more than padding when you are handling a sharp edge.
- Common mistake: working over a carpet or cluttered bench, where a dropped blade disappears.
Step 2: Remove the old blade safely
Loosen the chuck or collet by turning it counterclockwise, but do not unscrew it all the way off. Once the blade is free, grip the blunt spine, not the cutting edge, and pull it straight out of the handle. Pulling at an angle can bend the blade or scratch the inside of the chuck.
Set the old blade on your tray with the edge facing away from you. If the blade is rusted or chipped, do not try to resharpen it. A replacement blade costs less than the material you will ruin with a bad edge, and it removes the risk of a snapped tip flying loose.
- Checkpoint: if the blade will not slide out, stop and check for a second locking screw before forcing it.
Step 3: Seat the new blade correctly
Slide the new blade into the handle until it bottoms out. It should sit straight, with no wobble when you press the tip gently against a scrap of wood. A blade that is not fully seated will shift mid-cut, which is how most crooked cuts and slip injuries start.
Tighten the chuck firmly but do not over-torque it. You want the blade held secure, not crushed. If your handle uses a four-jaw aluminum chuck, as on the Excel Blades Craftsman Set in Wooden Box, Carded, the jaws grip the blade at several points for more secure positioning than a standard single-screw holder. Test the hold on scrap material before you start your real project.
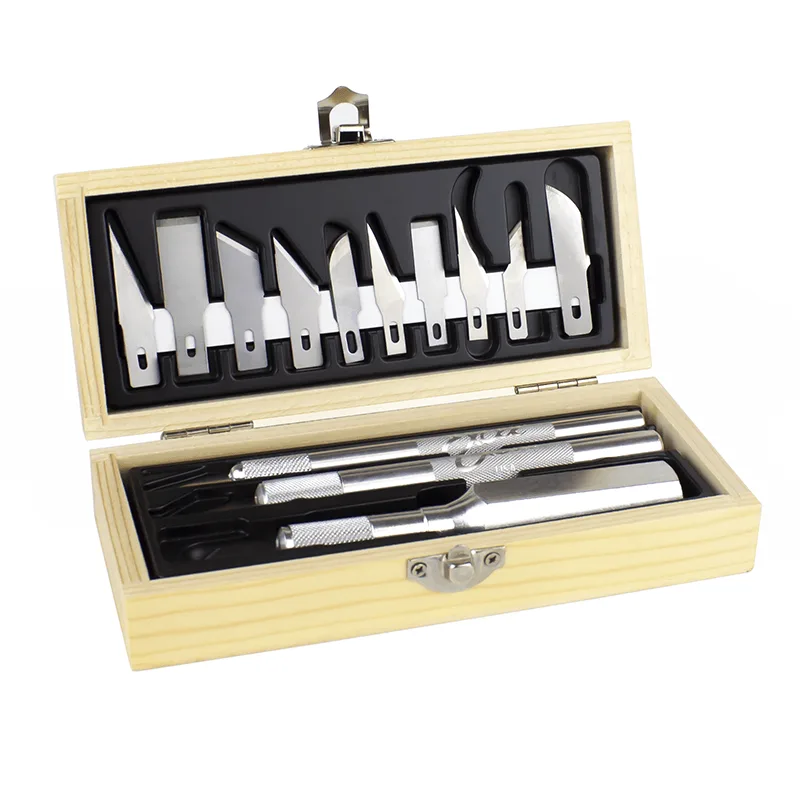
Craftsman Set in Wooden Box, Carded
- Common mistake: tightening the chuck before the blade is fully seated, which leaves the blade loose.
Step 4: Store blades so they stay sharp and rust-free
Moisture is the main cause of blade rust, so storage is really about keeping air and humidity away from the steel. Put spare blades back in their sleeve or a small closed case, and keep that case in a dry drawer or toolbox. Do not store blades loose with screws, nails, or other metal that can nick the edge.
If you live in a humid climate, add a silica gel packet to your blade case and replace it when it stops absorbing. For blades you use often, a magnetic strip or a labeled sleeve keeps them visible and separated. Label the sleeve with the blade type so you do not have to guess later.
- Prevent blade rust: wipe the blade dry after every use, then return it to its case the same day.
Step 5: Maintain the handle and check your blades
Blade care does not stop at the blade. Wipe dust and adhesive residue from the chuck and handle with a dry cloth. If residue builds up, a little rubbing alcohol on a cloth will loosen it, but let the handle dry completely before you insert a blade. Moisture trapped inside the handle is a hidden rust source.
Get in the habit of checking the edge before each session. Hold the blade under good light and look for nicks, a rolled tip, or any orange-brown spots. Replace at the first sign of damage rather than pushing through a project. A fresh blade cuts with less pressure, which is safer and gives you cleaner edges.
- Checkpoint: if you see rust near the chuck, clean and dry the handle before storing the knife.
Blade replacement and storage checklist
- Clear and dry your workspace: Use a light-colored tray on a dry surface, and wash and dry your hands before touching the blade. If the surface is dark or damp, fix that before you start.
- Loosen the chuck and pull the blade straight out: Turn the chuck counterclockwise without removing it, grip the blunt spine, and pull straight. Stop if the blade binds; check for a second locking screw instead of forcing it.
- Seat and tighten the new blade: Push the blade in until it bottoms out, then tighten firmly without over-torquing. Test for wobble on scrap material before your real cut.
- Store spares dry and covered: Return blades to their sleeve or a closed case, keep them away from loose metal, and add a silica packet in humid rooms. Wipe blades dry after every use and store them the same day.
- Inspect before each session: Check the edge under good light for nicks, rolled tips, or rust spots, and clean the chuck when residue builds up. Replace at the first sign of damage rather than pushing through a project.
Blades and tools that make this routine easier
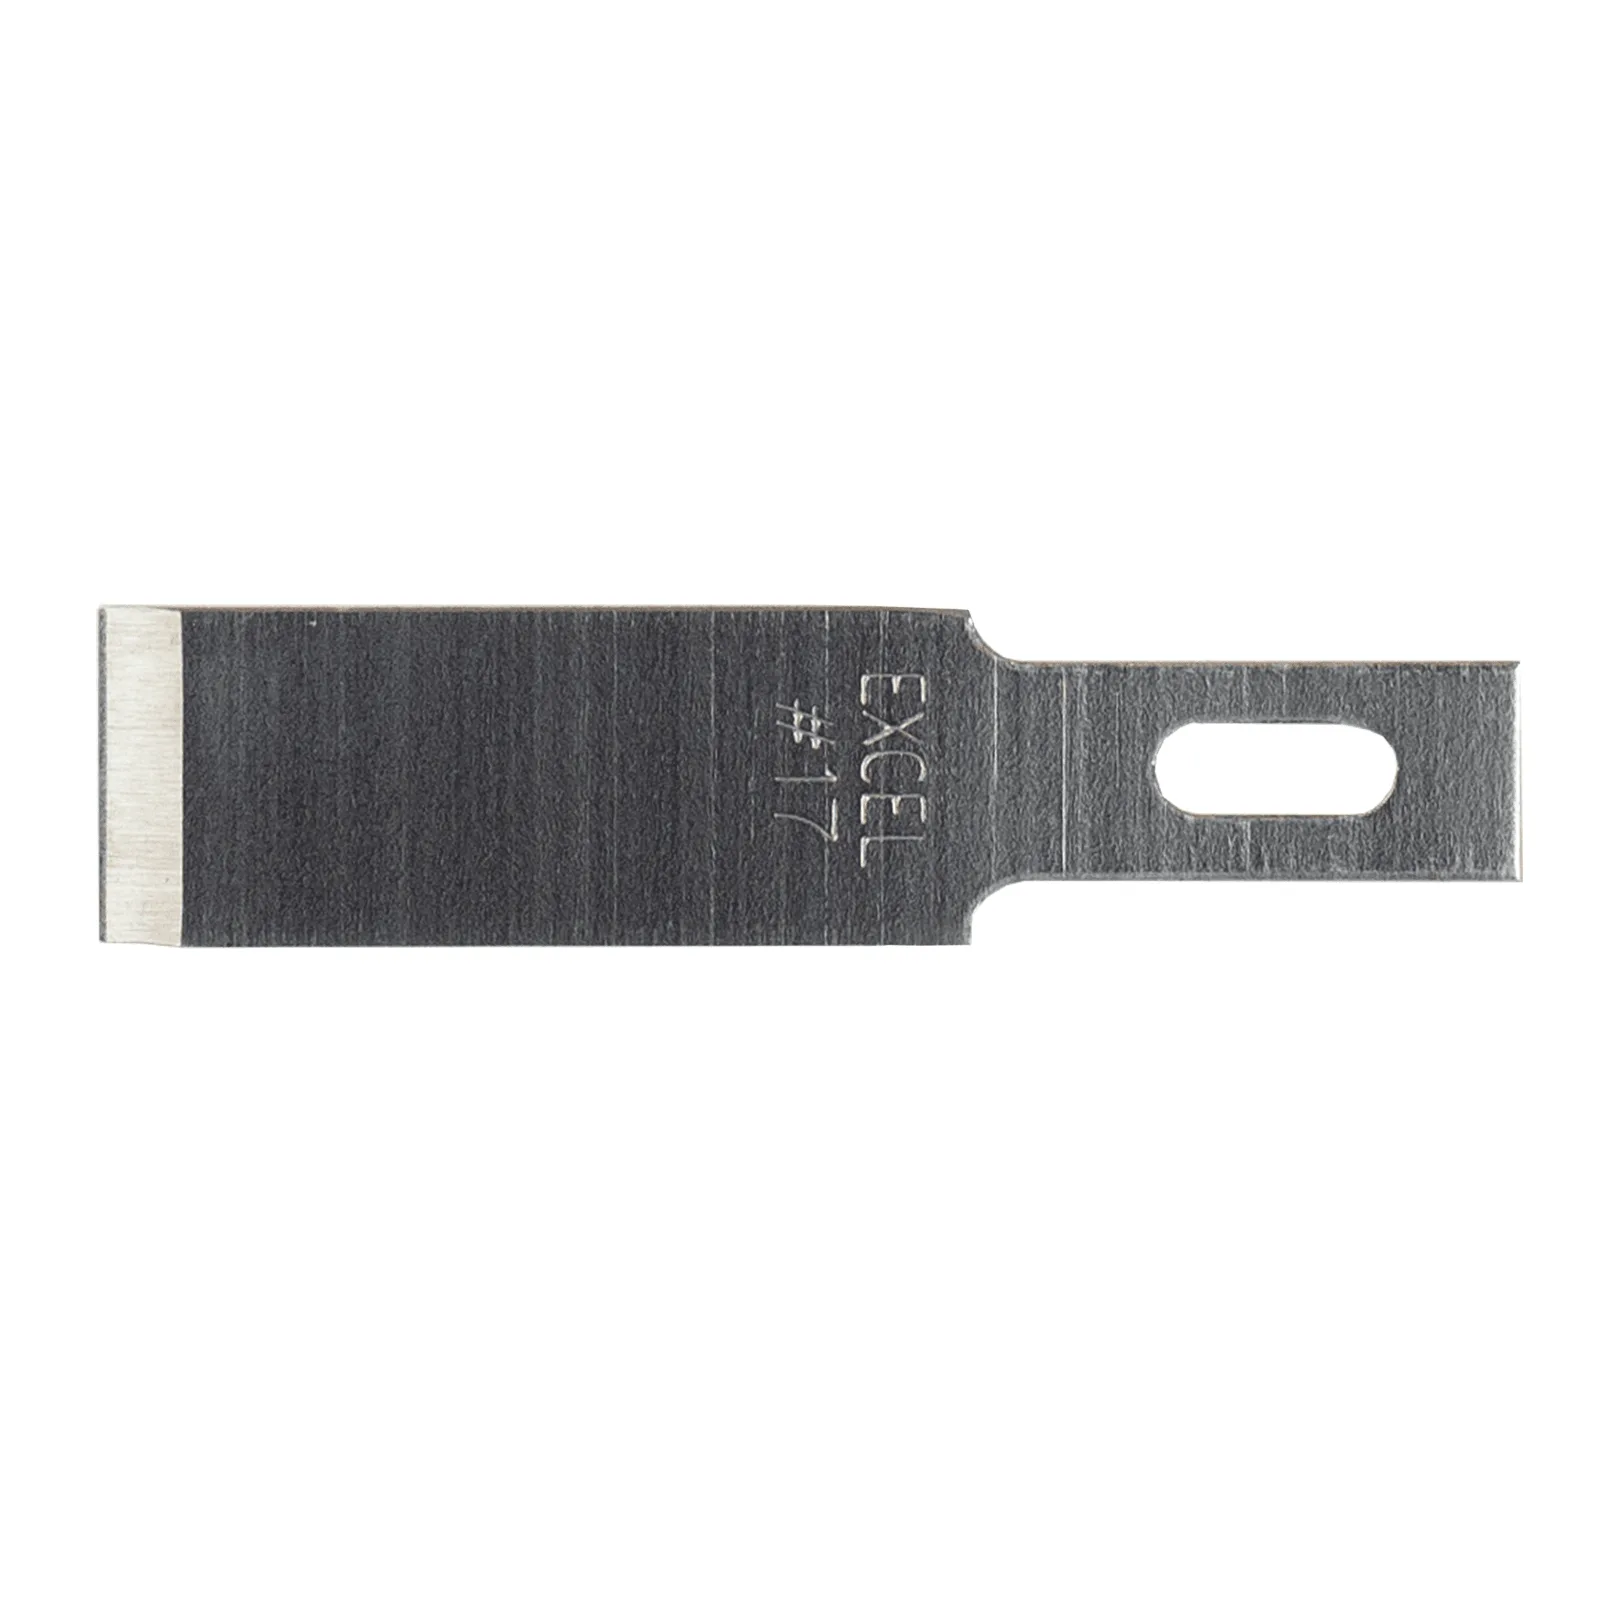
- #17 Chisel Replacement Blade, Multi-Pack: Precision carbon steel chisel blade made in the USA, with a compact tip for controlled shaping and light chiseling. A multi-pack means you can swap in a fresh edge the moment one dulls instead of stretching a worn blade.
- Craftsman Set in Wooden Box, Carded: Includes knife handles with a 4-jaw aluminum chuck for more secure blade positioning and hold than a standard holder, in a clasp-lock wooden case. The wooden case doubles as dry storage, and the four-jaw chuck reduces the blade wobble that causes crooked cuts.
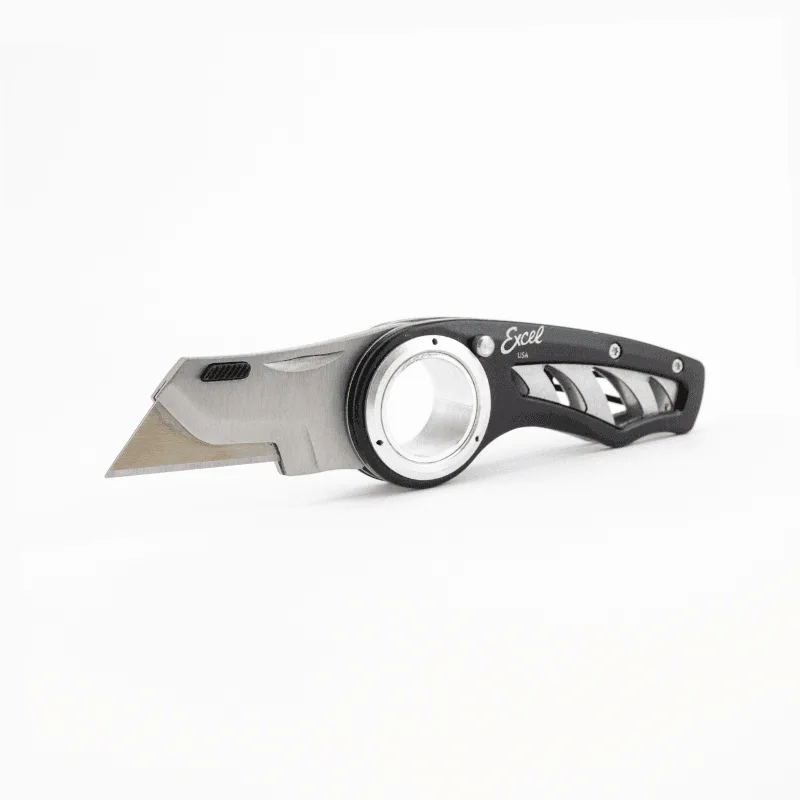
- K60 Revo Folding Utility Knife, 3 Locking Positions: Heavy-duty folding utility knife with a 3-position lock mechanism. A locking blade stays put during tough cuts, so you are less likely to force the tool and damage the edge.
Replacing and storing blades well is a small habit with a big payoff: sharper cuts, fewer slips, and tools that last through project after project. Keep your workspace dry, seat every blade fully, and put spares away in a covered case. Your hands and your materials will thank you.