Quick Answer
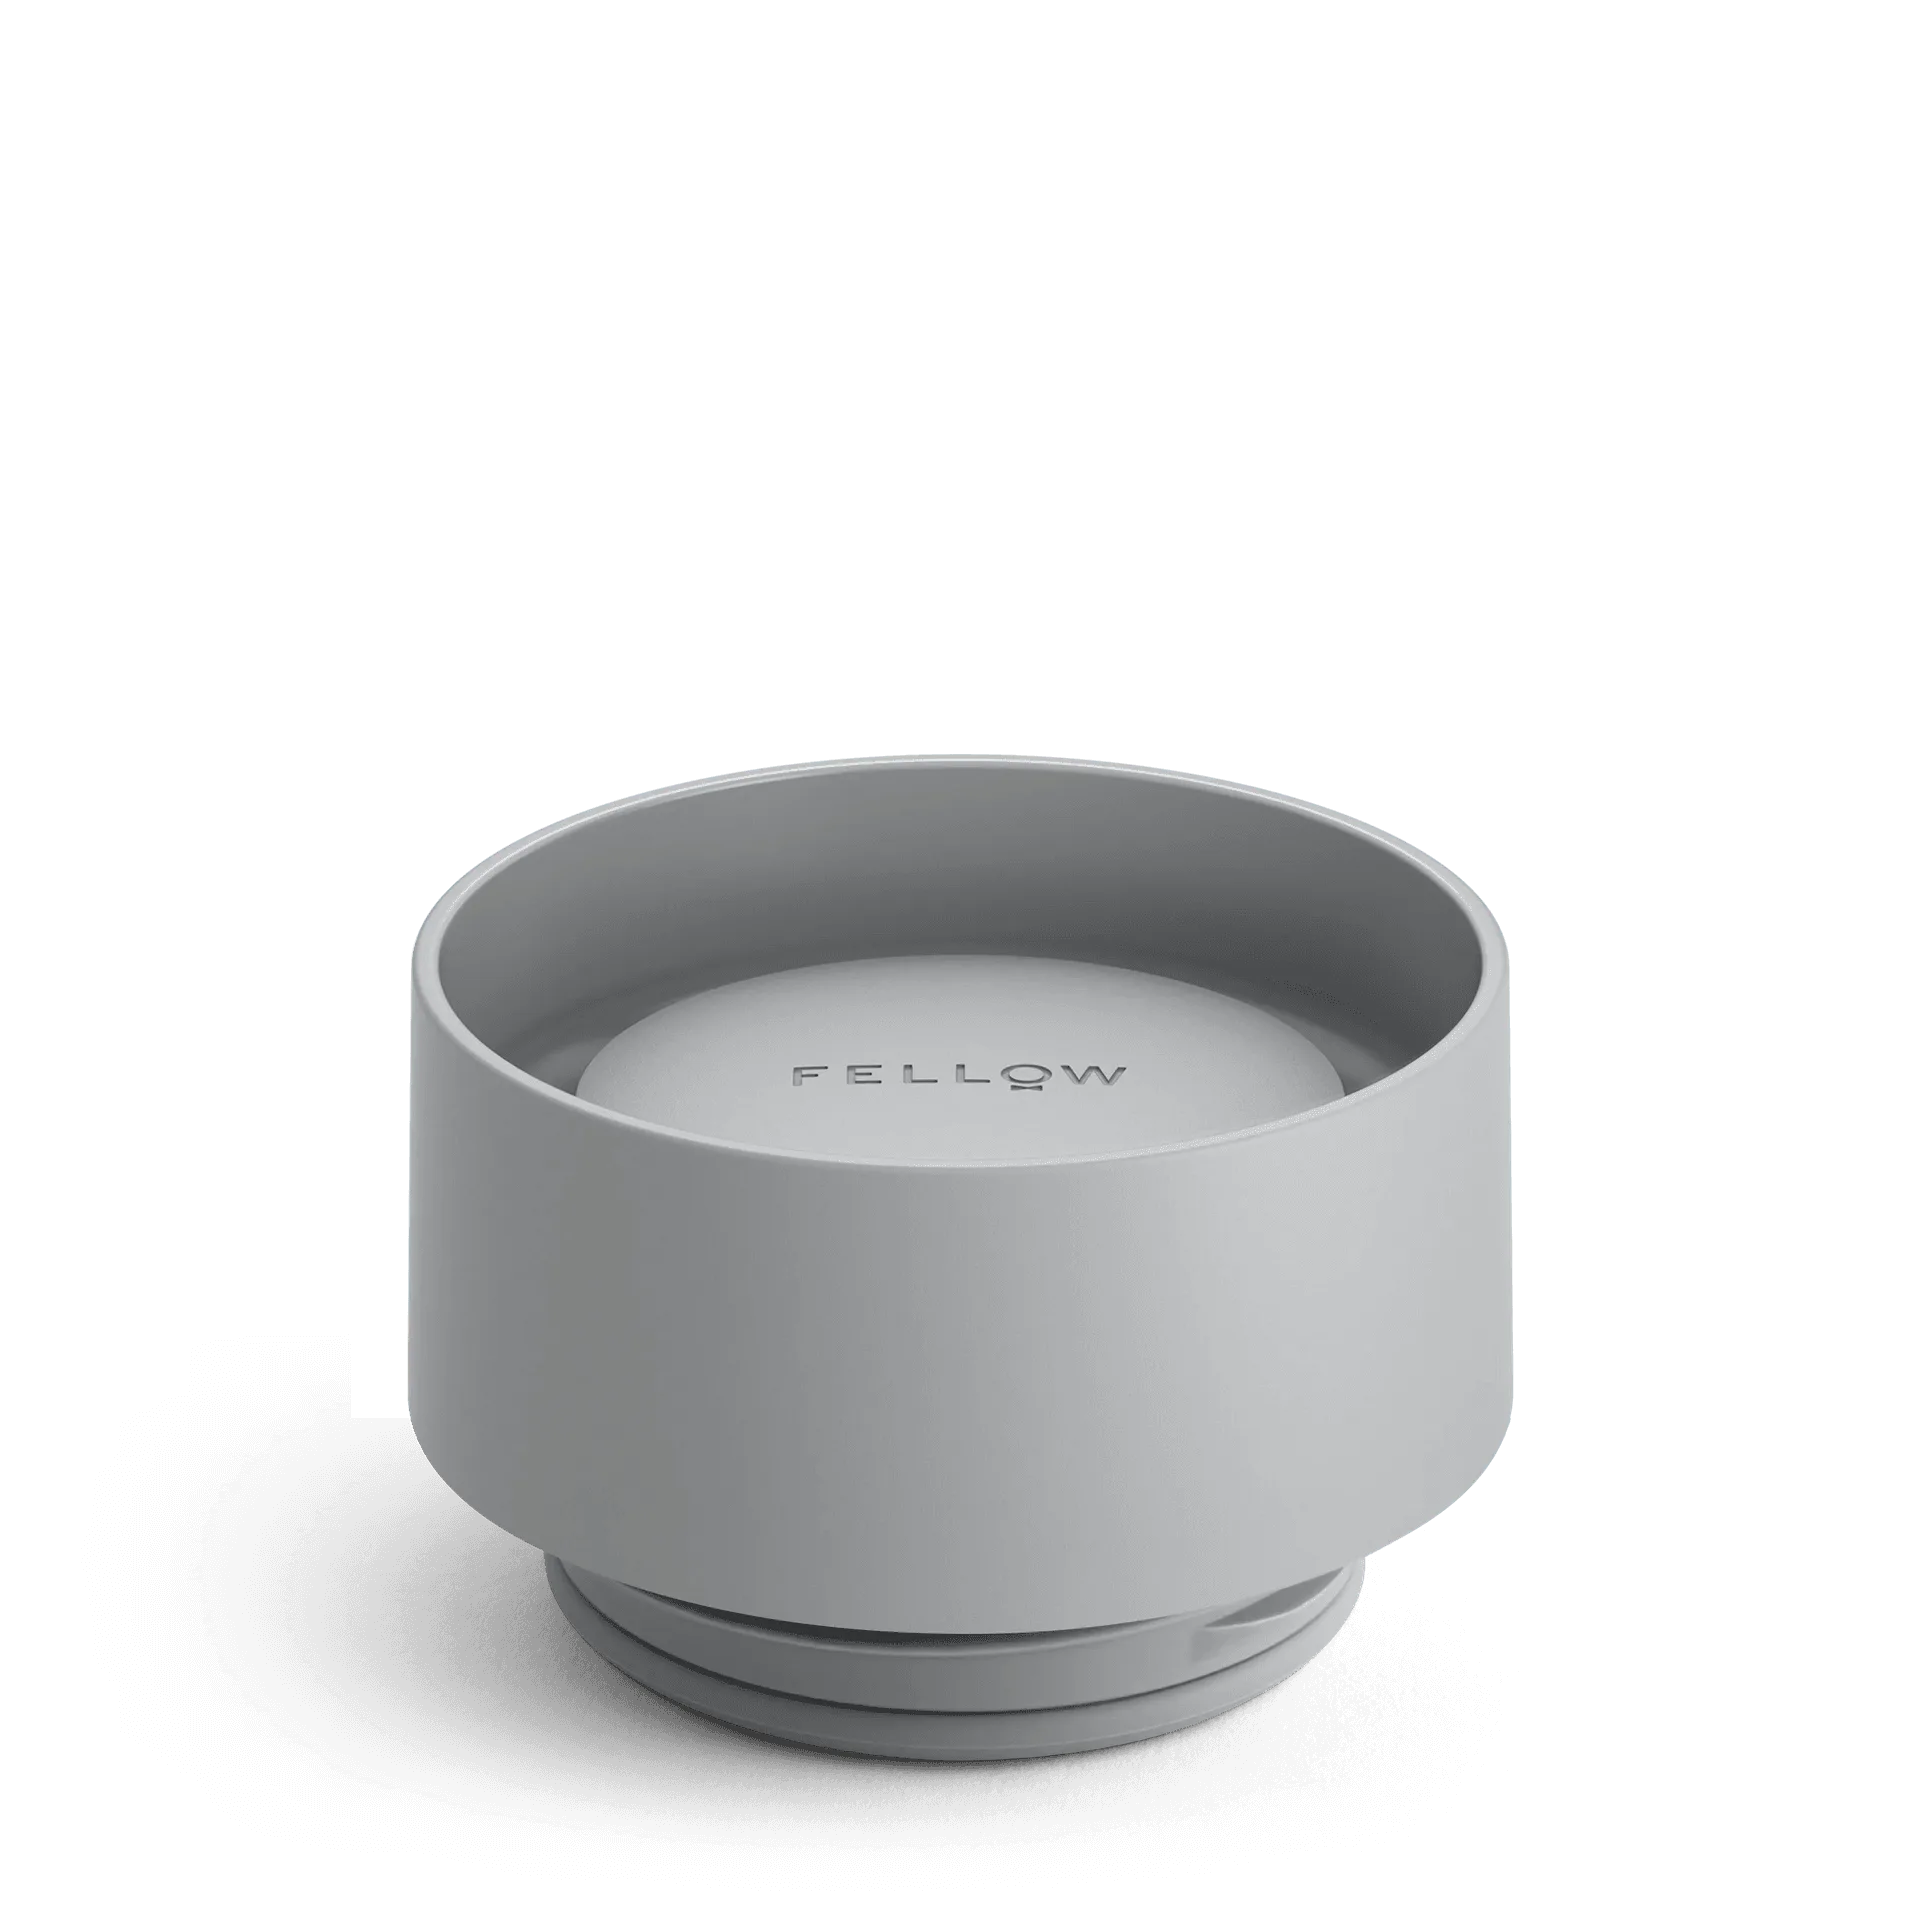
To replace the lid on your Clyde Electric Kettle, first ensure the kettle is unplugged and cool. Then, carefully remove the old lid by lifting it off the hinge, align the new lid correctly, and press it firmly into place. Test the fit before use to ensure a proper seal.
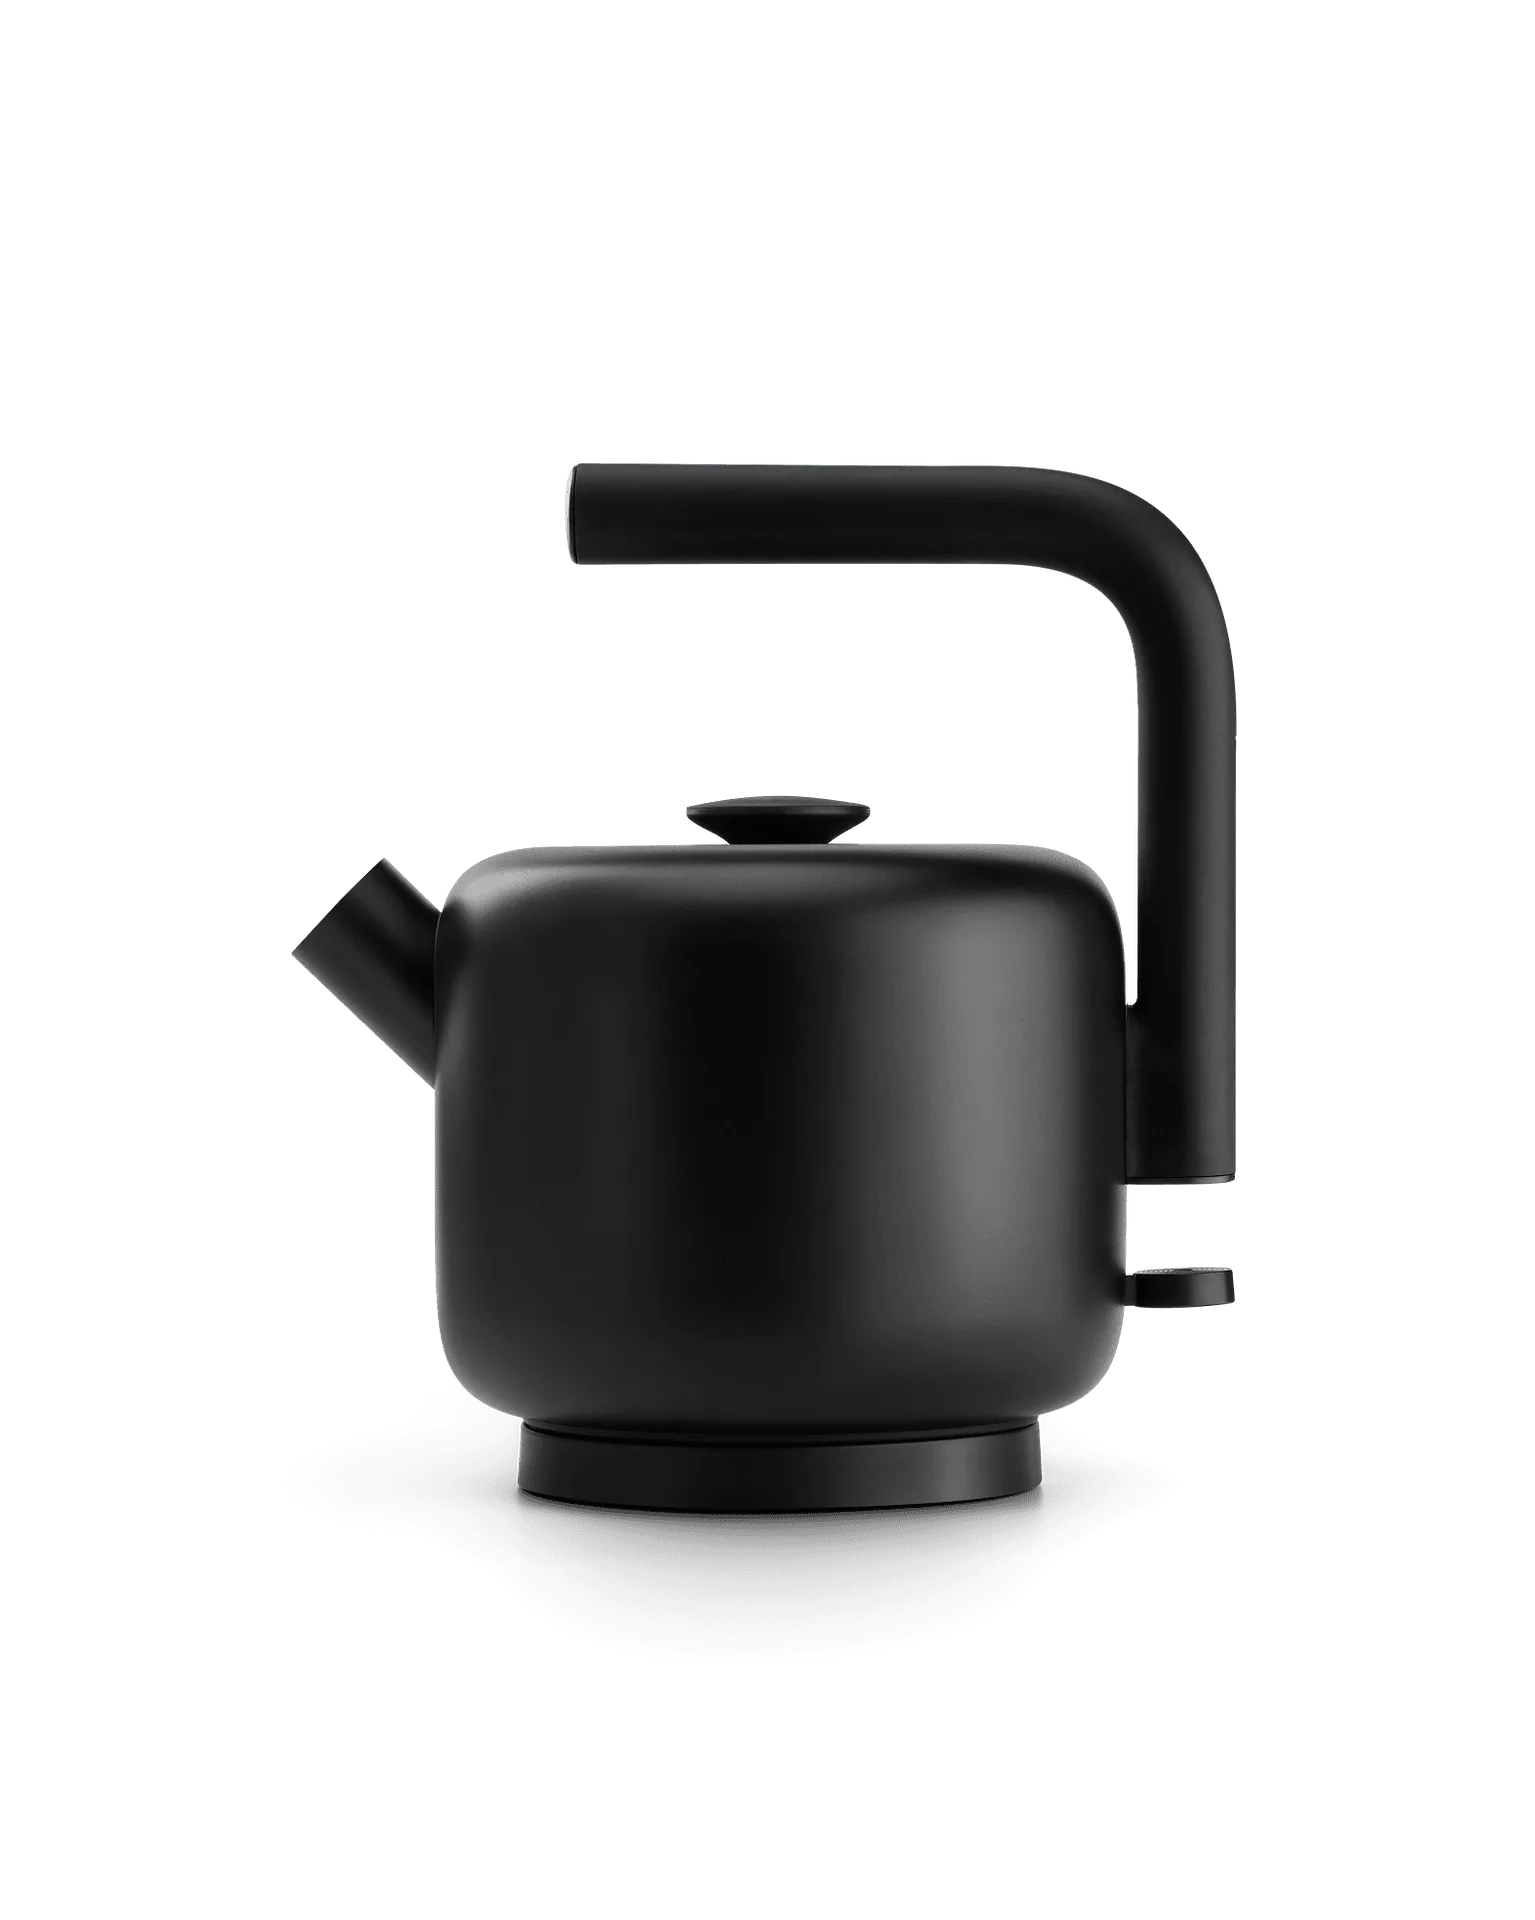
Clyde Electric Kettle
The lid on your Clyde Electric Kettle is a crucial component for safe and efficient brewing. Over time, it may become damaged, warped, or simply wear out from frequent use. Replacing it is a straightforward DIY task that can save you the cost of a new kettle and extend the life of your favorite appliance.
In this guide, we'll walk you through the process of replacing the lid on your Clyde Electric Kettle, including common mistakes to avoid and checkpoints to ensure a successful repair. We'll also share some maintenance tips to keep your kettle in top condition.
Why Replace the Lid on Your Clyde Electric Kettle?
The lid on your electric kettle serves several important functions: it prevents splashing, retains heat, and ensures safe pouring. A damaged or ill-fitting lid can lead to heat loss, increased energy consumption, and even accidents from hot water splashing. Replacing it promptly is essential for both performance and safety.
Common signs that your lid needs replacement include visible cracks, warping, a loose fit, or difficulty opening and closing. If you notice any of these issues, it's time to consider a replacement. Fortunately, Fellow Products offers replacement parts designed specifically for their kettles, ensuring a perfect fit and reliable performance.
- Check the lid for cracks, warping, or looseness regularly.
- Always use genuine replacement parts to maintain safety and warranty.
Tools and Materials You'll Need
Before you start, gather the following items to make the process smooth and safe: a new lid compatible with your Clyde Electric Kettle, a soft cloth for cleaning, and optionally, a mild detergent for cleaning the kettle's rim. No special tools are required, as the lid is designed for simple removal and installation.
Make sure your kettle is unplugged and completely cool before you begin. This prevents any risk of burns or electrical shock. Also, clear a clean, flat workspace to avoid losing small parts.
- Ensure the kettle is unplugged and cool to the touch.
- Clean the kettle rim to ensure a proper seal with the new lid.
Step-by-Step Replacement Process
Follow these steps to replace the lid on your Clyde Electric Kettle. Each step includes a common mistake to avoid and a checkpoint to verify your progress.
Remember, the process is straightforward, but taking your time will ensure the best results.
Step-by-Step Lid Replacement
- Step 1: Prepare Your Kettle: Unplug the kettle and allow it to cool completely. Place it on a stable surface with ample lighting. Checkpoint: Ensure the kettle is cool to the touch before proceeding.
- Step 2: Remove the Old Lid: Gently lift the lid upward from the hinge. If it feels stuck, do not force it; check for any screws or clips that may need to be removed first. Common mistake: Forcing the lid can damage the hinge. If it doesn't pop off easily, inspect for fasteners.
- Step 3: Clean the Kettle Rim: Wipe the rim of the kettle with a soft cloth to remove any debris or residue that could affect the seal. Checkpoint: The rim should be clean and dry before installing the new lid.
- Step 4: Align the New Lid: Position the new lid over the kettle opening, aligning the hinge and any alignment markers. Ensure it sits evenly. Common mistake: Misalignment can cause the lid to sit crooked. Double-check the alignment before pressing down.
- Step 5: Press the Lid into Place: Press down firmly but gently on the lid until it clicks into place. Avoid using excessive force. Checkpoint: The lid should sit flush and open/close smoothly. Test the fit by opening and closing it a few times.
- Step 6: Test the Kettle: Fill the kettle with water, bring it to a boil, and check for any leaks or steam escaping from the lid. If all is well, your replacement is complete. Common mistake: Skipping the test can lead to unnoticed leaks. Always test with water before regular use.
Replacement Parts for Fellow Kettles
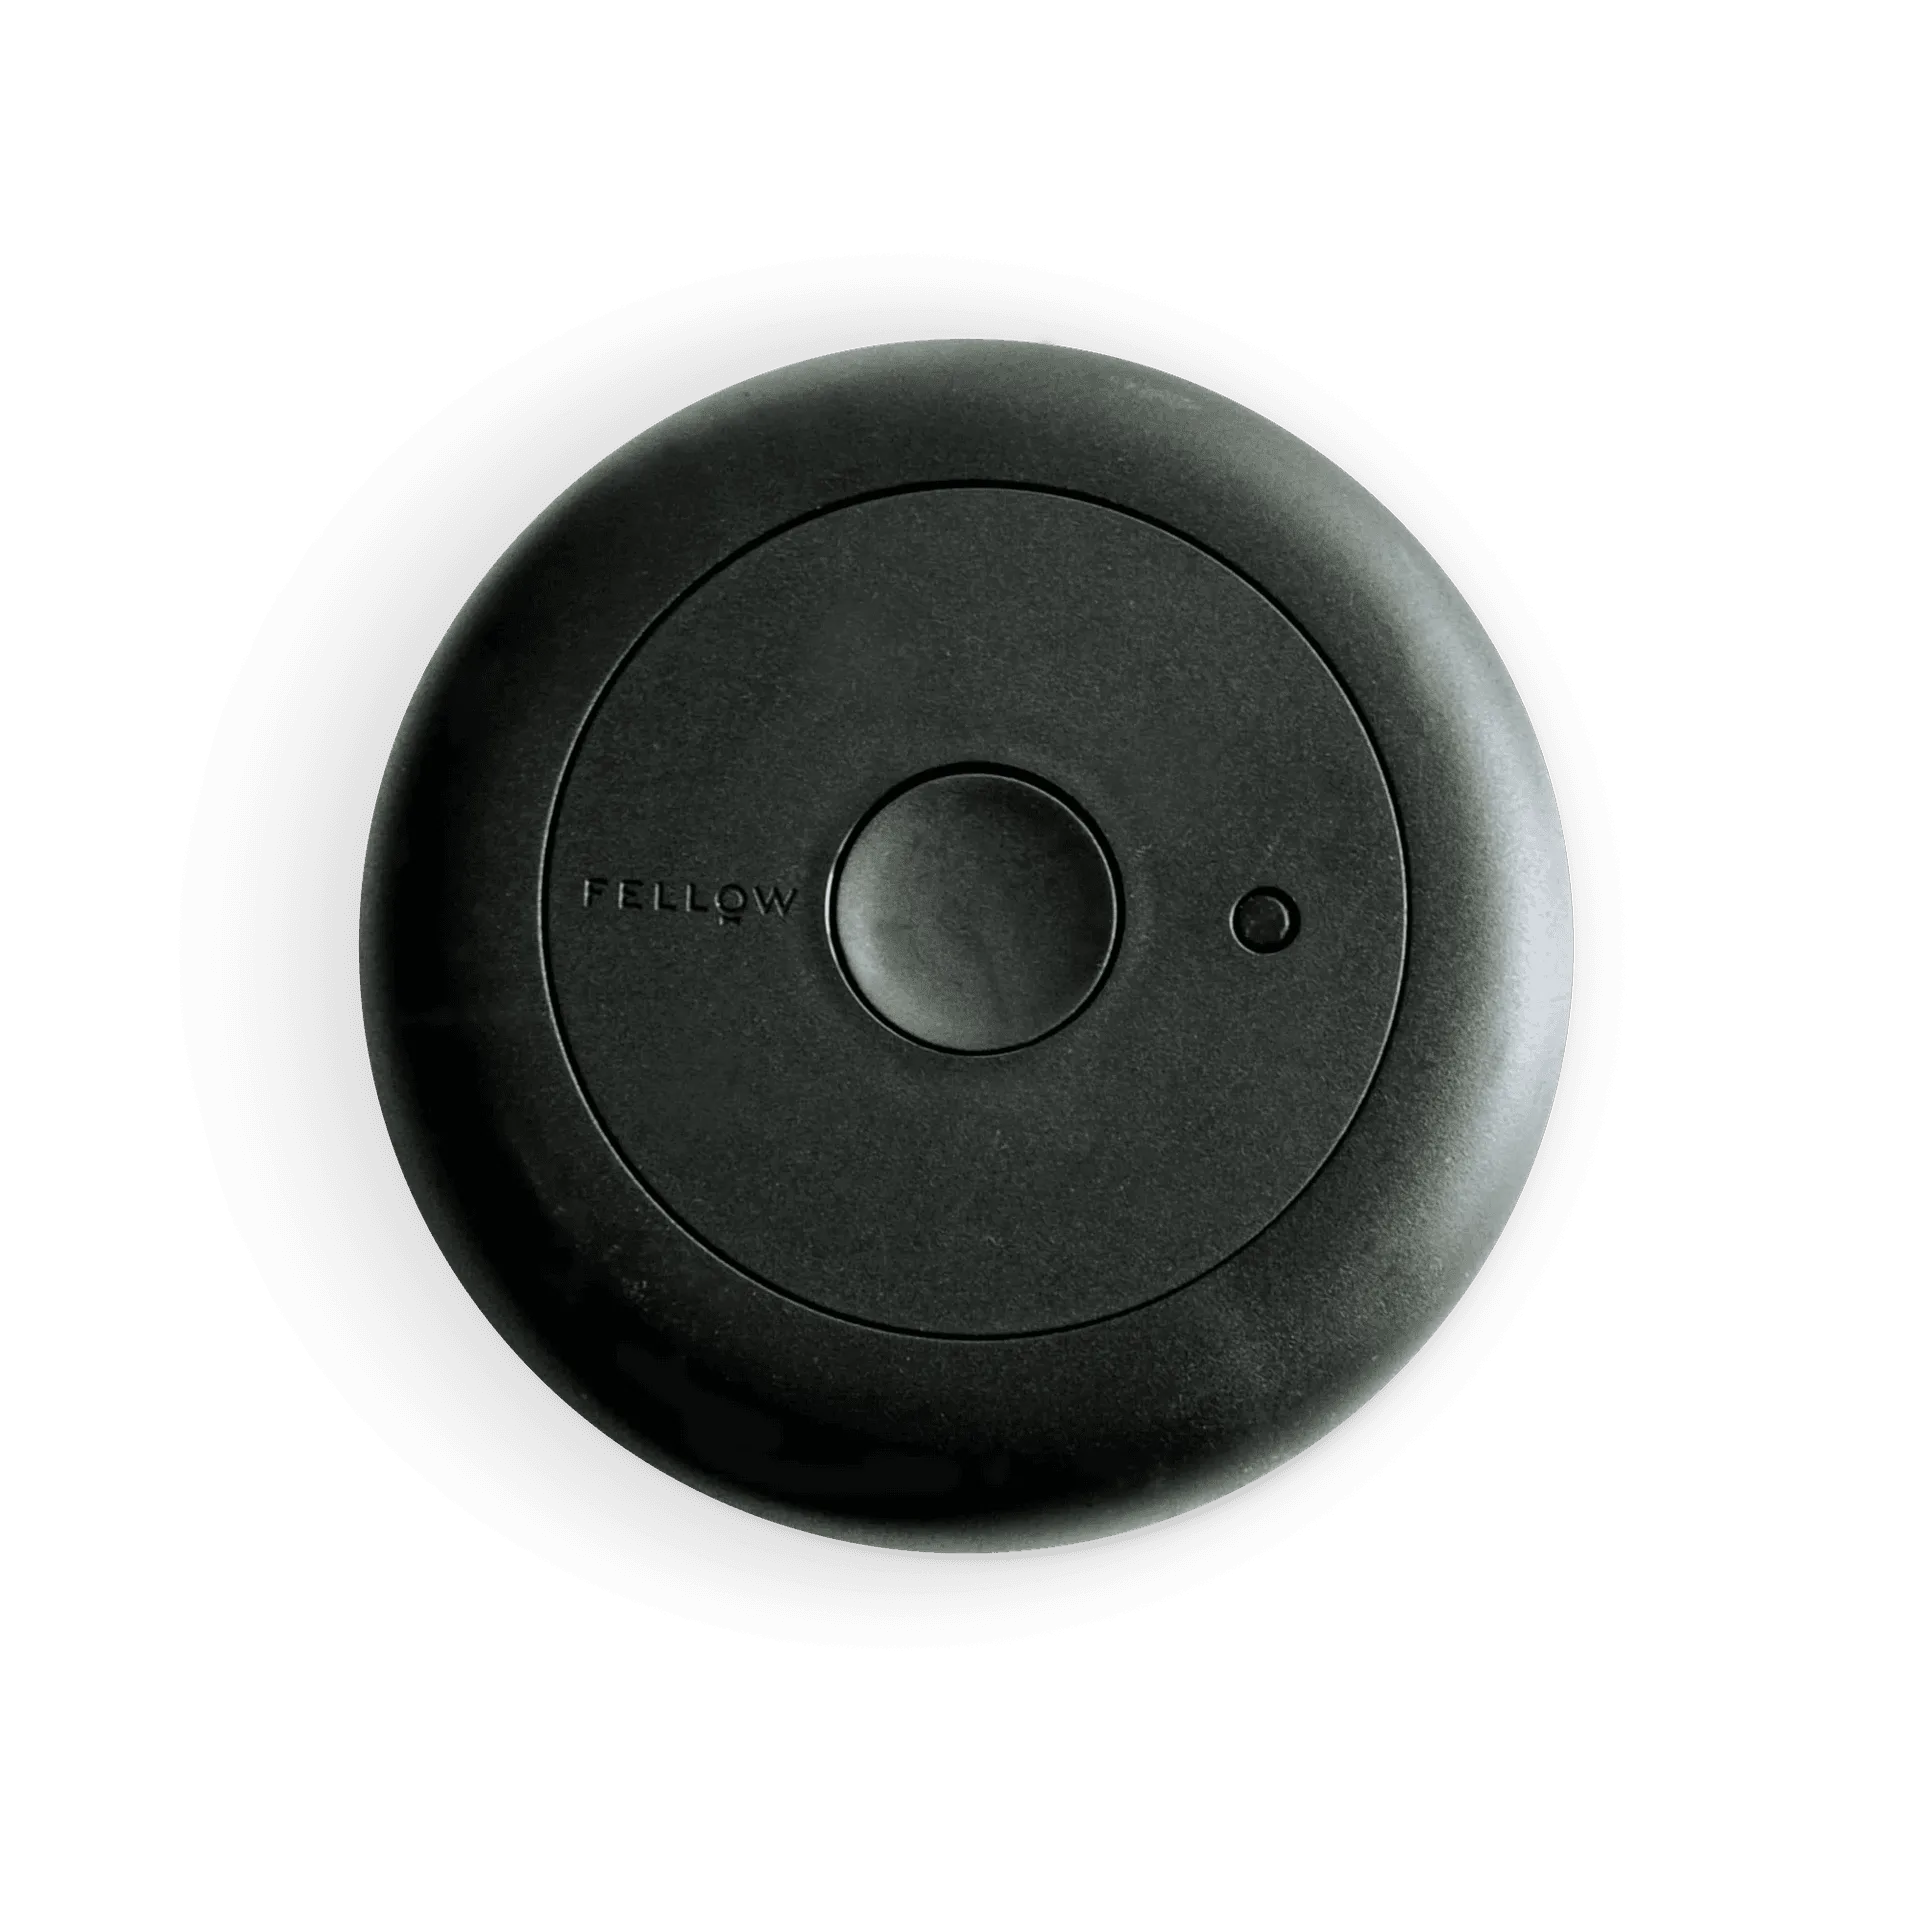
- Raven Thermometer: The Raven Thermometer is a precision replacement part designed specifically for the Raven Stovetop Kettle, ensuring your kettle continues to deliver accurate temperature readings for optimal brewing. If you own a Raven Stovetop Kettle, replacing a faulty thermometer ensures your water reaches the exact temperature needed for your brew.
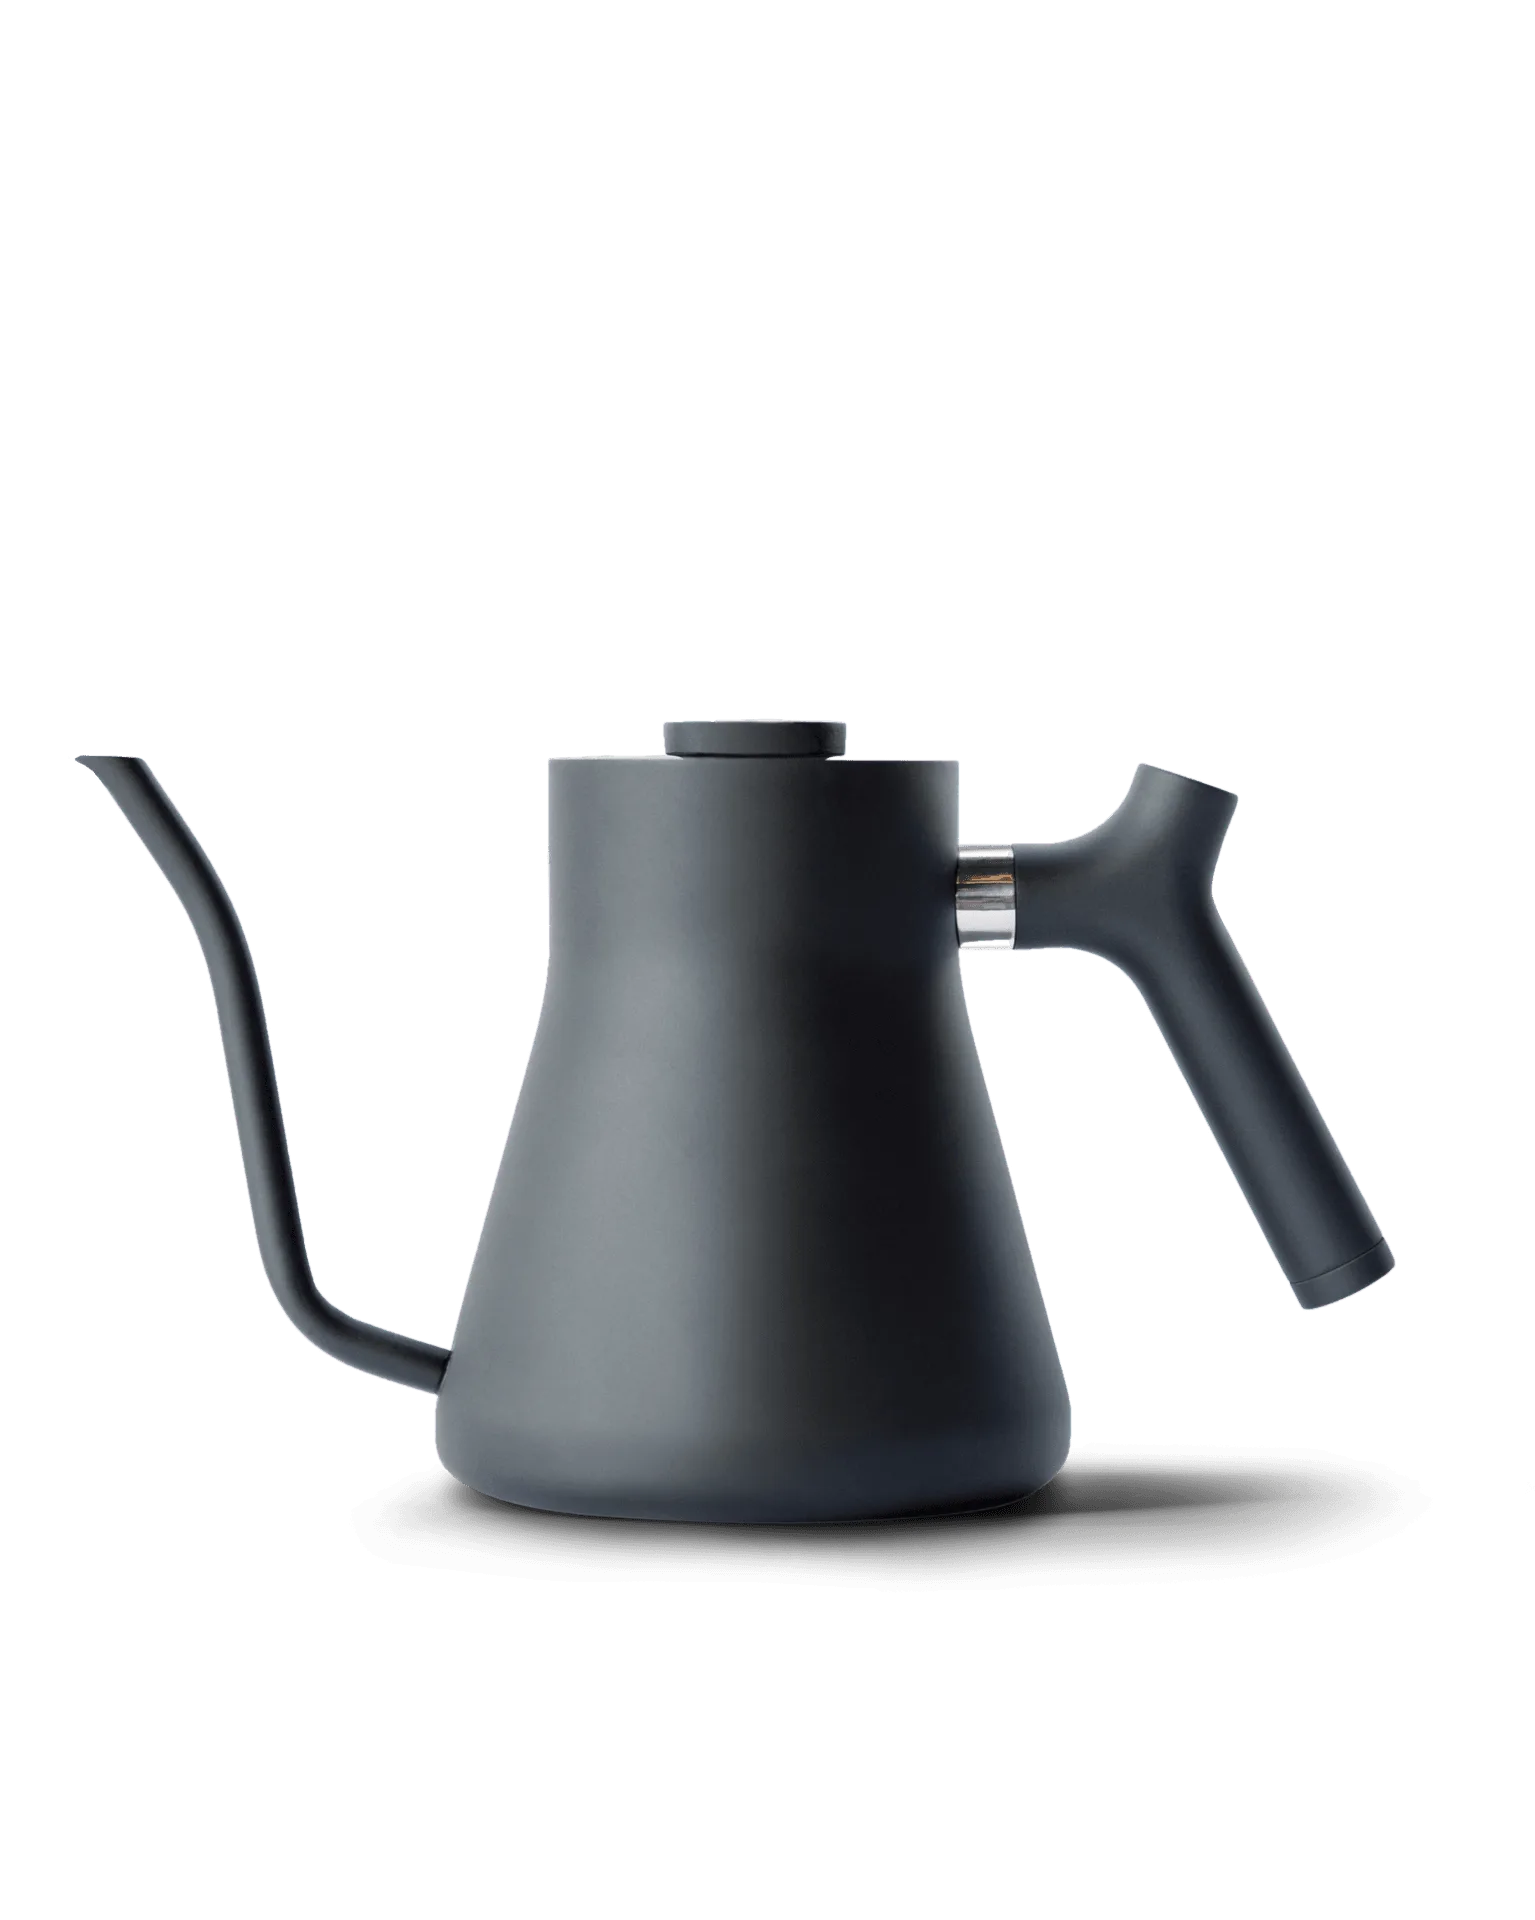
- Stagg Brew Range Thermometer: The Stagg Brew Range Thermometer is a replacement part designed for use with the Stagg Pour-Over Kettle, providing accurate temperature readings in both Celsius and Fahrenheit. For Stagg Pour-Over Kettle owners, this replacement part keeps your kettle accurate for consistent pour-over results.
Replacing the lid on your Clyde Electric Kettle is a simple DIY task that can extend the life of your kettle and ensure safe, efficient brewing. By following these steps and avoiding common mistakes, you'll have your kettle back in working order in no time. Remember to use genuine Fellow replacement parts for the best fit and performance.