Quick Answer
If you see roots circling the pot or poking out of drainage holes, your houseplant is root-bound. Repot it into a container 2 inches larger, loosen the root ball, and use fresh potting mix to encourage healthier growth.
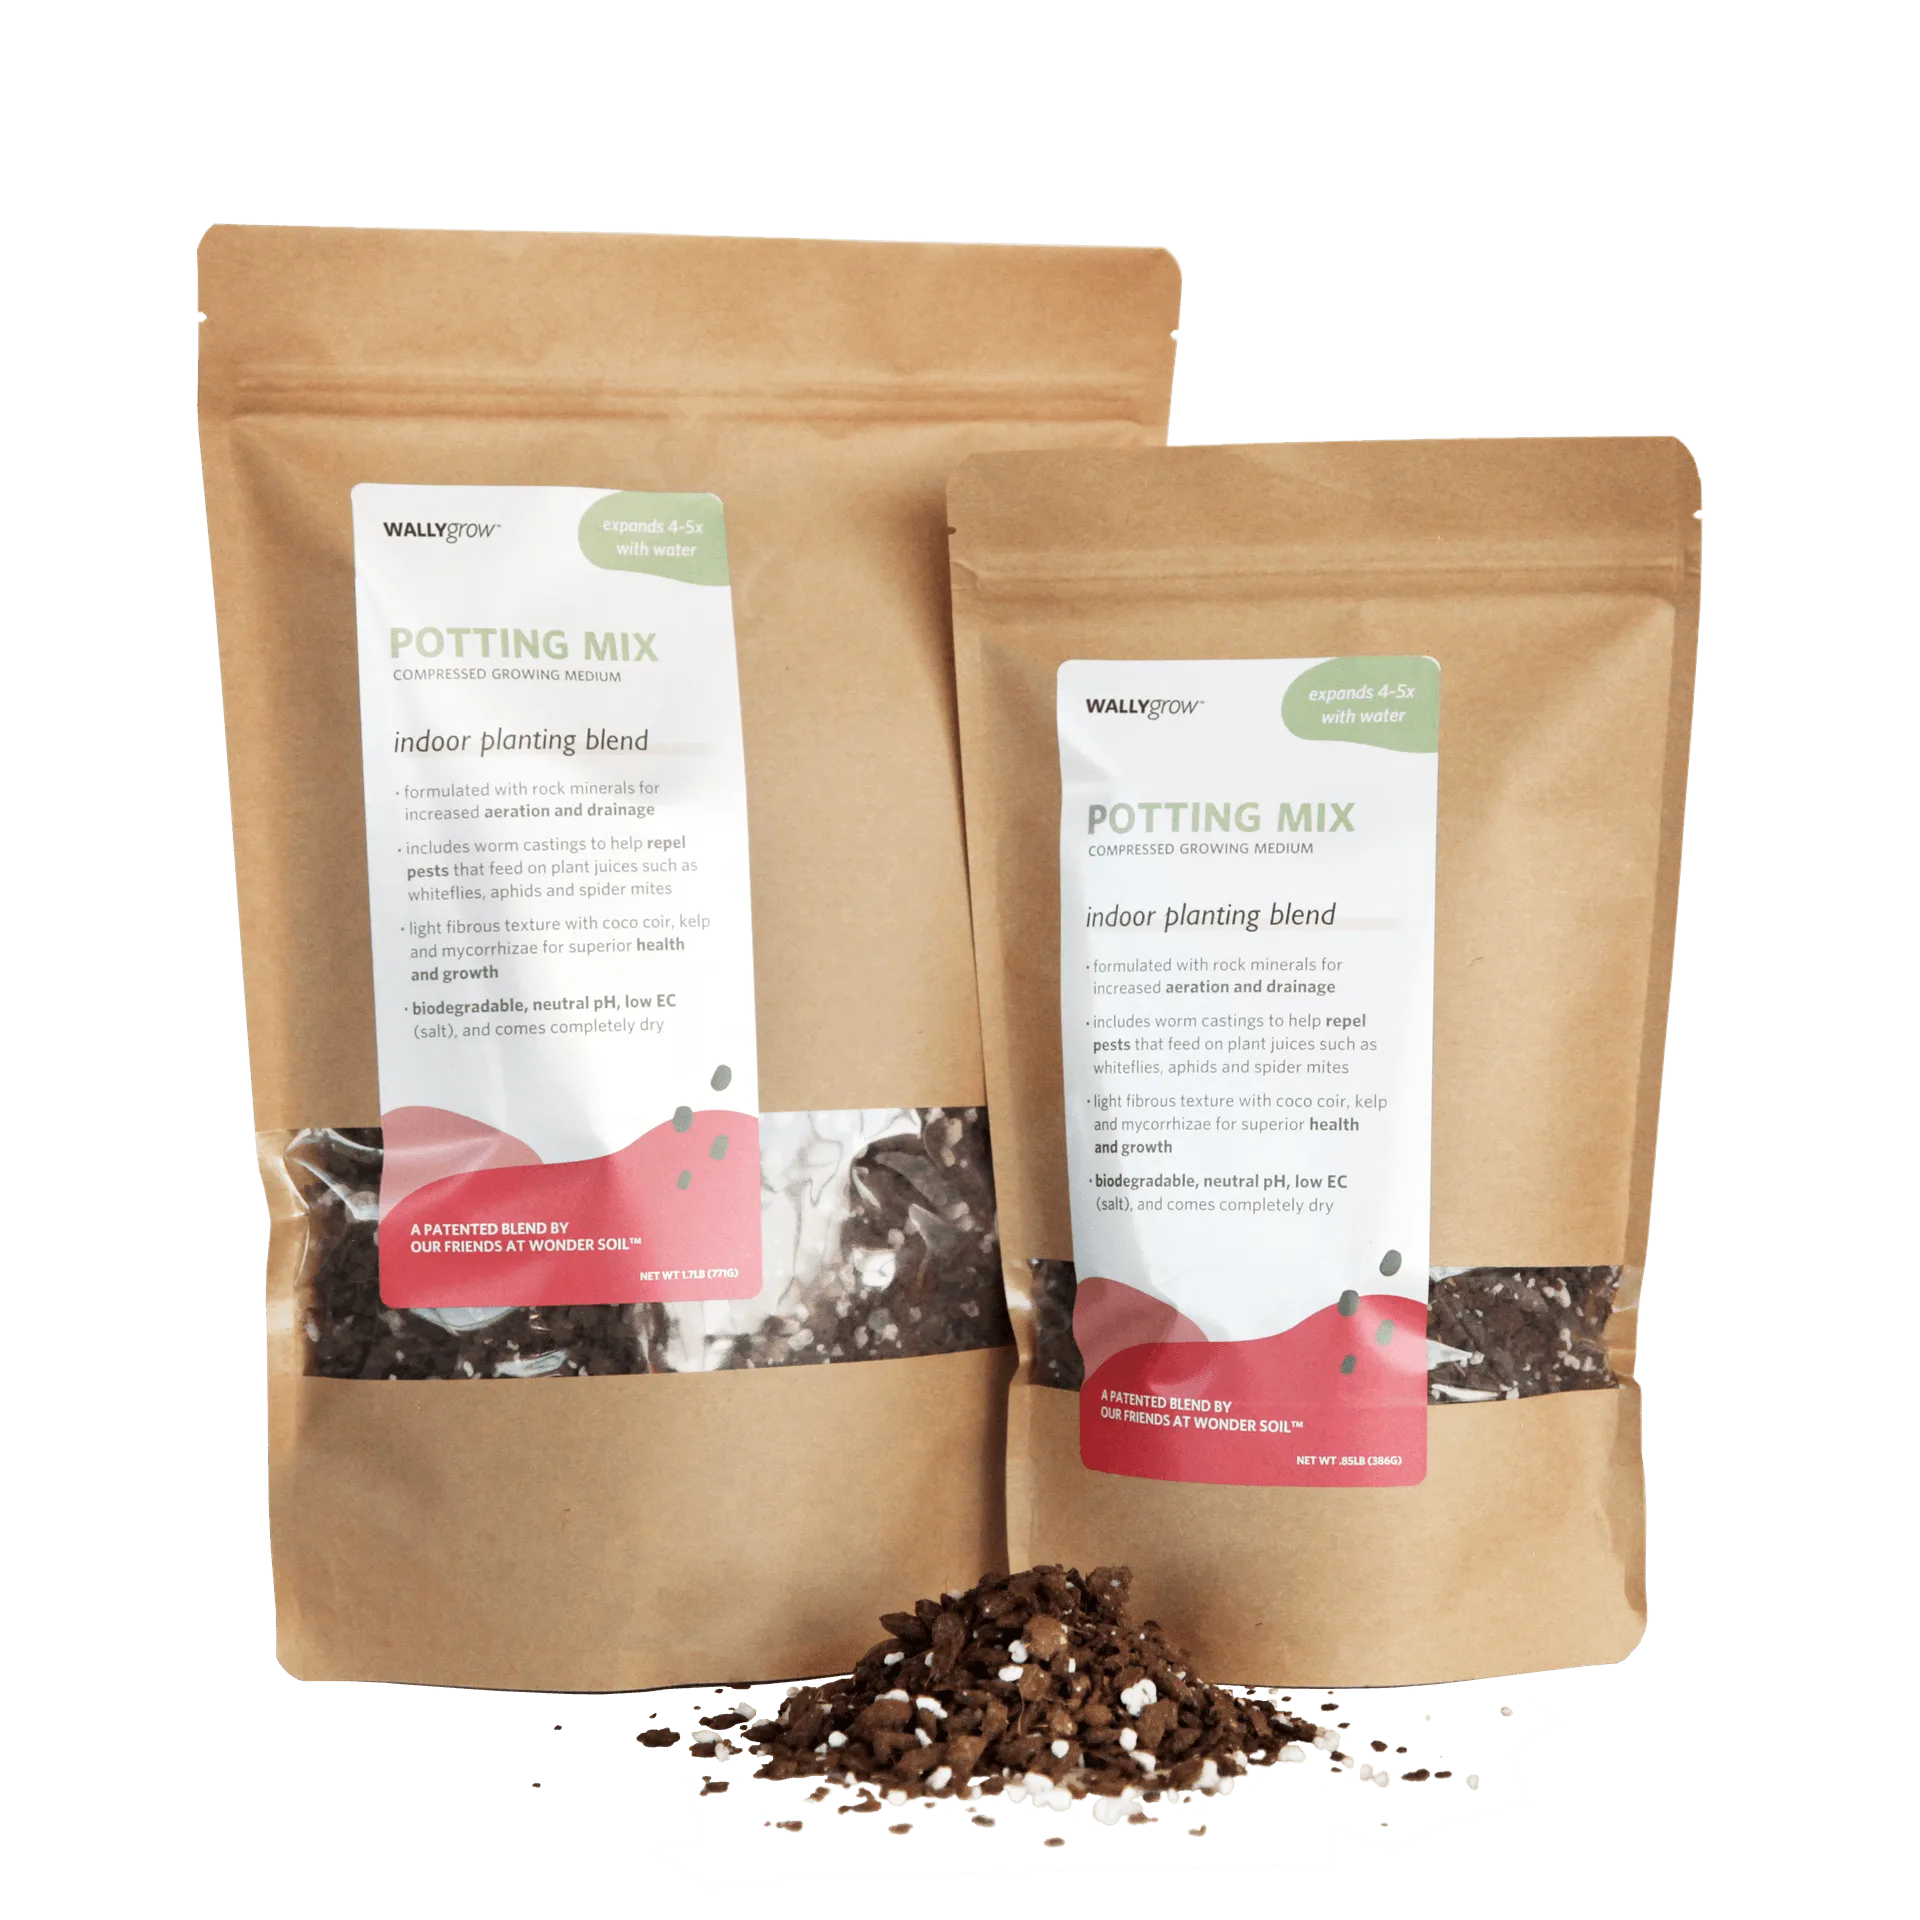
potting mix
When your houseplant’s roots fill every inch of its pot, it can’t take up water or nutrients properly. That’s when you need to repot a root-bound plant to give it room to thrive. Recognizing root-bound symptoms early—like slowed growth, yellowing leaves, or roots emerging from the top or bottom of the pot—is the first step in root-bound plant care.
Repotting doesn’t have to be stressful. With a few simple repotting tips and a step-by-step houseplant repotting guide, you can refresh your plant’s environment and set it up for months of healthy growth. Below, we walk through the process, including how to avoid common mistakes and when to use products like a wall planter for a creative display.
Signs Your Plant Is Root-Bound
Root-bound plants often look thirsty no matter how often you water, because the roots have taken up so much space that there’s little soil left to hold moisture. You may also see roots growing out of the drainage holes or circling the top of the soil. Stunted growth and leaves that turn yellow or brown can also be root-bound symptoms.
Some plants tolerate being root-bound longer than others, but most houseplants benefit from repotting every 12 to 18 months. If you’re unsure, gently lift the plant out of its pot—if the root ball holds its shape and is a dense mass of roots, it’s time to repot.
- Check for roots escaping through drainage holes.
- Notice if water runs straight through the pot without soaking in.
- Look for slowed or stopped growth during the active season.
Choosing the Right Pot and Soil
When repotting indoor plants, pick a new pot that is only 2 inches larger in diameter than the current one. A bigger jump can lead to waterlogged soil and root rot. Make sure the pot has drainage holes—unless you’re using it as a decorative cachepot and keep the plant in a separate grow pot.
Use a fresh, well-draining potting mix suited to your plant type. While you’re at it, consider the display: a wall planter like the Wally Pro 1 Black OUTDOOR ONLY Wall Planter Pocket can give your repotted plant a vertical home if you want to move it outdoors. For indoor spaces, the Eco Spa Wall Planter offers a versatile wall-mounted option.
- Choose a pot 2 inches wider than the old one.
- Always use fresh potting mix to replenish nutrients.
- Clean and sterilize reused pots to prevent disease.
Step-by-Step Repotting Process
Water your plant a day before repotting to reduce transplant shock. Gently slide the plant out of its pot, supporting the stem. If it’s stuck, run a knife around the inside edge. Once out, loosen the root ball with your fingers, trimming any dark, mushy roots.
Place a layer of fresh soil in the new pot, set the plant at the same depth it was before, and fill around the roots with more mix. Firm the soil gently, then water thoroughly. Keep the plant in indirect light for a few days to recover.
- Water the plant 24 hours before repotting.
- Trim only damaged or dead roots, not healthy ones.
- Don’t bury the stem deeper than it was originally.
Repotting Steps at a Glance
- Water and prepare: Water your plant the day before repotting to hydrate roots and reduce shock. Gather your new pot, fresh soil, and a clean trowel. Checkpoint: The soil should be moist, not soggy.
- Remove and loosen: Gently slide the plant out of its pot. Loosen the root ball with your fingers, and trim any dead or rotting roots with clean scissors. Checkpoint: Avoid tearing healthy roots; they’re delicate.
- Repot and water: Place the plant in the new pot at the same depth, fill with fresh potting mix, and press down lightly. Water thoroughly until it drains from the bottom. Checkpoint: Don’t water again until the top inch of soil feels dry.
Products to Support Repotting
- The Little Book of House Plants and Other Greenery by Emma Sibley: This guide offers practical insights for nurturing a variety of houseplants, making it a charming addition to any plant lover's library. After repotting, you’ll want to adjust care routines for each species. This book helps you understand specific needs, from watering to light, so your repotted plant settles in well.
- Arber Plant Protectant: Arber Plant Protectant is a reliable solution for keeping your plants healthy and free from unwanted pests. Designed for use in plant care routines, this product helps safeguard your greenery with ease. Repotting can stress a plant and make it more vulnerable to pests. Using a protectant as part of your routine helps keep your refreshed plant healthy.
Repotting a root-bound houseplant is a straightforward task that pays off with vigorous growth and a happier plant. By watching for root-bound symptoms and following these repotting tips, you’ll keep your indoor garden thriving. For more guidance, browse WallyGro’s selection of plant care books and accessories to support your repotting journey.